Welcome to the Death Star Mobile Build Log Part 5!
Click here for: Part 1 | Part 2 | Part 3 | Part 4
As I noted last time out, I didn’t quite nail the colors on the Death Star surface; my base grey was probably a little light, and my first dark grey layer just a little dark. Painting on the next level of detail, though, in white, mitigated some of this contrast.
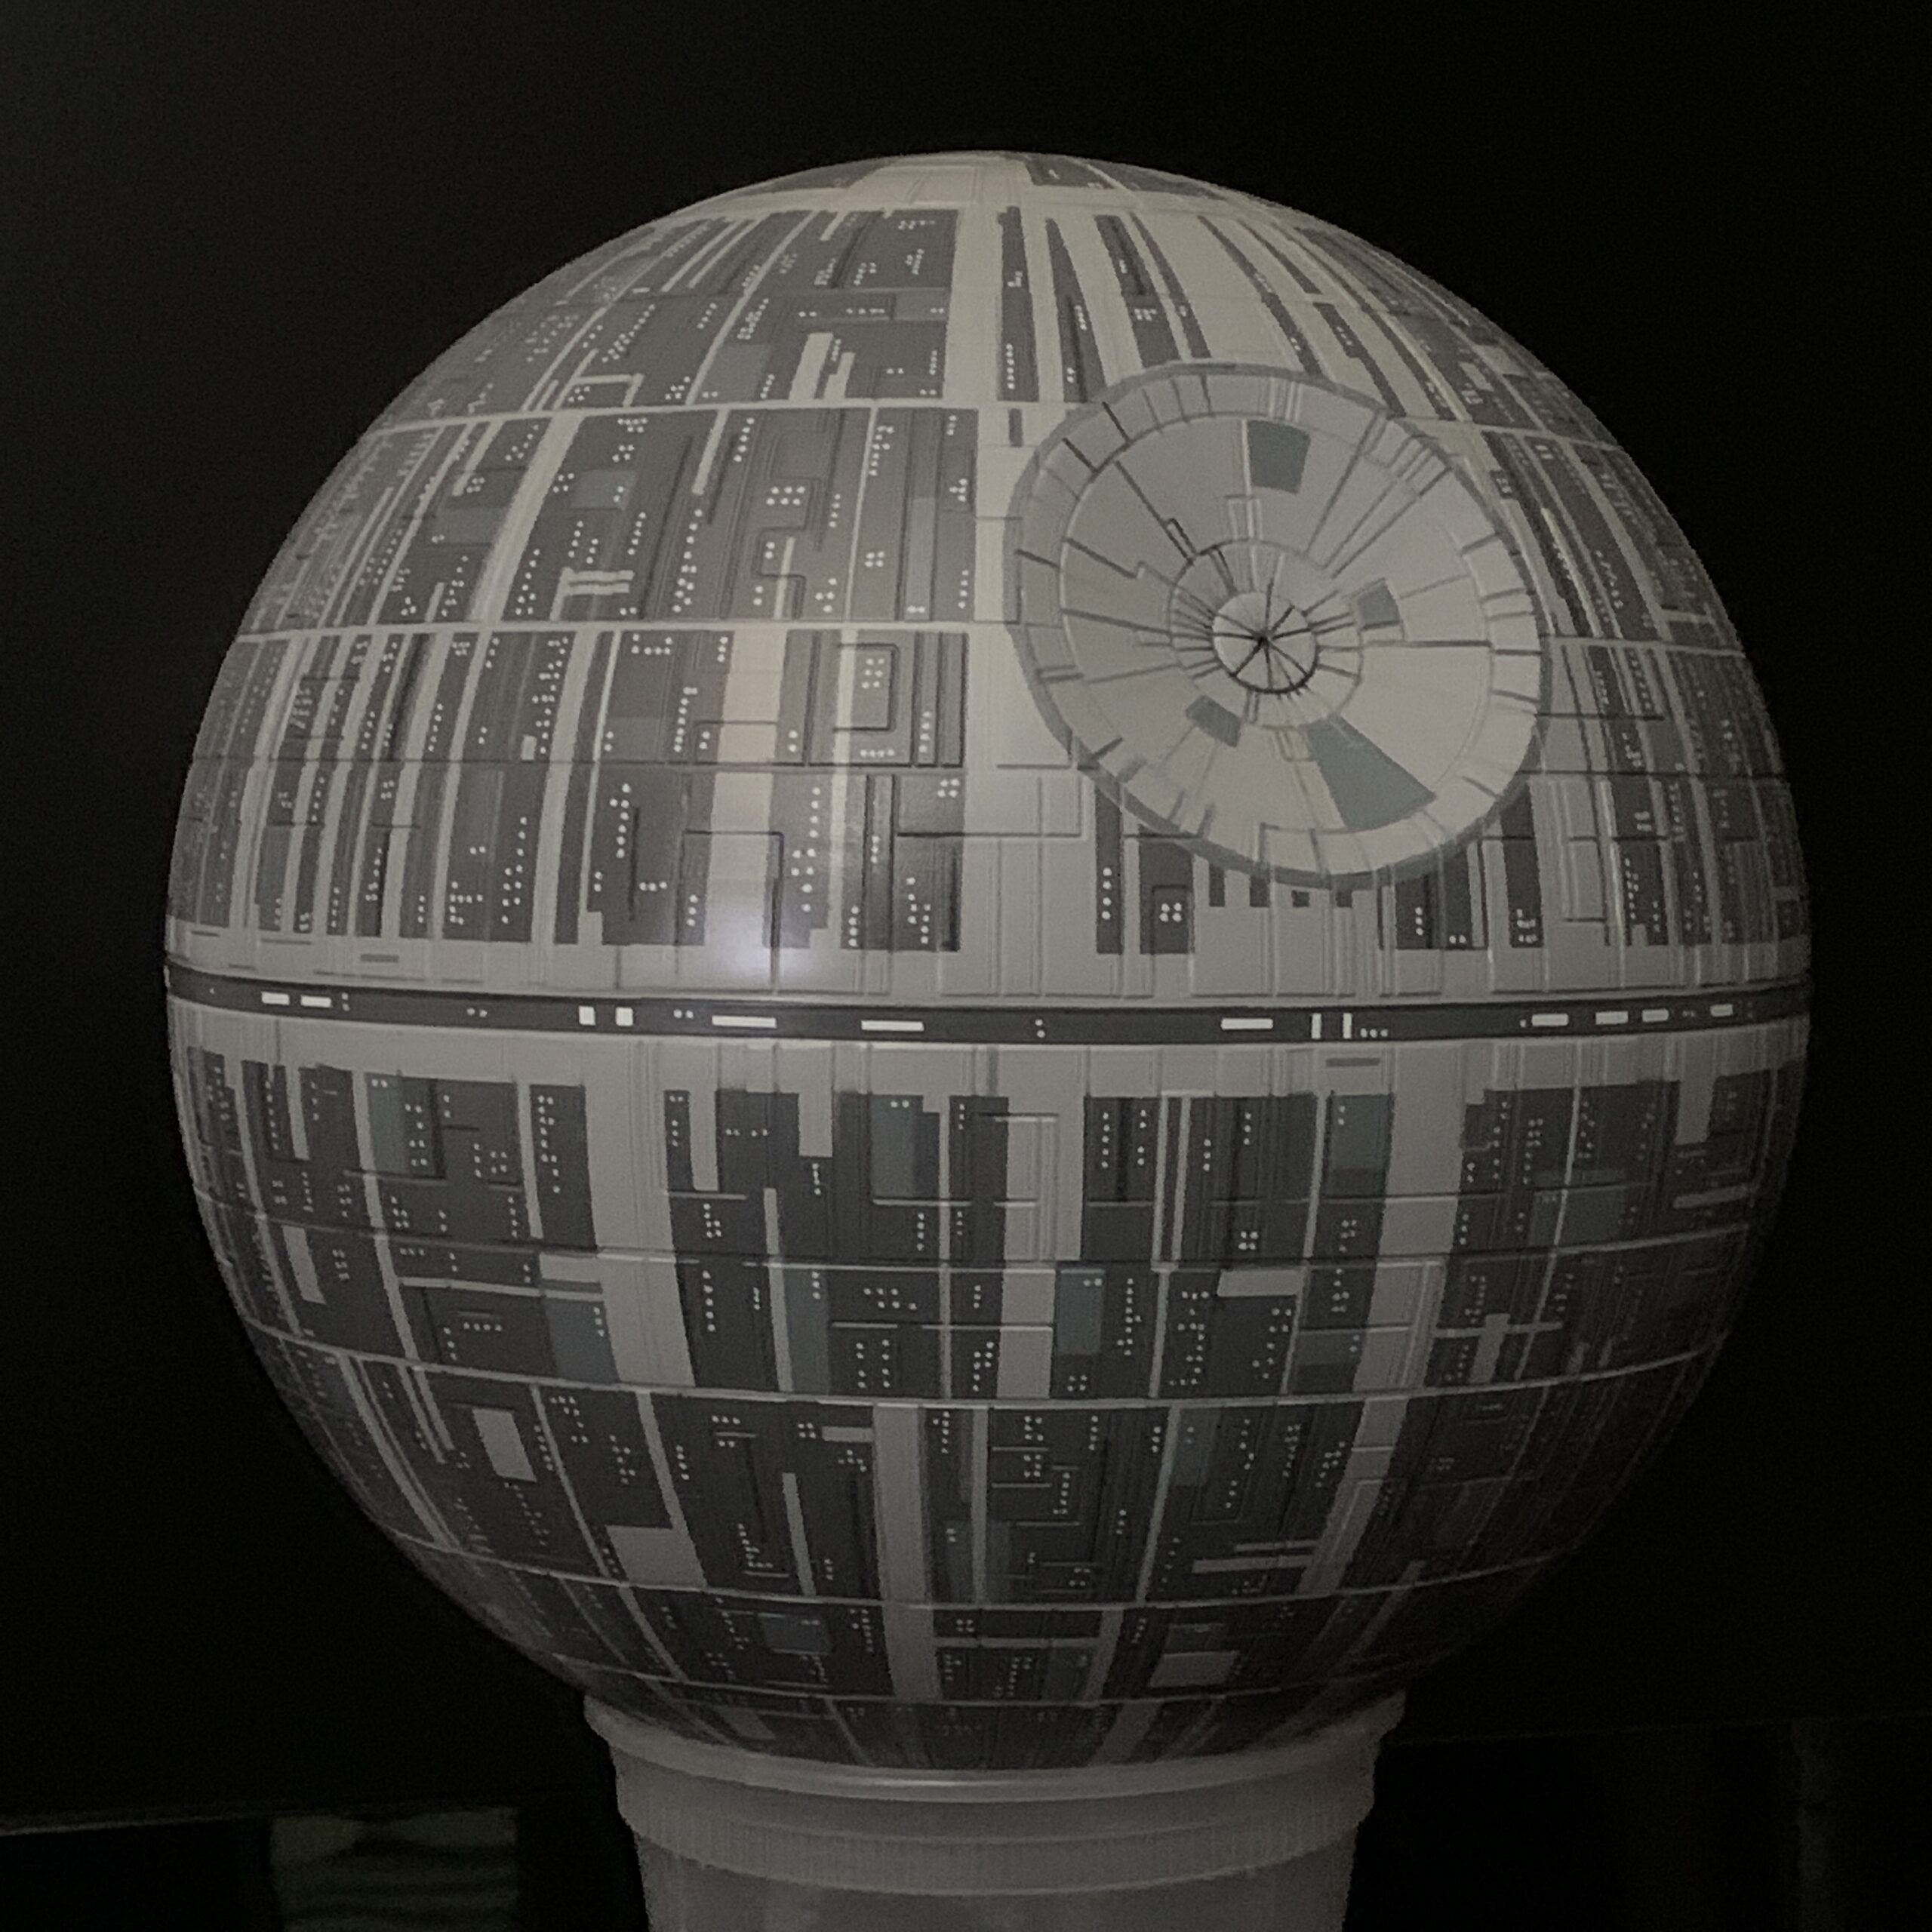
First, some detail around the equator including the white rectangles that represent the docking bays, like the one the Millennium Falcon lands in in Star Wars.
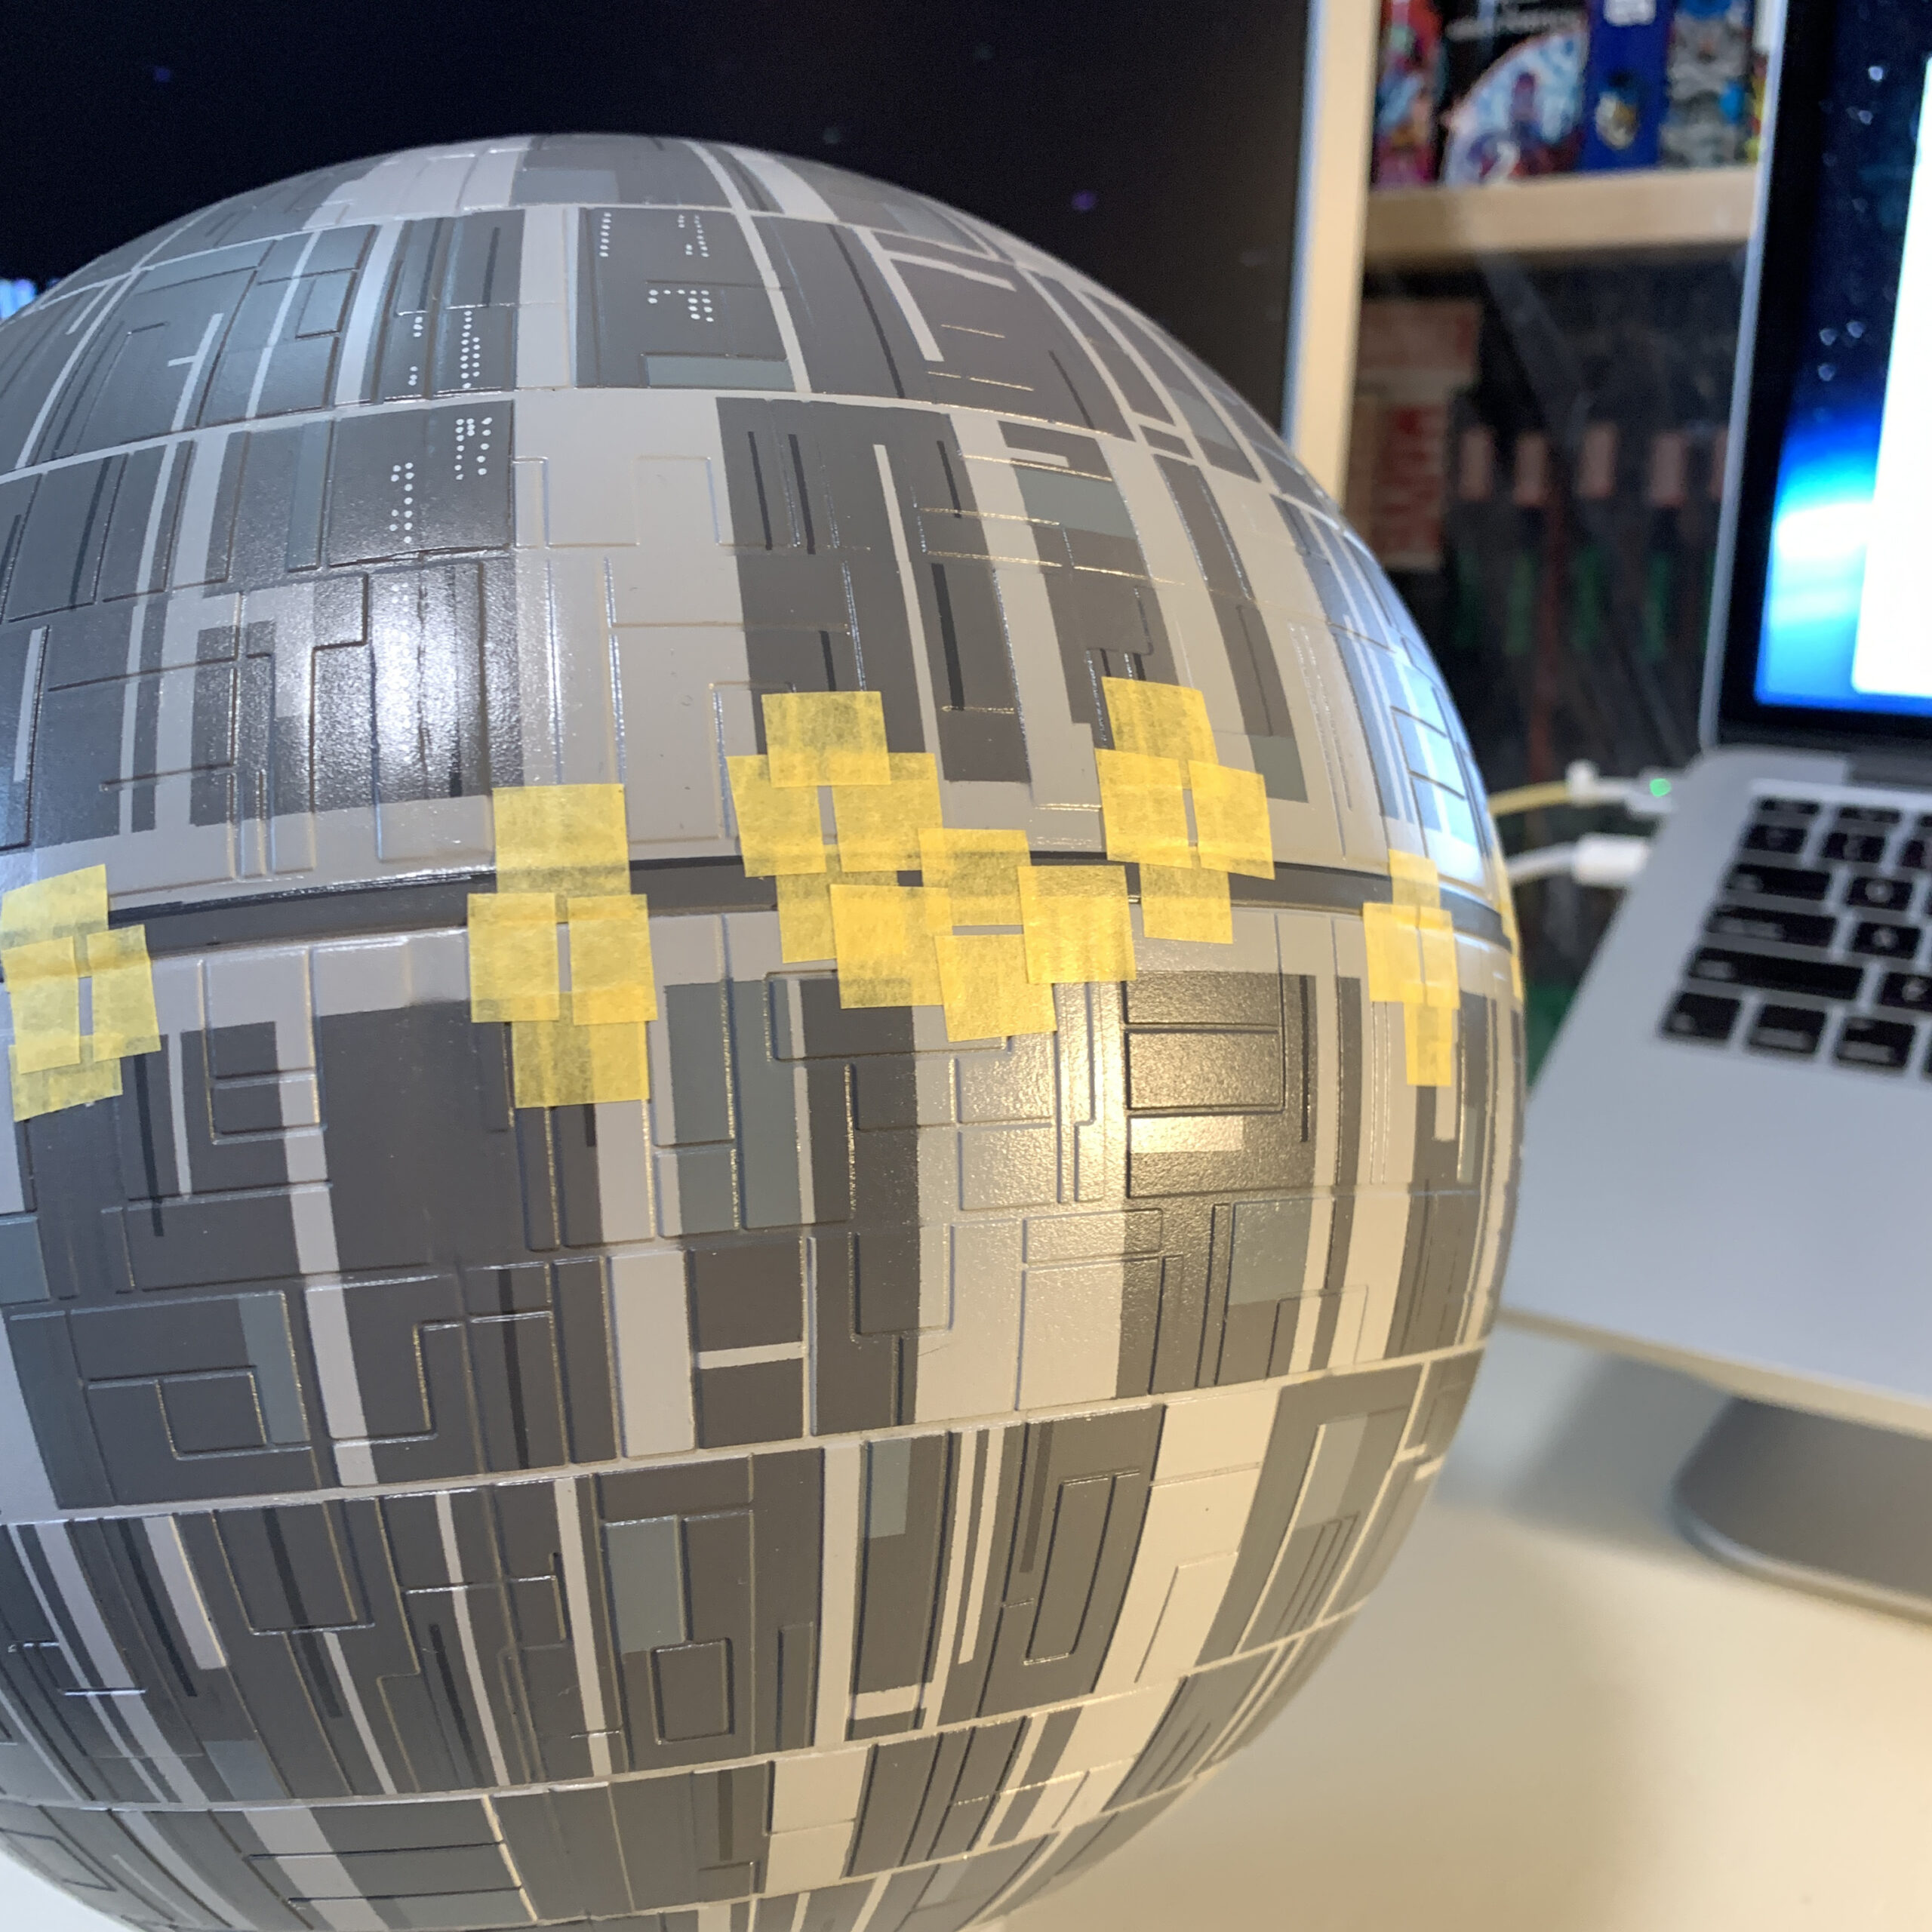
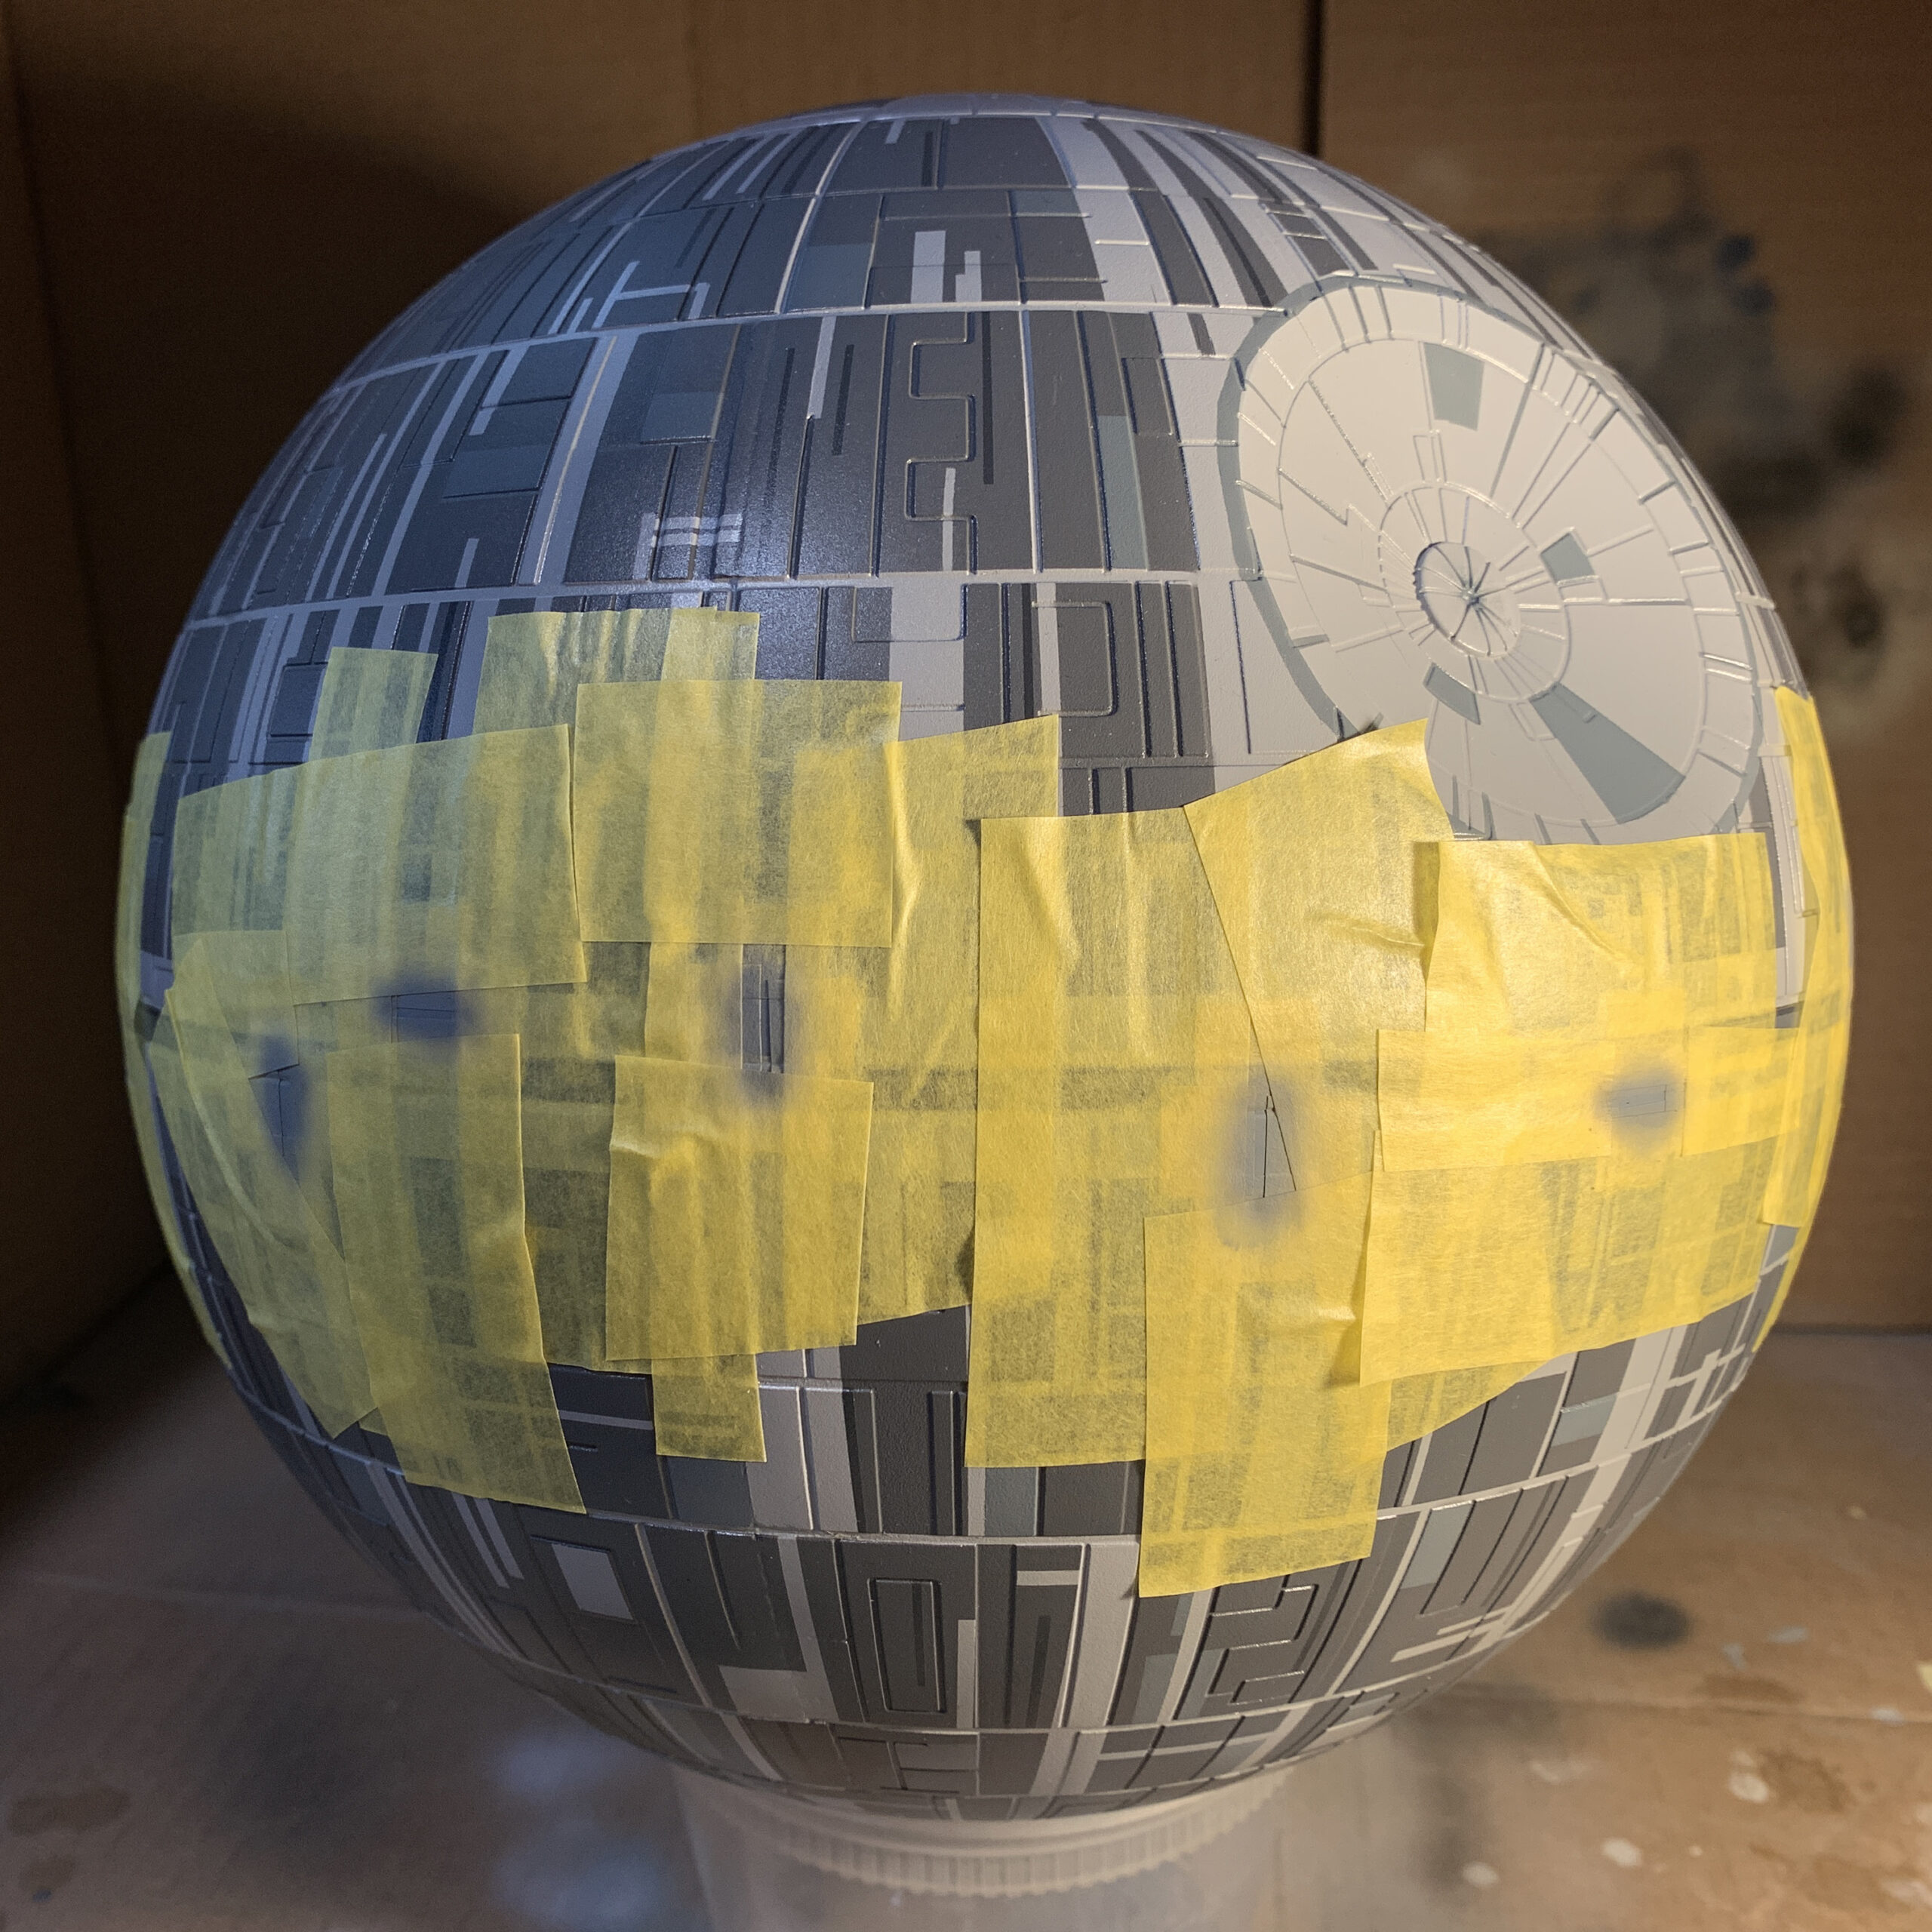
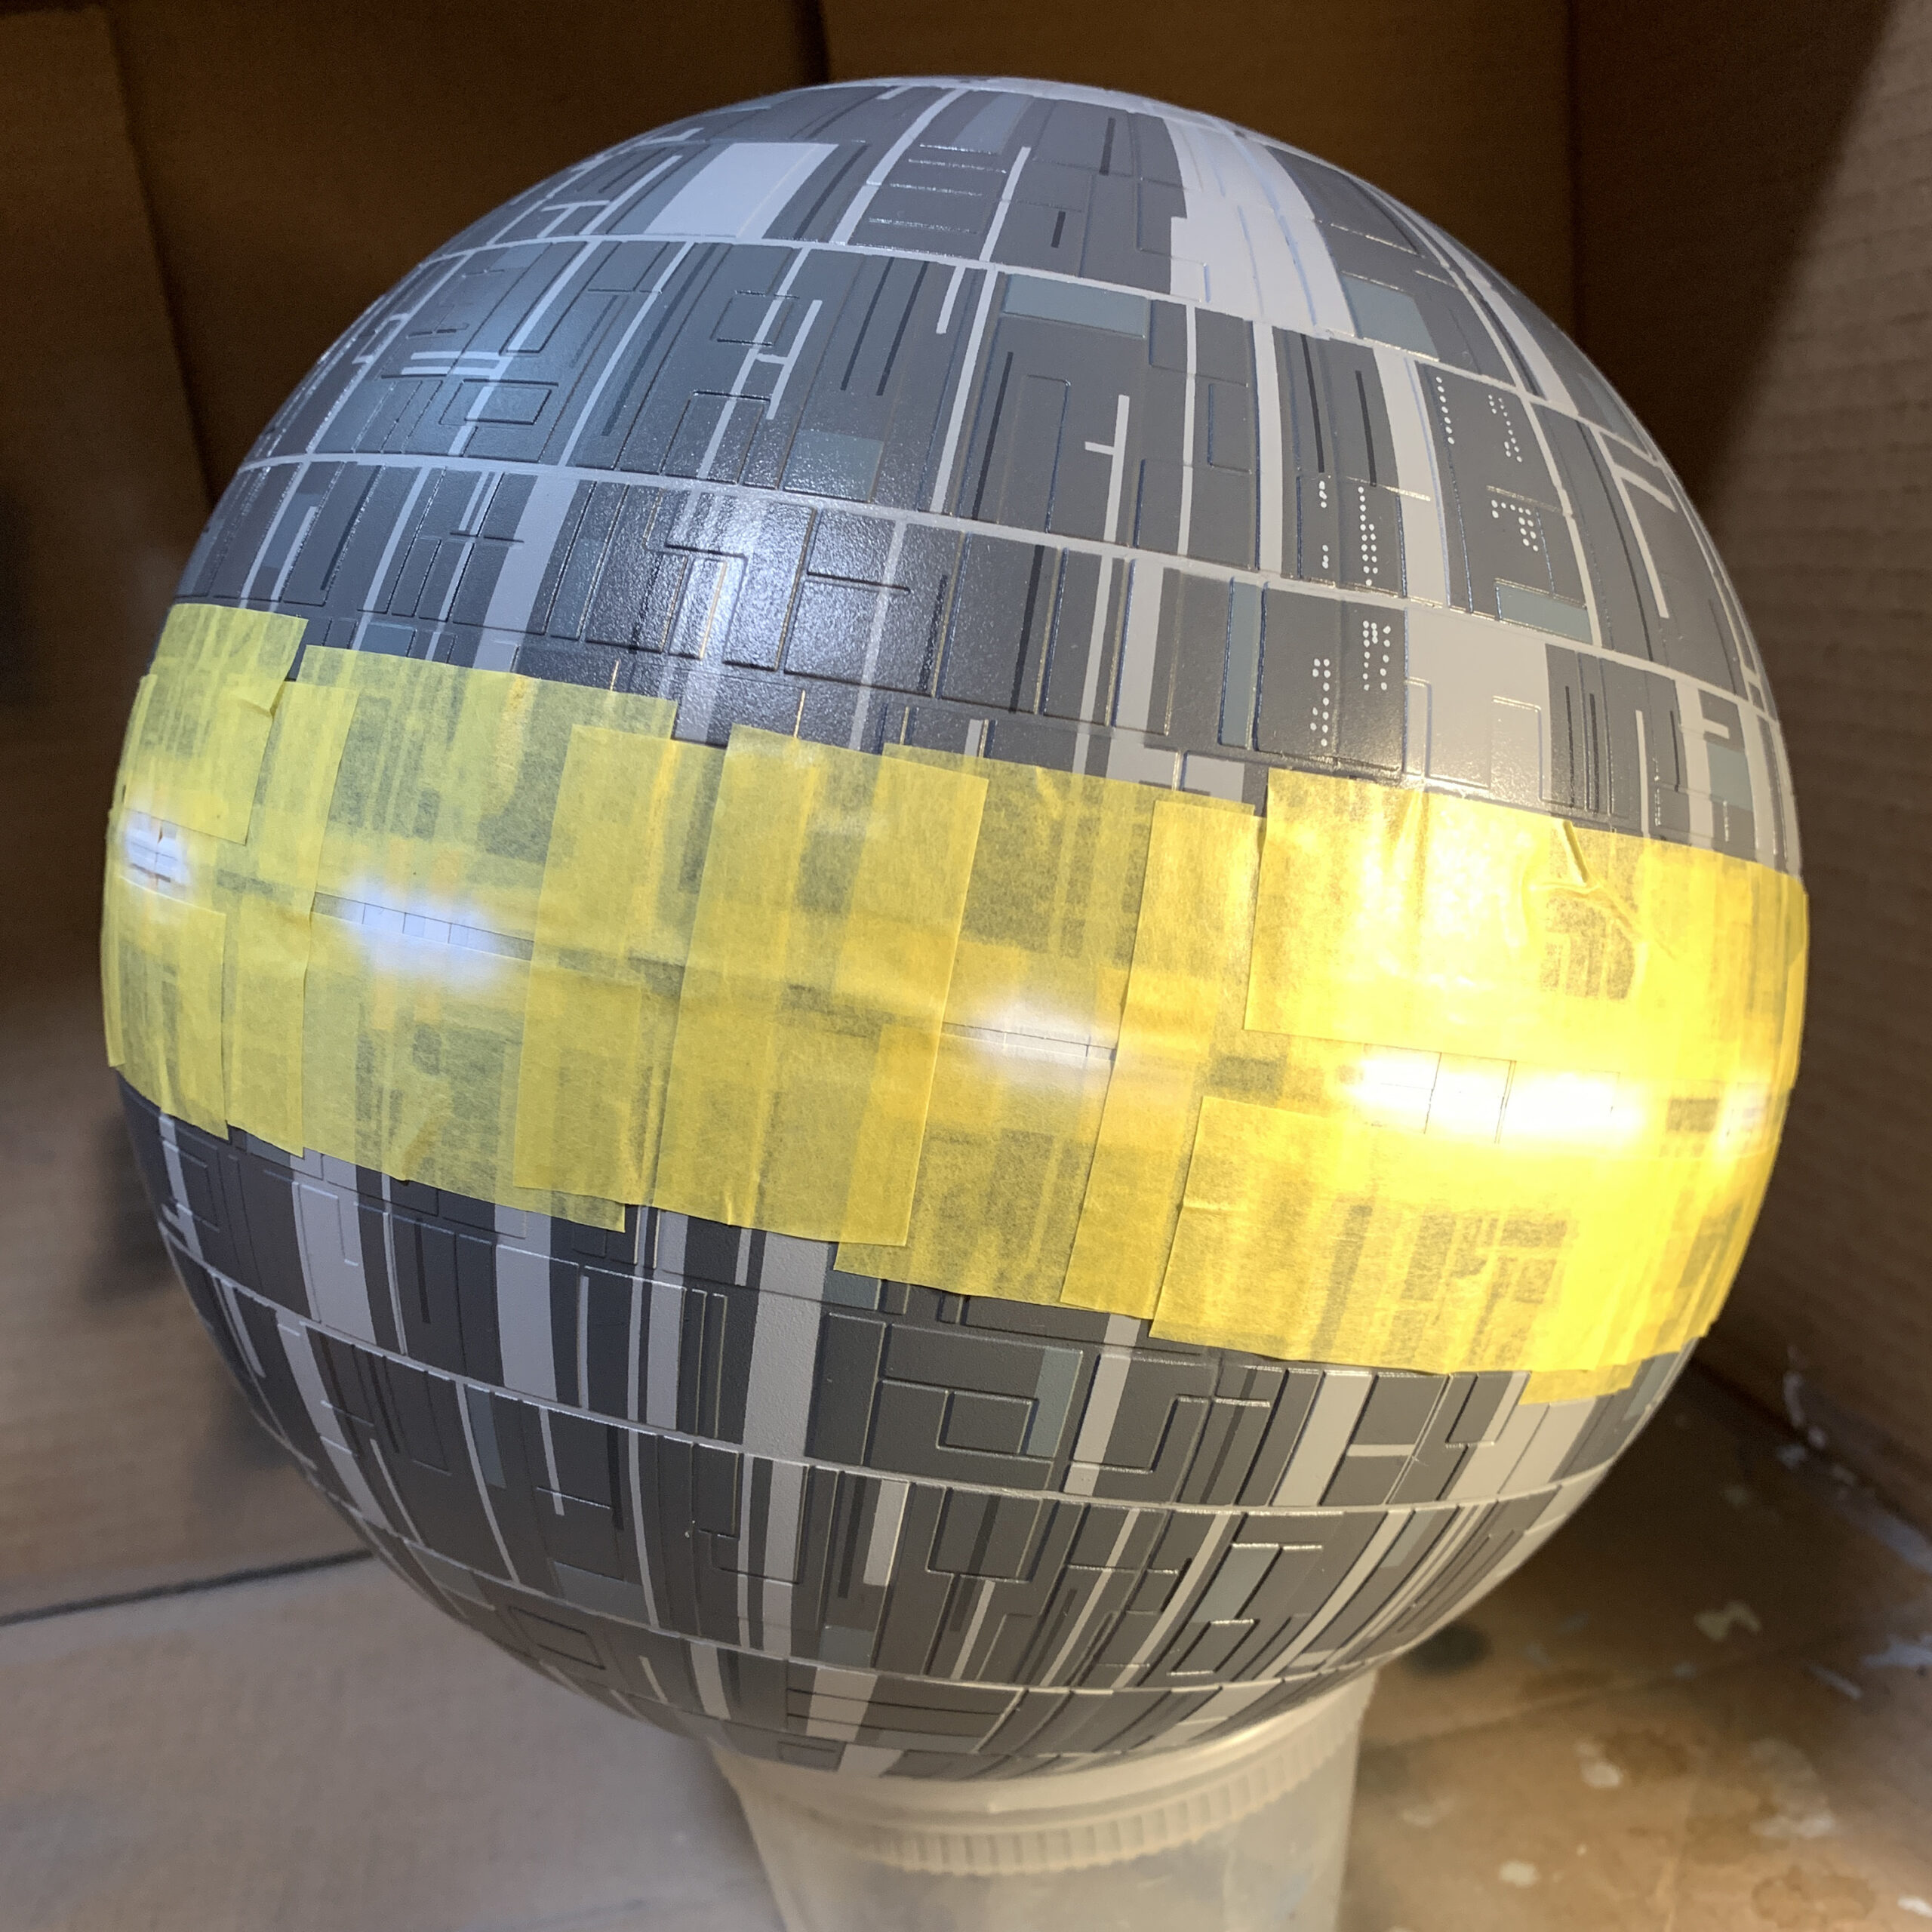
(Seriously, *so much* masking tape.)
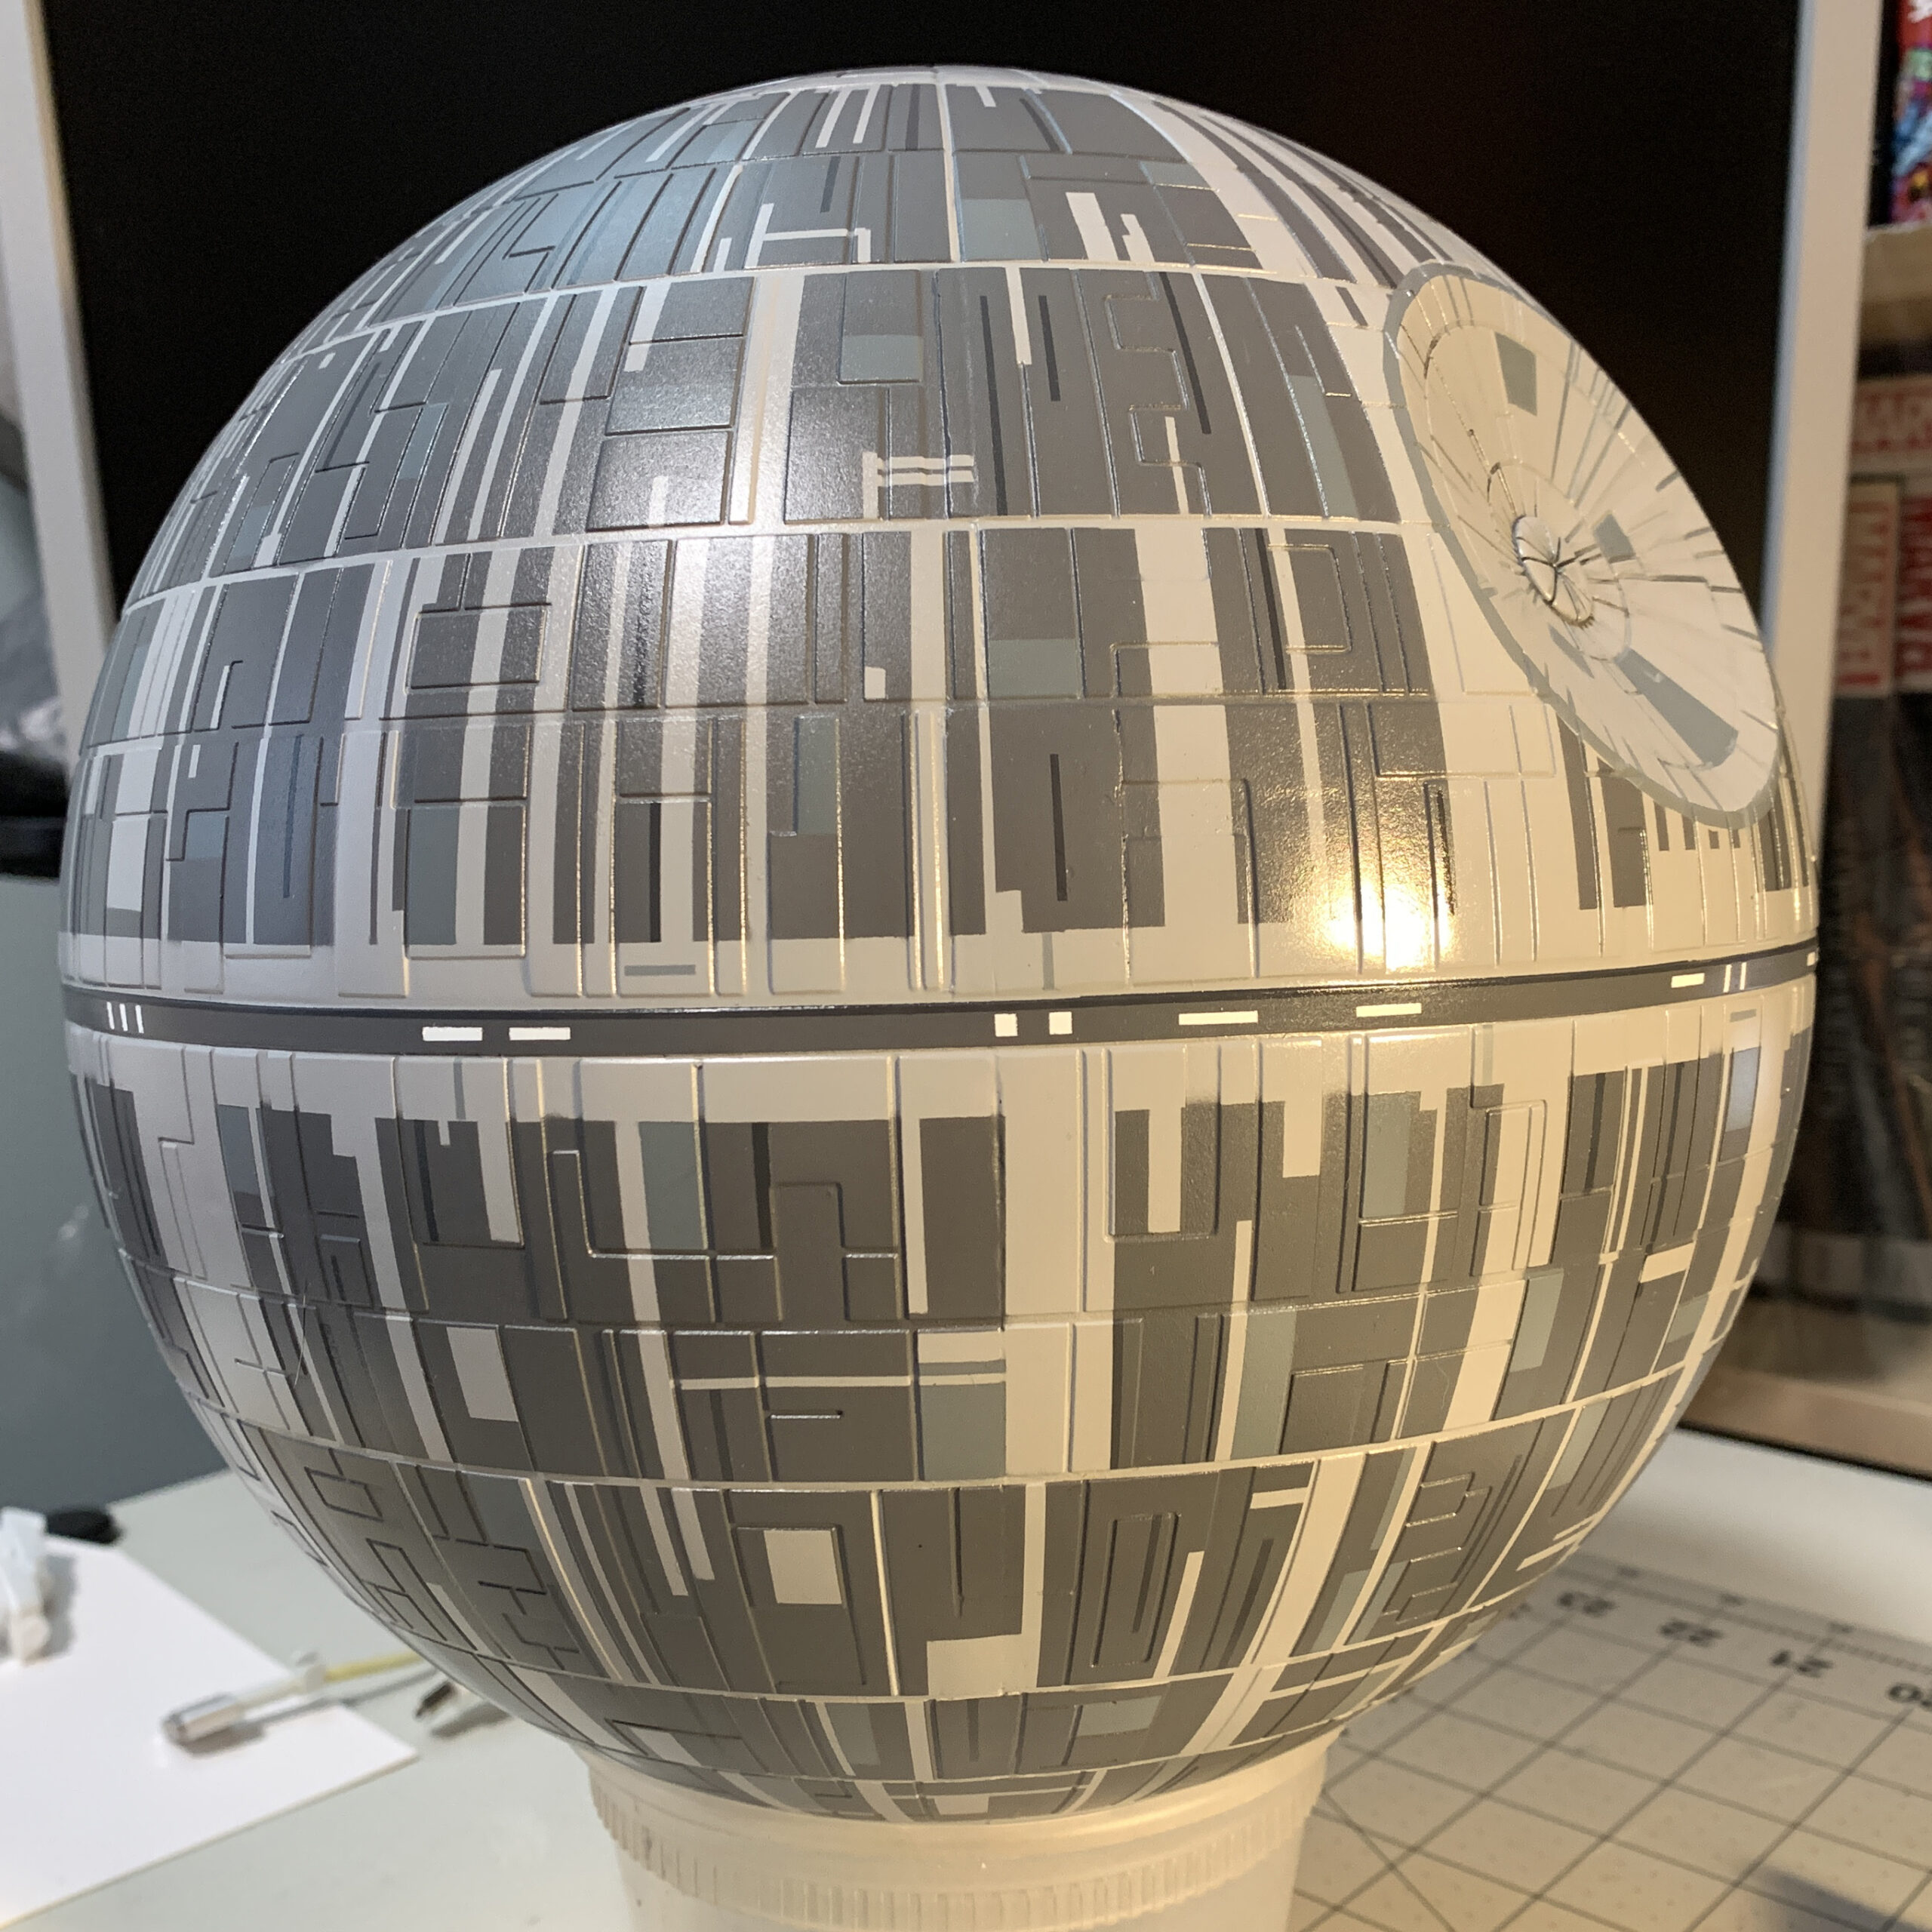
Then I hit the entire thing with a little more gloss to even everything out and protect it while I did the final step: painting all of the “lights” — the tiny white dots all across the surface. These were applied by hand, with a paint marker, so that was certainly easier than using a brush… but still: There are (by my estimate) over 2,000 little white dots all over the thing.
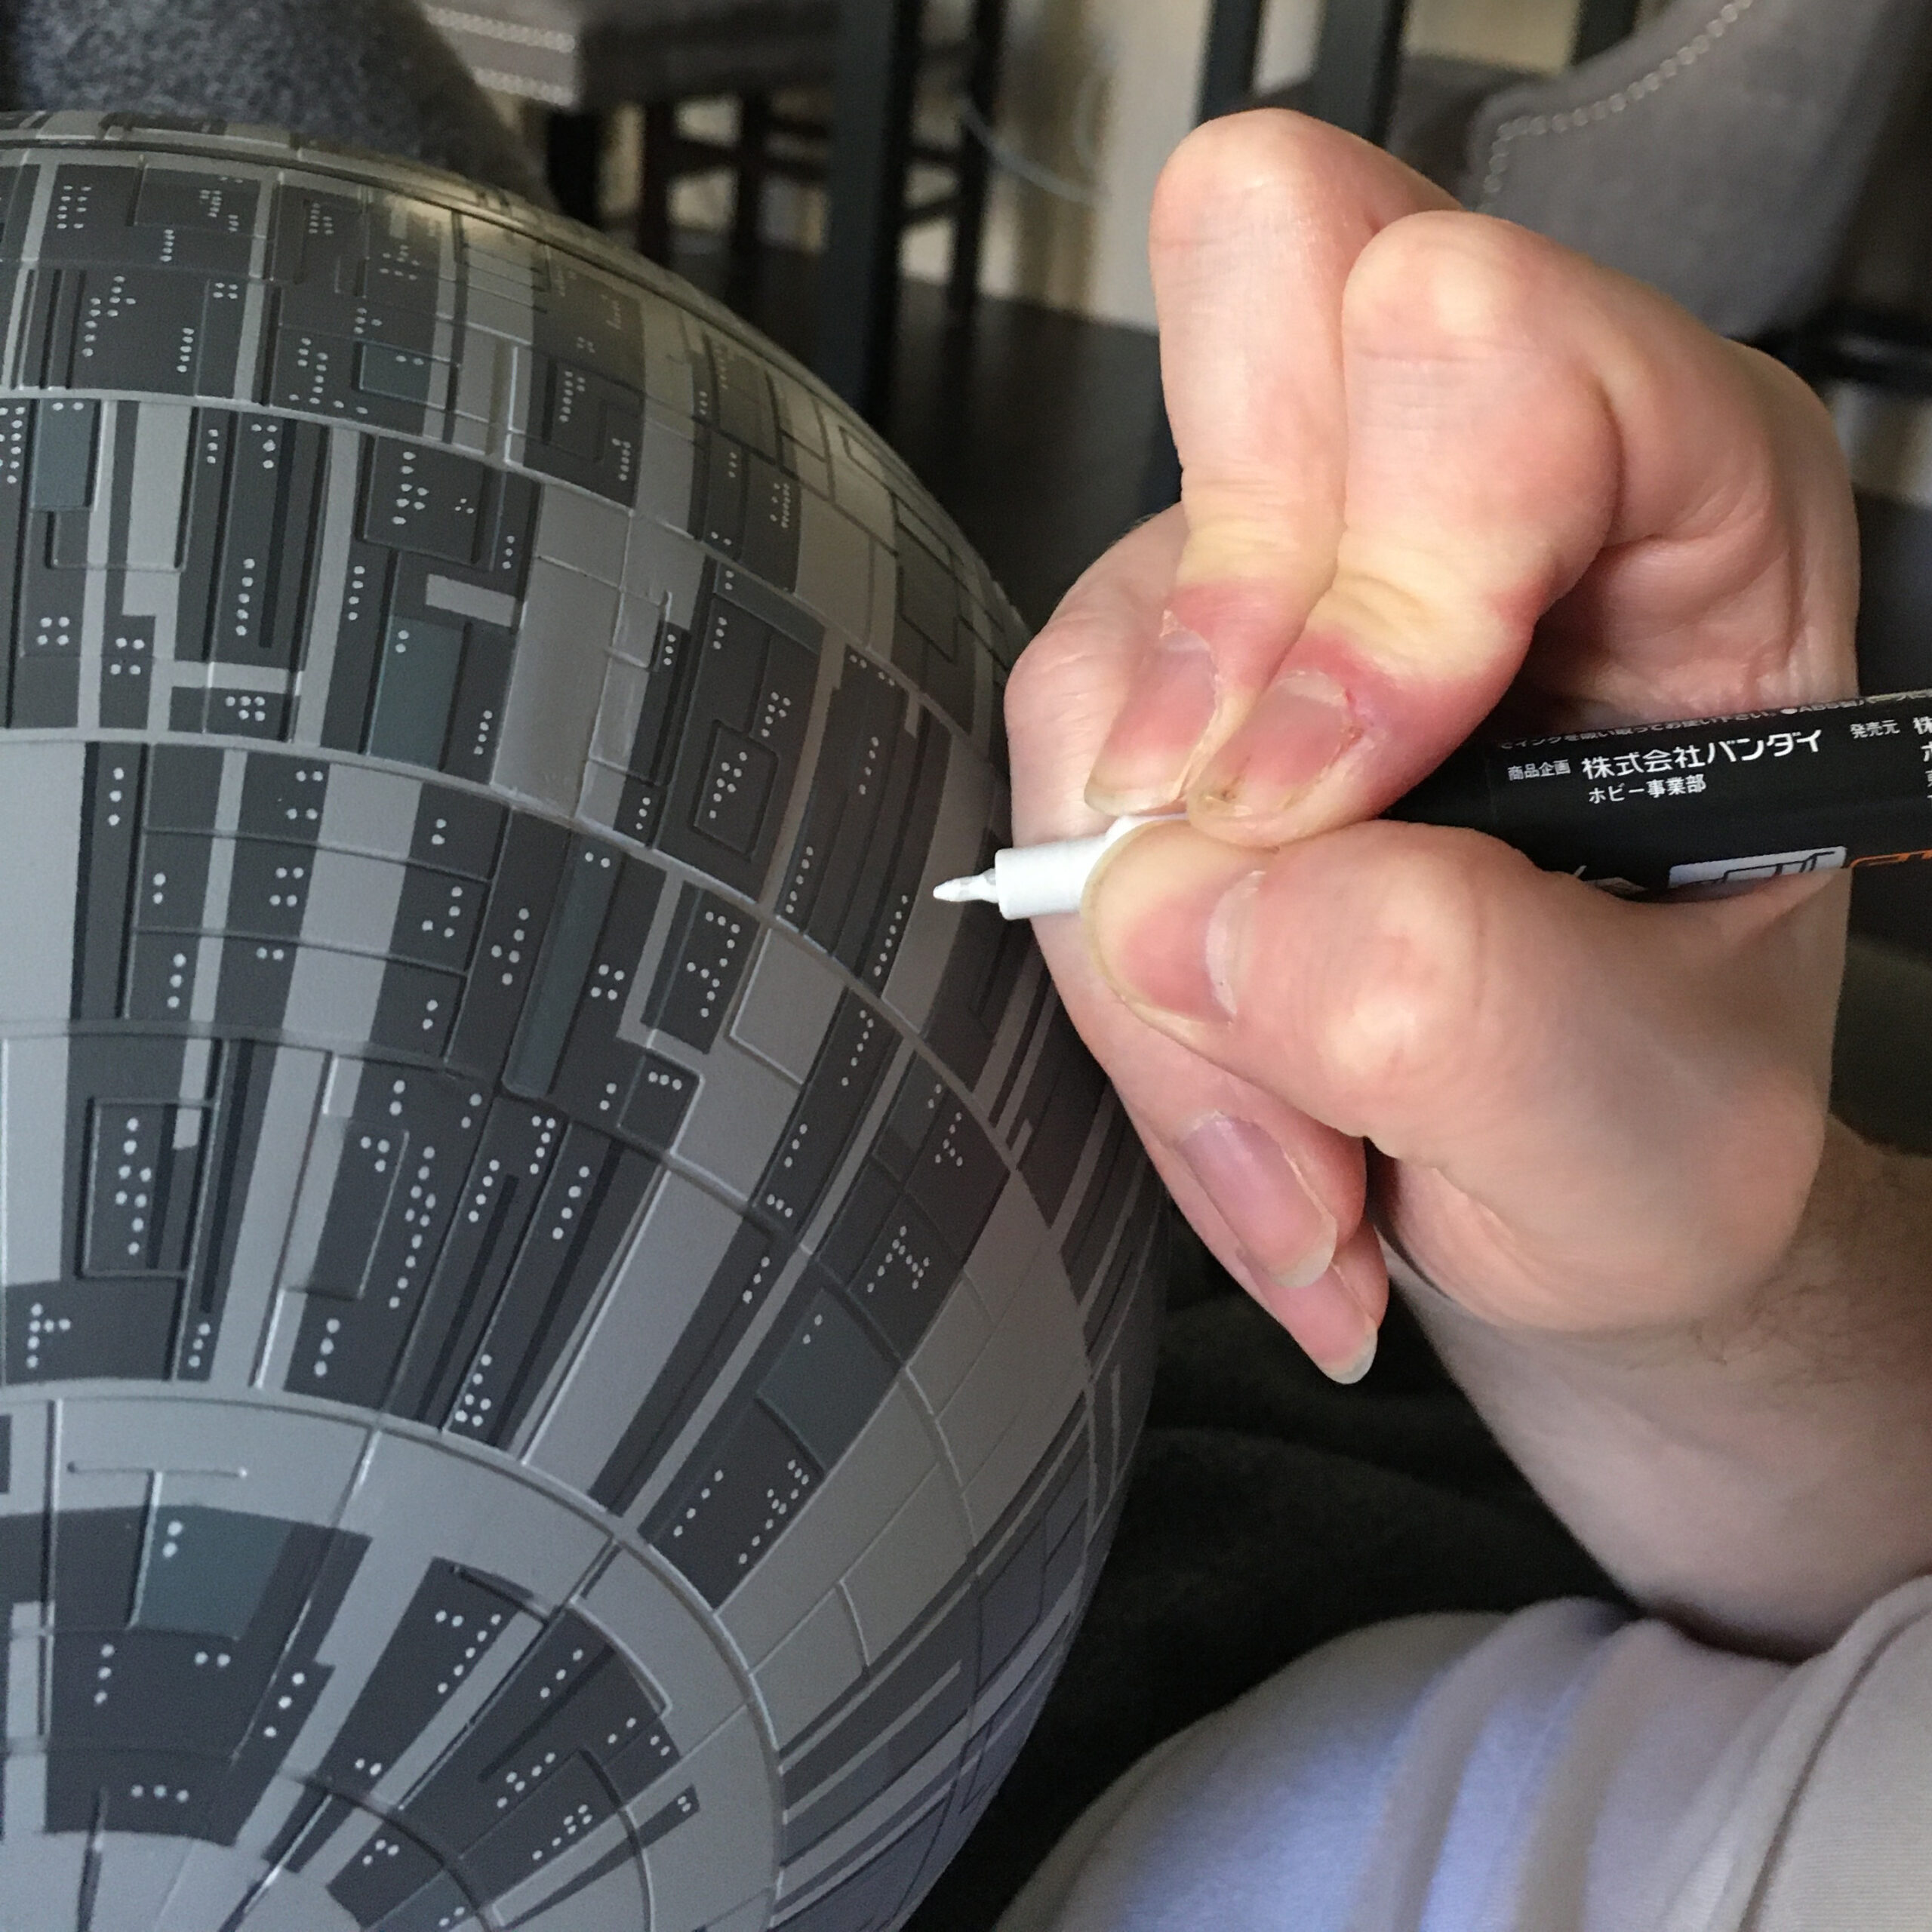


I wasn’t sure if this step was a good idea or not. I knew that, even using some masking tape as a guide, I’d never get the “dots” perfectly lined up. I also knew that, in terms of scale, these dots would be too large to represent lights or windows; they’d be much smaller on an actual Death Star. But, adding these did help “lighten” the overall look of the surface, offsetting what I felt were my too-dark dark grey panels.
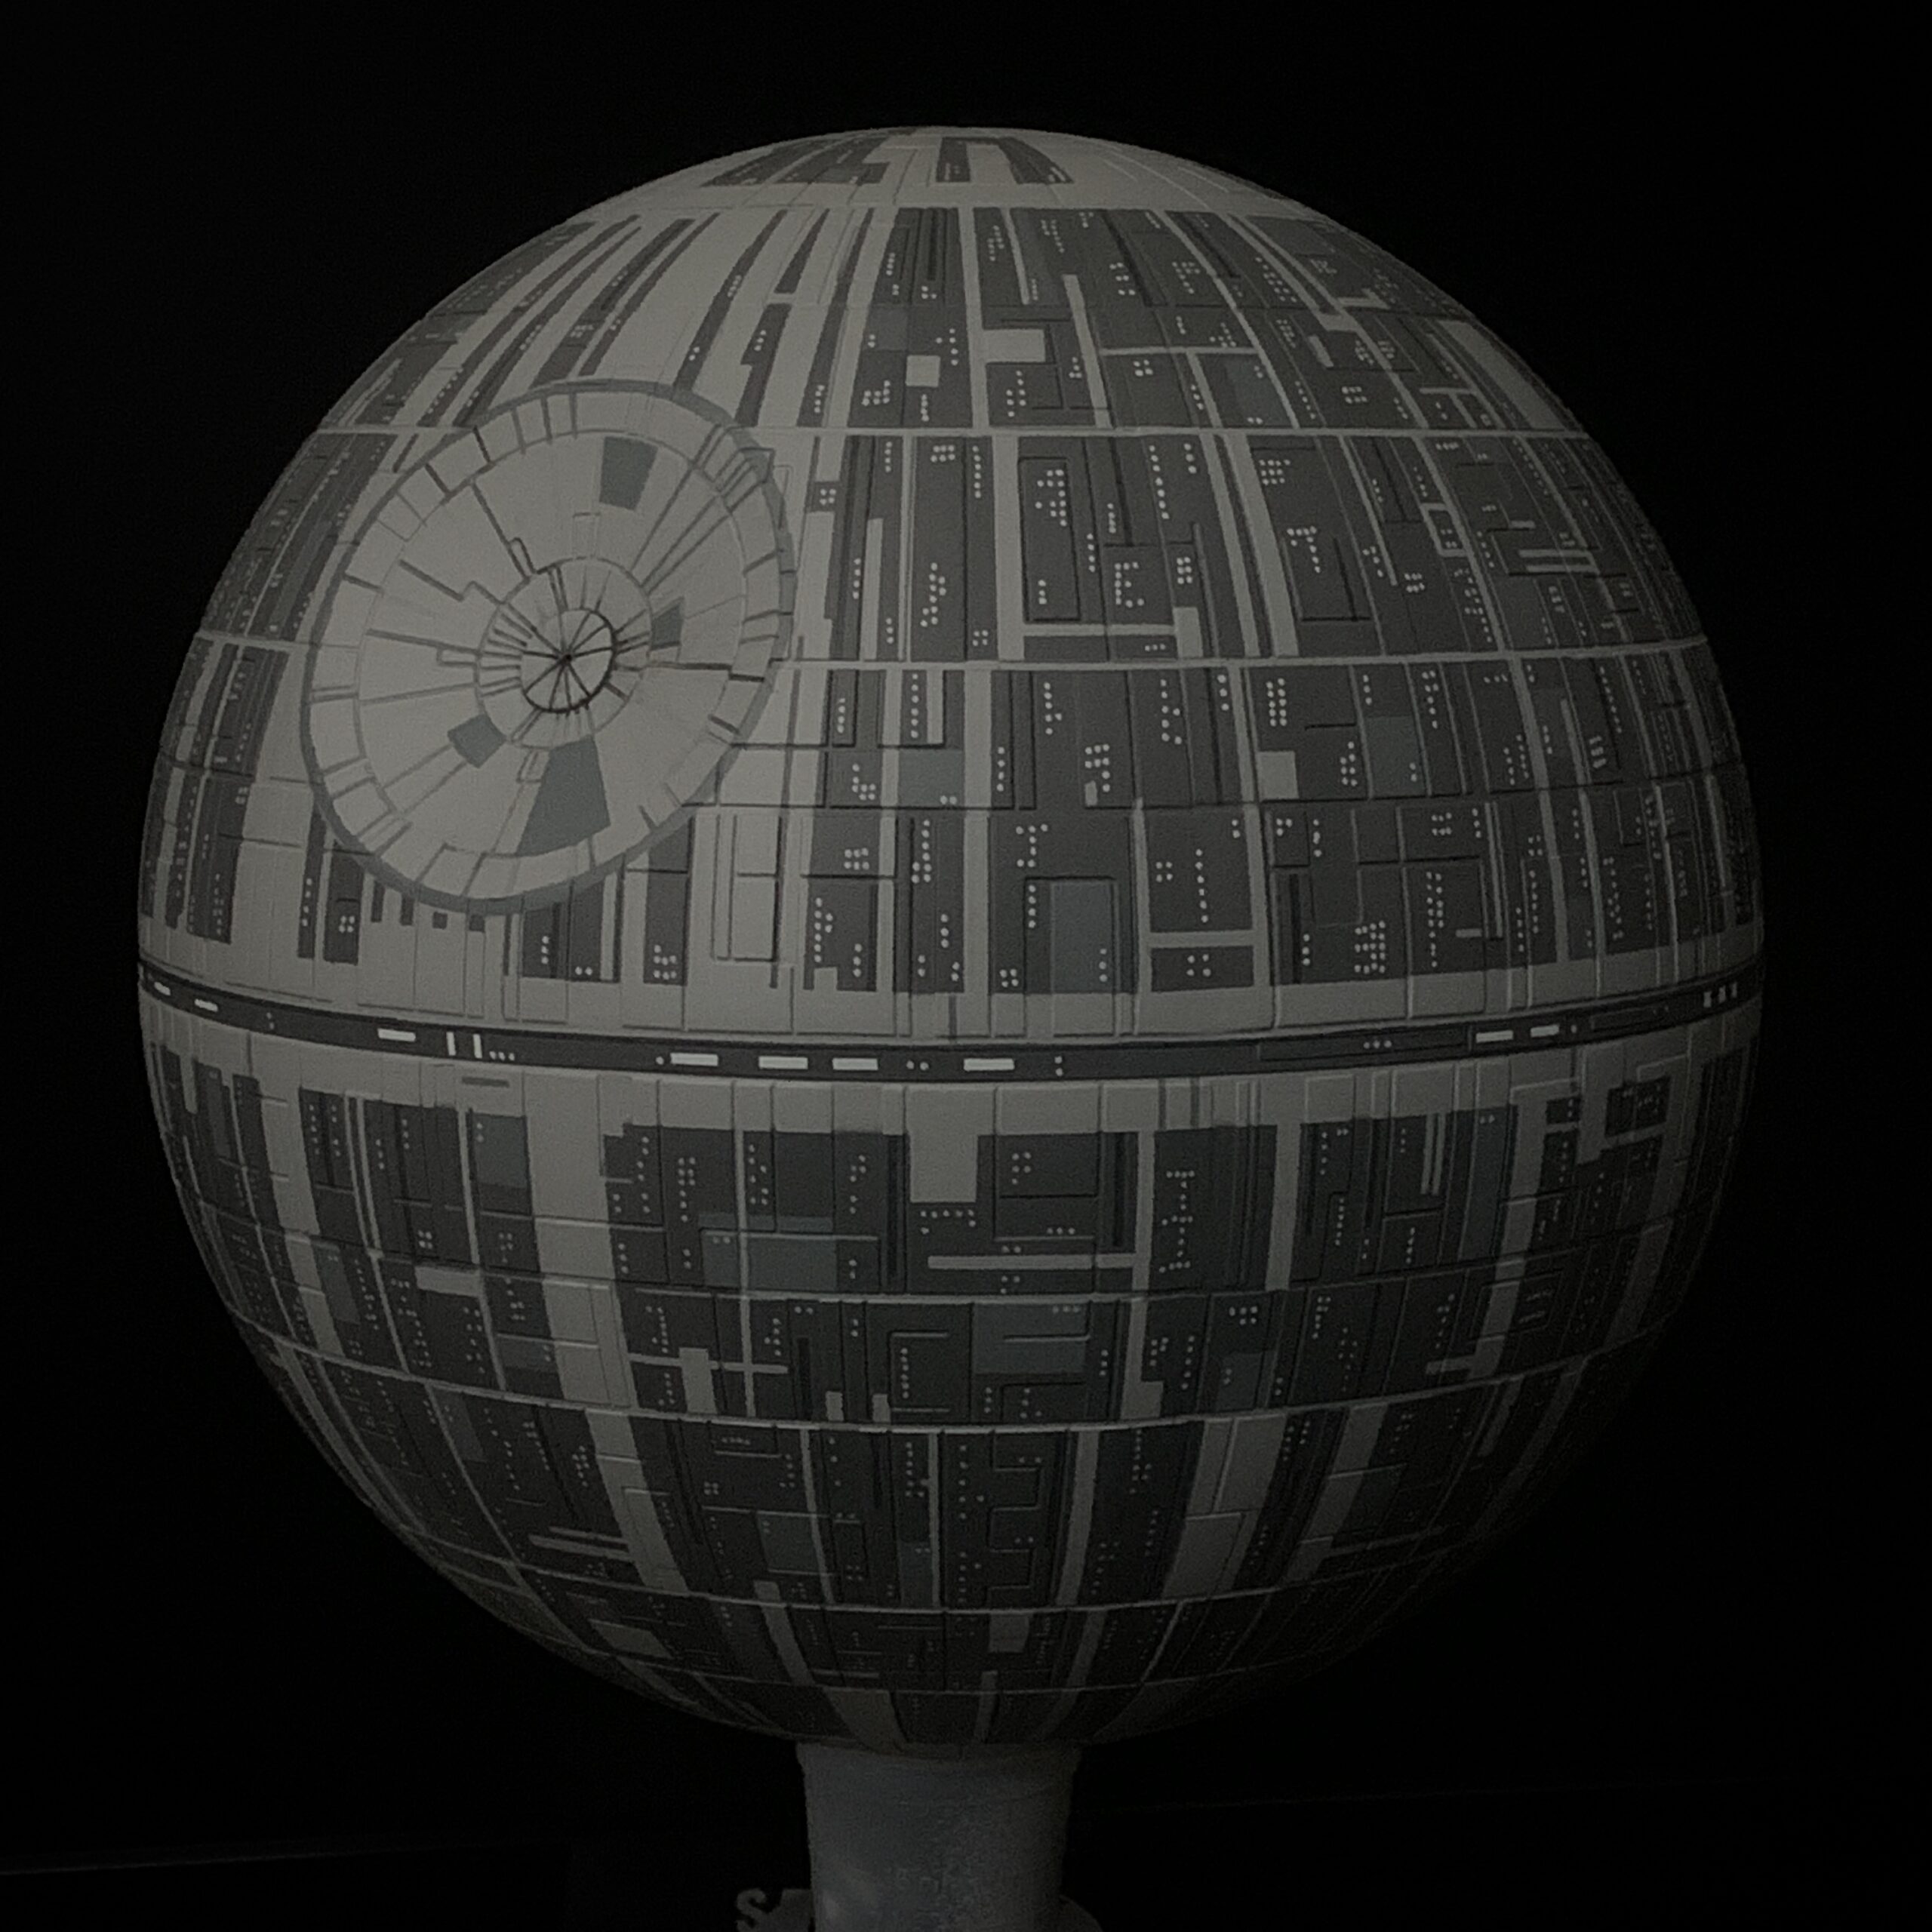
Ultimately it was a good choice.
Final step was sealing everything with a flat top coat and voila! Death Star done!
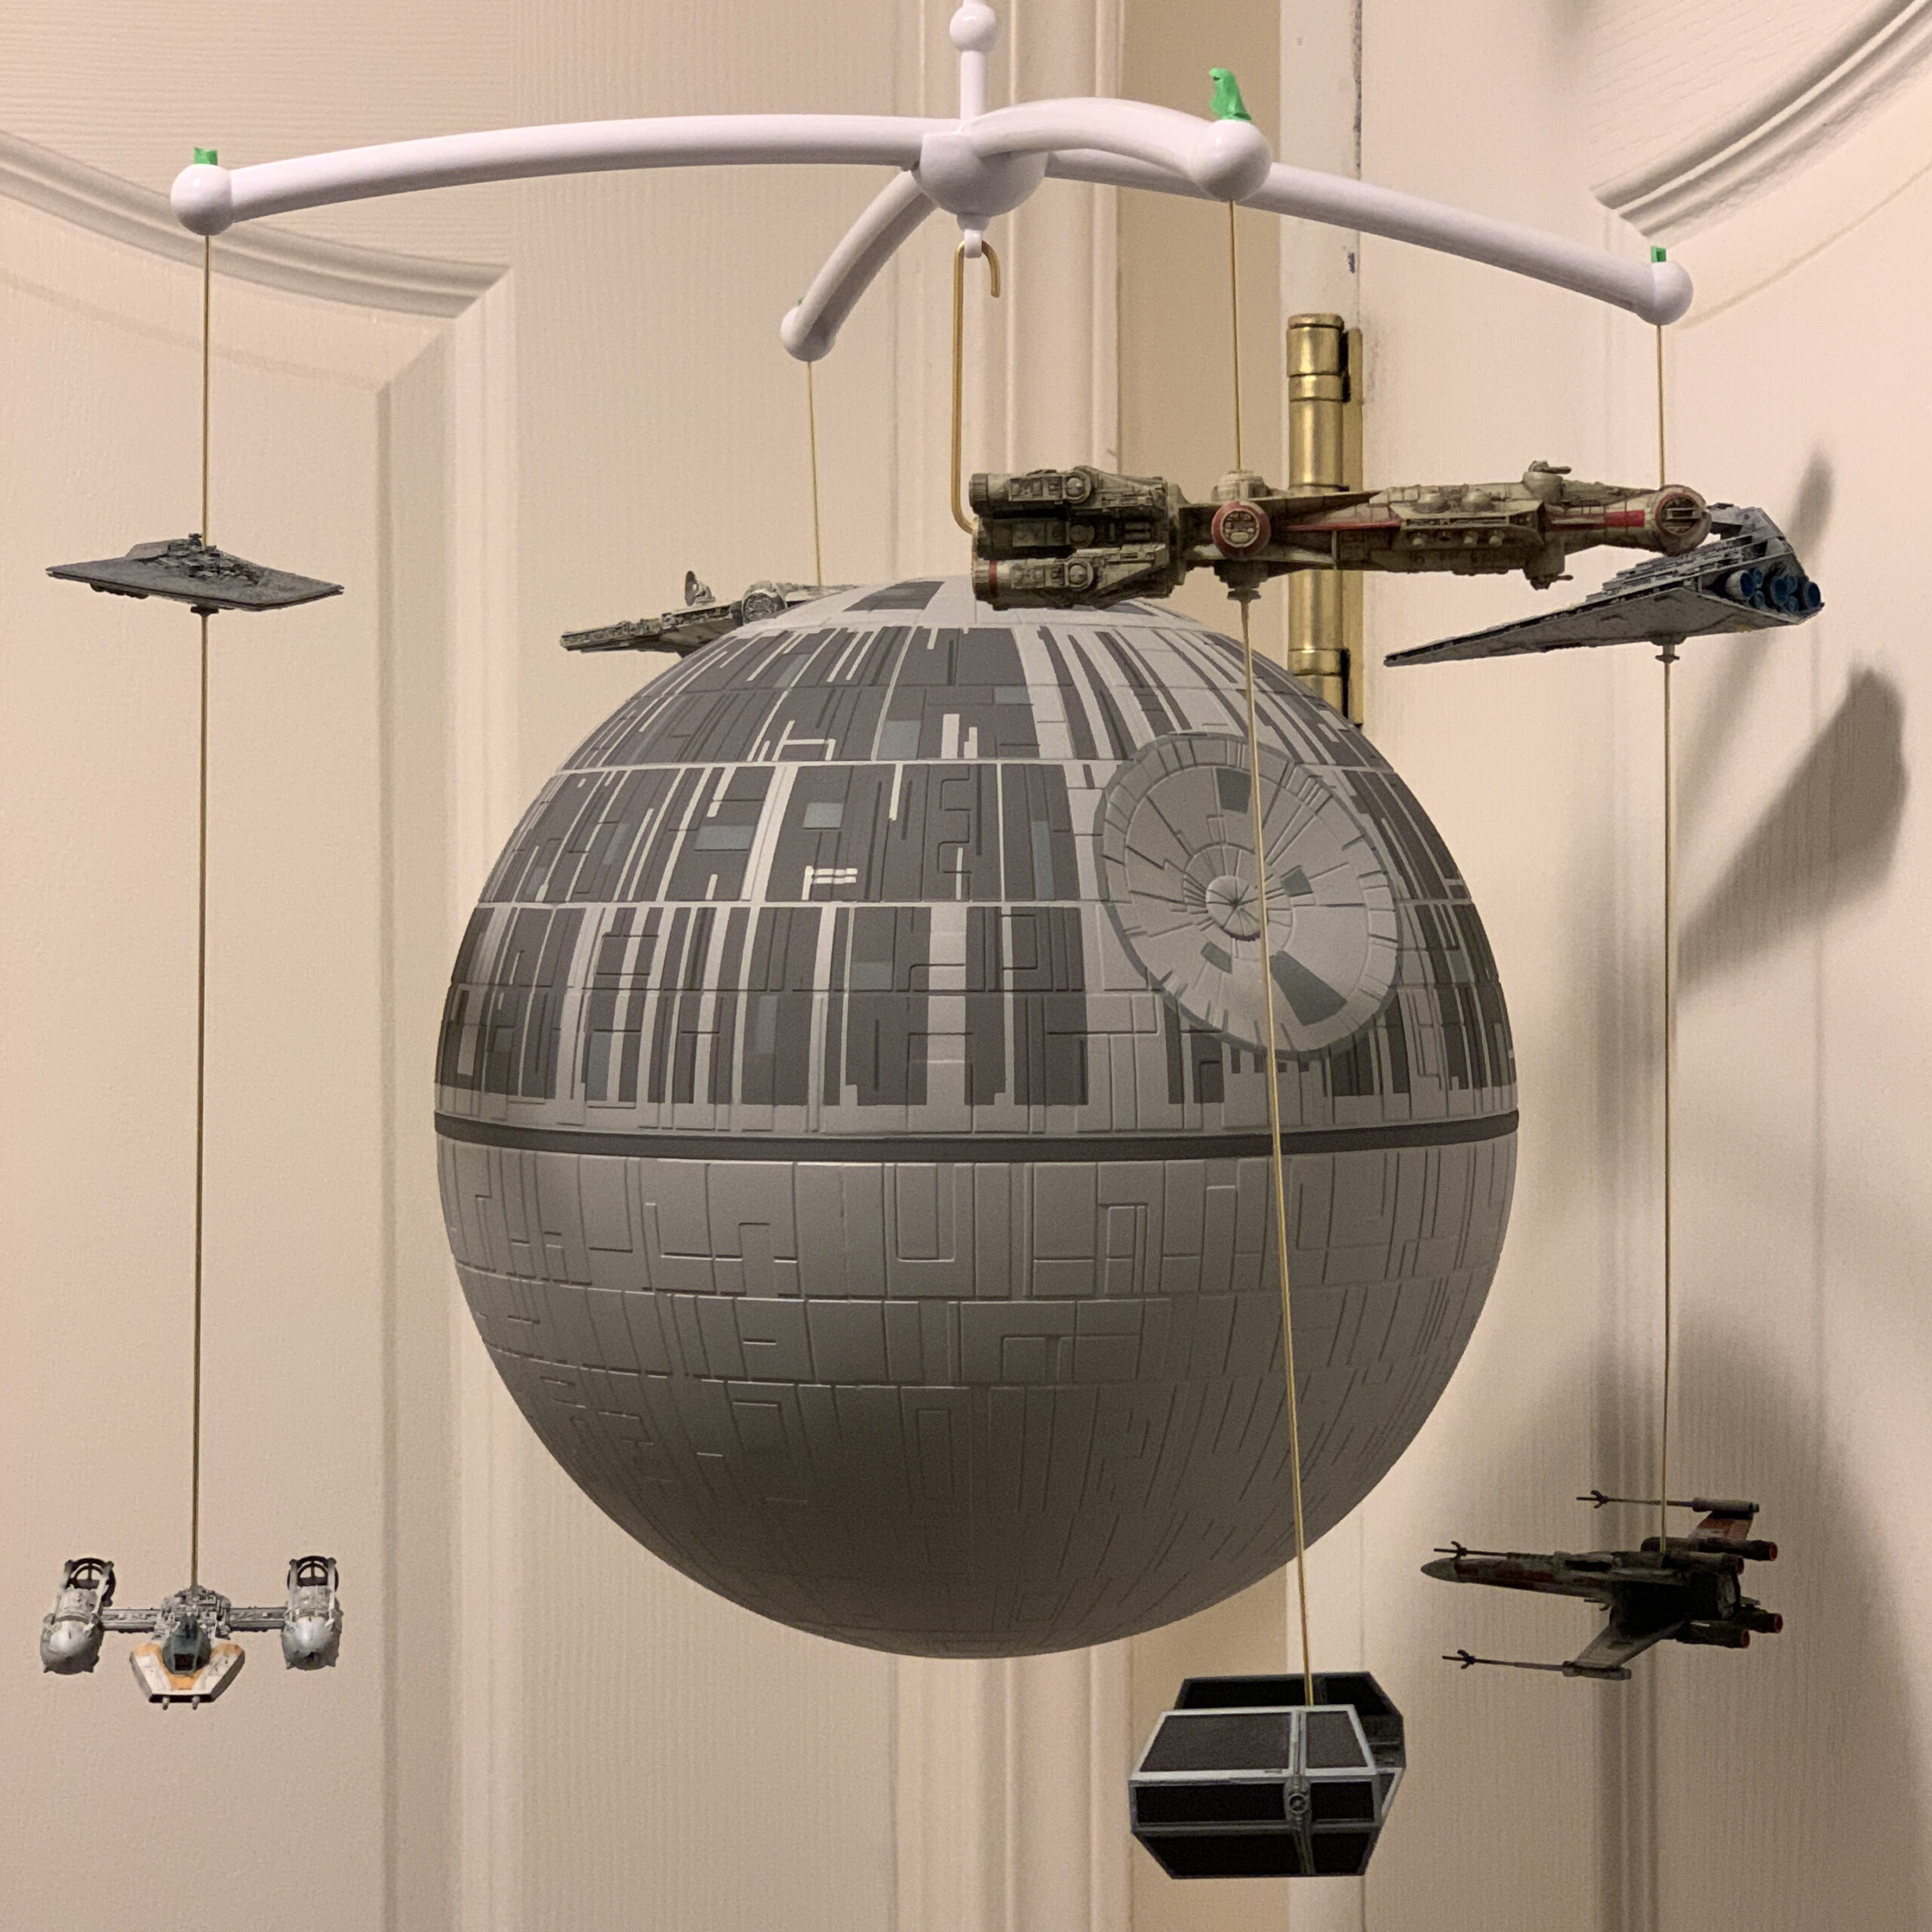
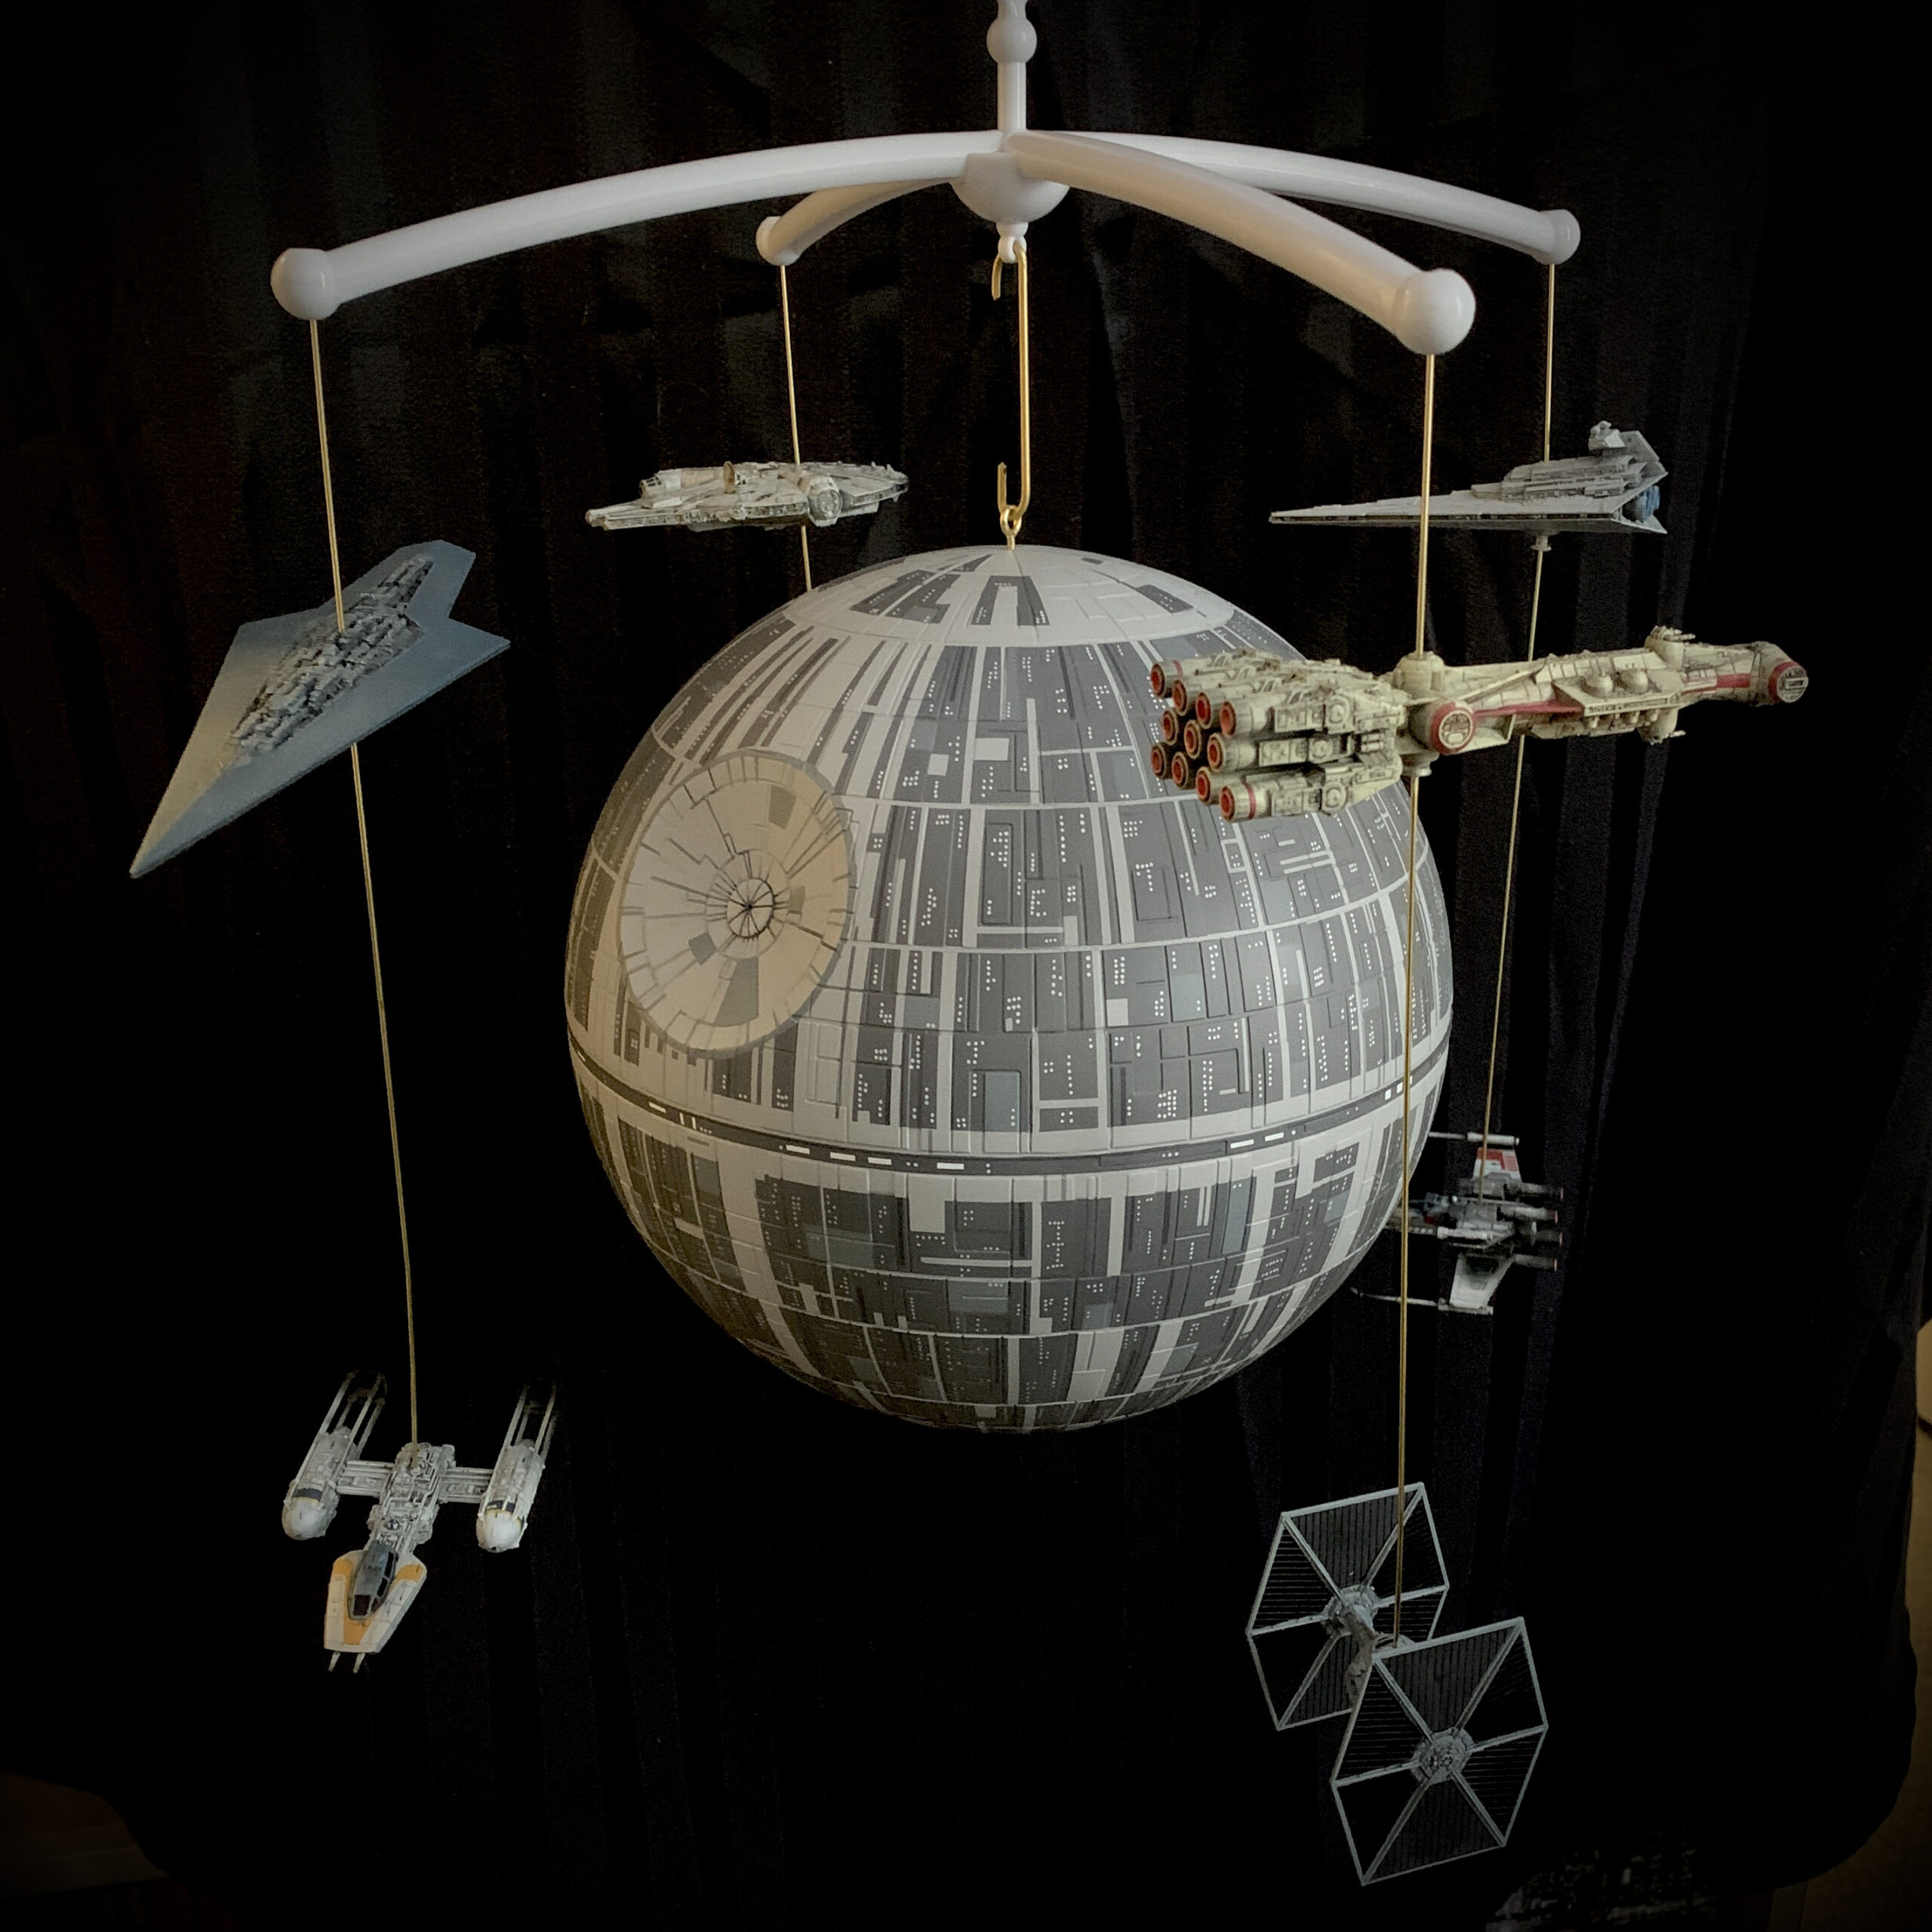
Then, finally, it was time to turn it into a mobile. I ordered this armature from Amazon, and the “layout” made sense: I could hang the Death Star in the middle, and there were four arms, so I could hang two ships off of each arm, one below and one above the Death Star equator. But how to hang them?
I drilled a small hole in the top of the Death Star and screwed in an eye hook (reinforced with hot glue). So that was easy enough. I didn’t want to do the same on the smaller ships, though; for one, at that scale, the eye hook would stand out like crazy (and the upper ships would need two — one on top, and one on bottom, from which to hang the lower ship), and for another, I wasn’t sure I’d be able to balance them correctly.
Ultimately I decided to use the holes in the bottom of each model (well, seven of the eight) as my starting point; each ship had a hole in the bottom for you to mount it on a base, with the exception of the TIE Fighter. So, I drilled a small hole straight through the models, intending to hang thread through. That still didn’t fix my balance issue, though; I didn’t want them flopping around!
That’s when I decided to use brass rods. The rods could be hooked through the arms and run straight through the models; I could use little plastic stoppers to hold the models in place and the rods would support the weight, meaning they wouldn’t be lopsided. And it wouldn’t be that hard to disassemble, either, if needed.
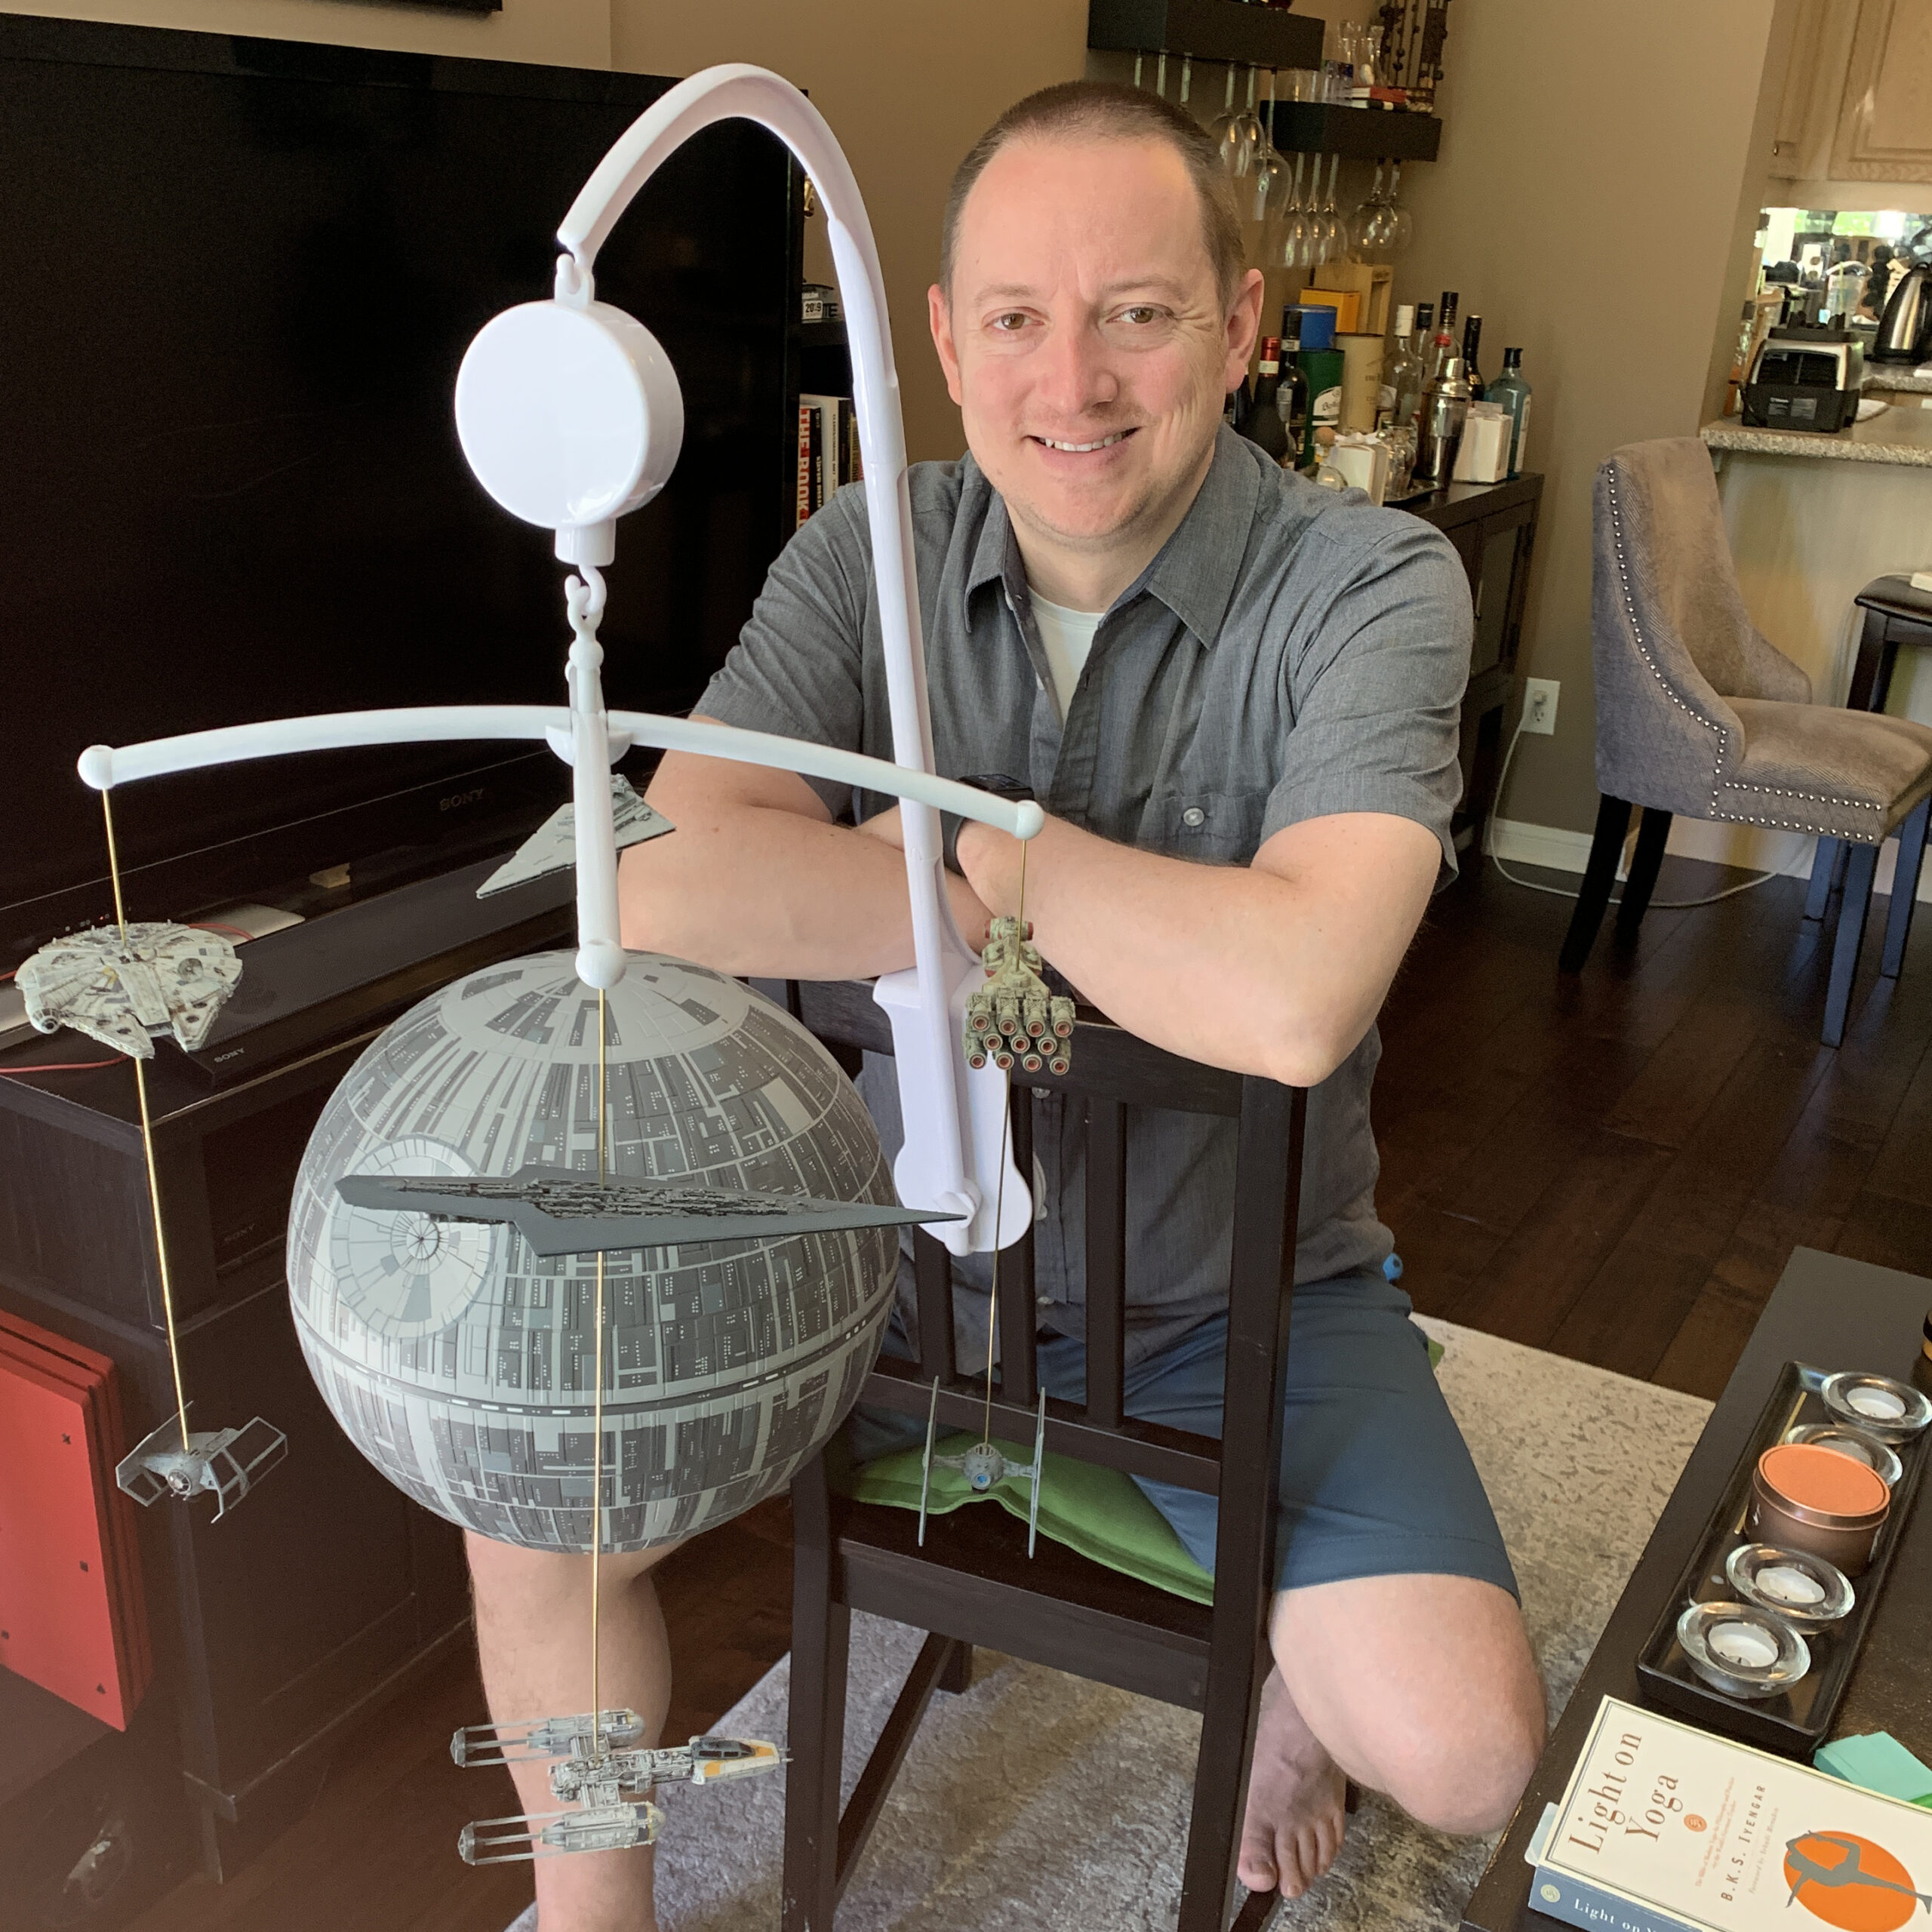
A test shot, and the final product:
Check out the Death Star Mobile project page for more final images/thoughts.
Due to COVID-19, we couldn’t reveal the Death Star in person; my brother- and sister-in-law had a “virtual baby shower,” during which we revealed it over Zoom. We planned to do a “safe-distance” drop off, but then the baby came two weeks early! (Baby and mom completely healthy!) Eventually we delivered it and now my nephew has almost as many Star Wars models in his home as I do. 🙂