Welcome to the Death Star Mobile Build Log Part 3!
Click here for: Part 1 | Part 2
Let’s talk a little bit about the eight smaller ships that orbit the Death Star Mobile. I didn’t take many photos of these, because I’m really bad at taking photos of my work. (I’m trying to get better at it!)
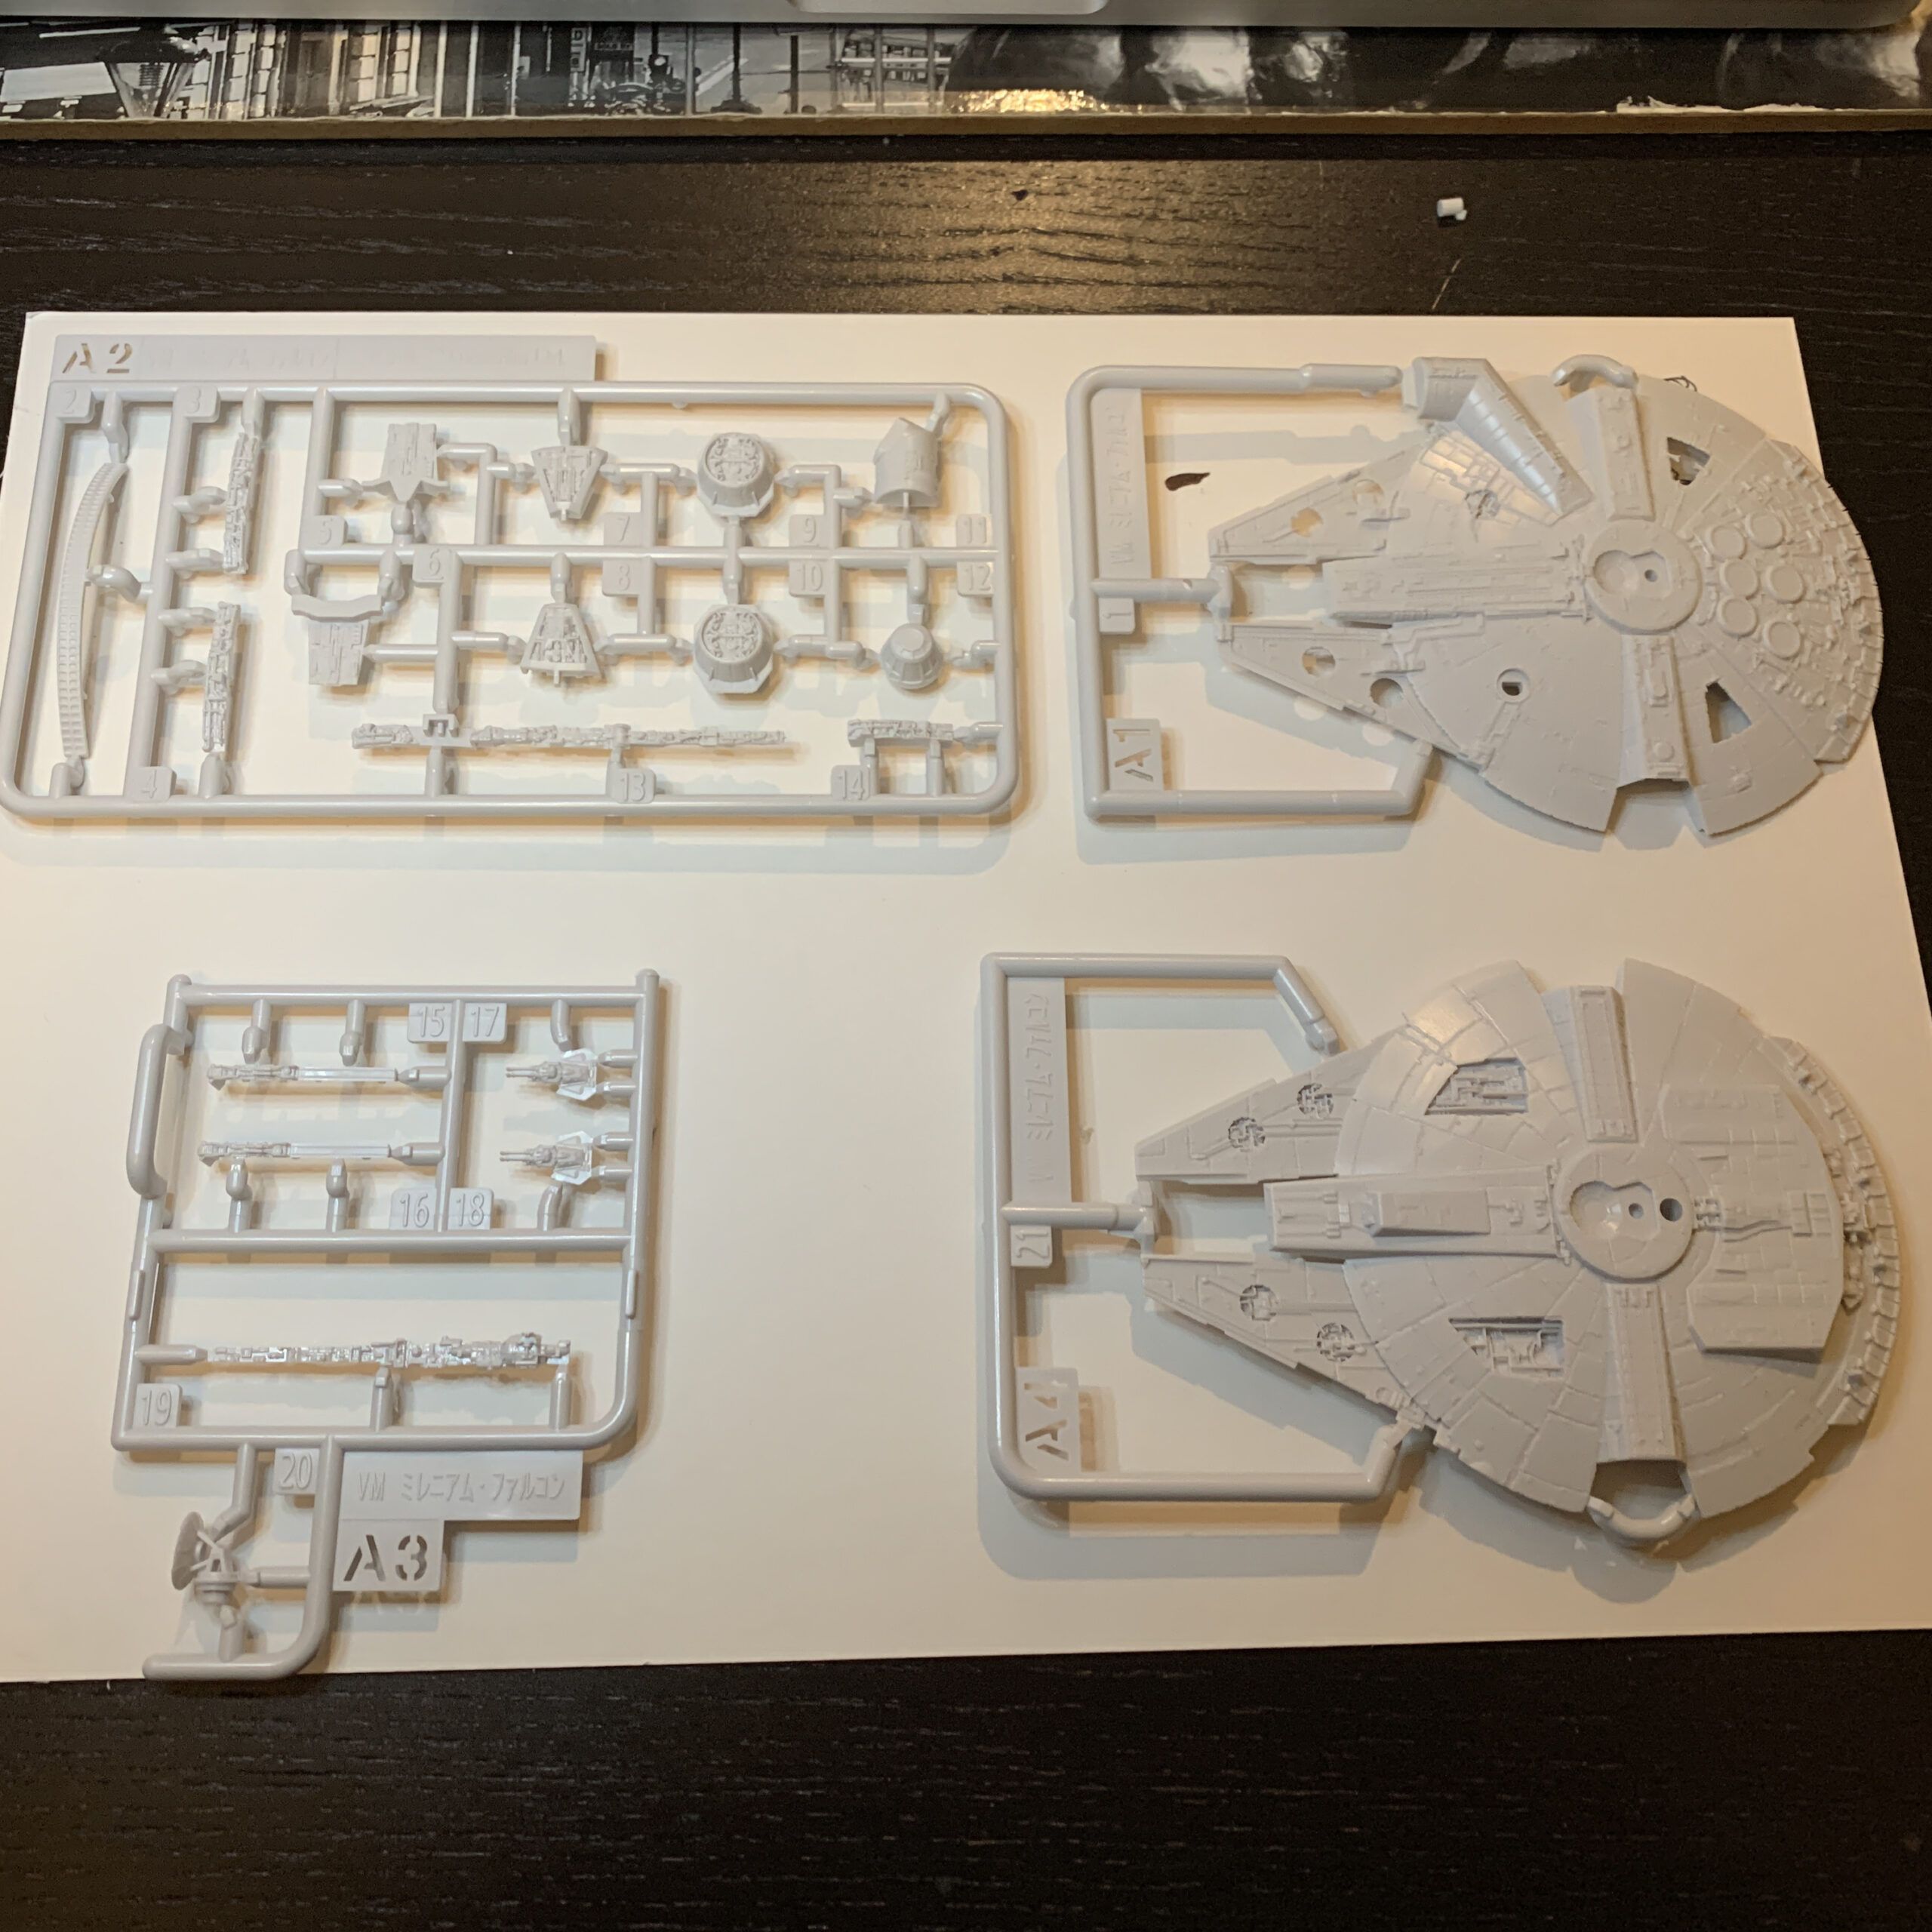
As noted in Part 1, all of the kits come from Bandai and are as follows:
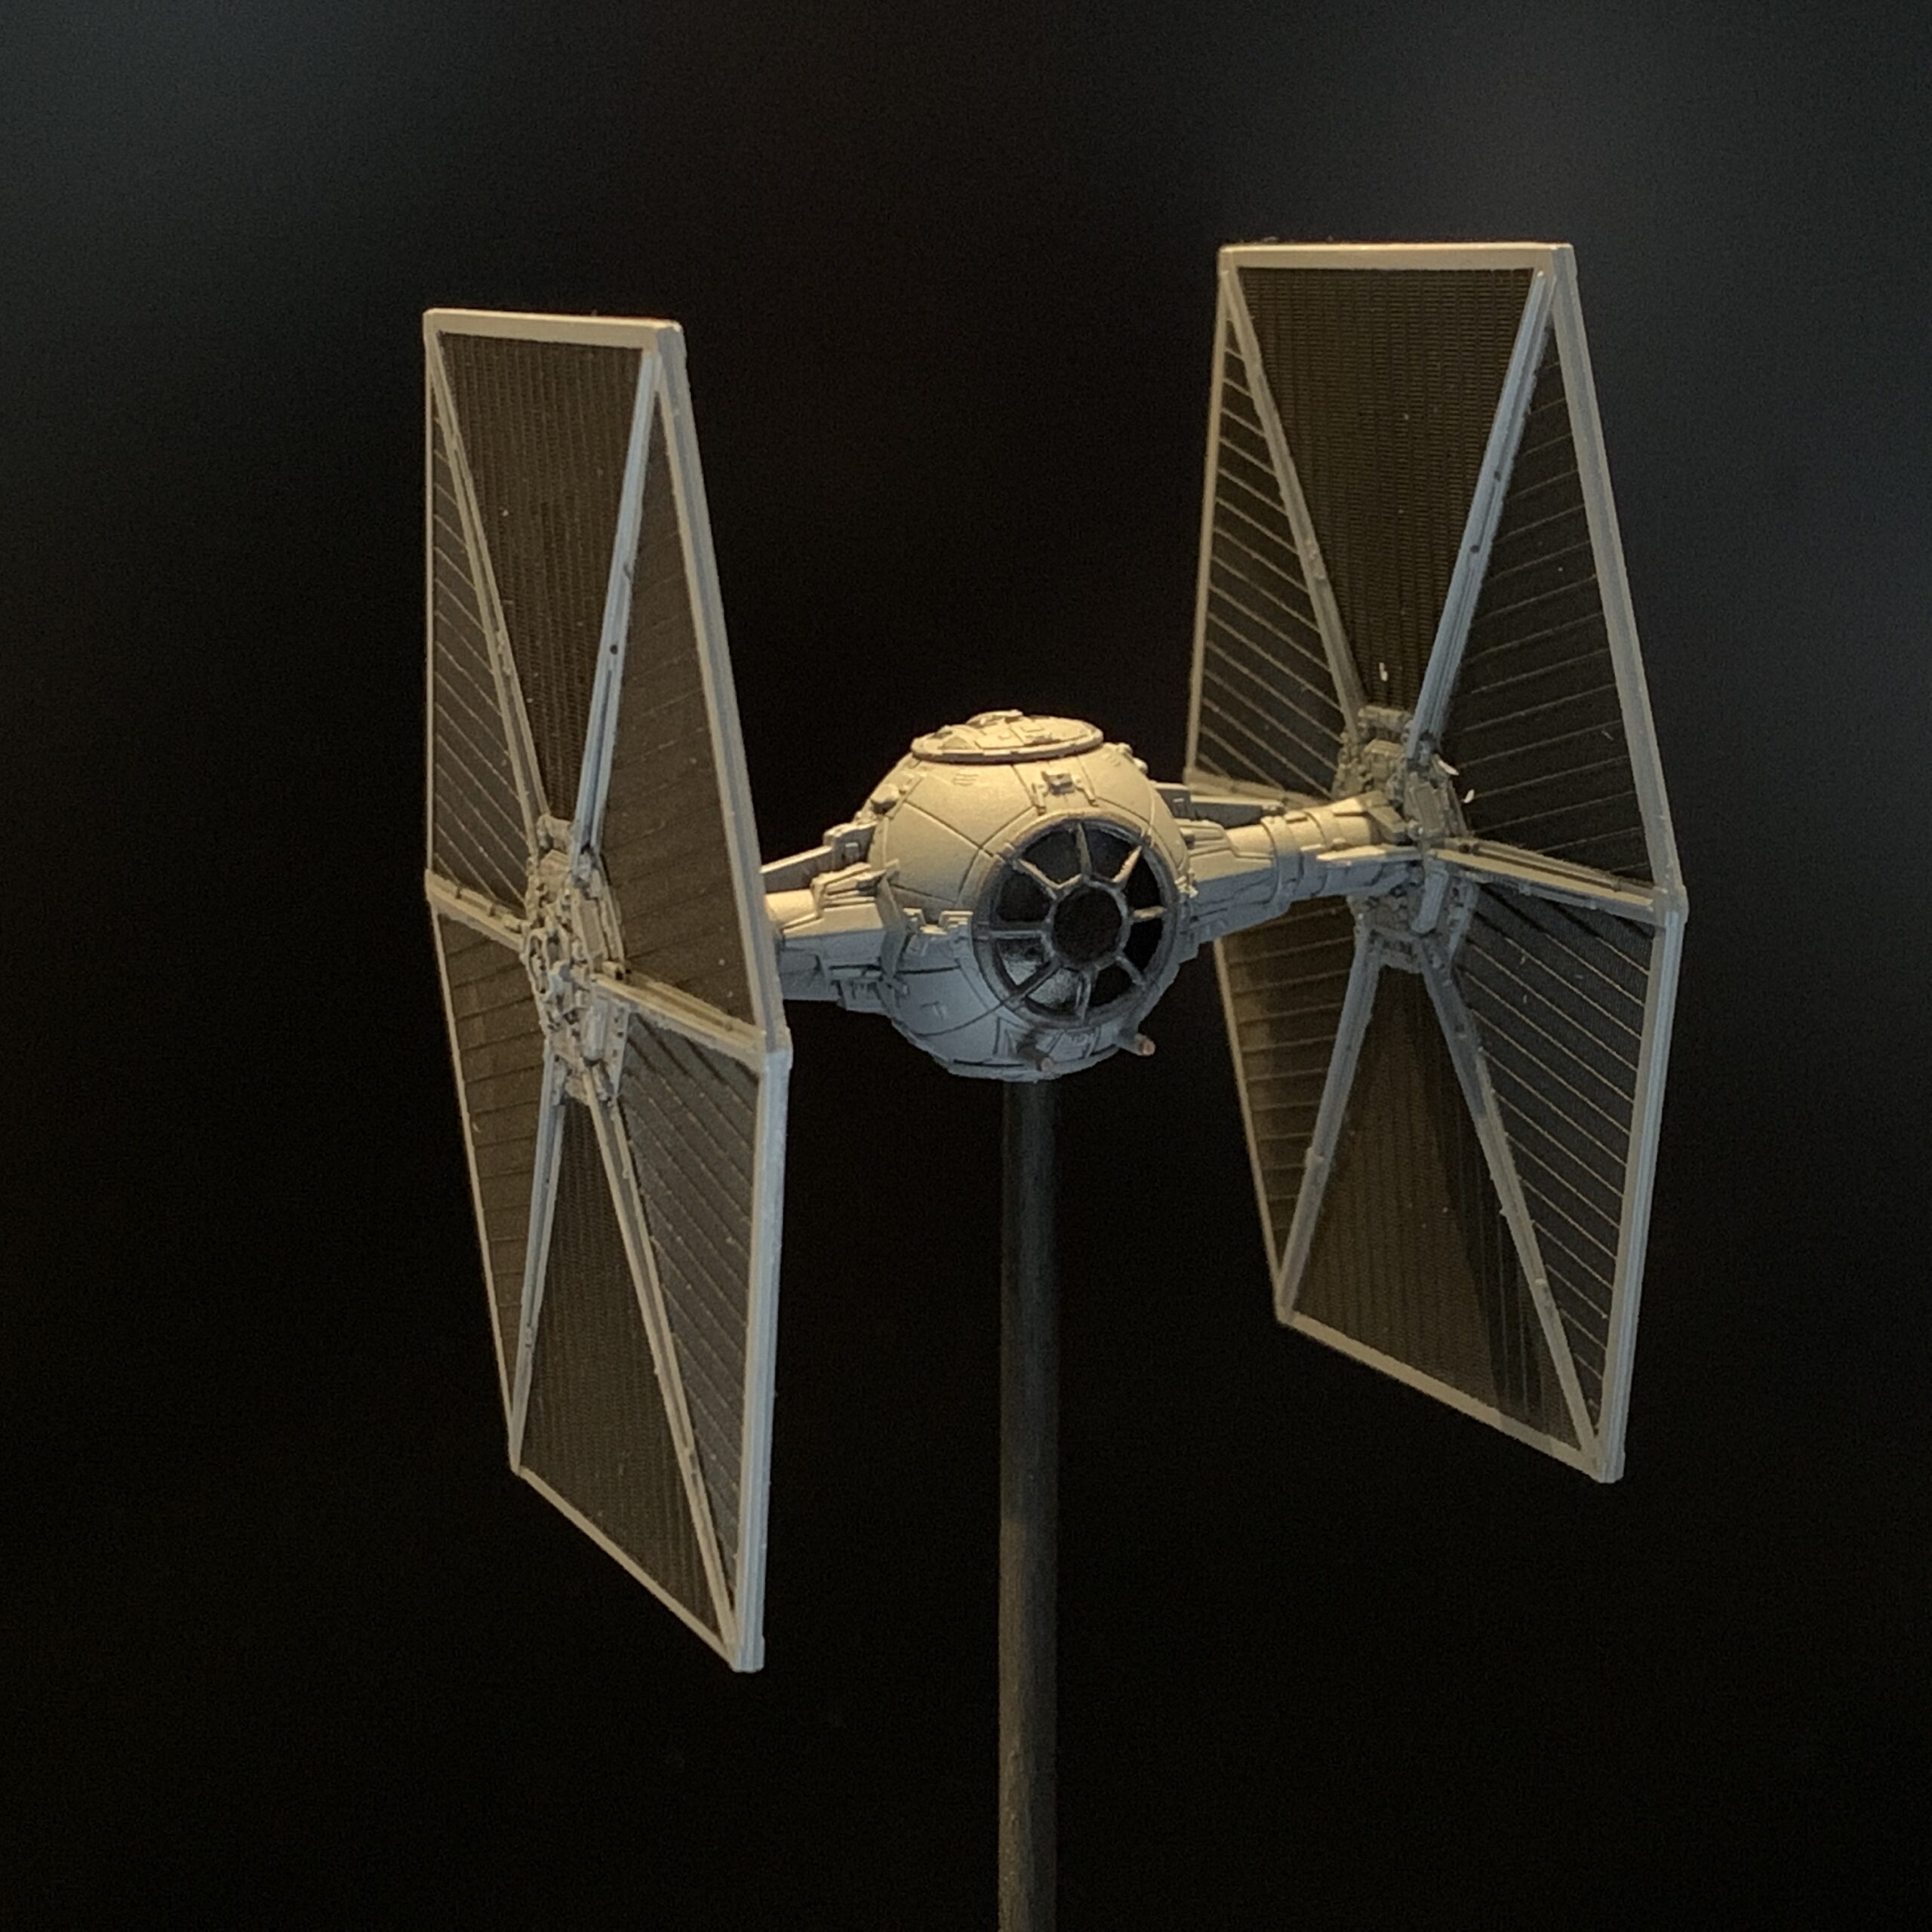
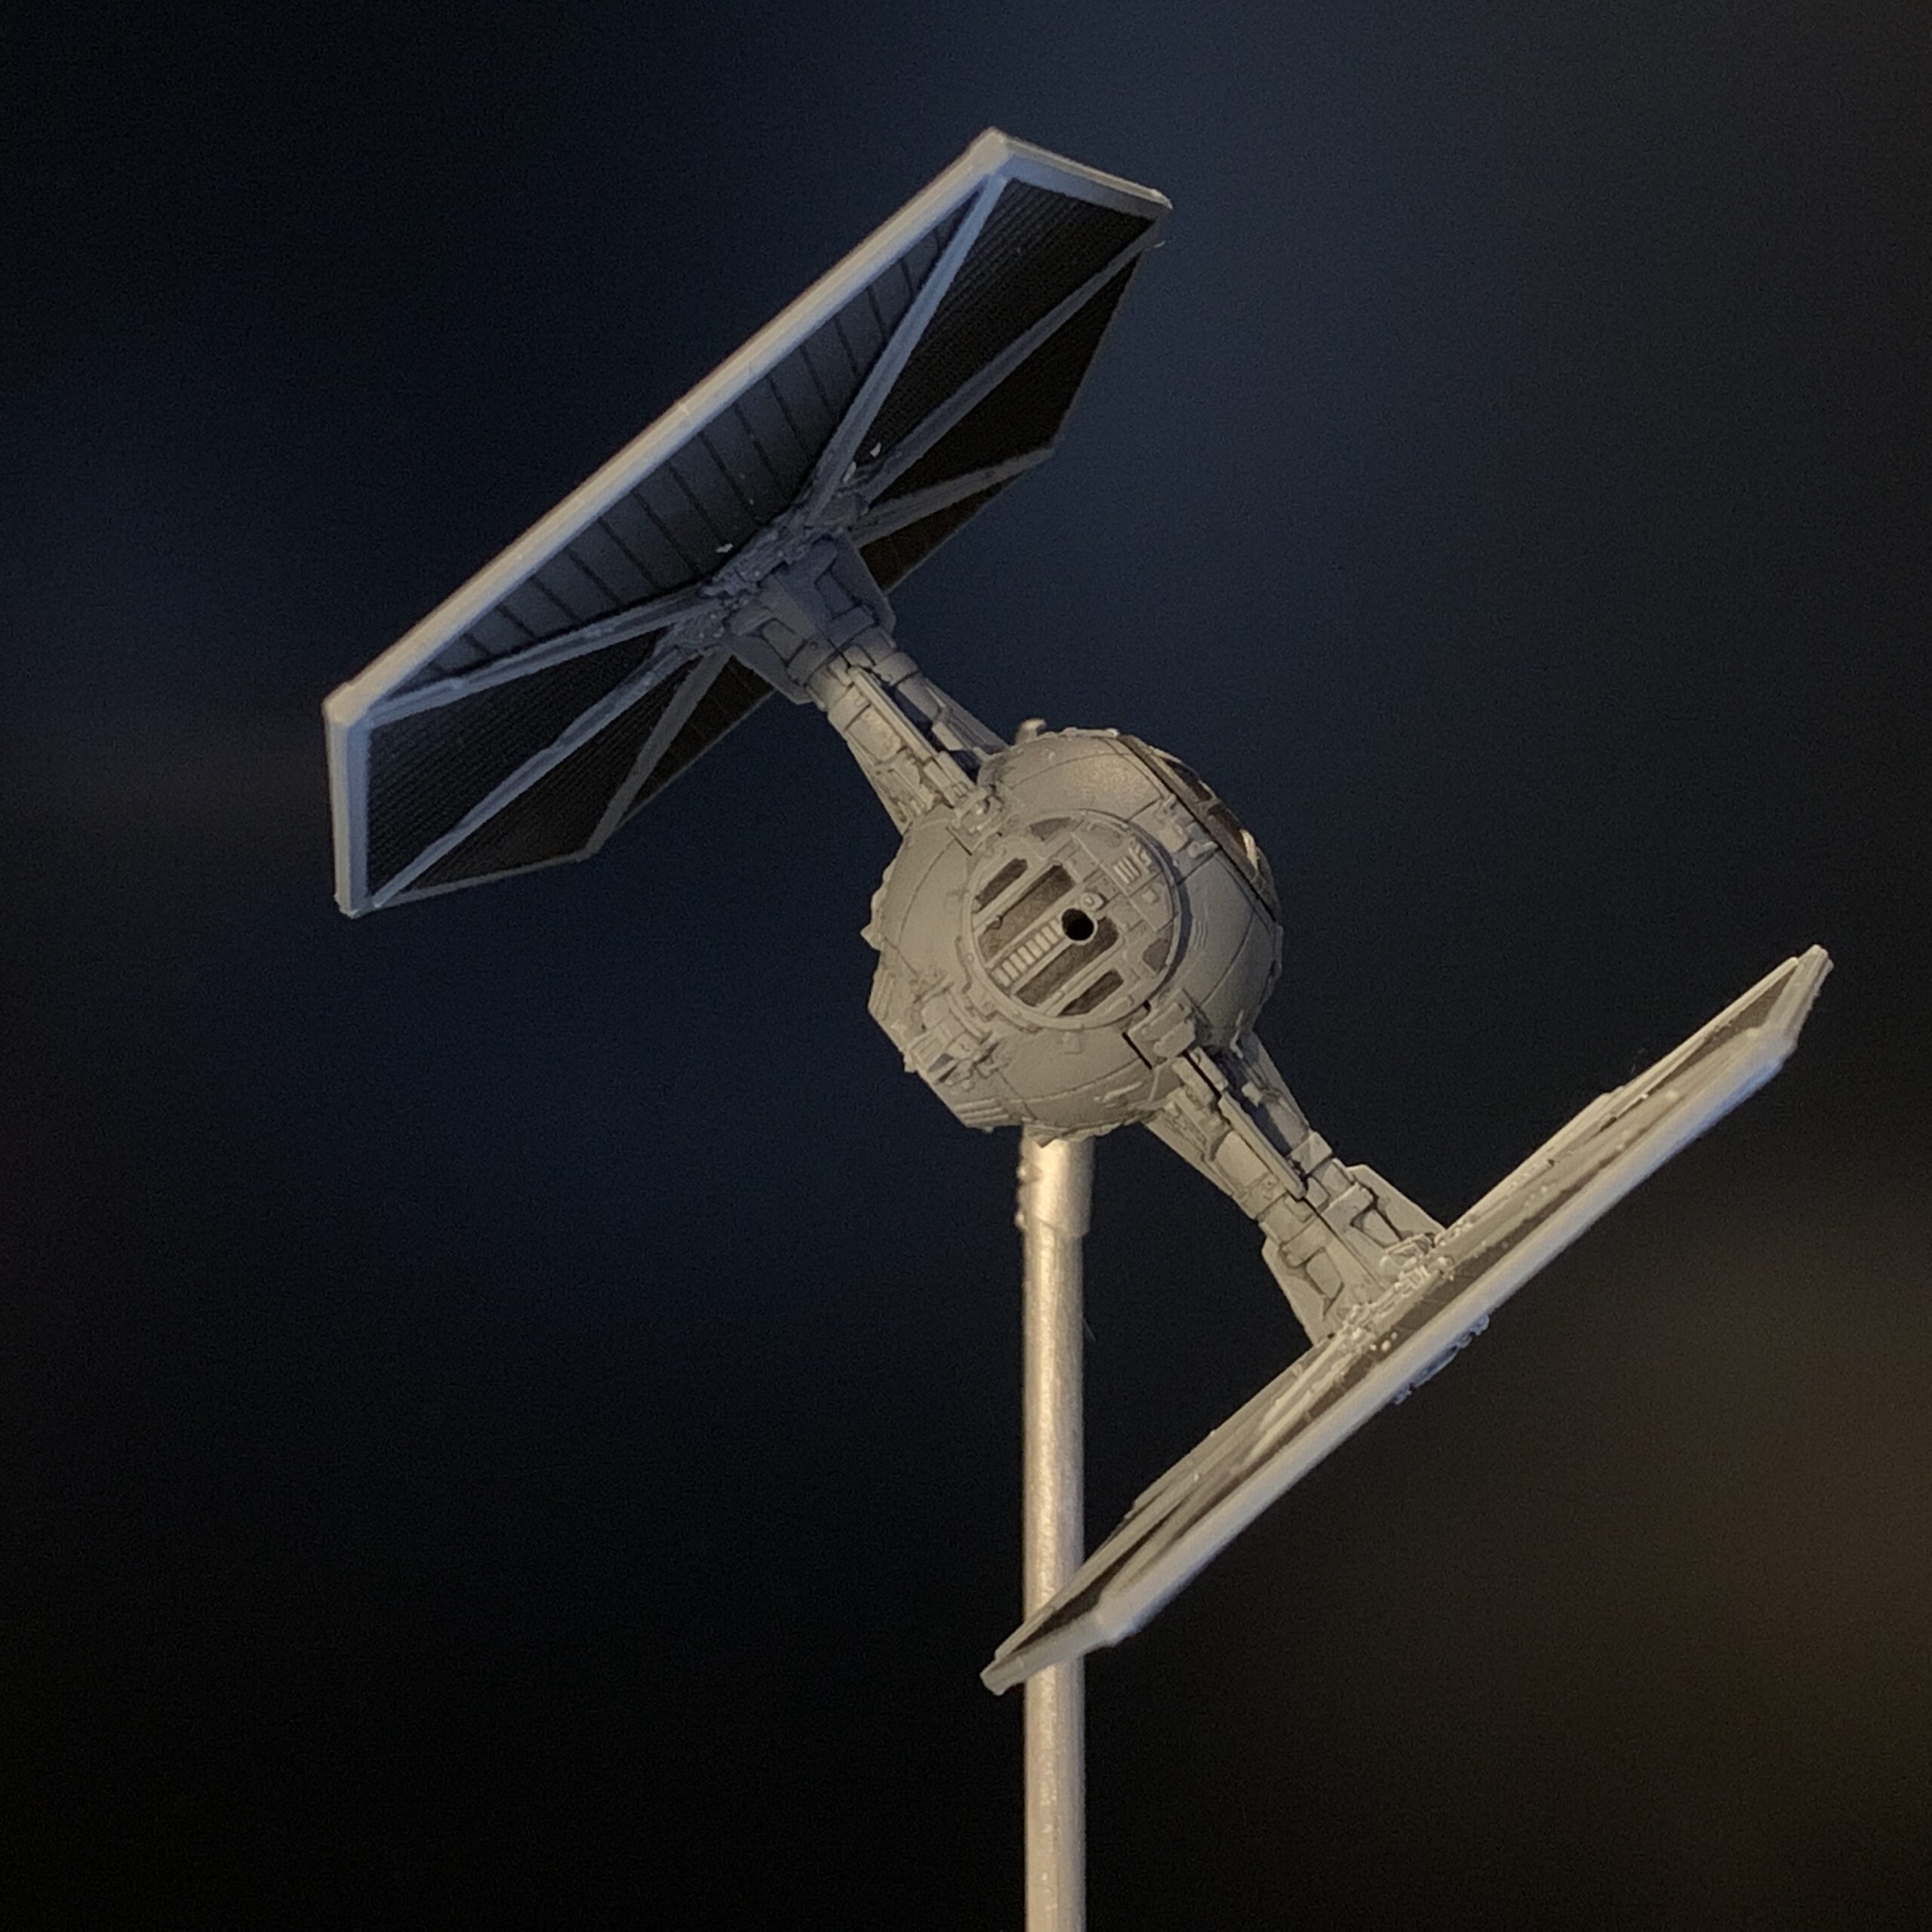
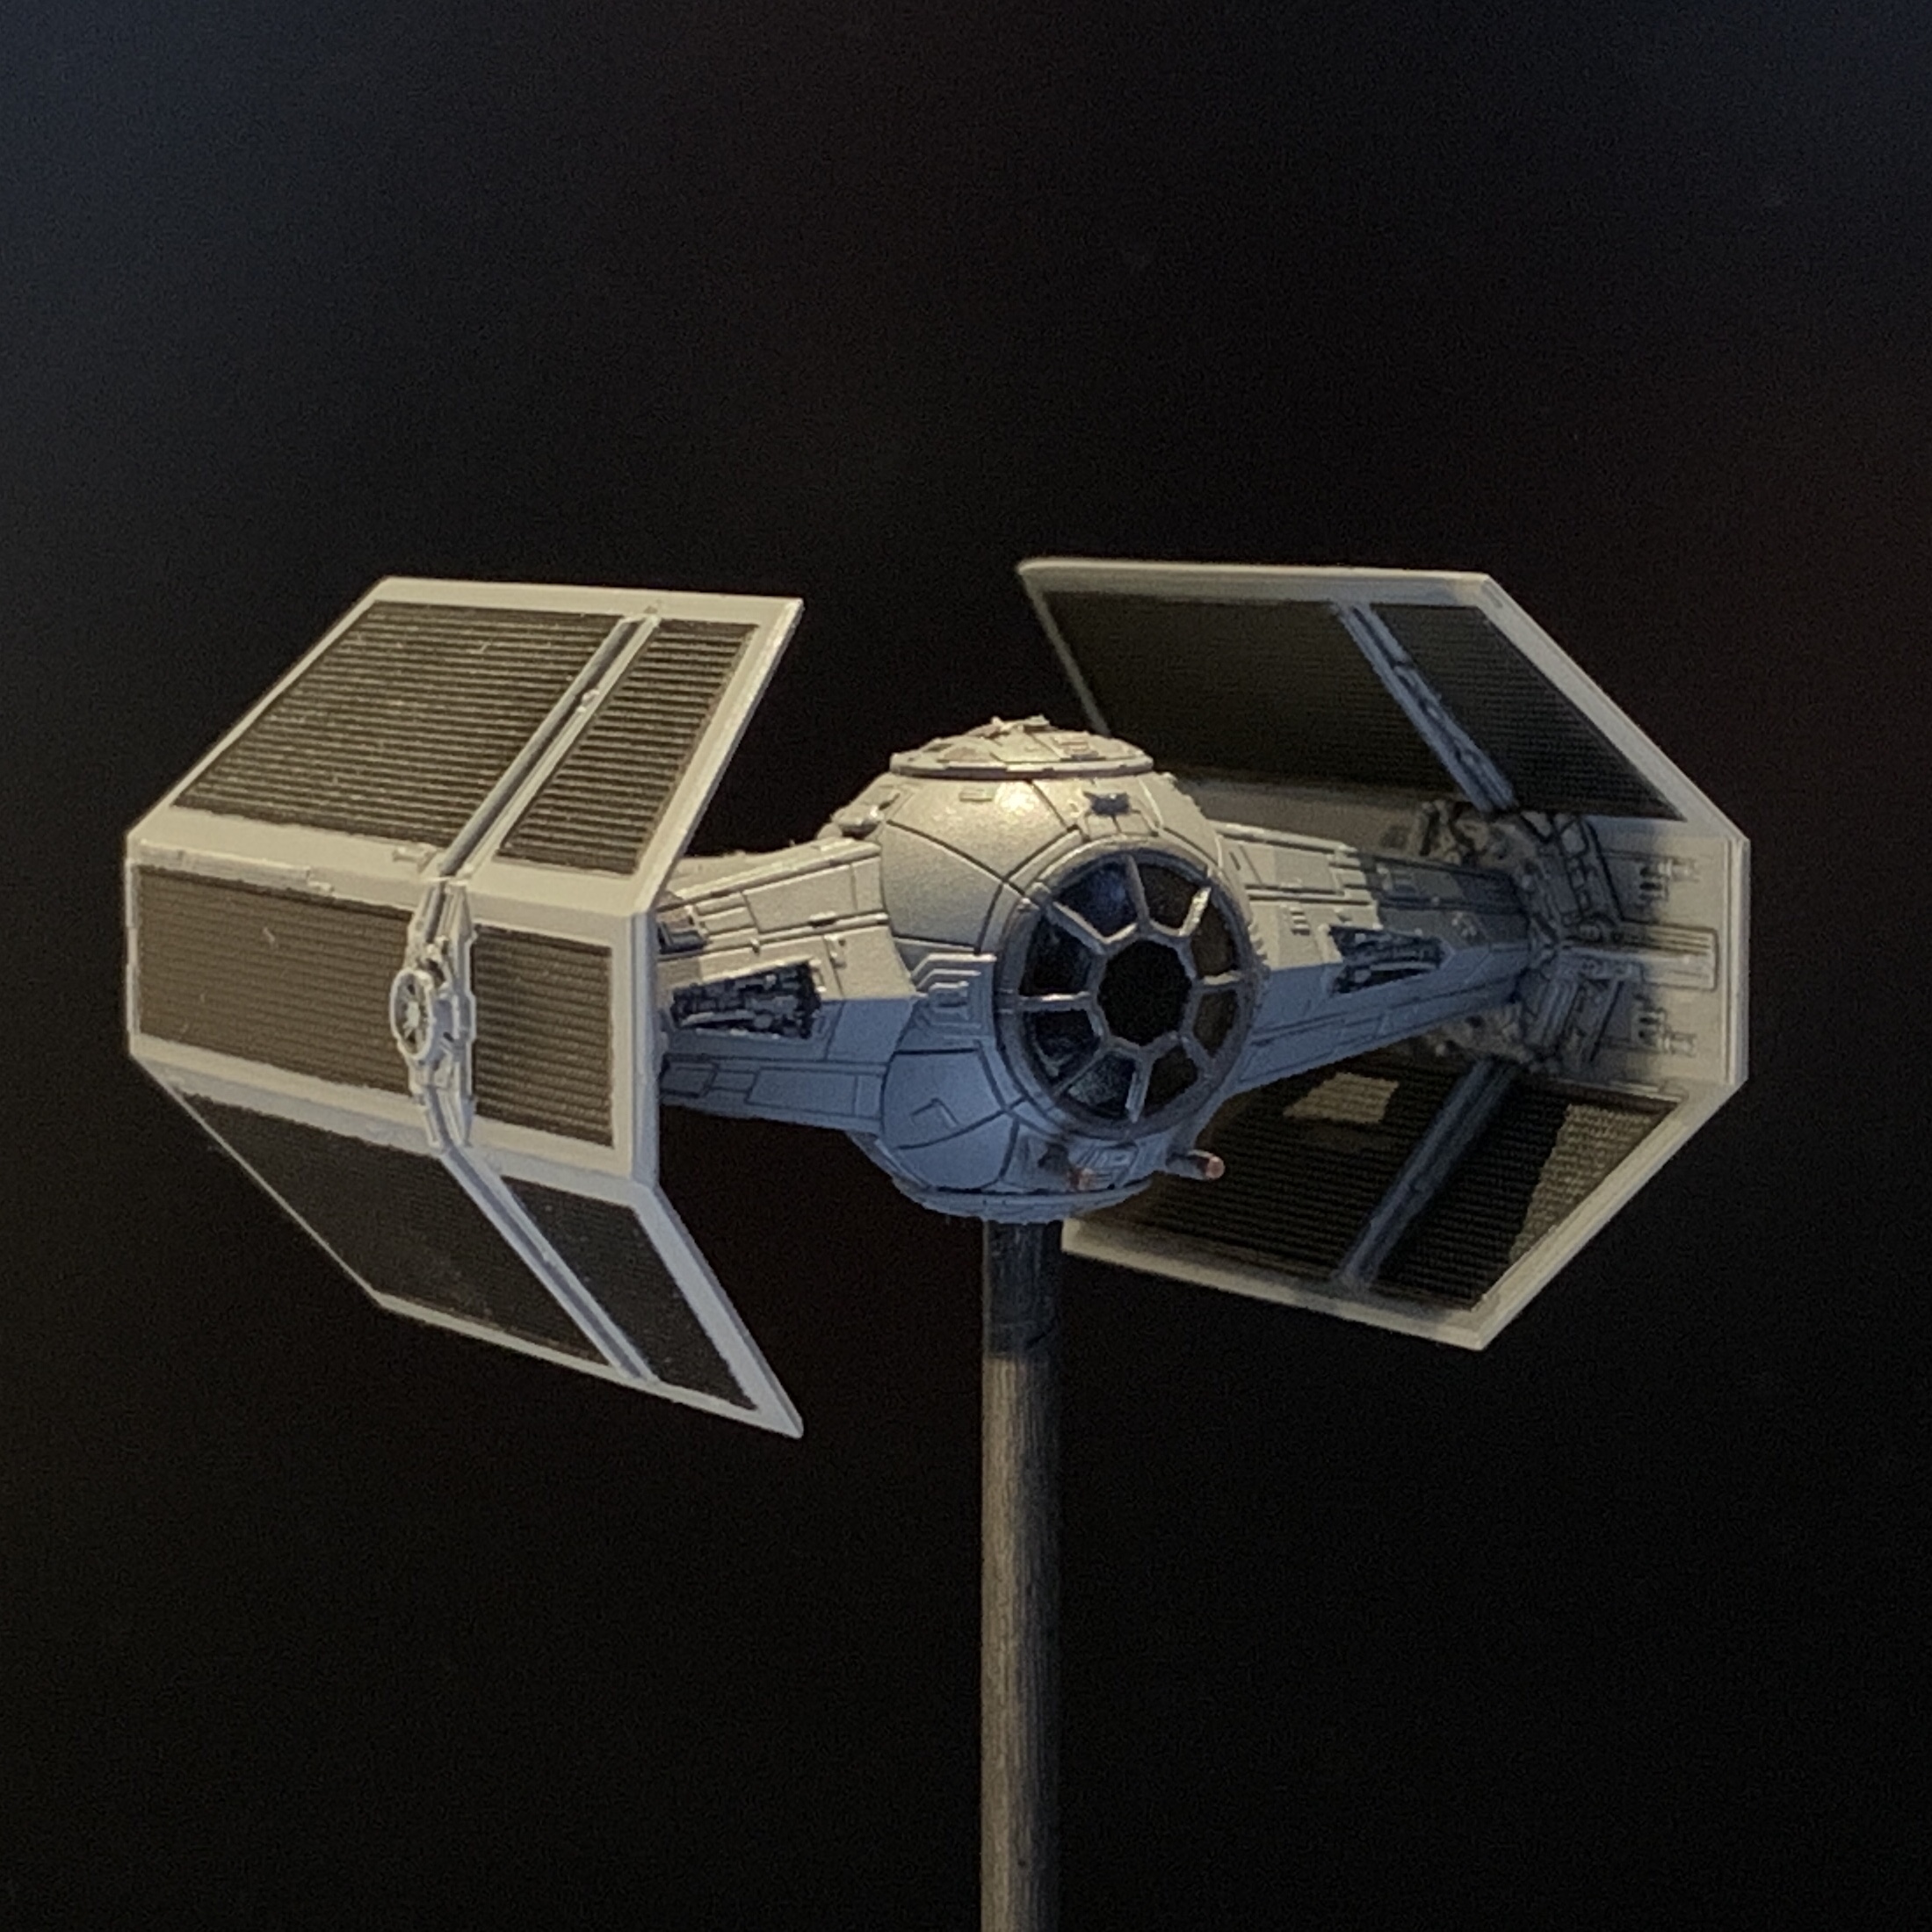
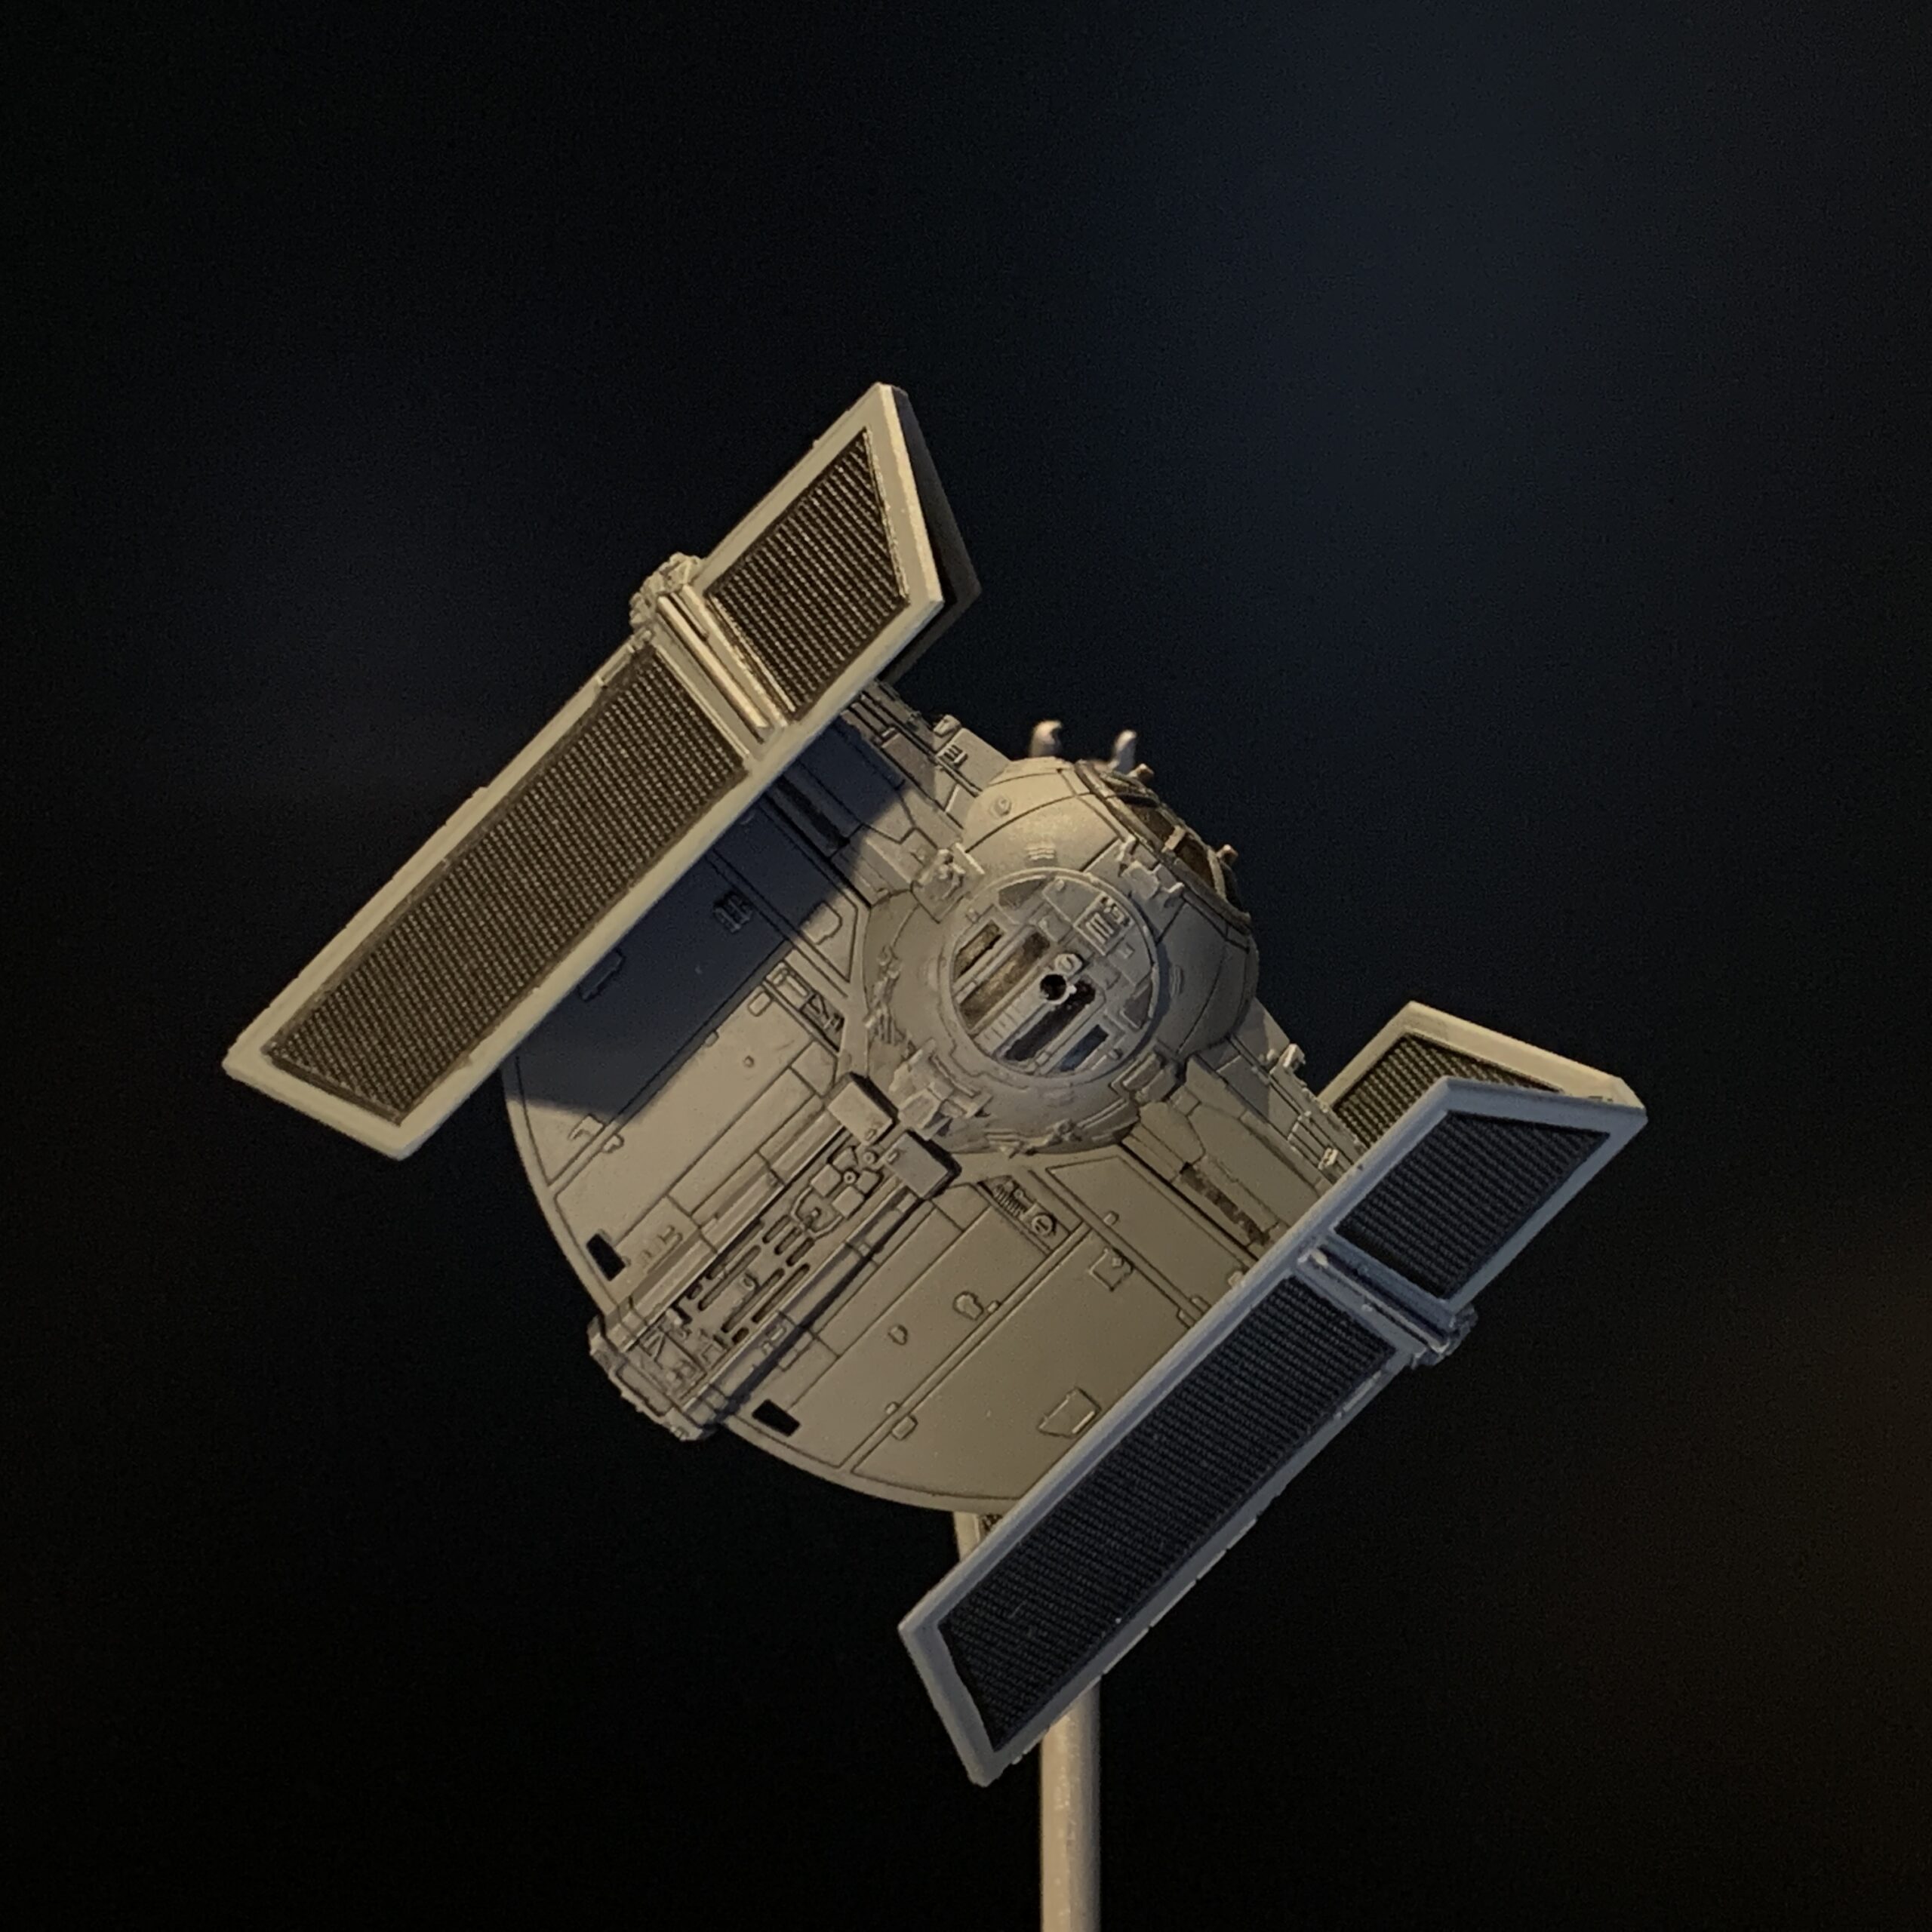
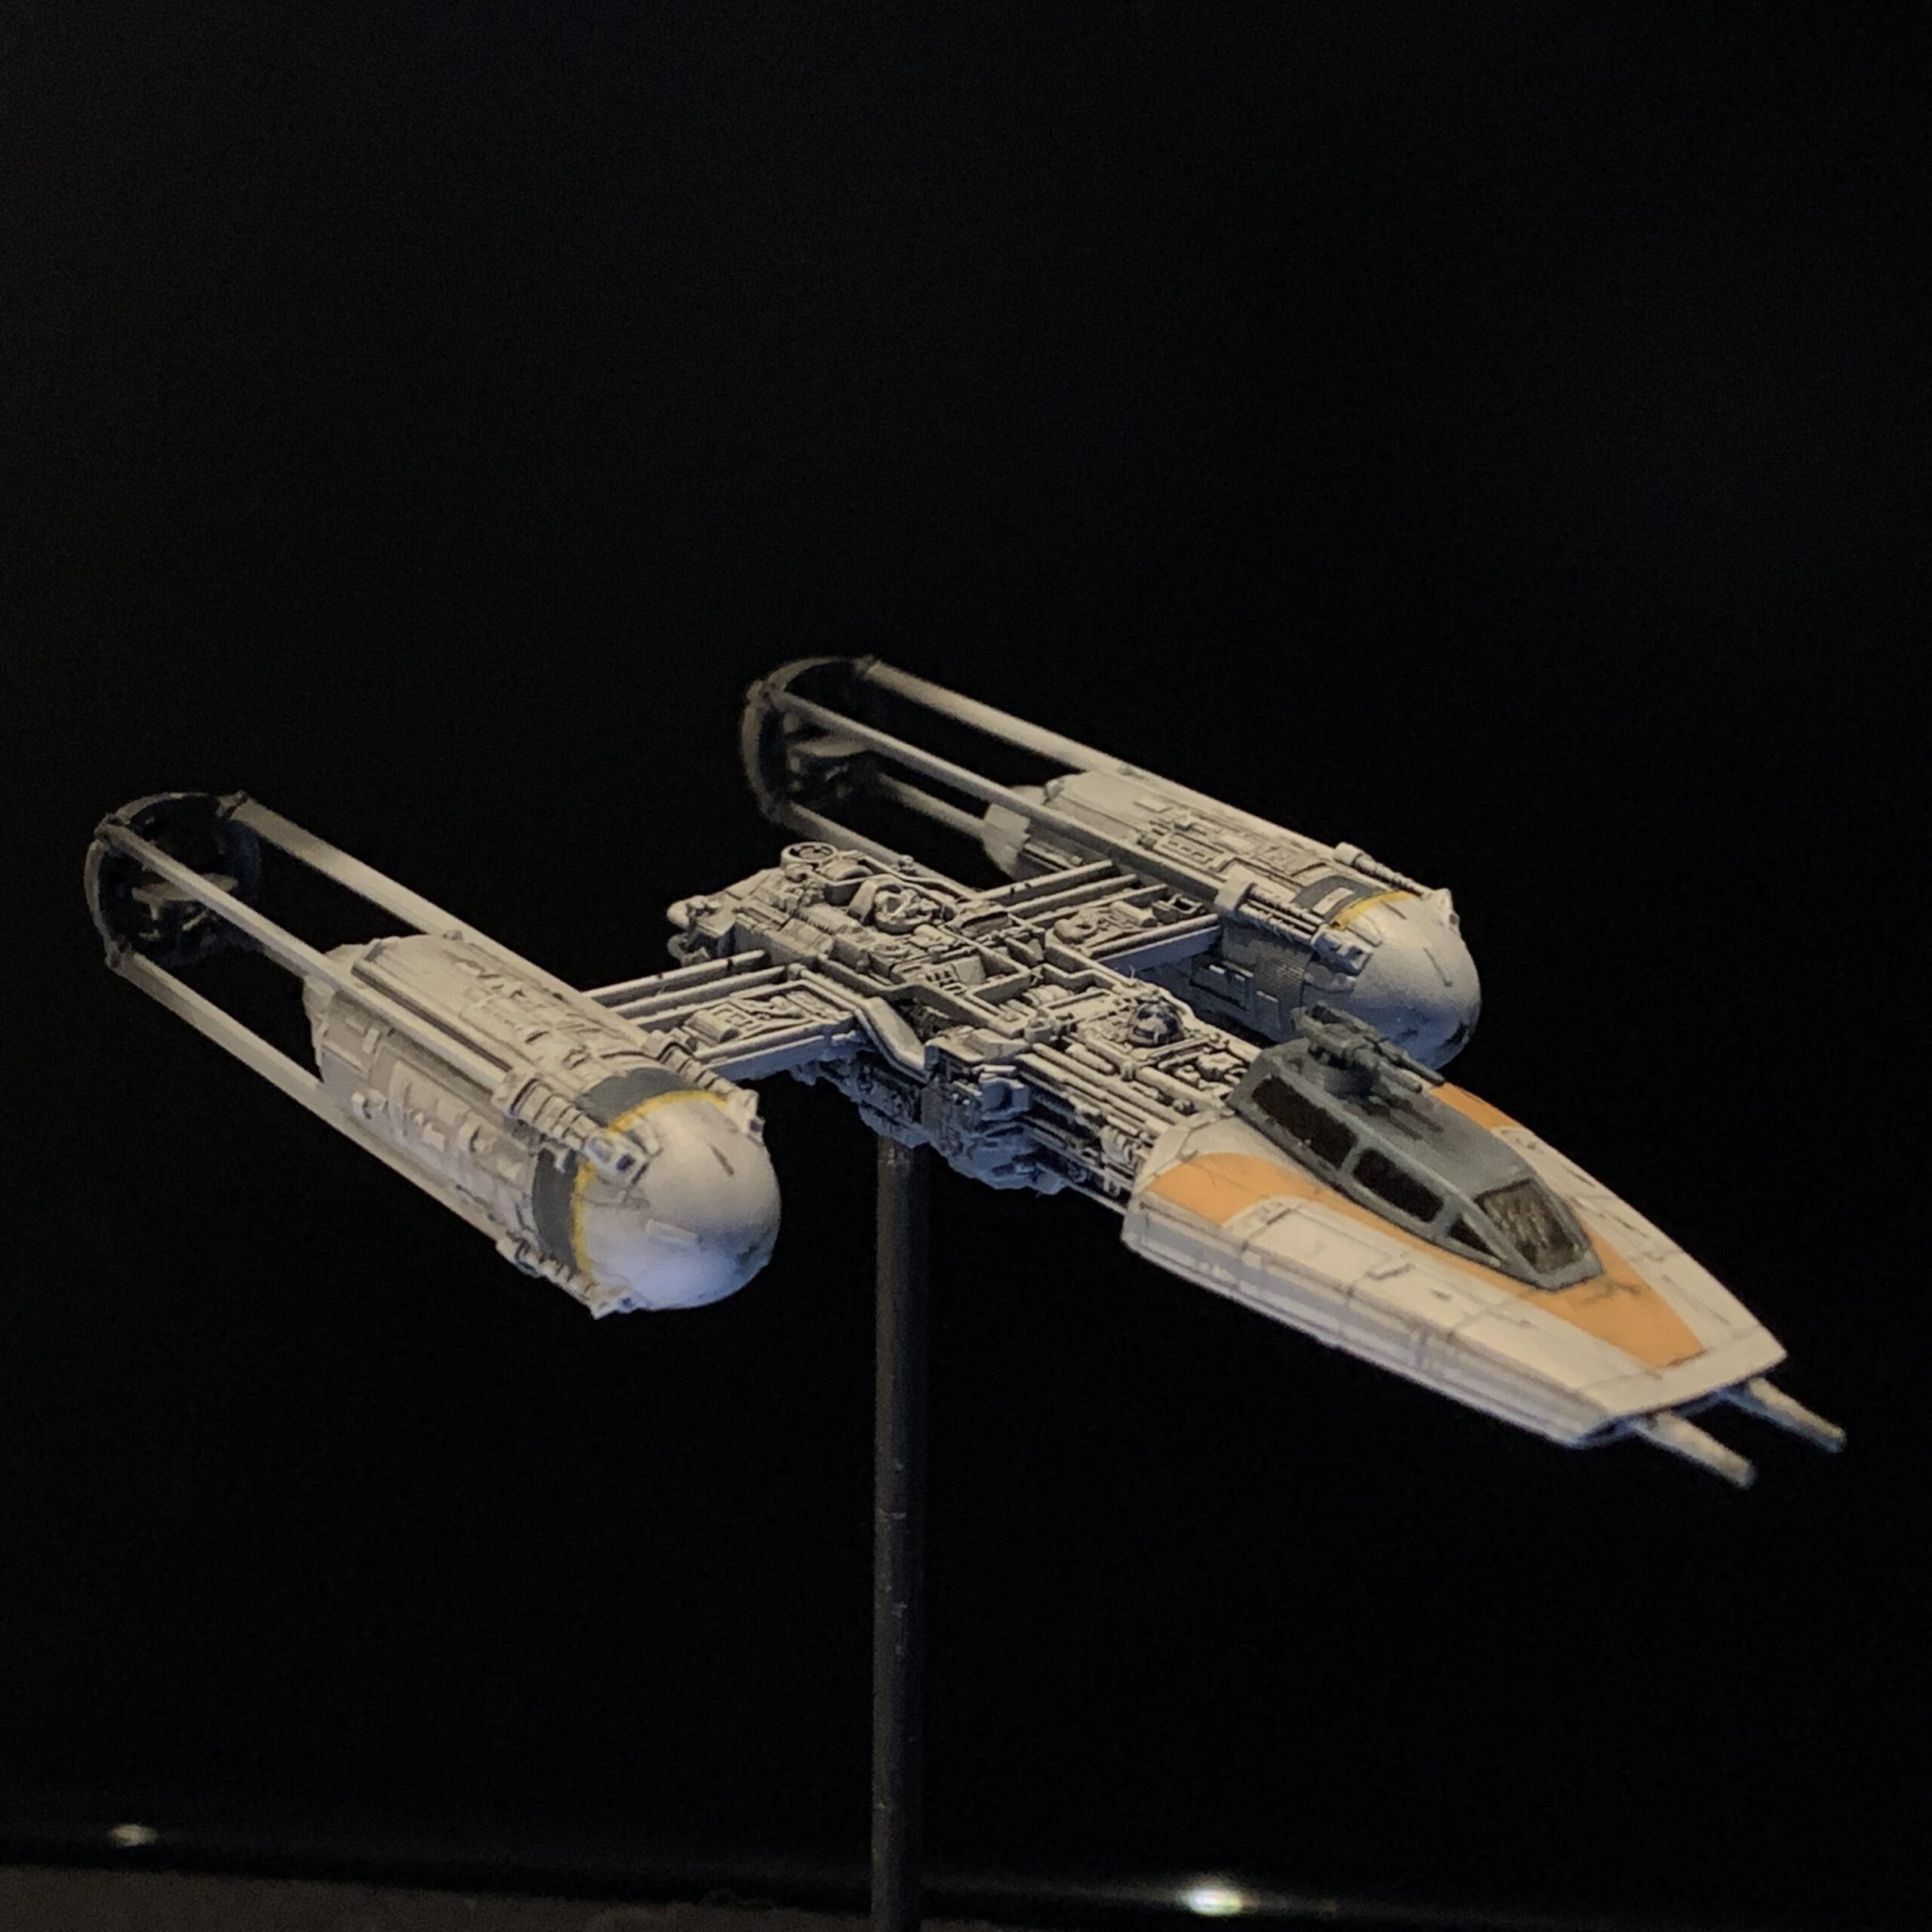
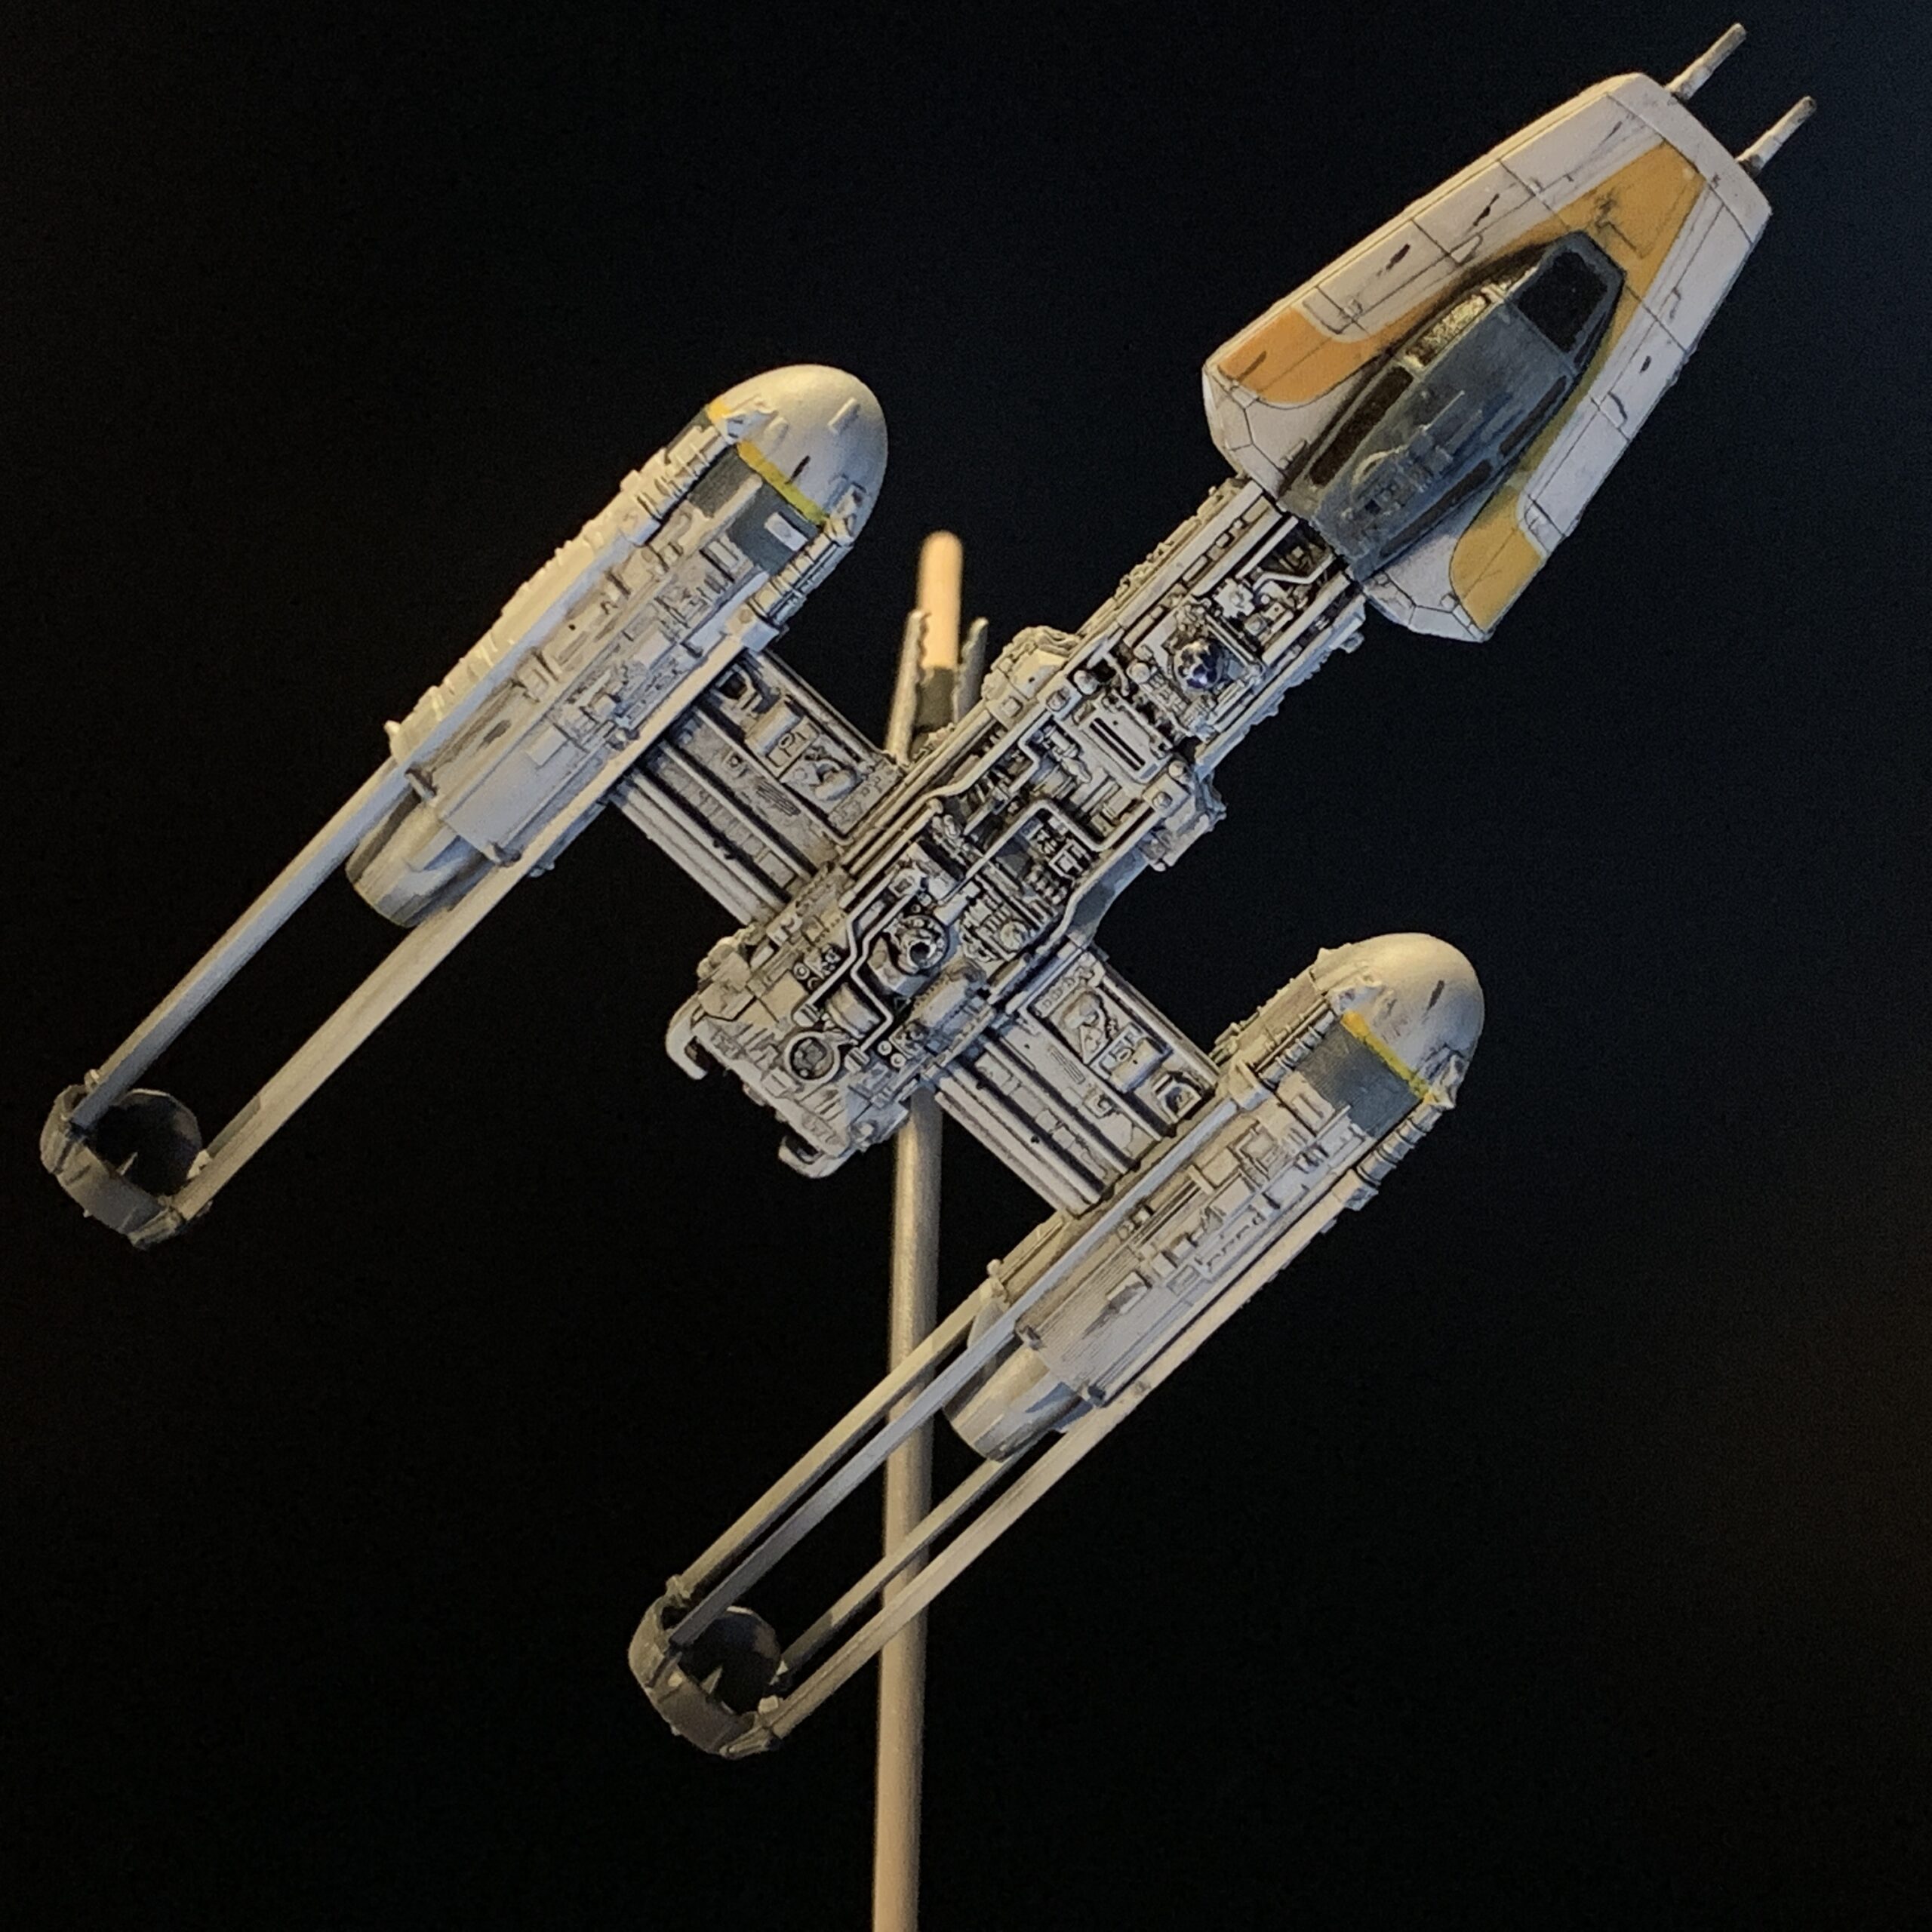
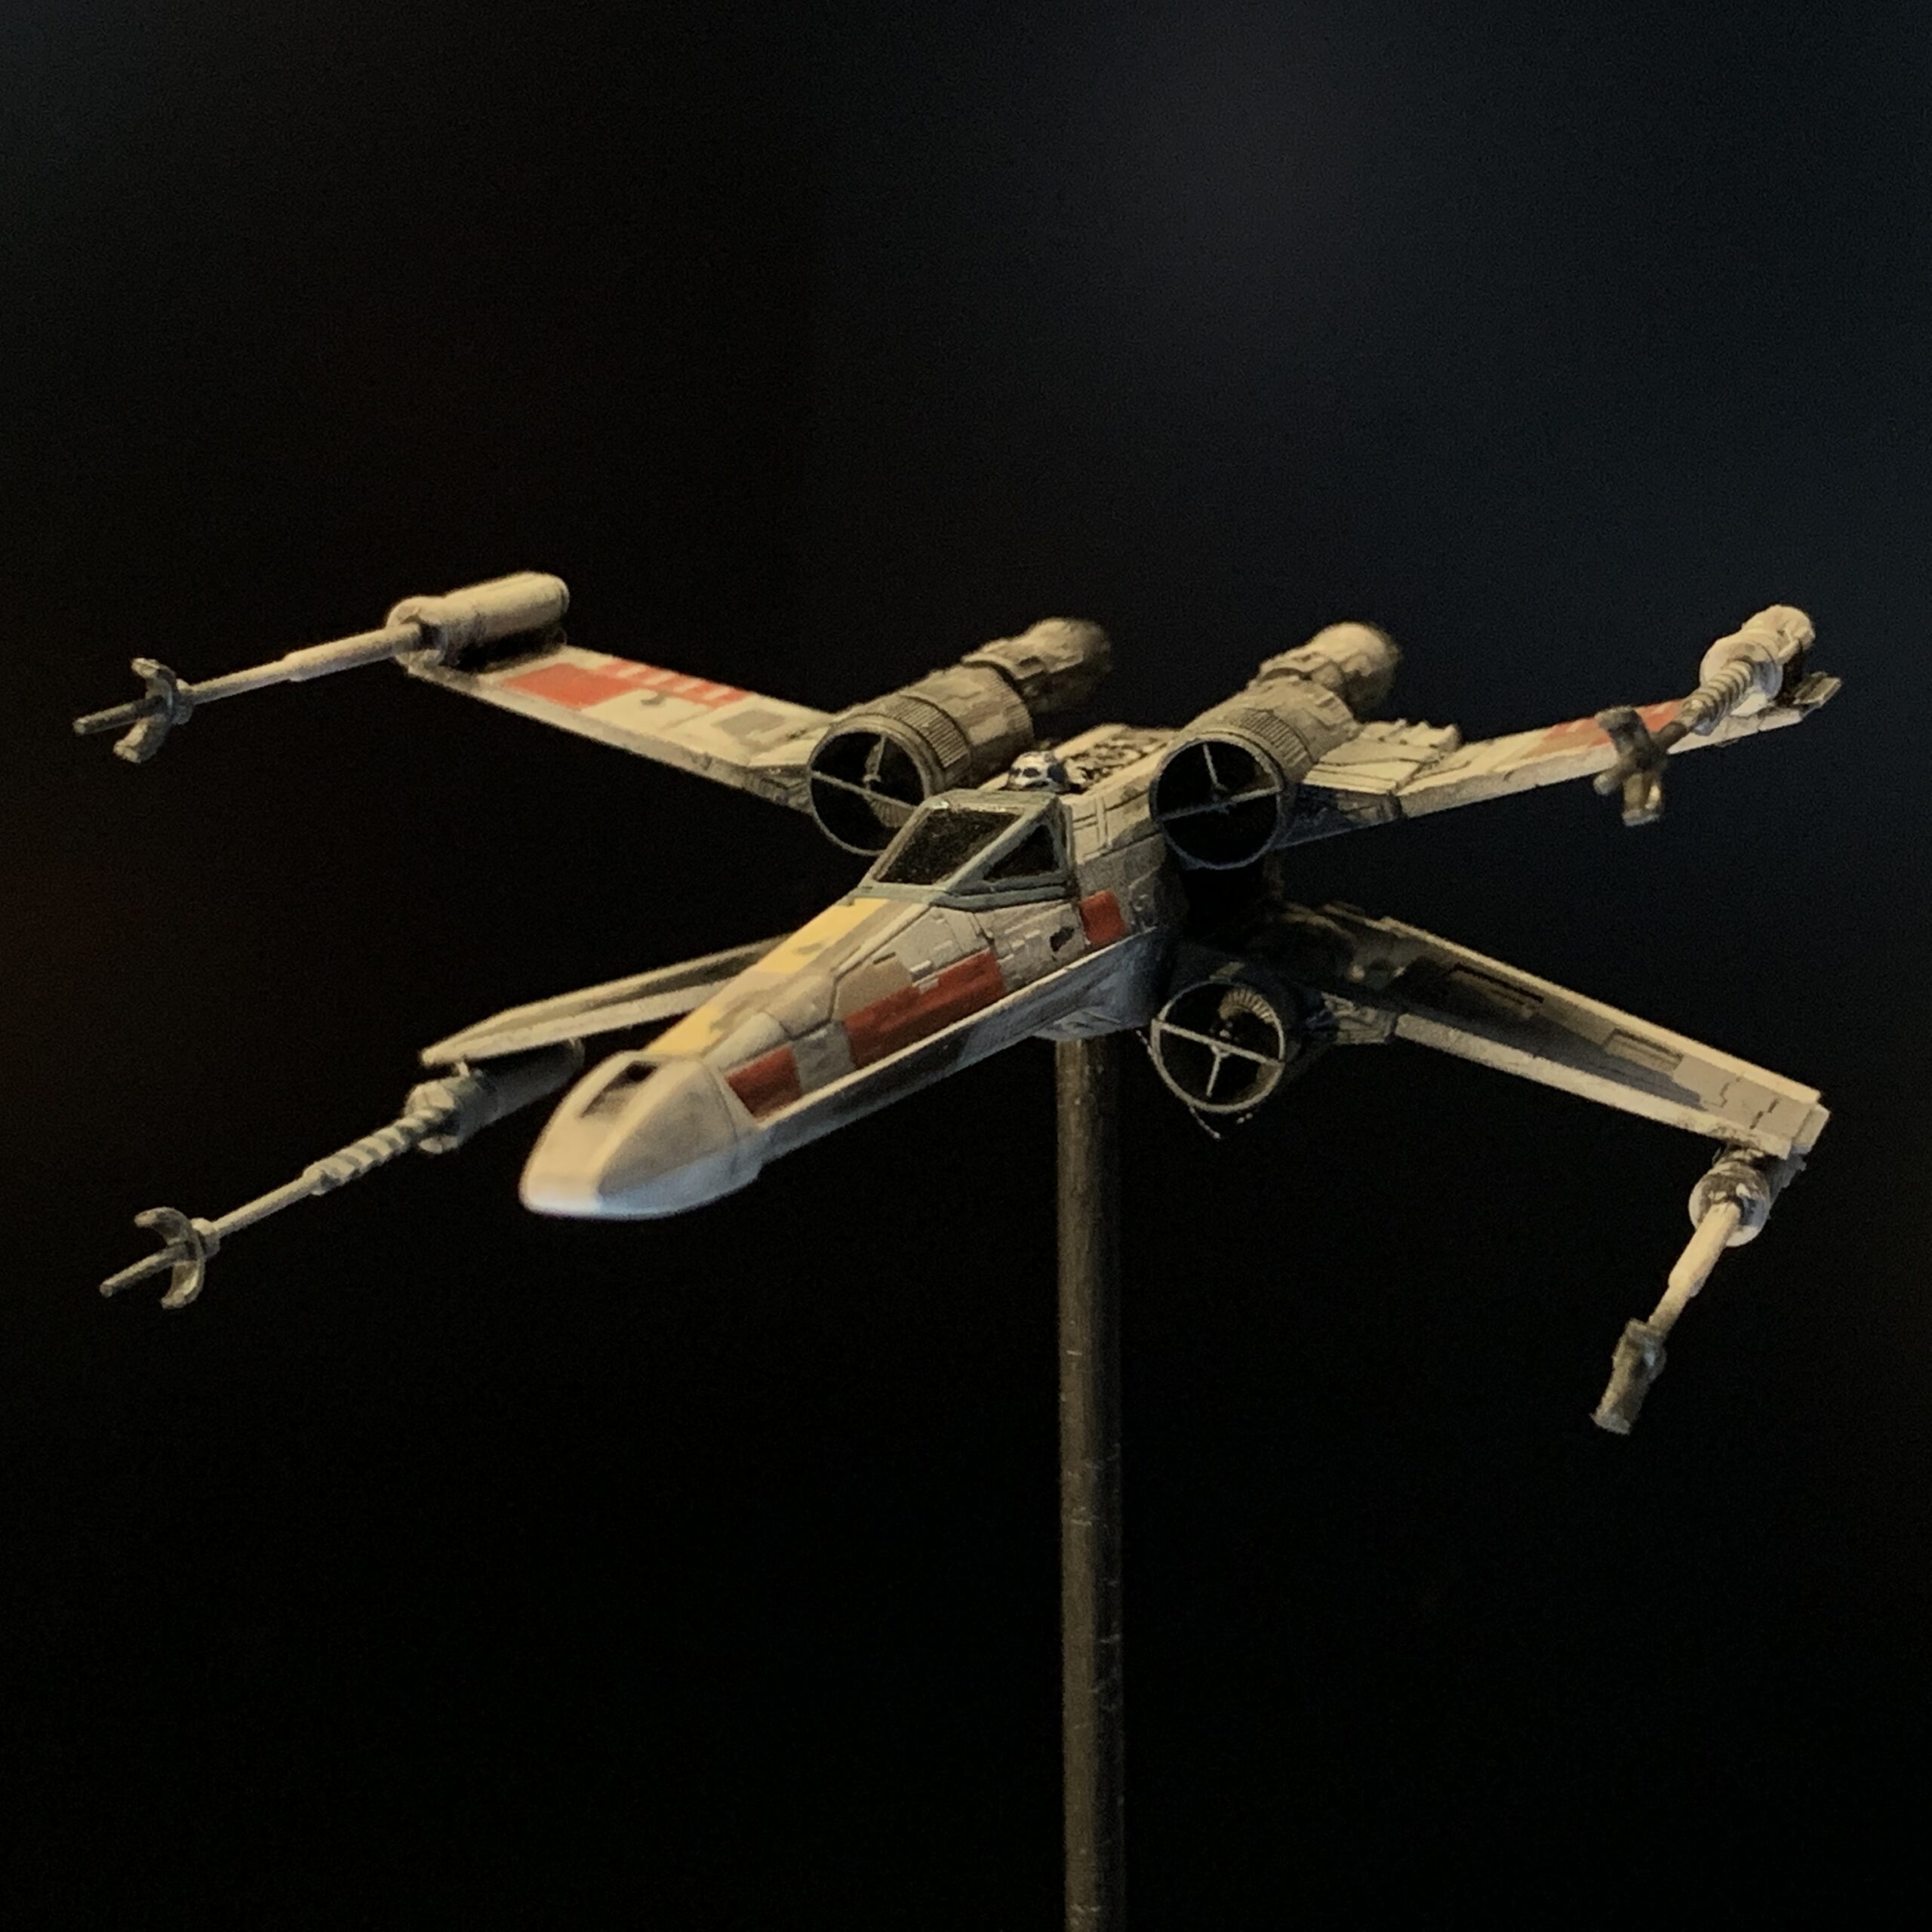
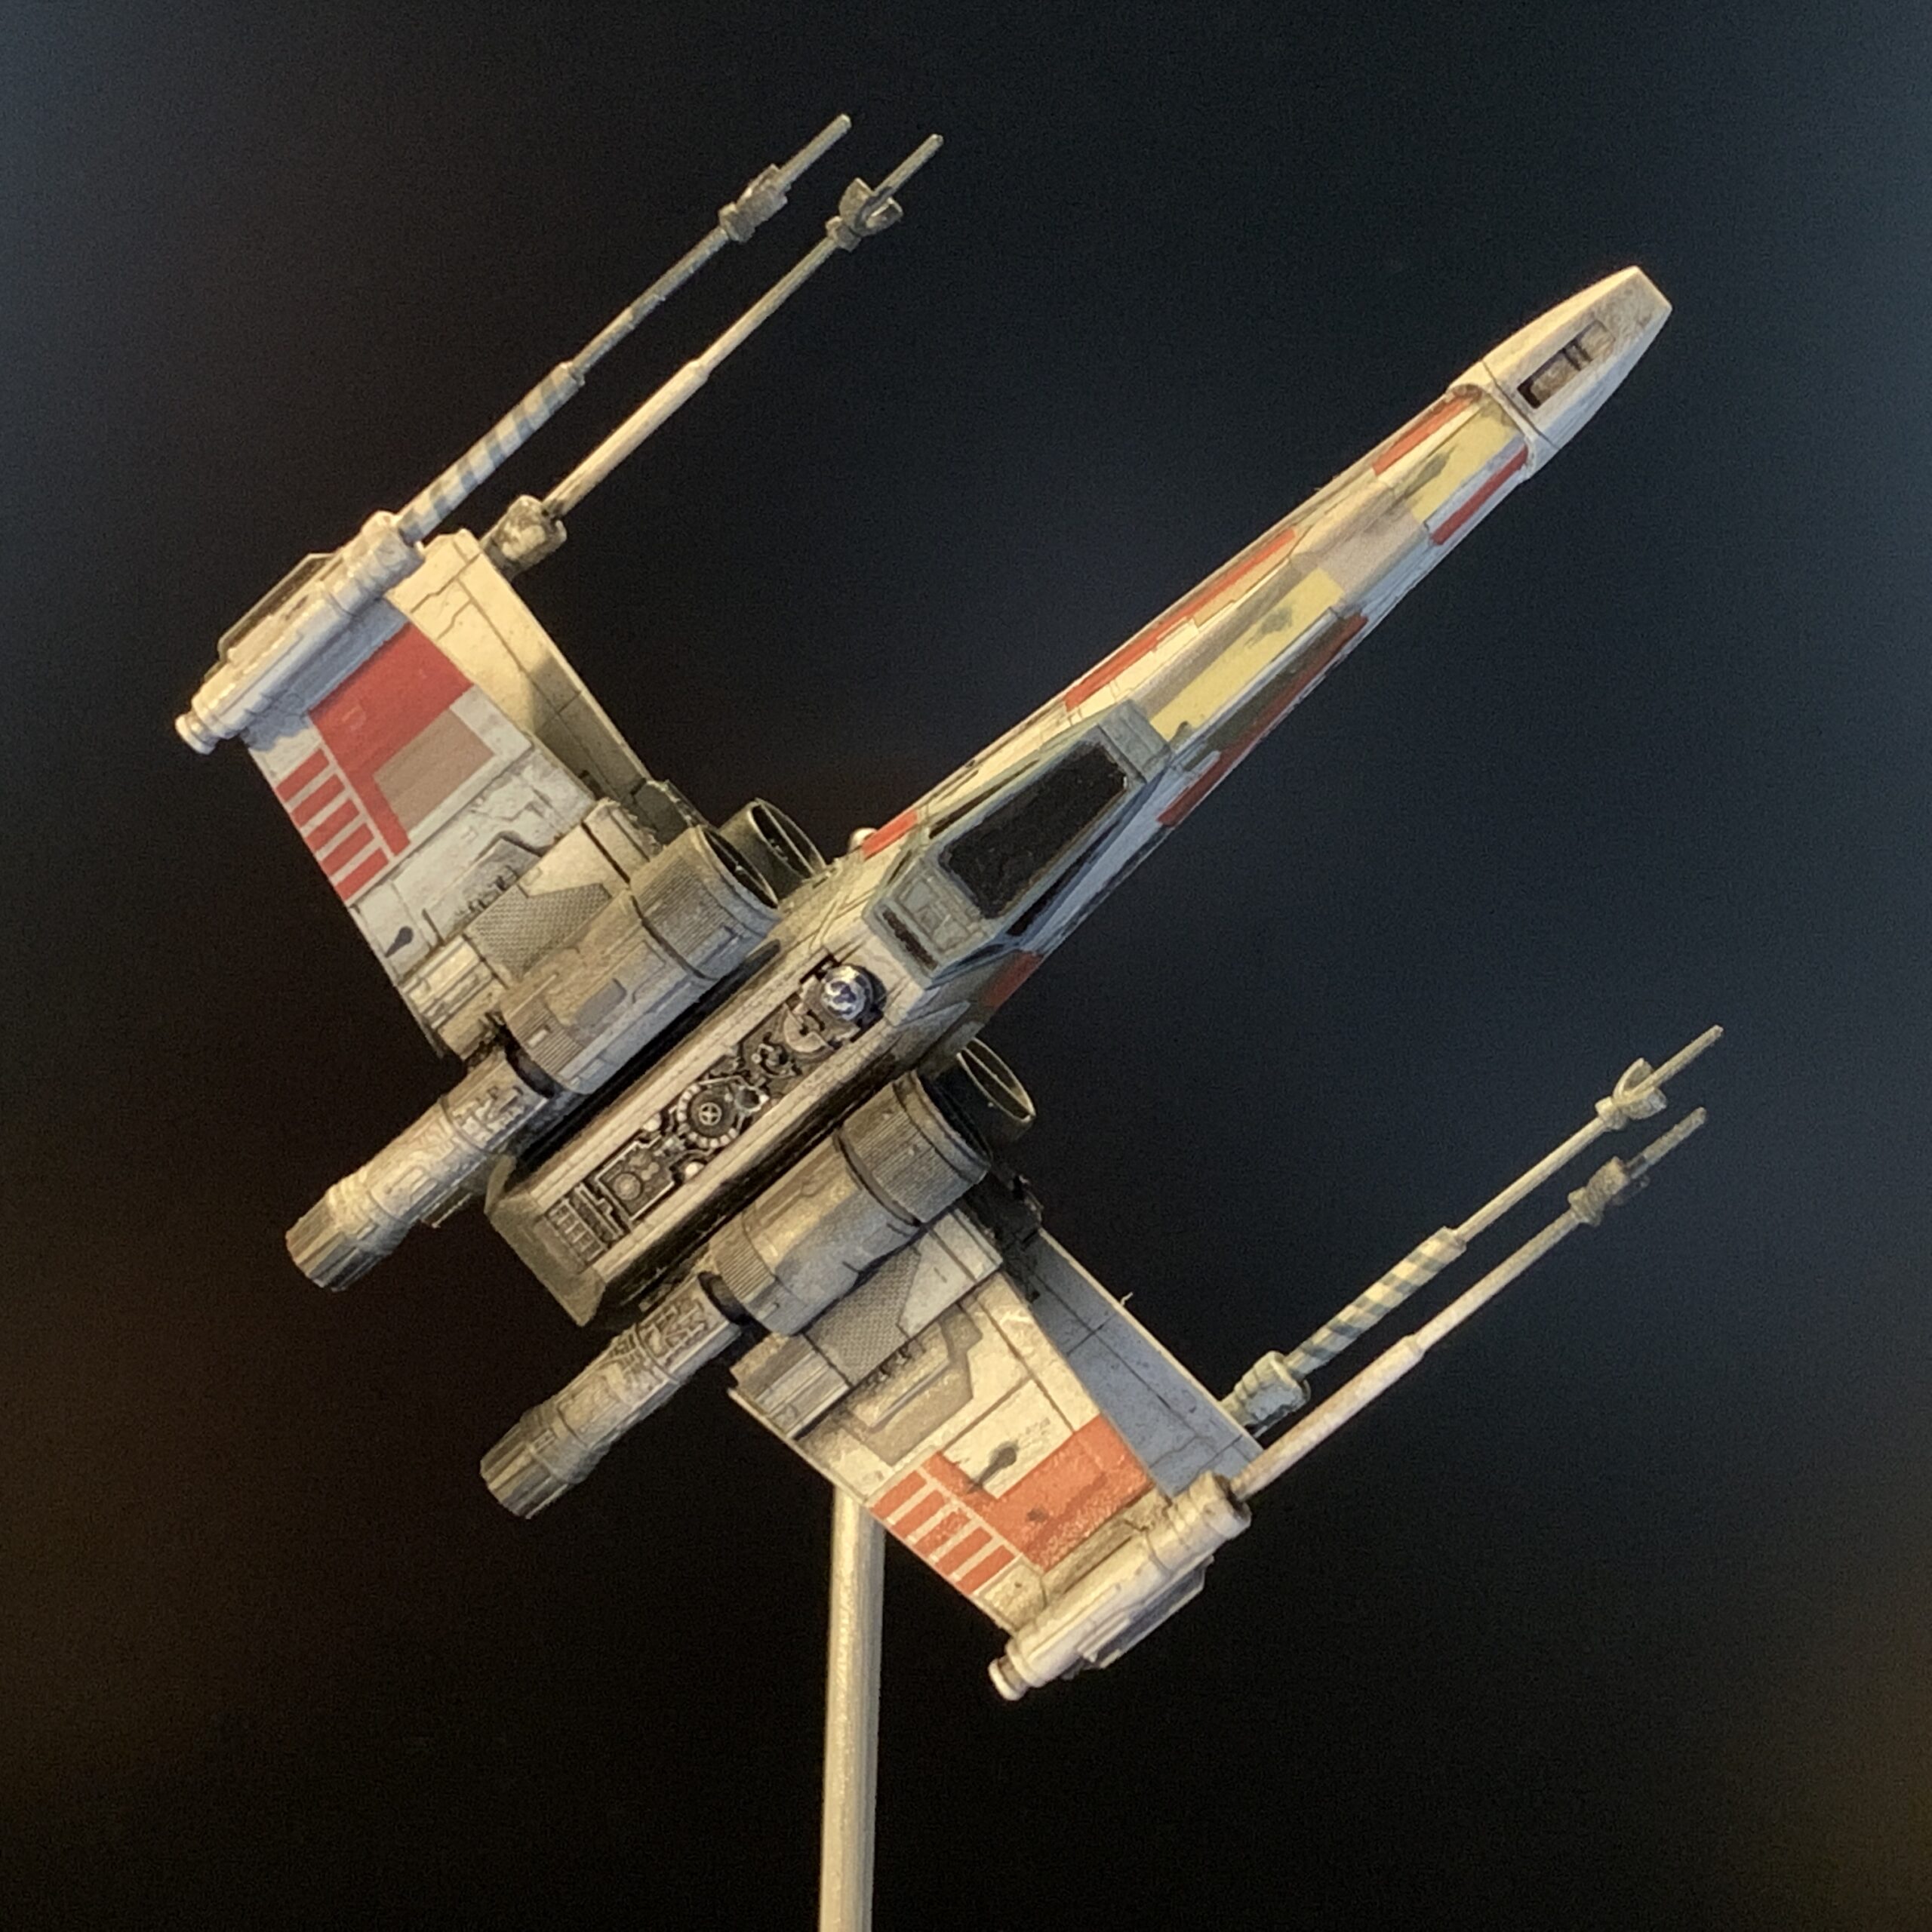
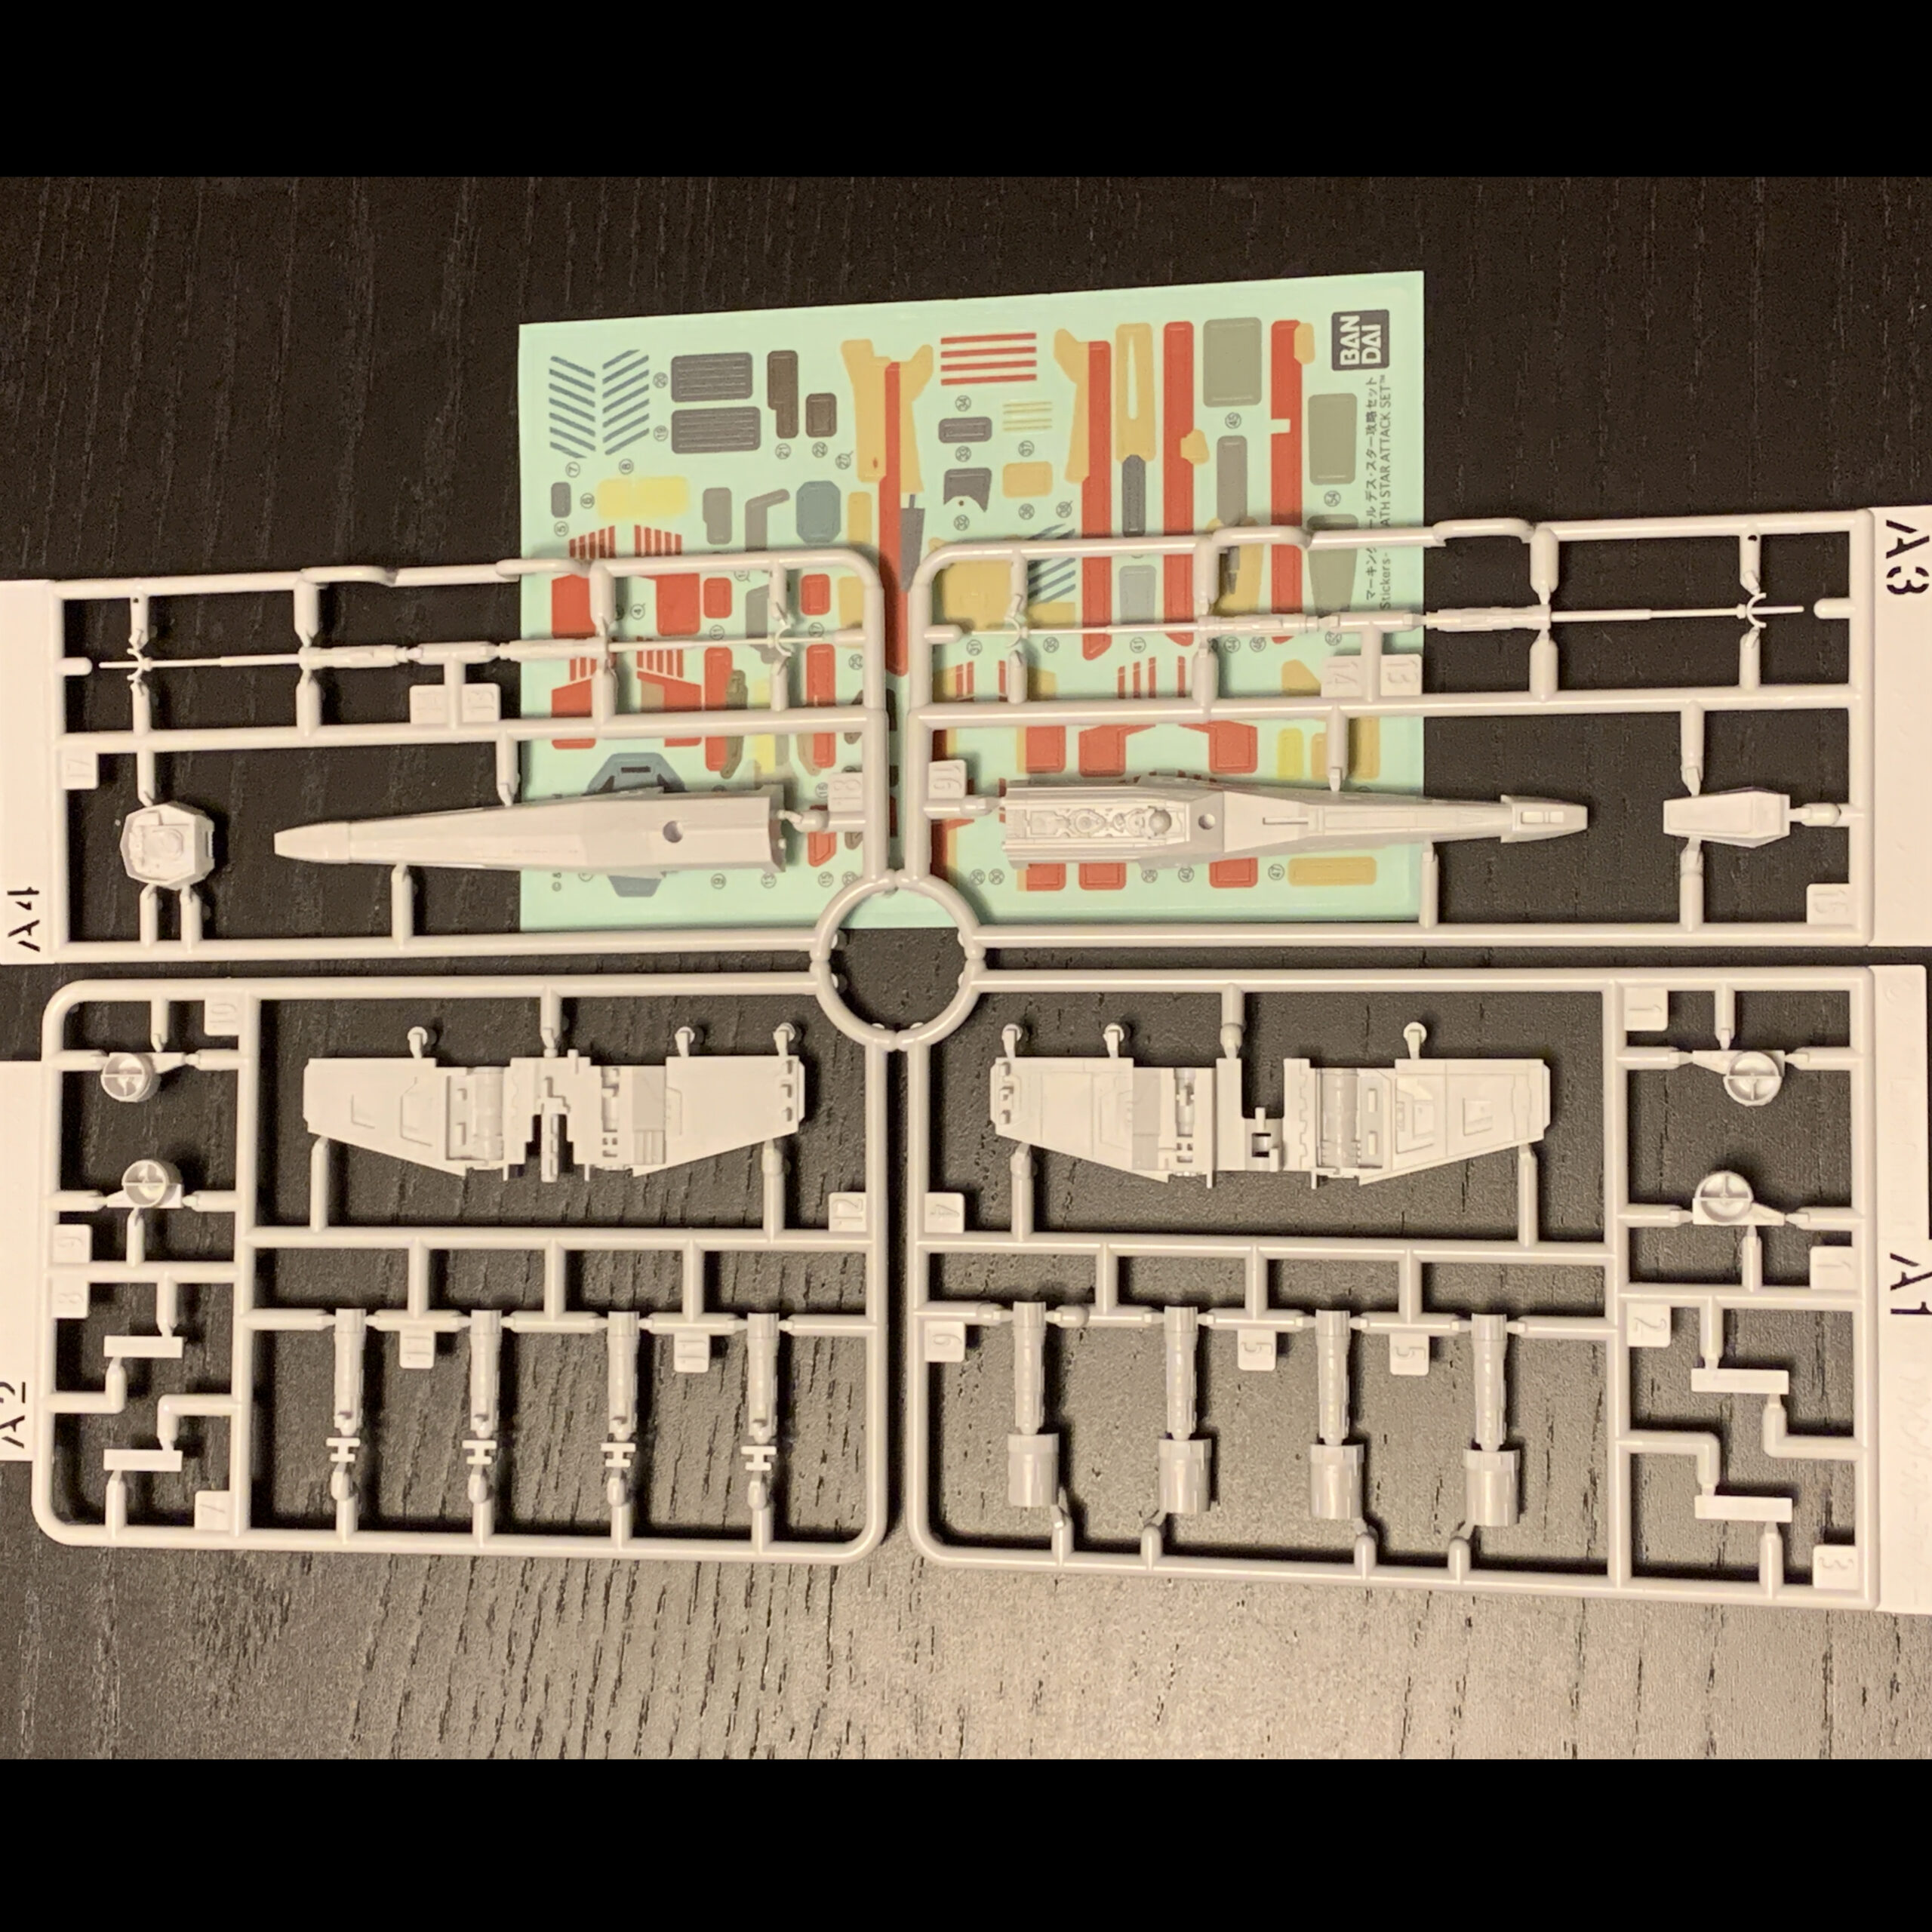
- 1:44 scale X-Wing, Y-Wing, TIE Fighter and TIE Advanced (aka Darth Vader’s TIE Fighter)
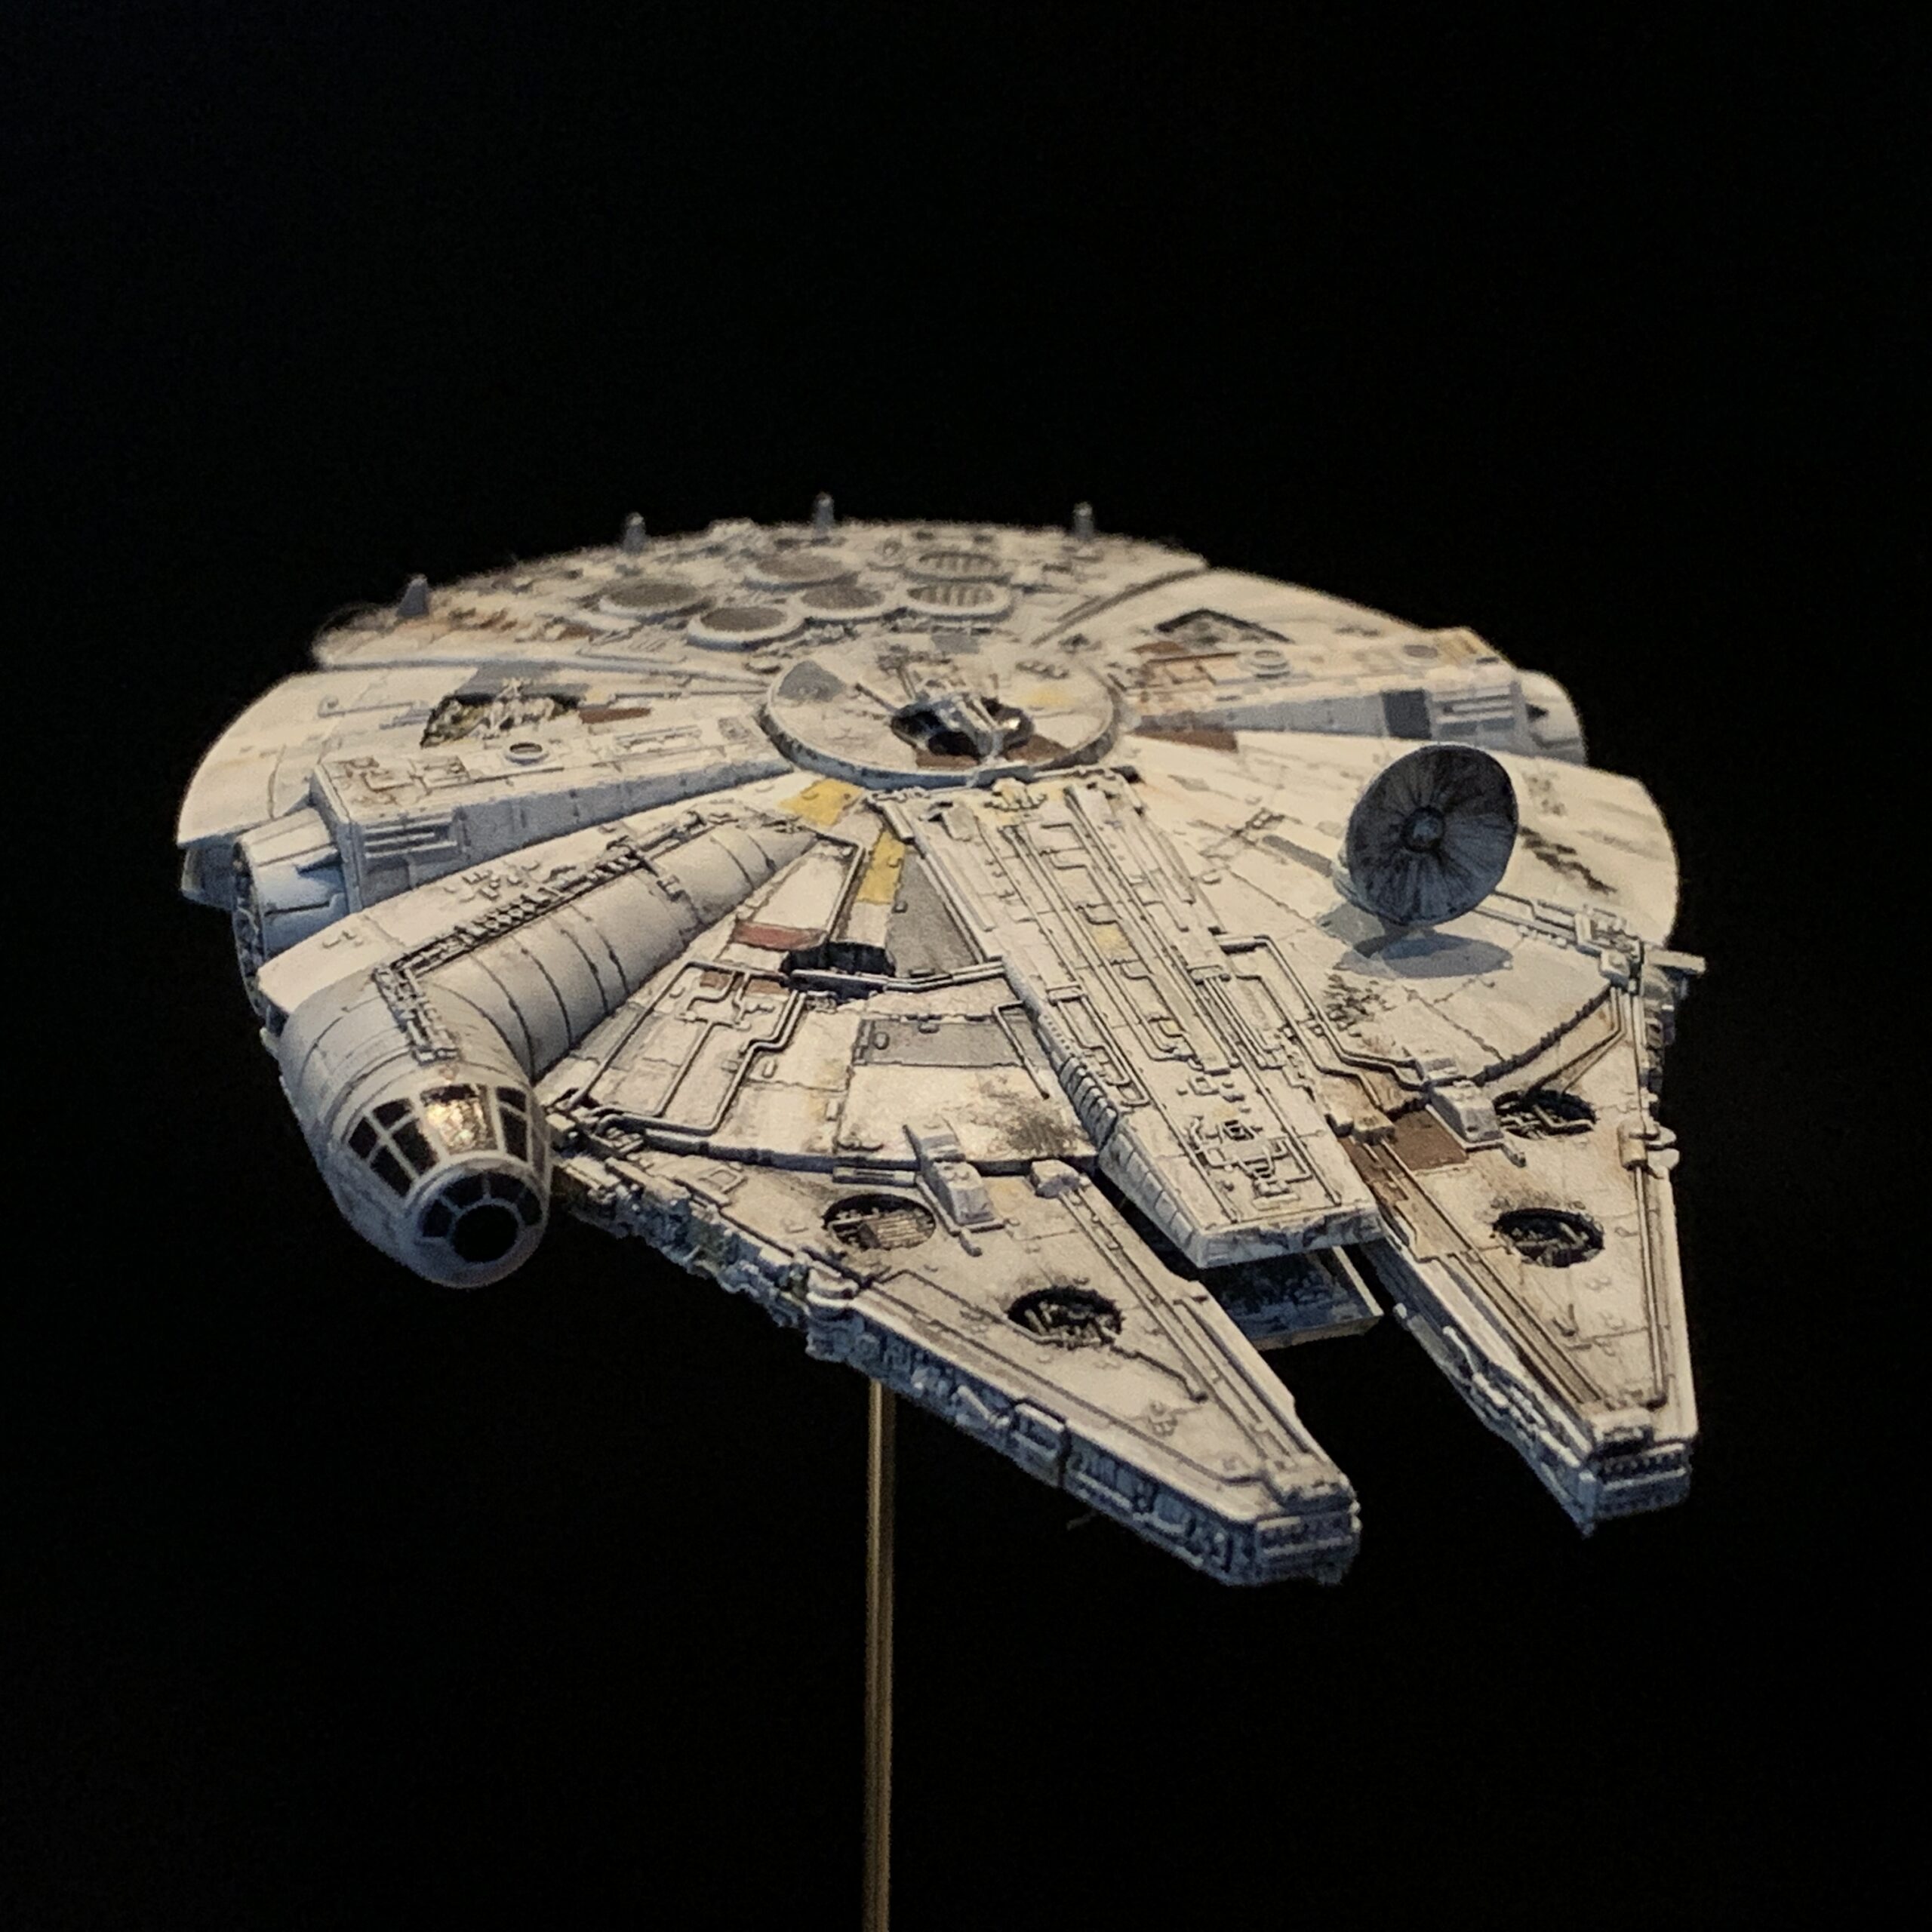
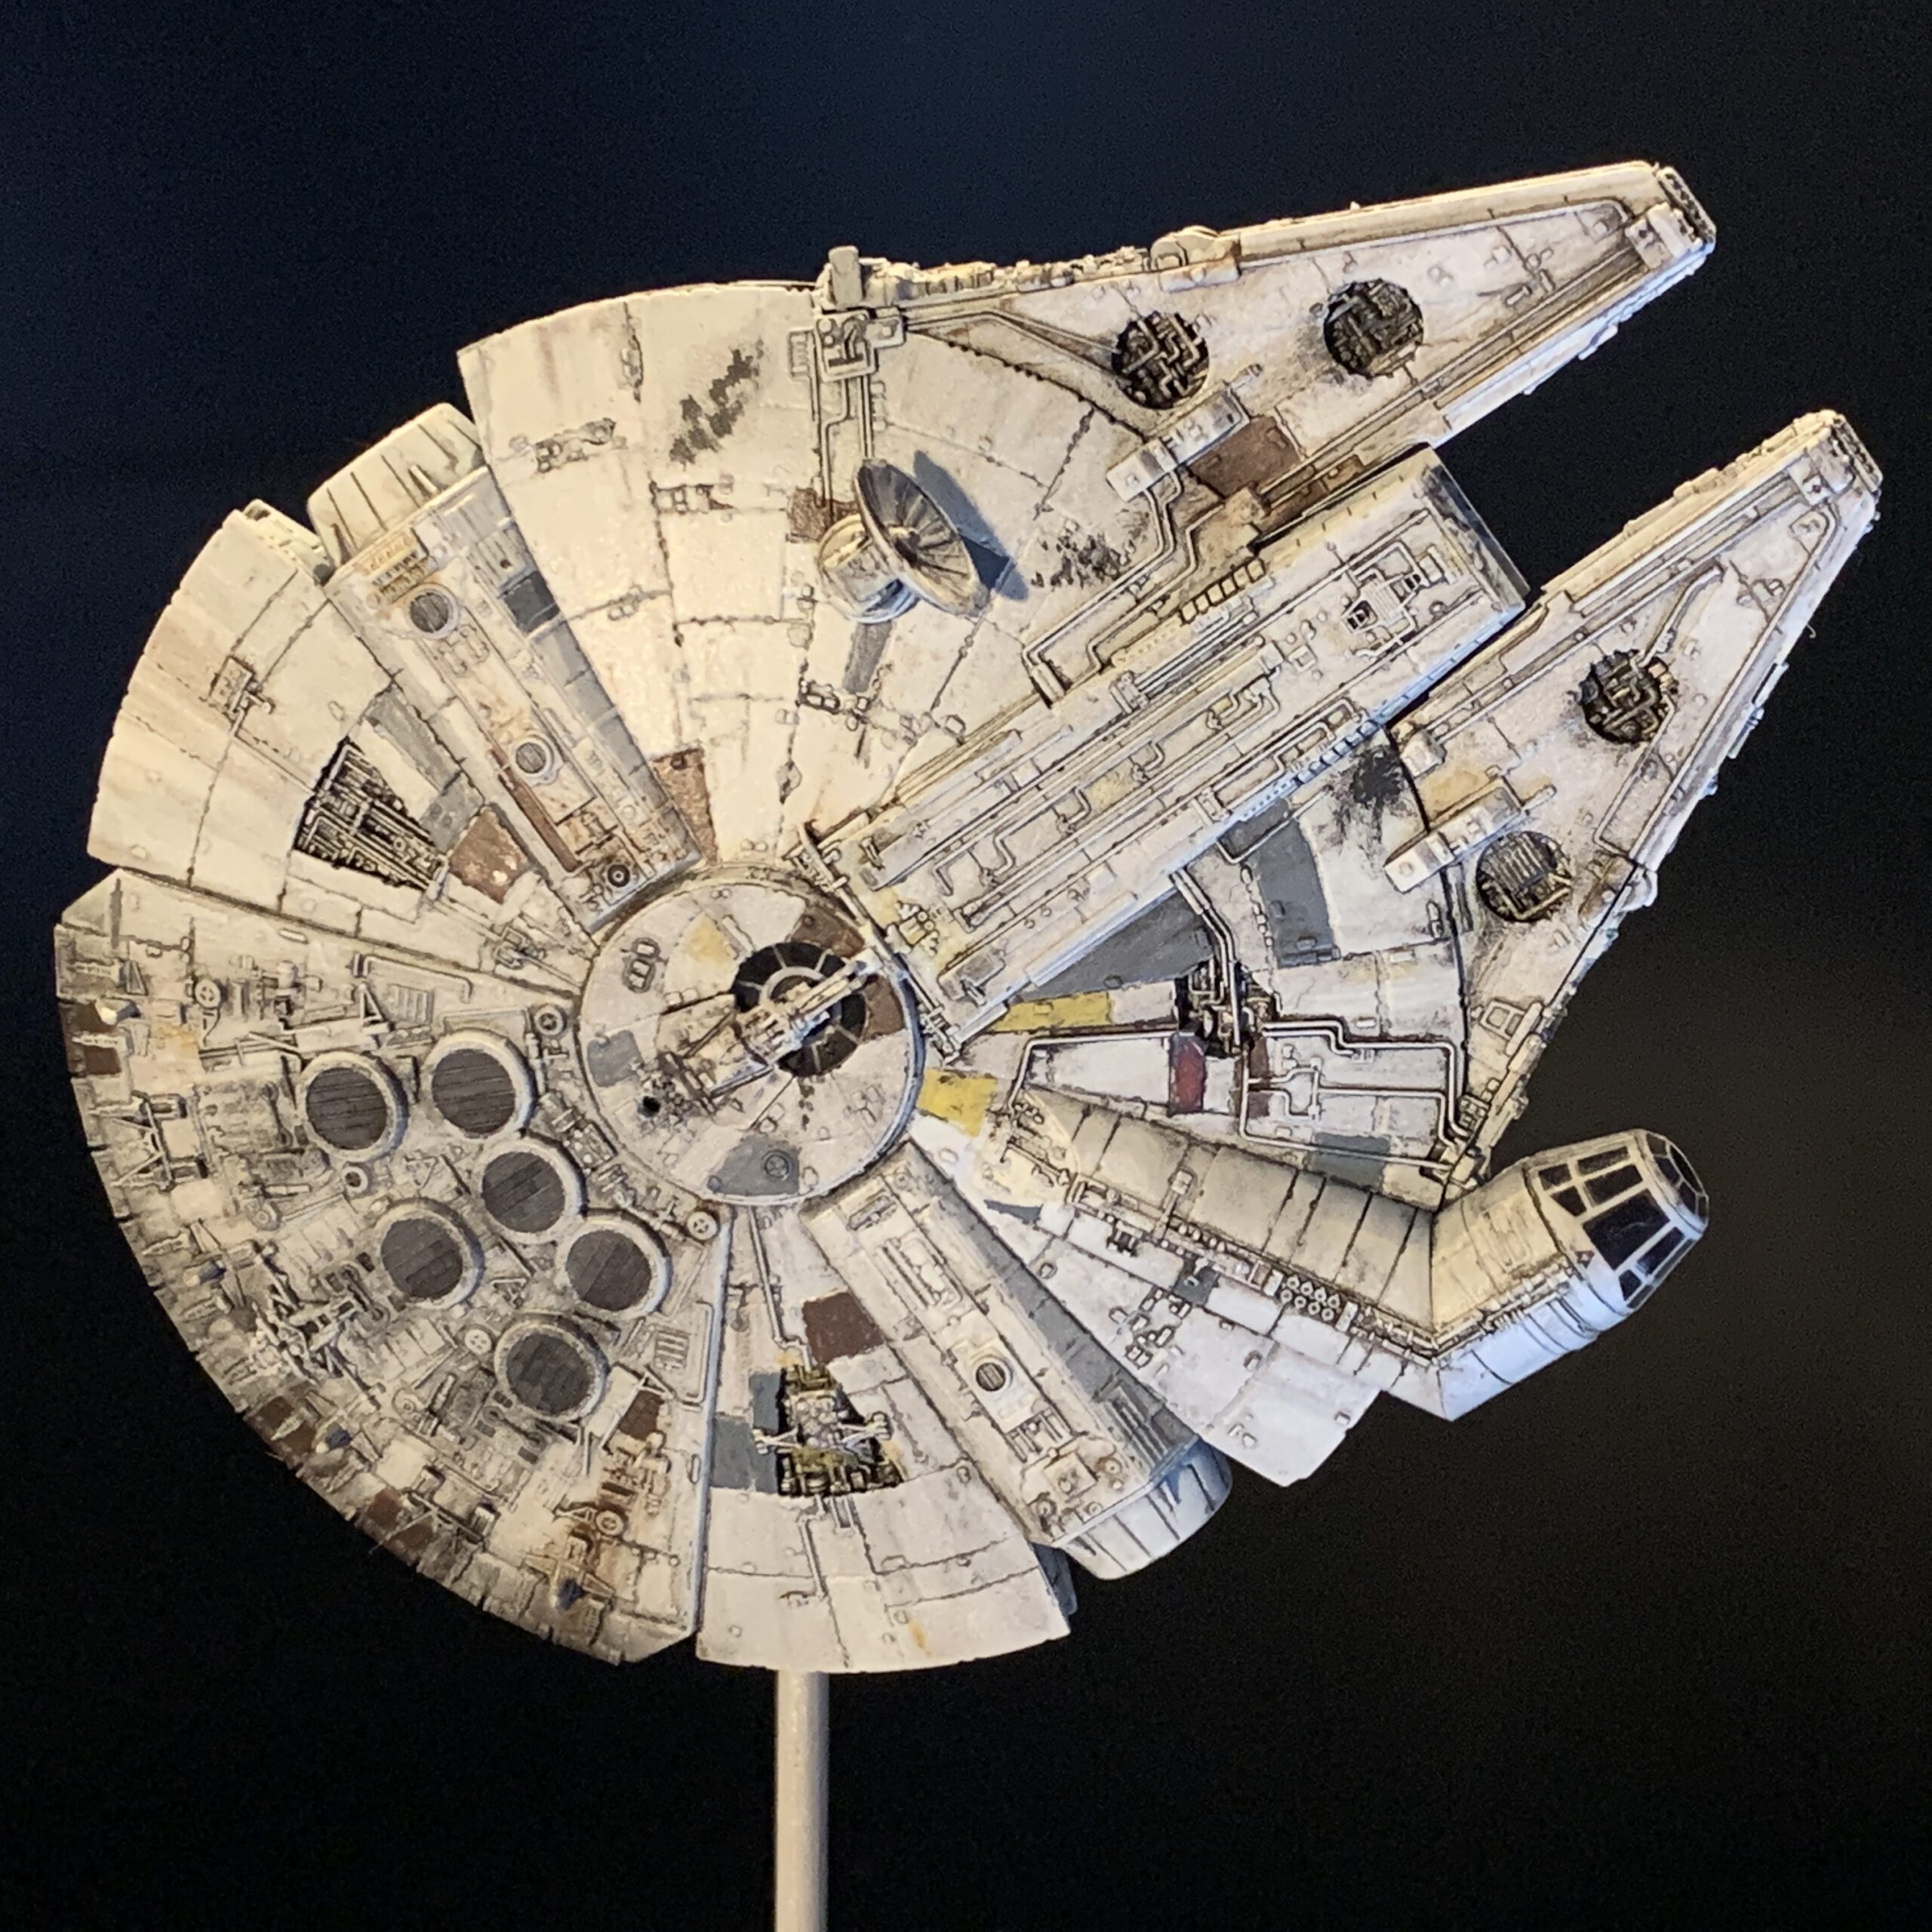
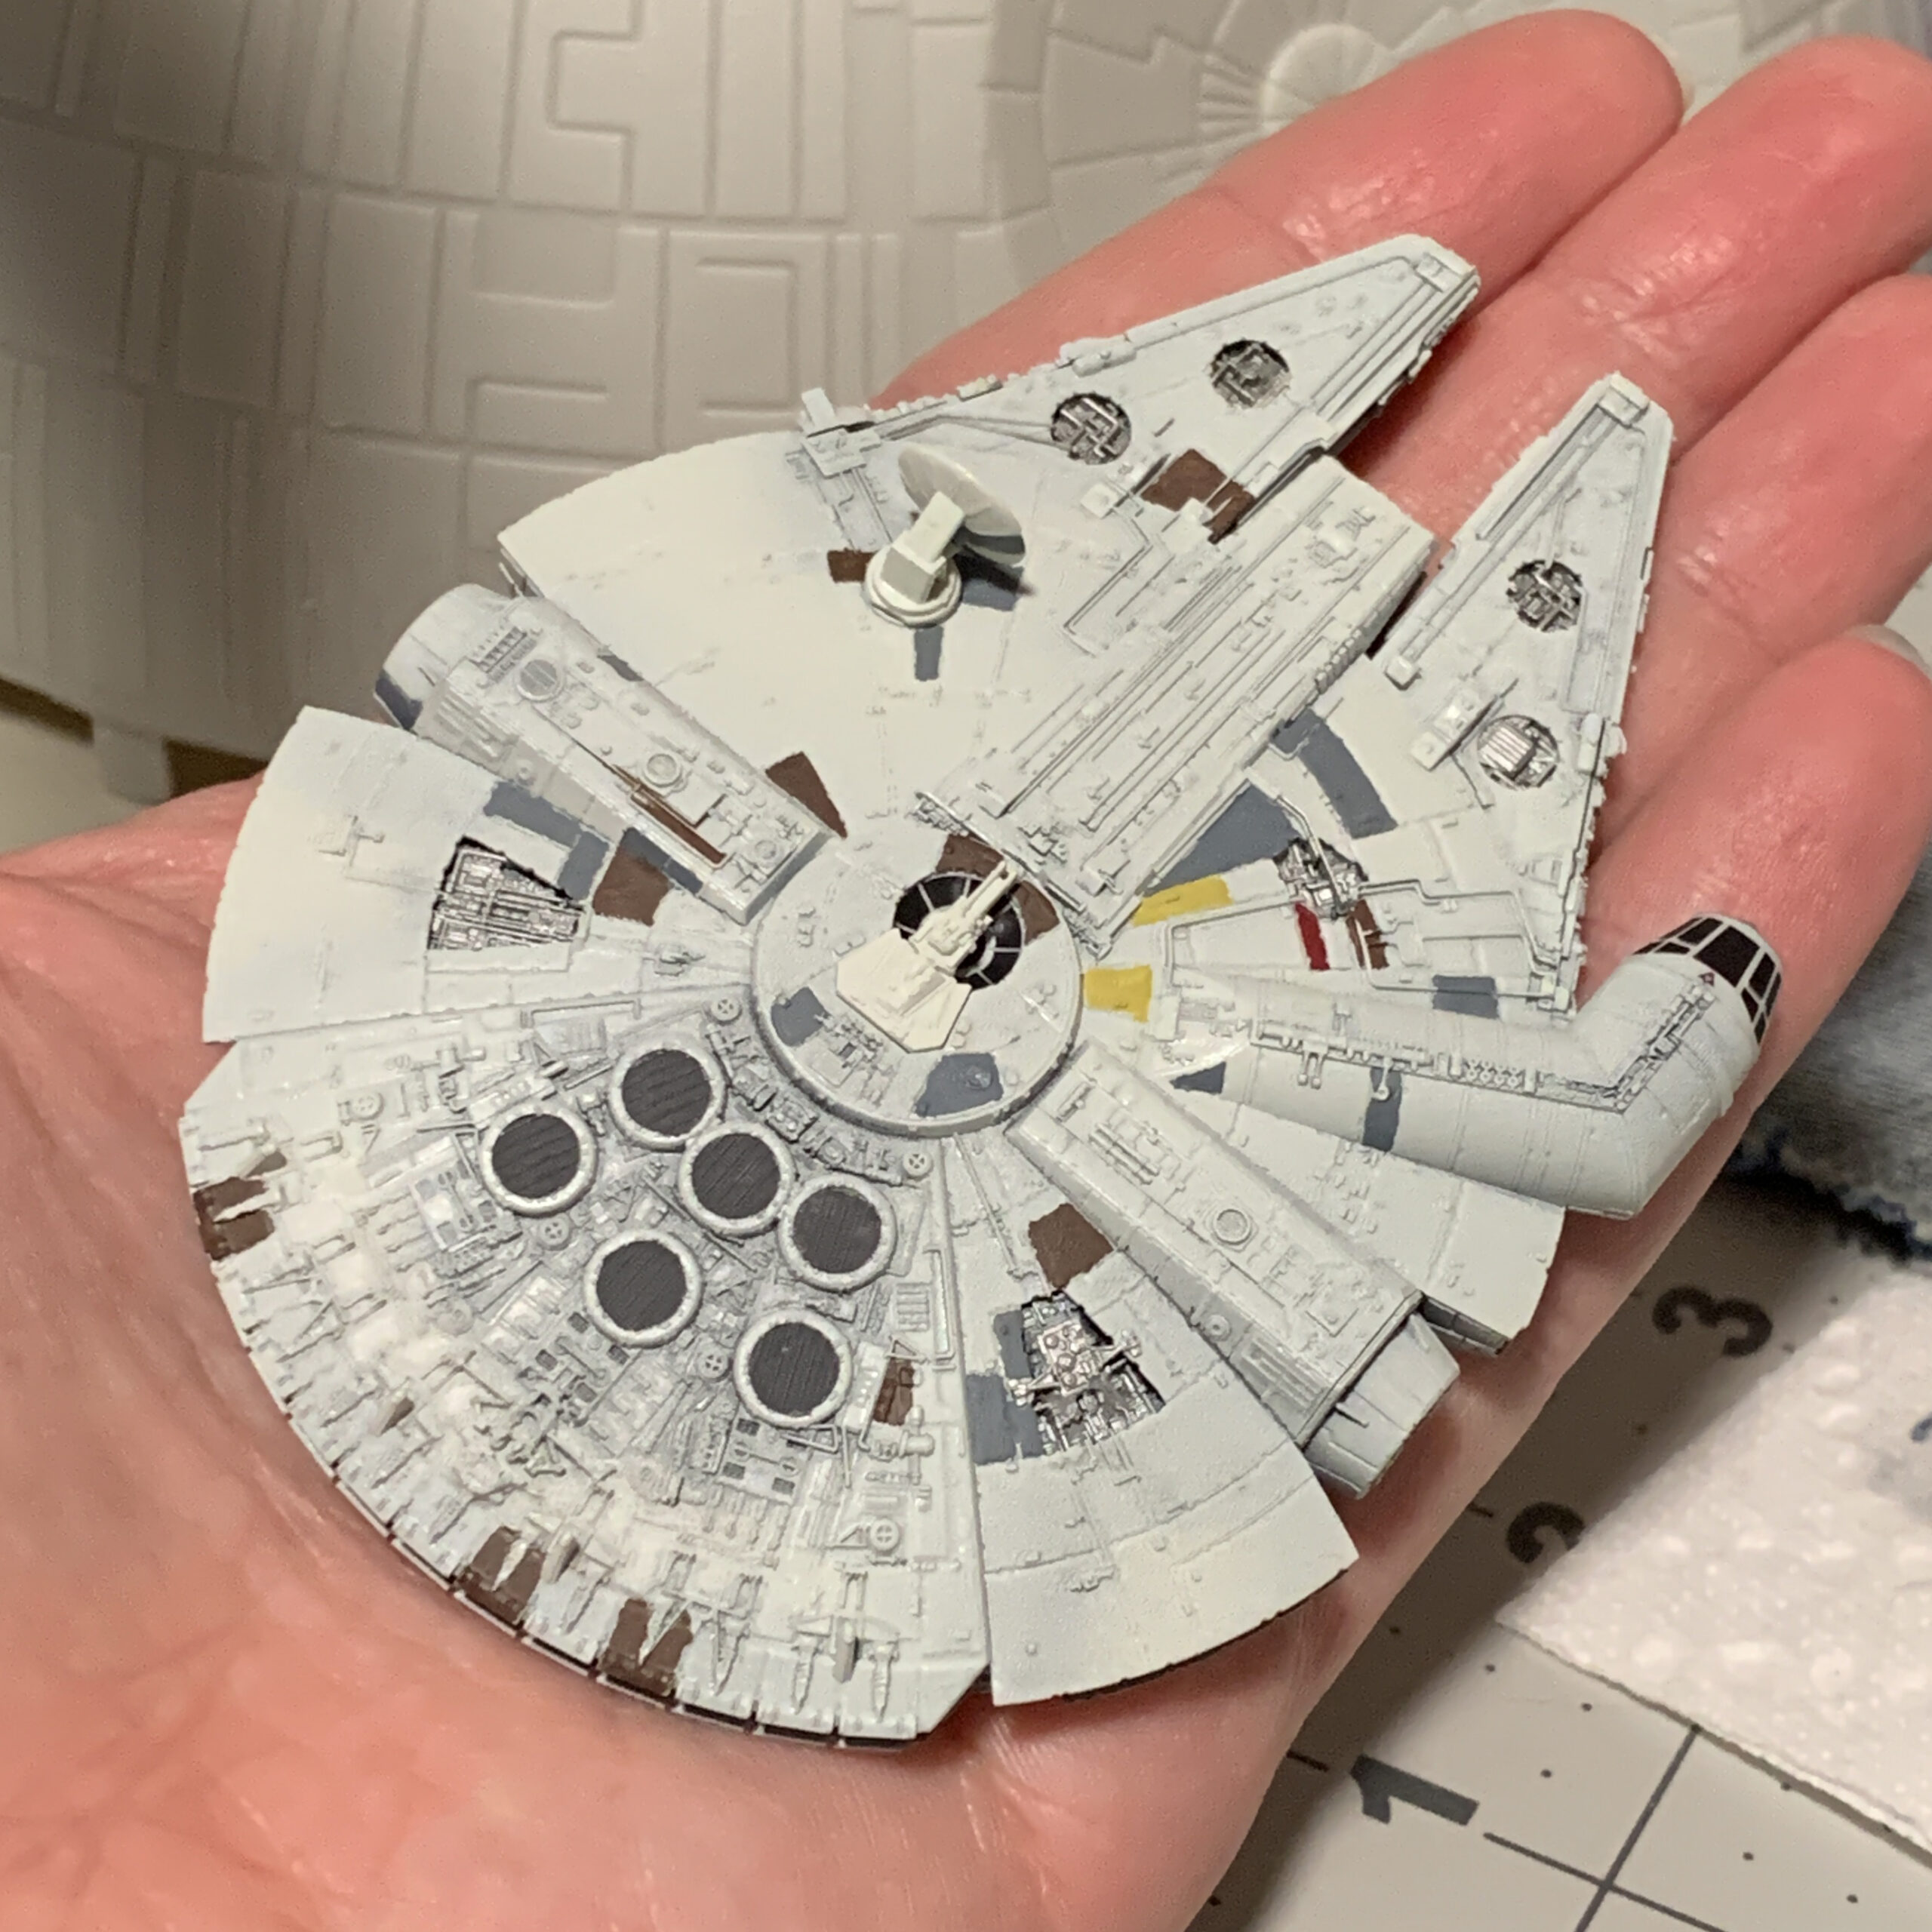
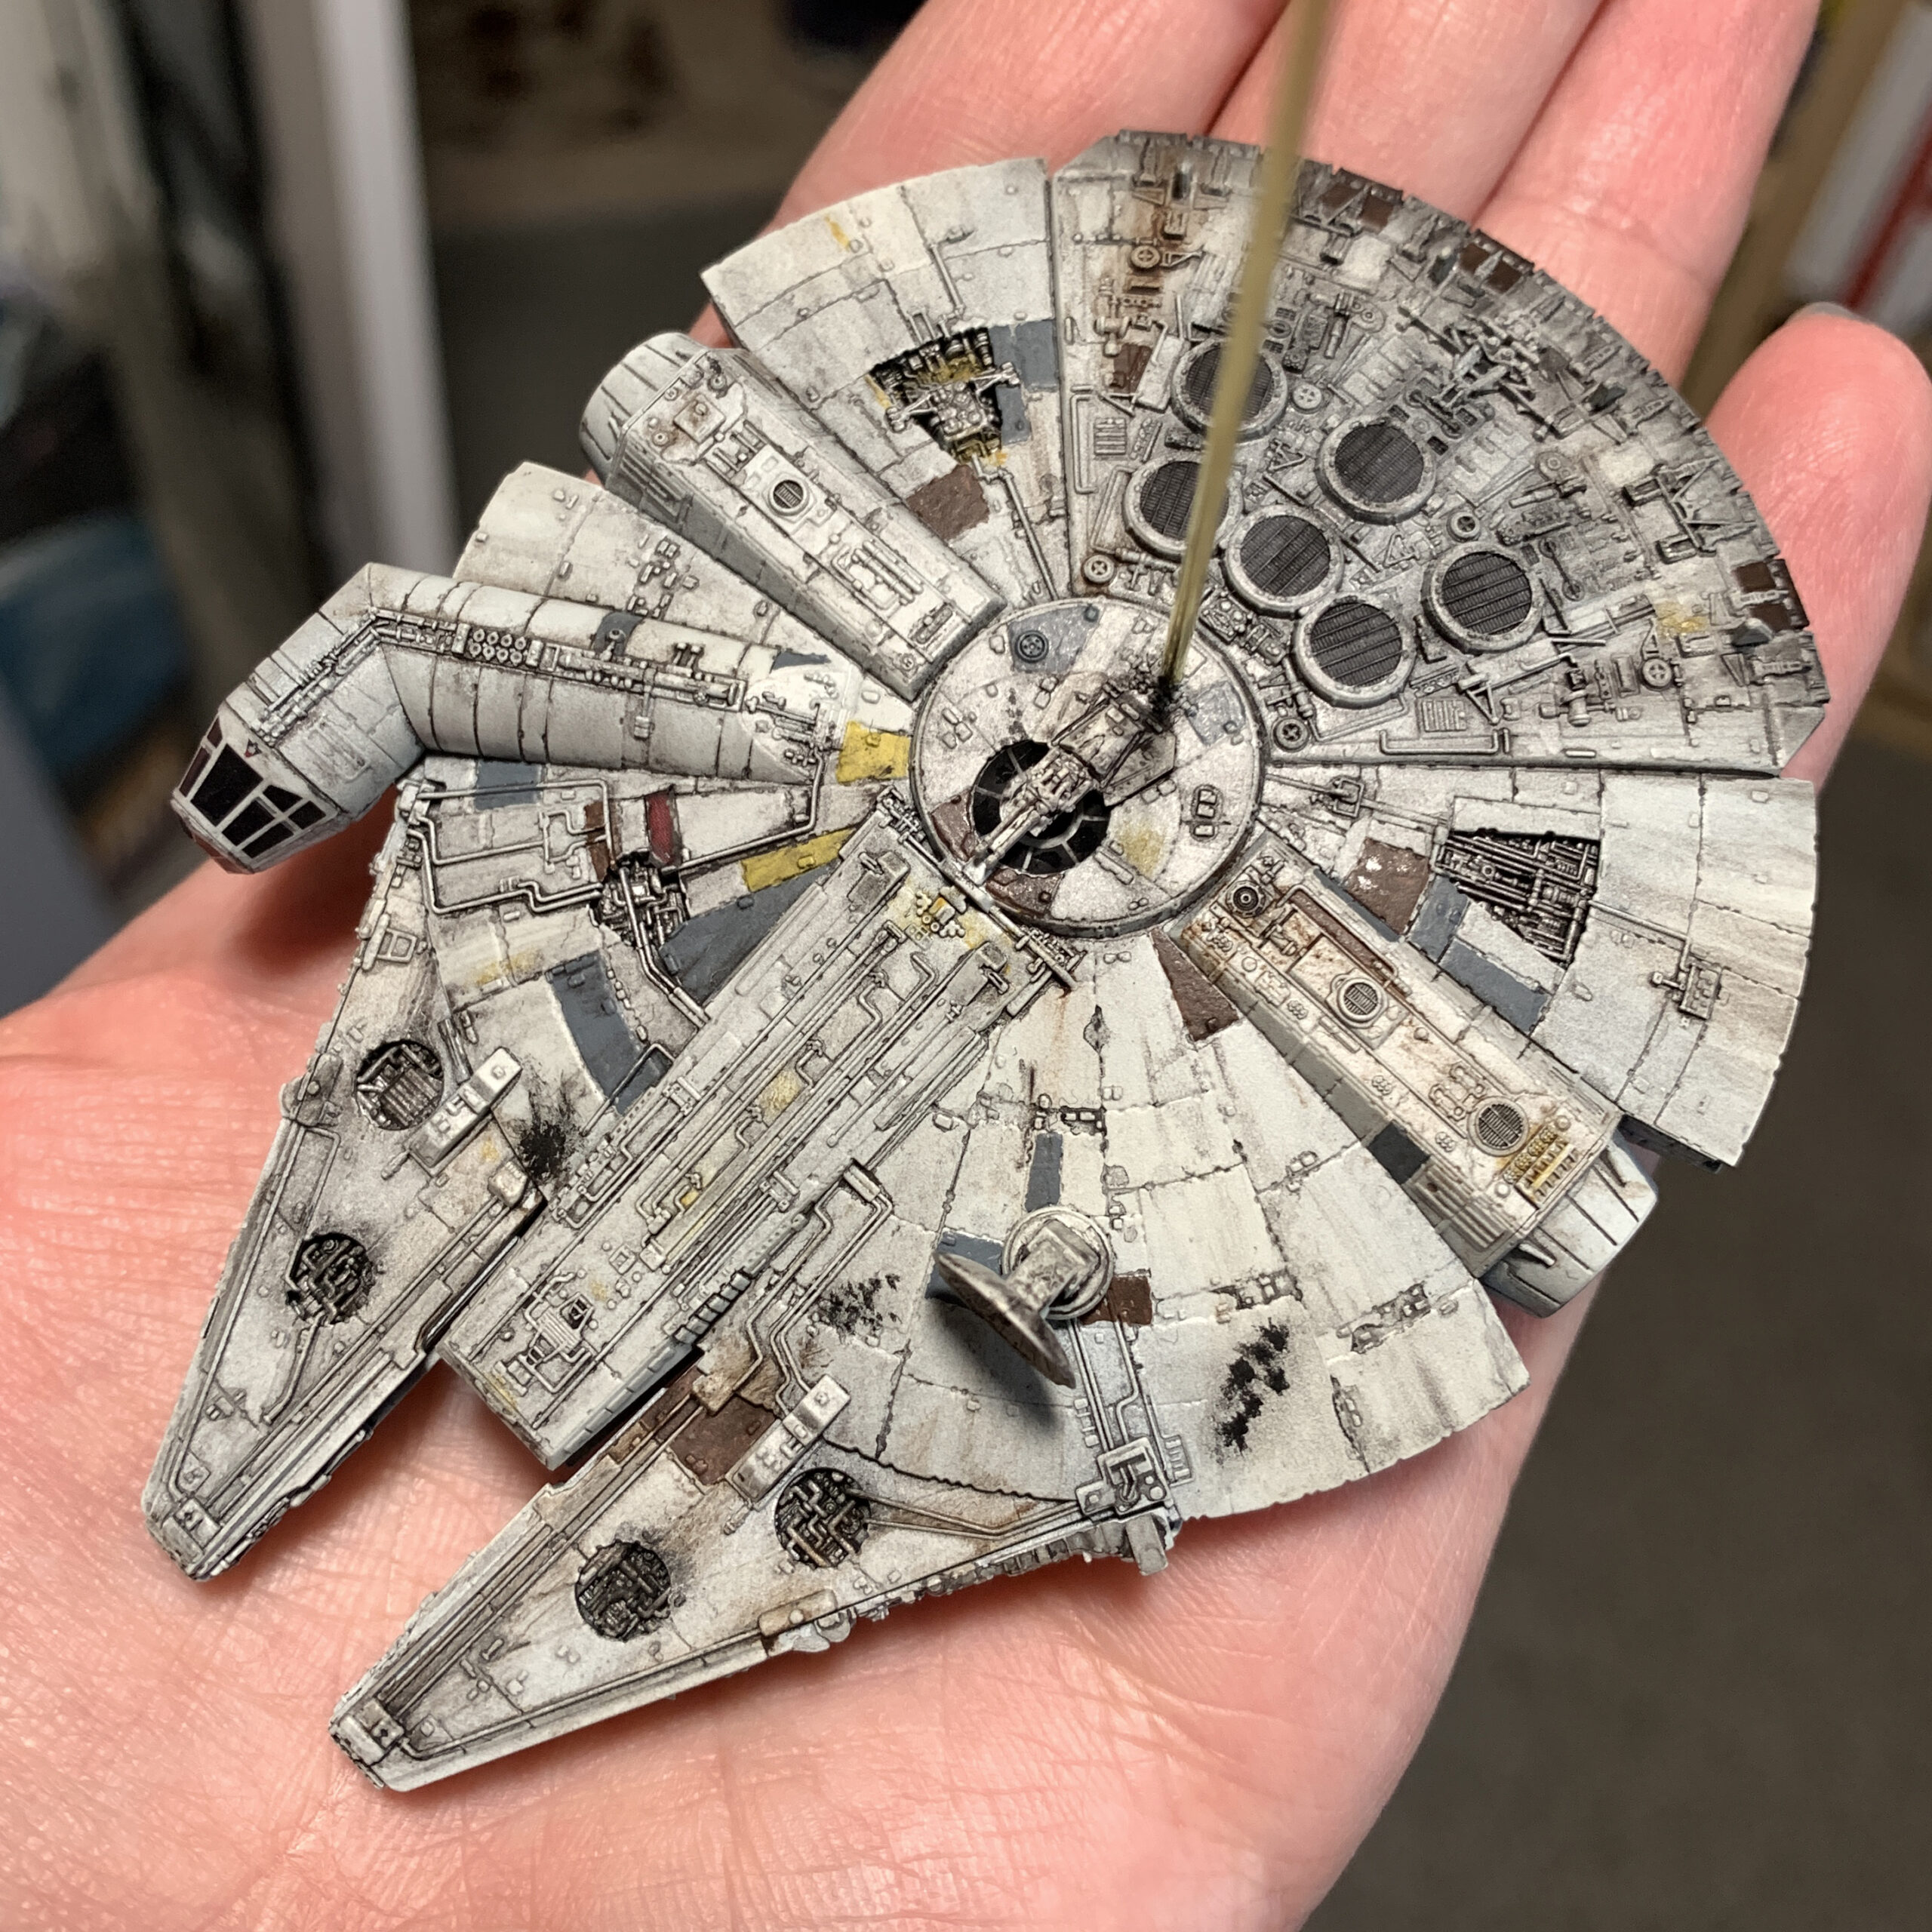
- 1:350 Millennium Falcon
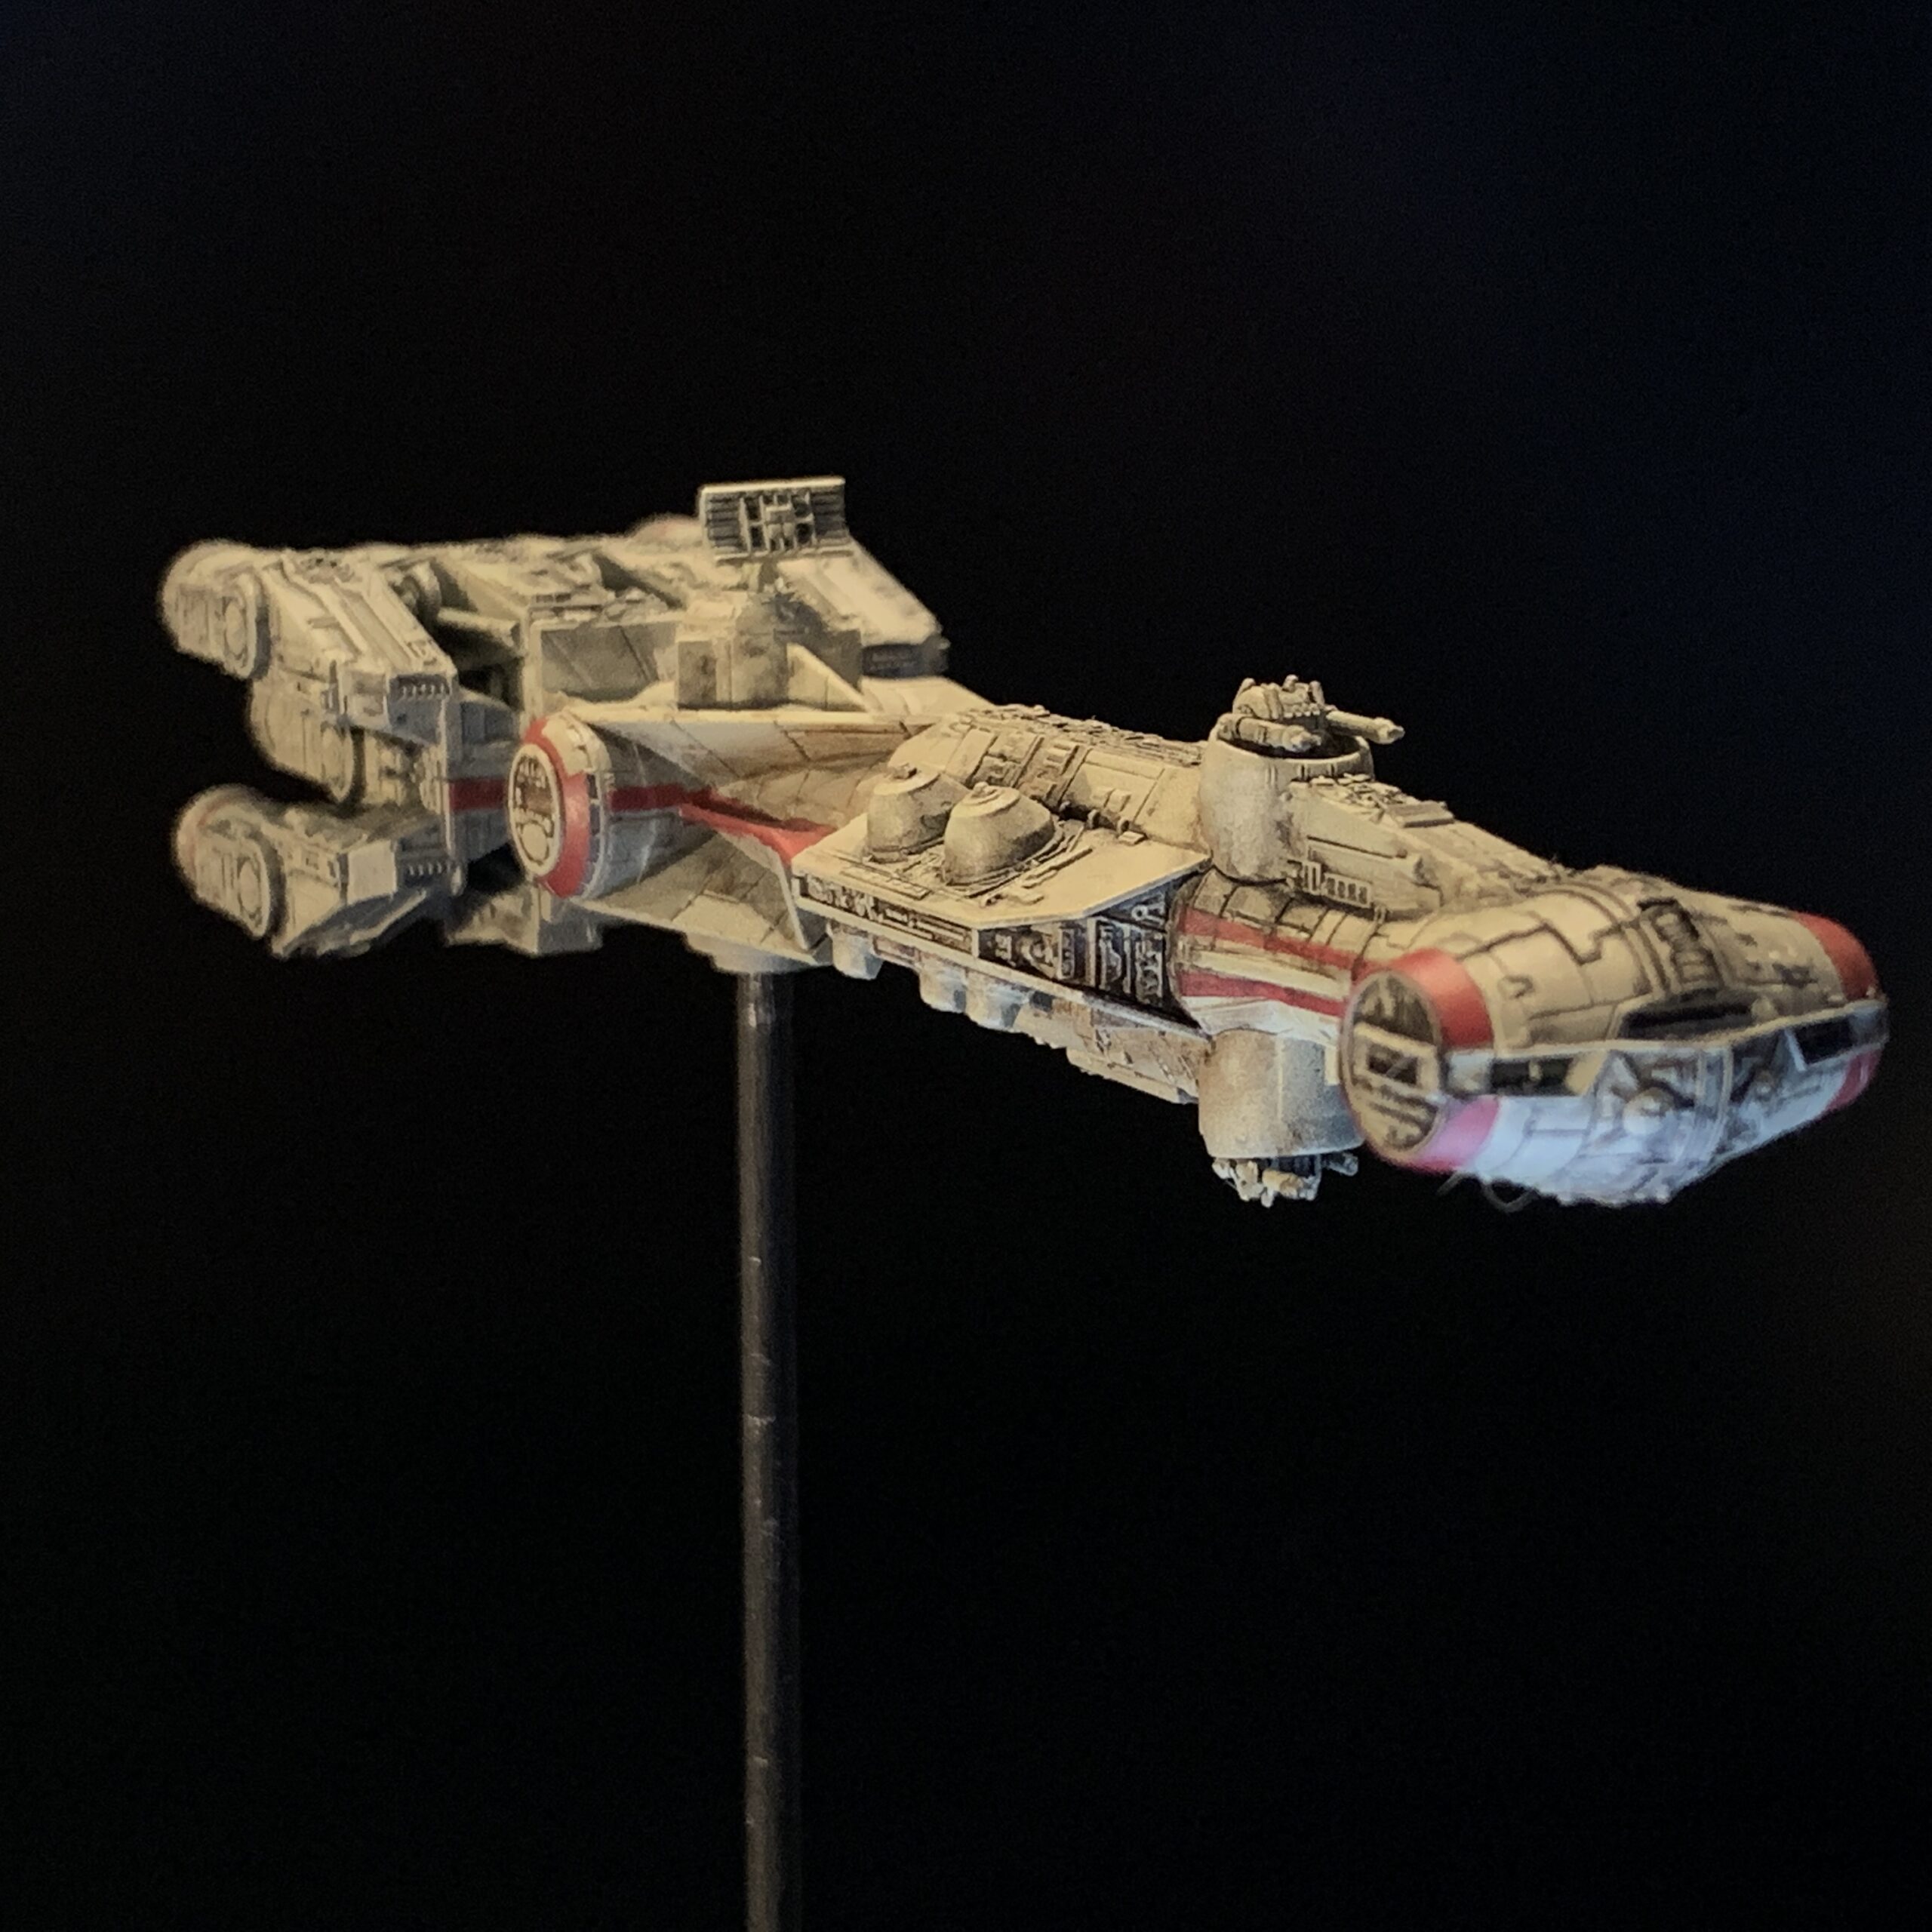
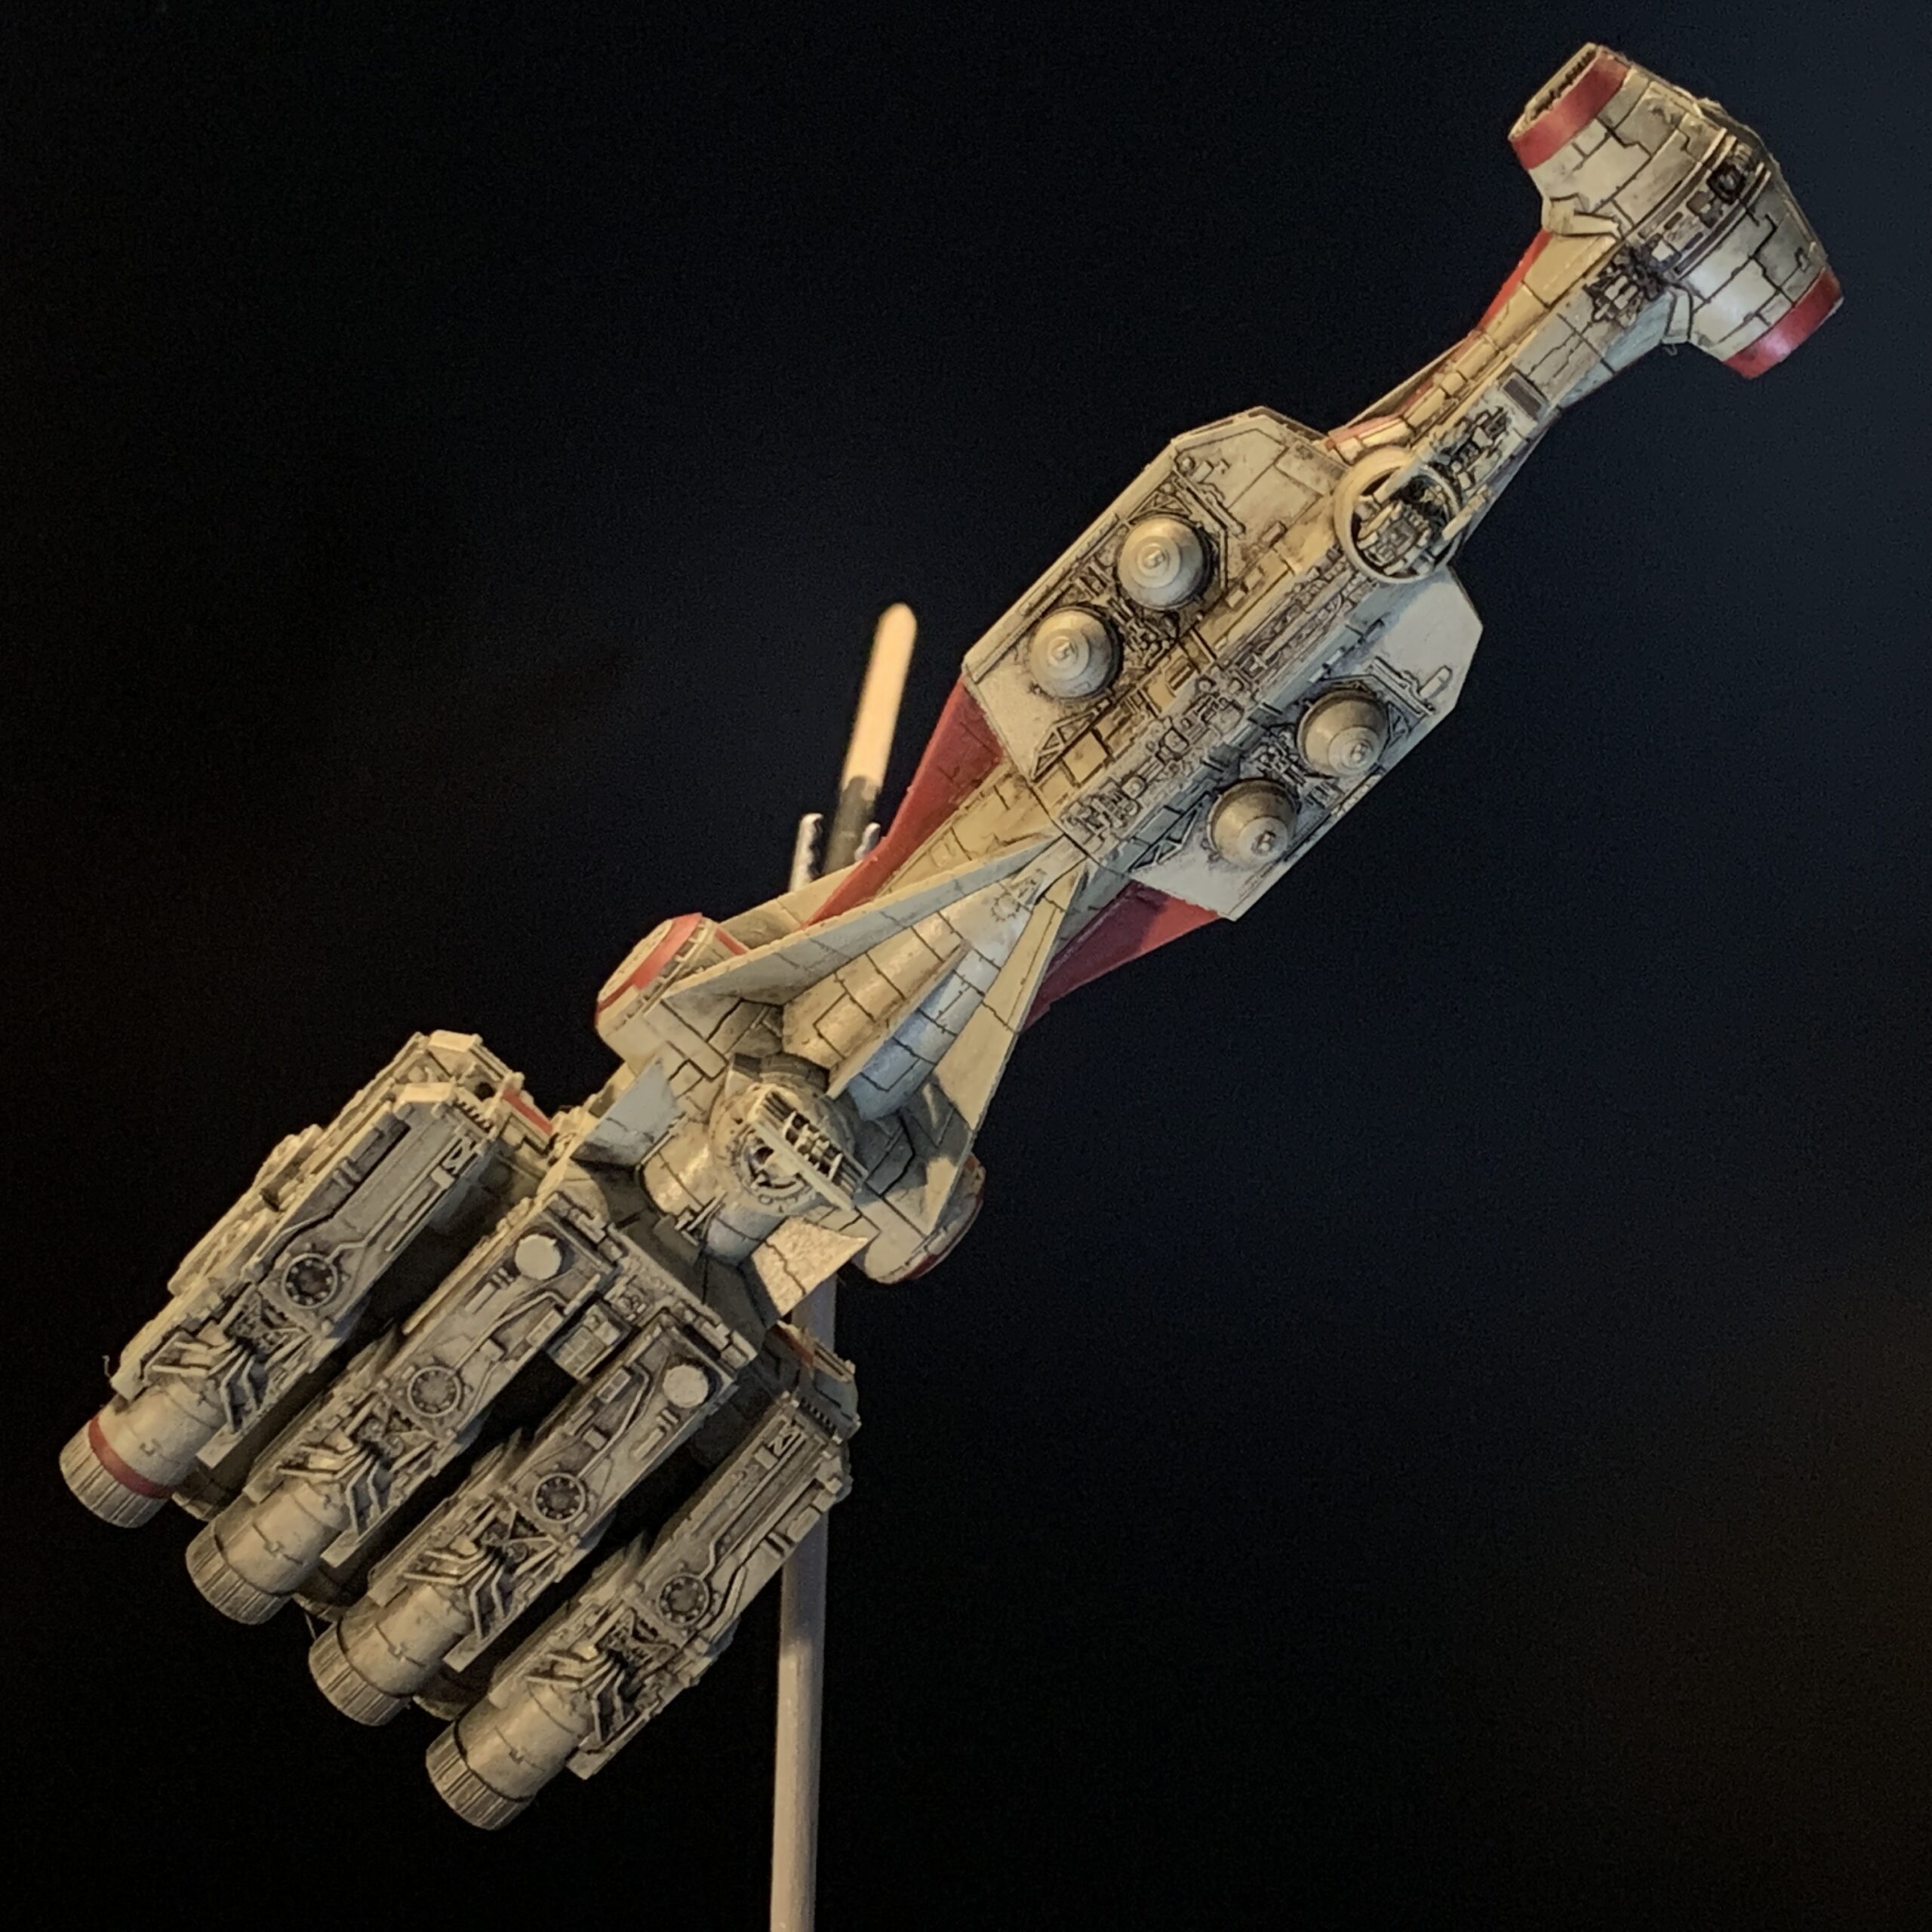
- 1:1000 Blockade Runner
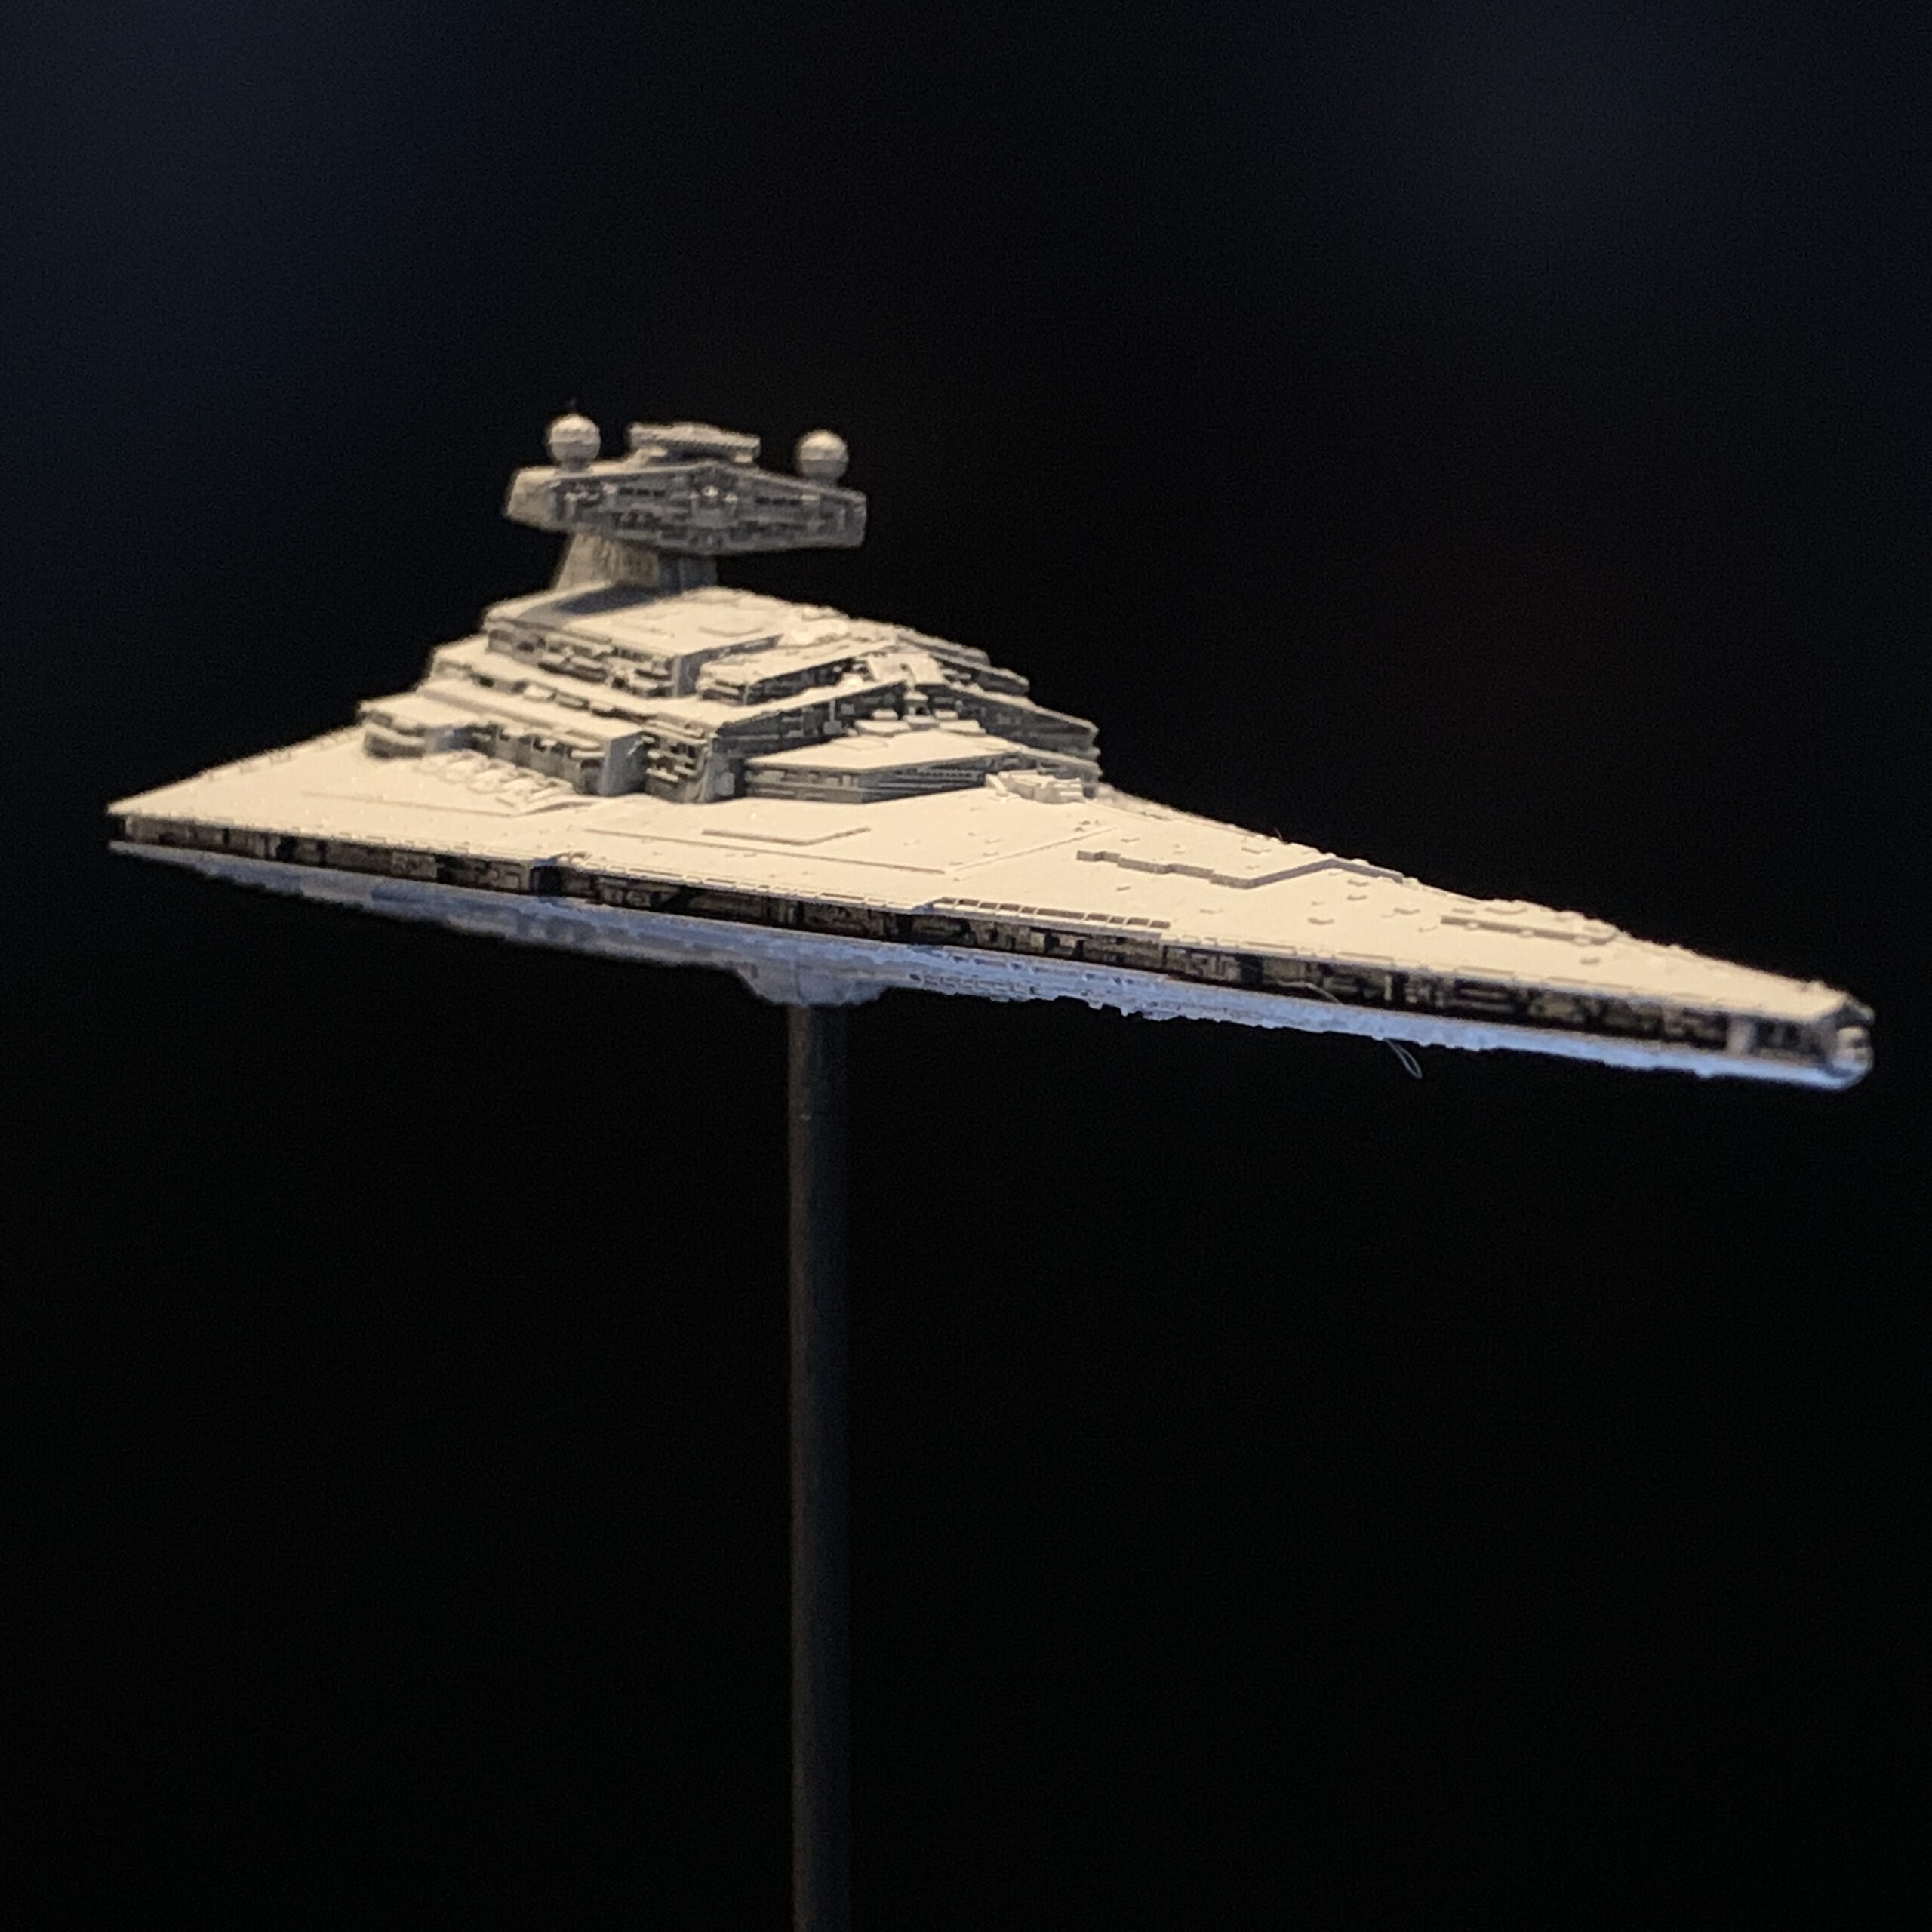
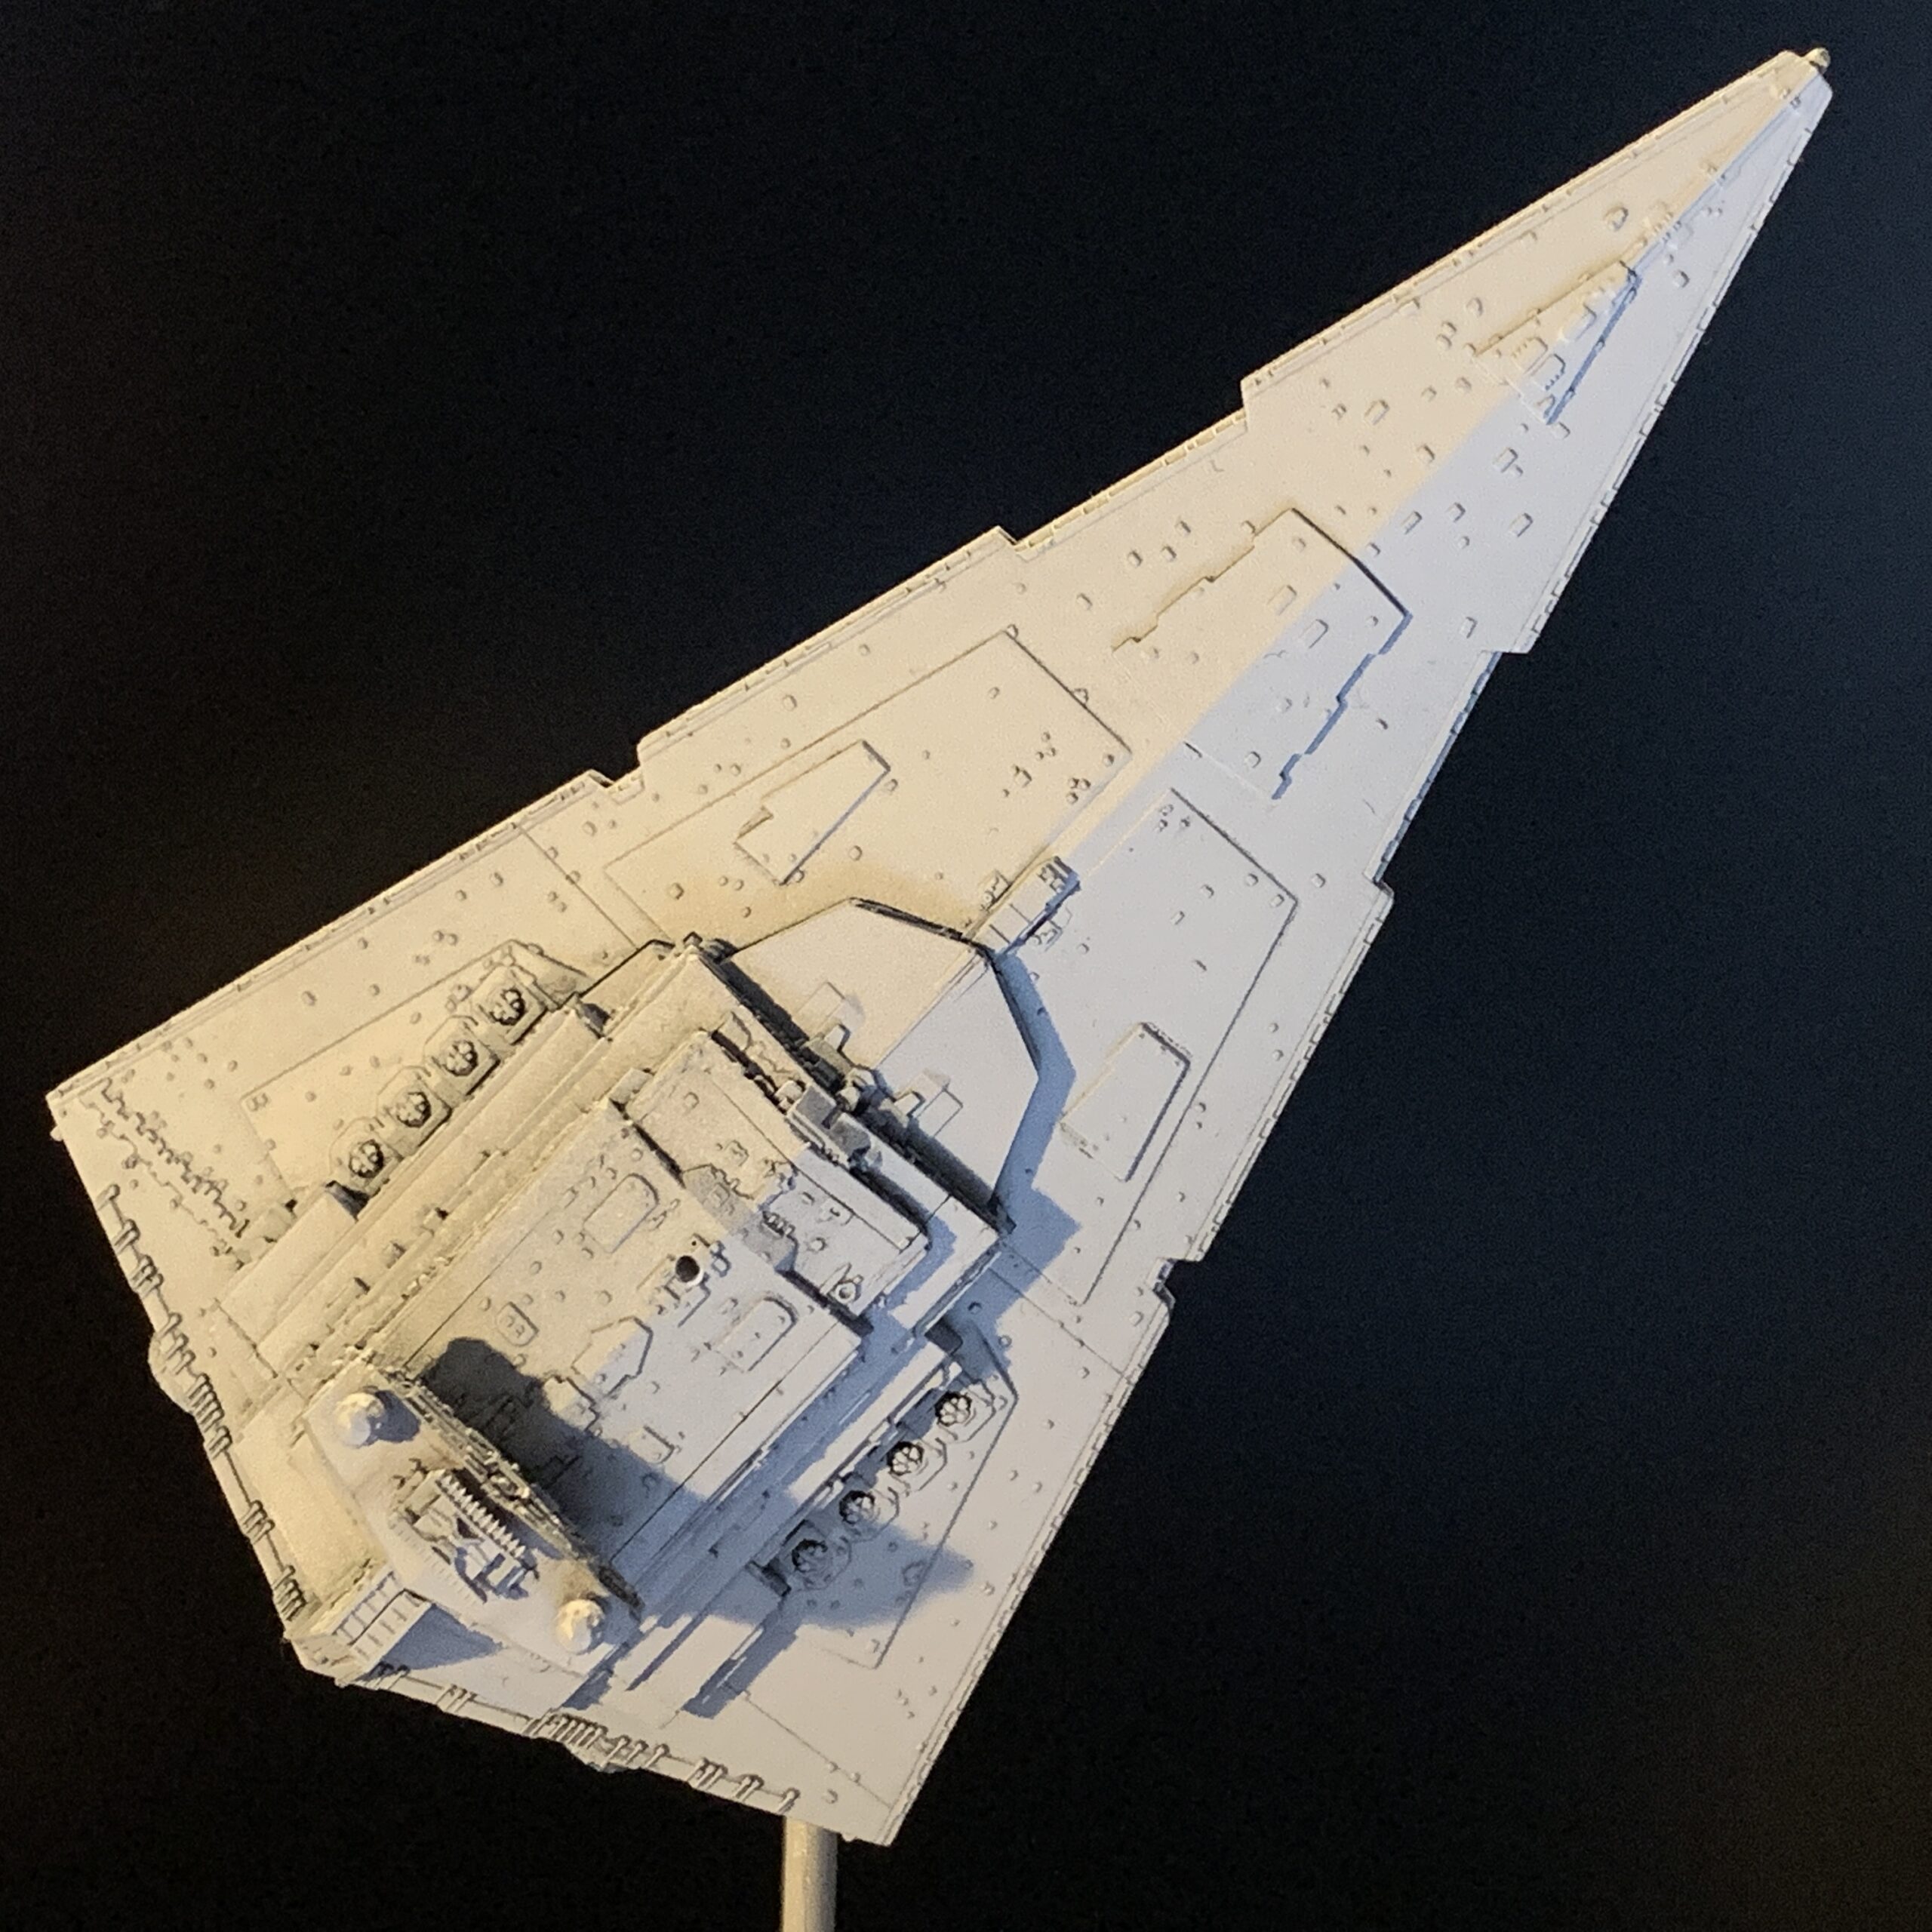
- 1:14,500 Star Destroyer
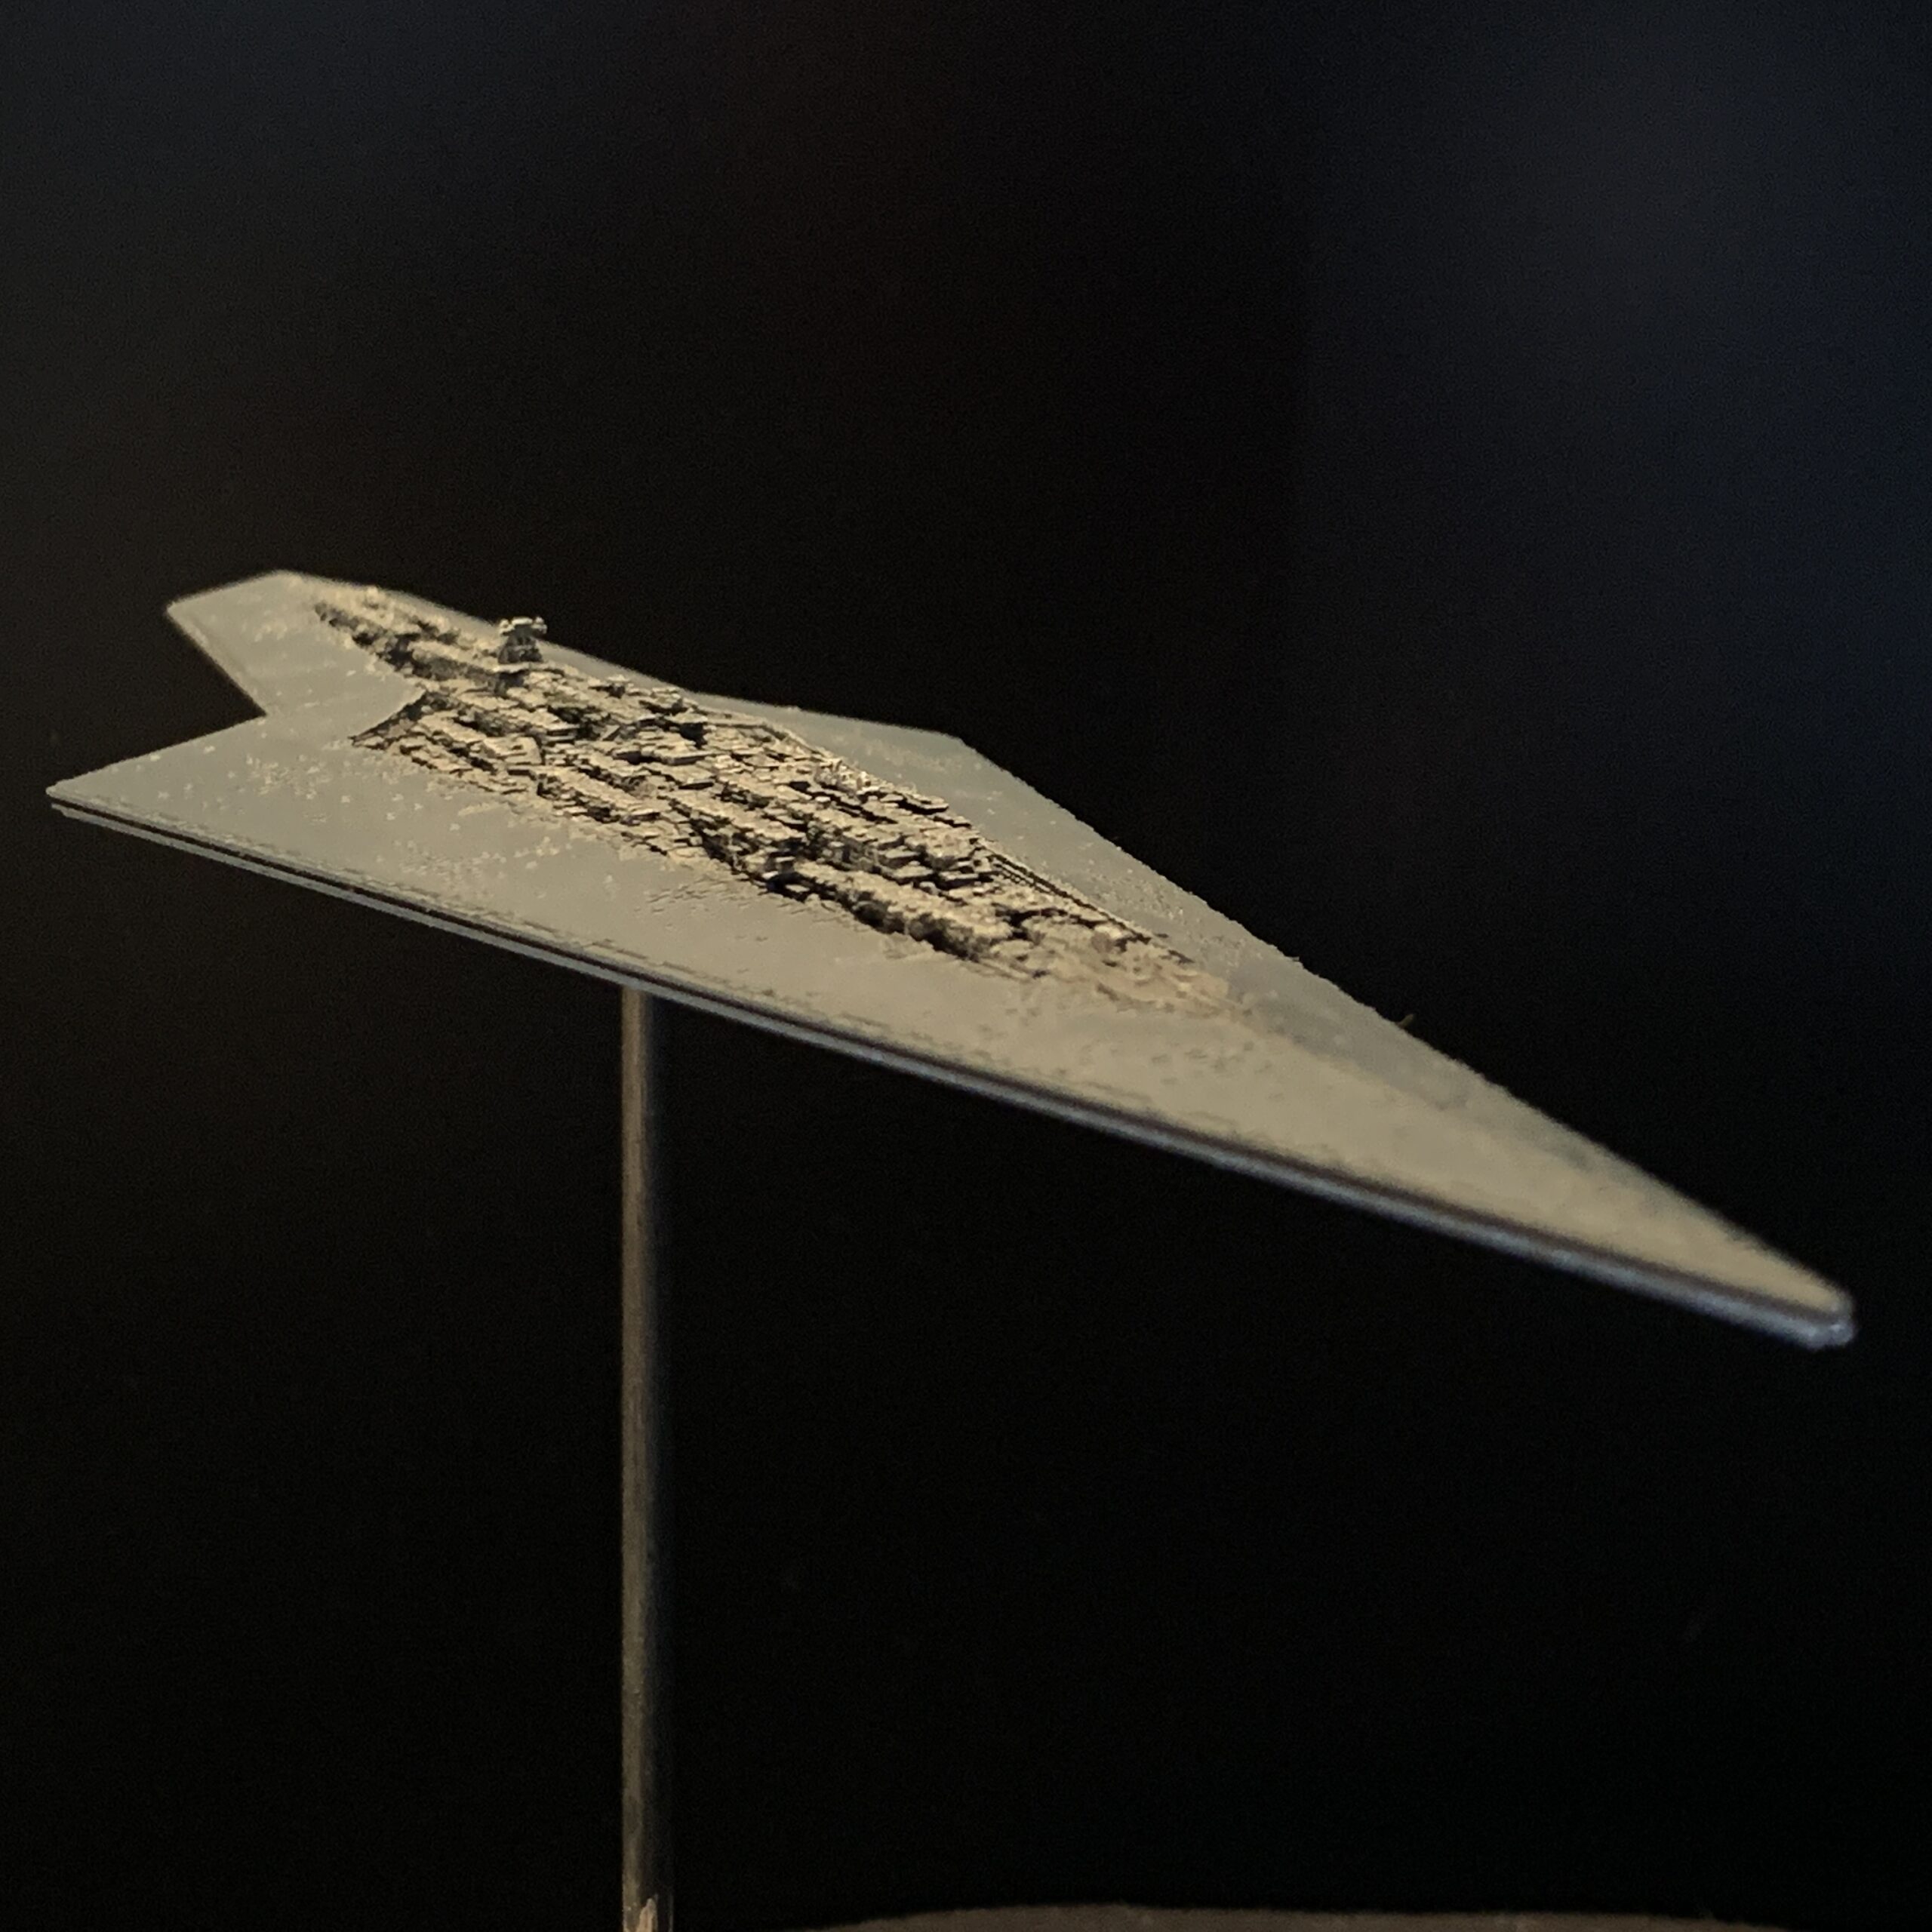
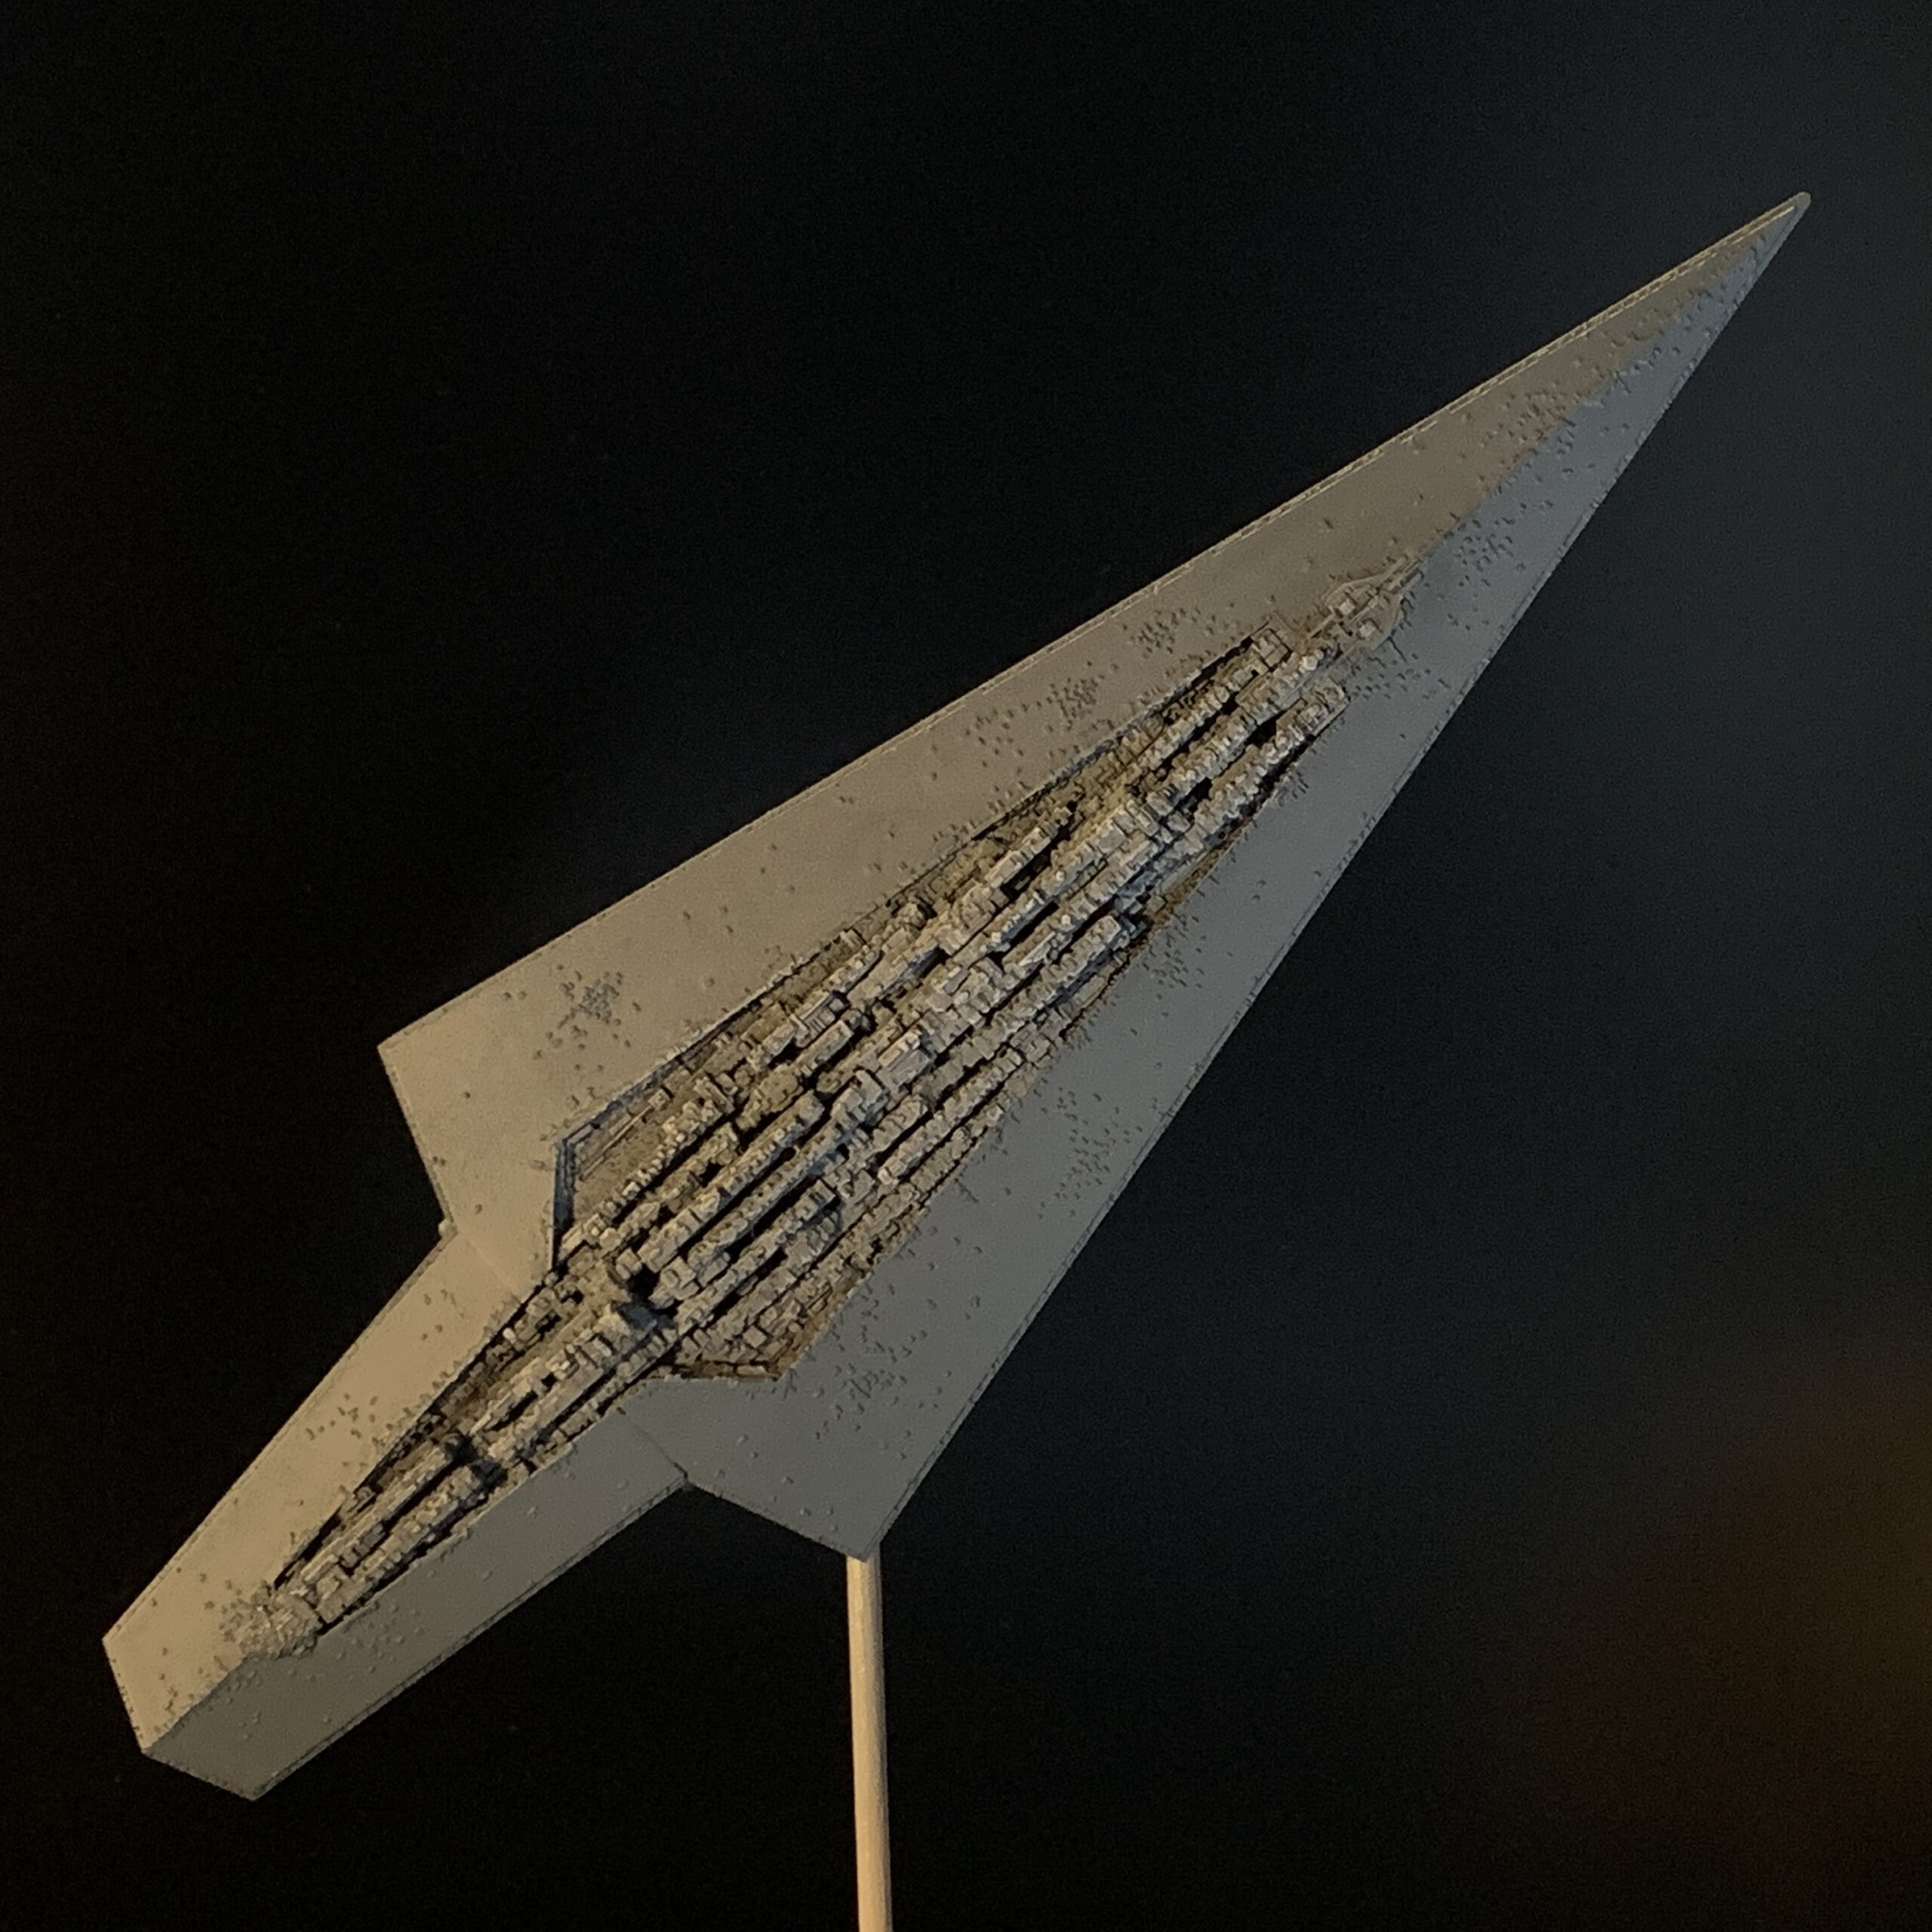
- 1:100,000 Super Star Destroyer
Bandai’s Star Wars kits are usually excellent, and these were no different. Everything fit perfectly, requiring only minimal glue, and the level of detail for such small kits is really impressive. Even at their small size they’re very accurate to the actual filming models.
Building them is a fairly straightforward process.
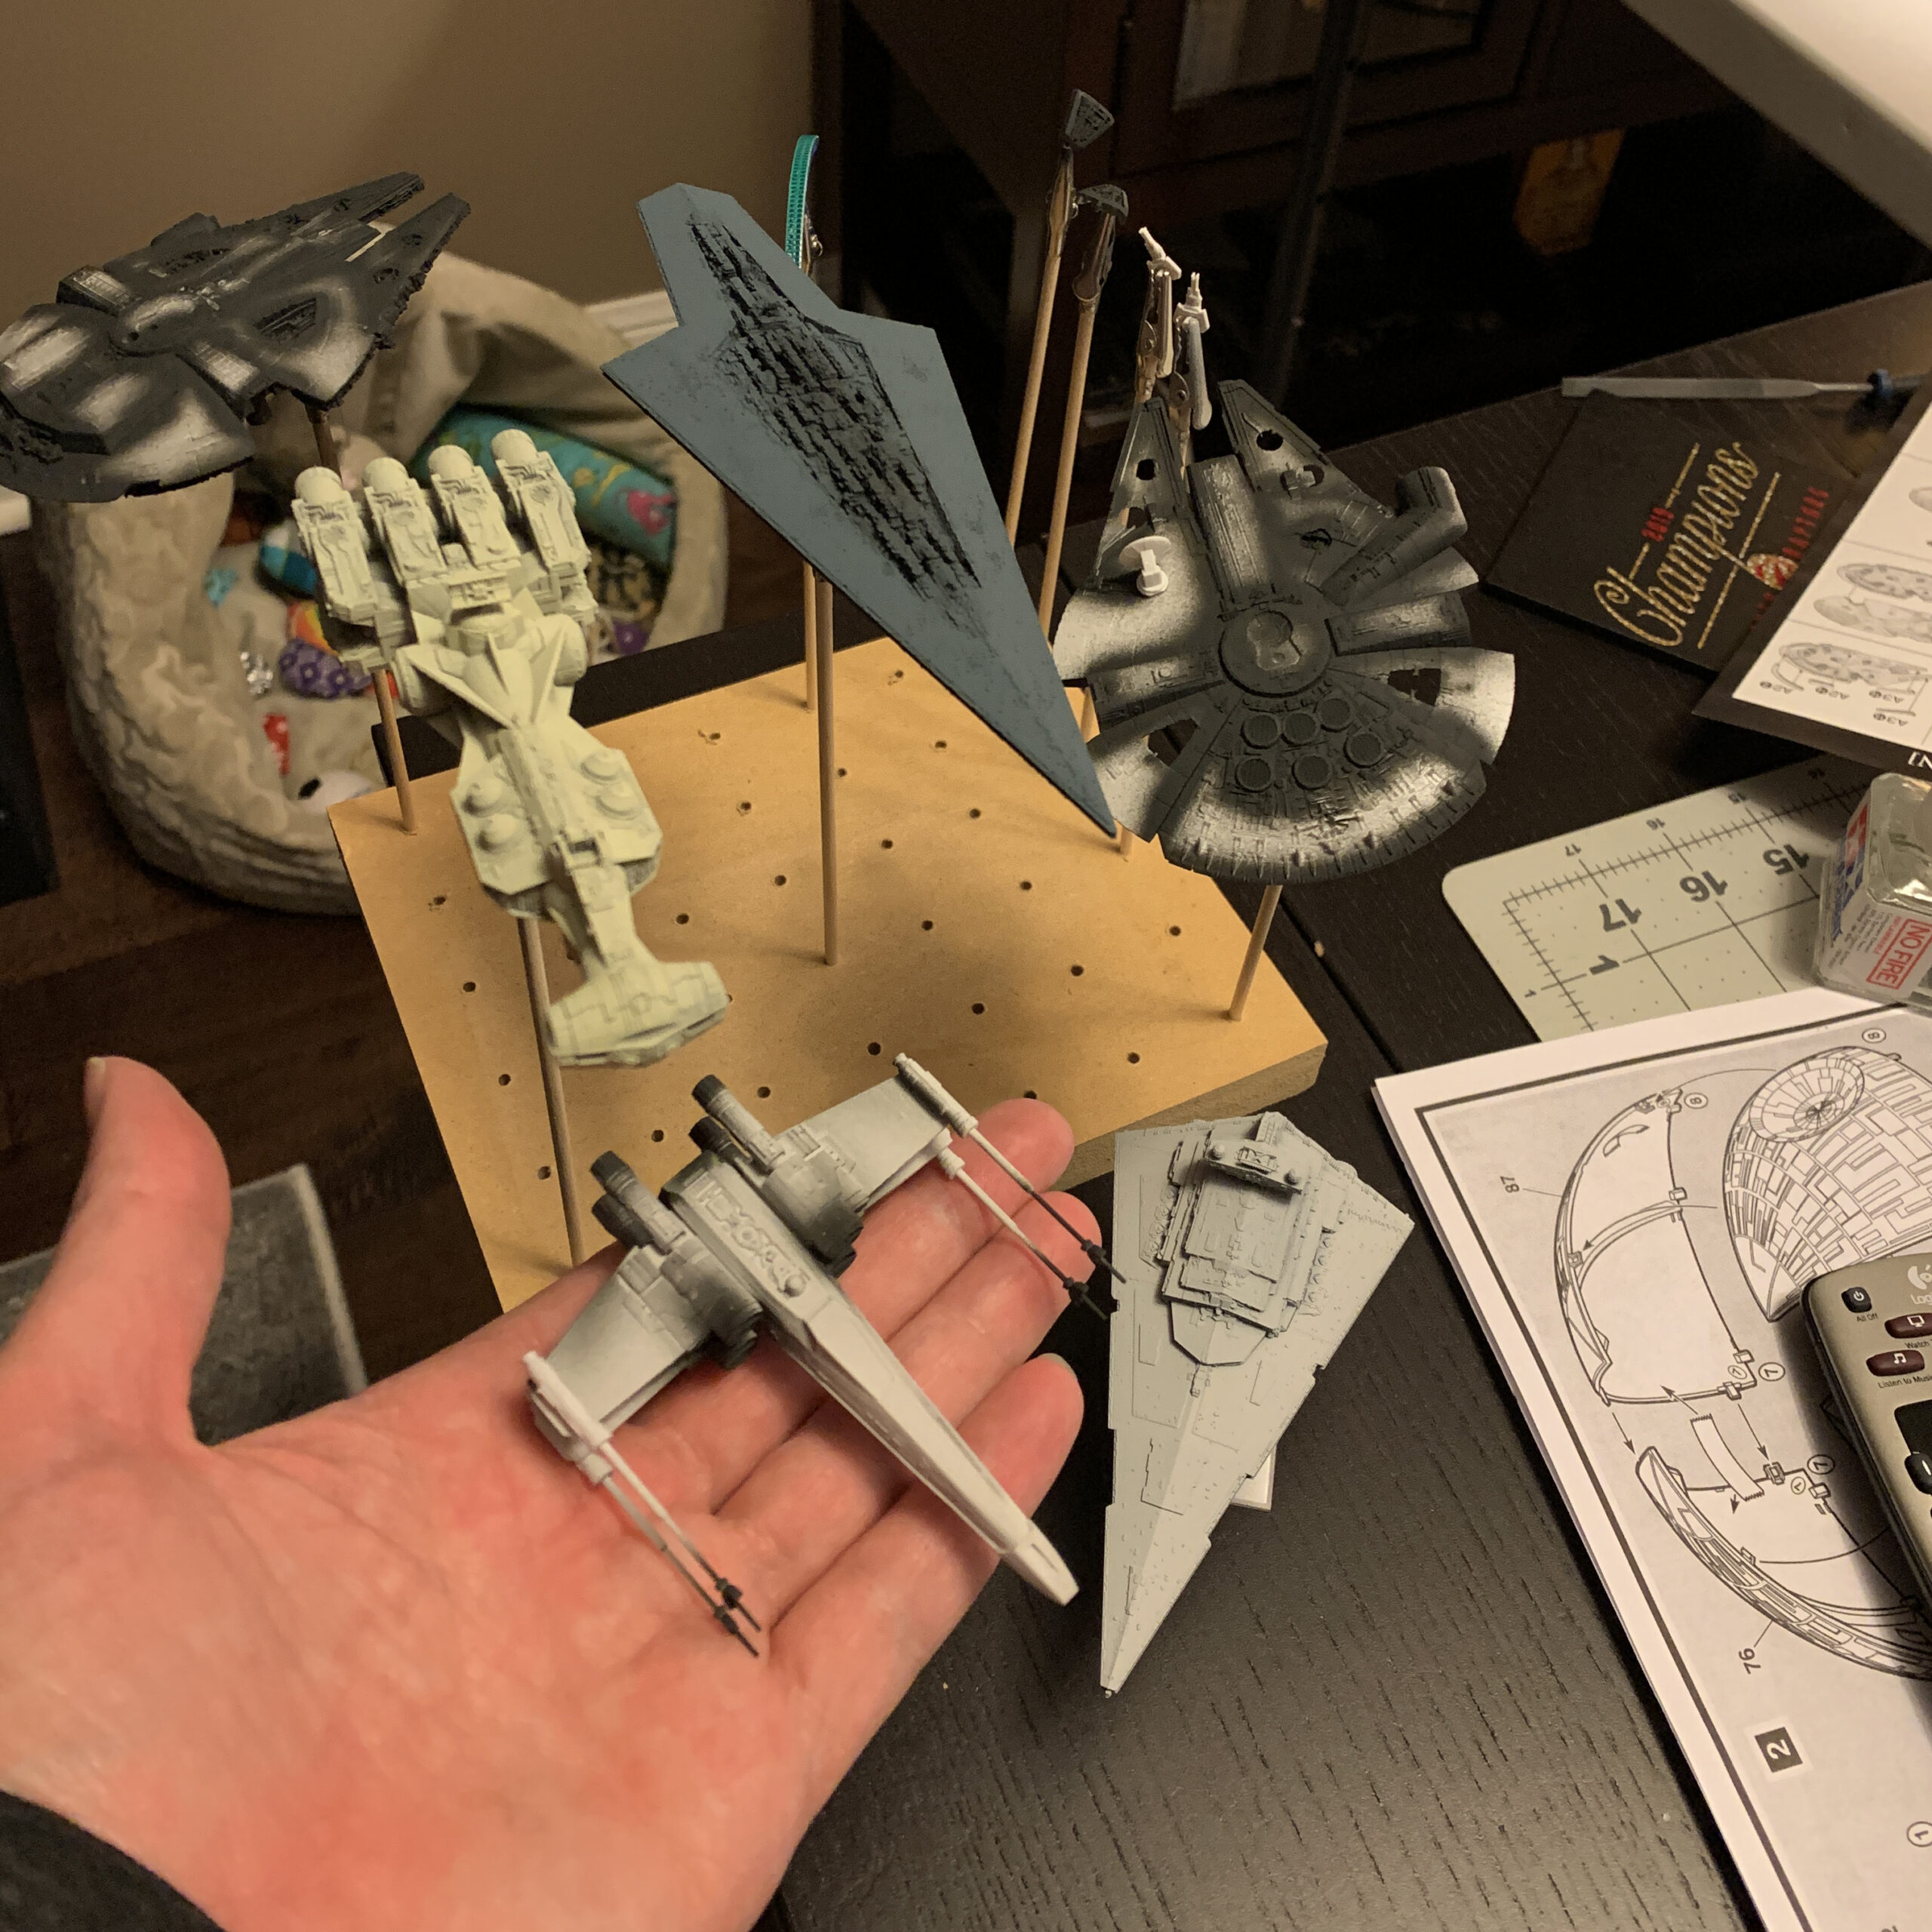
The Rebel ships I initially painted with a light gray base coat via airbrush — slightly different shades for each ship — and then spray-painted a gloss coat overtop to protect the base color. Although the Y-Wing and X-Wing are typically the same color, I made this X-Wing a little darker to give it some contrast. I didn’t quite nail the color of the Blockade Runner — it’s a bit too warm.
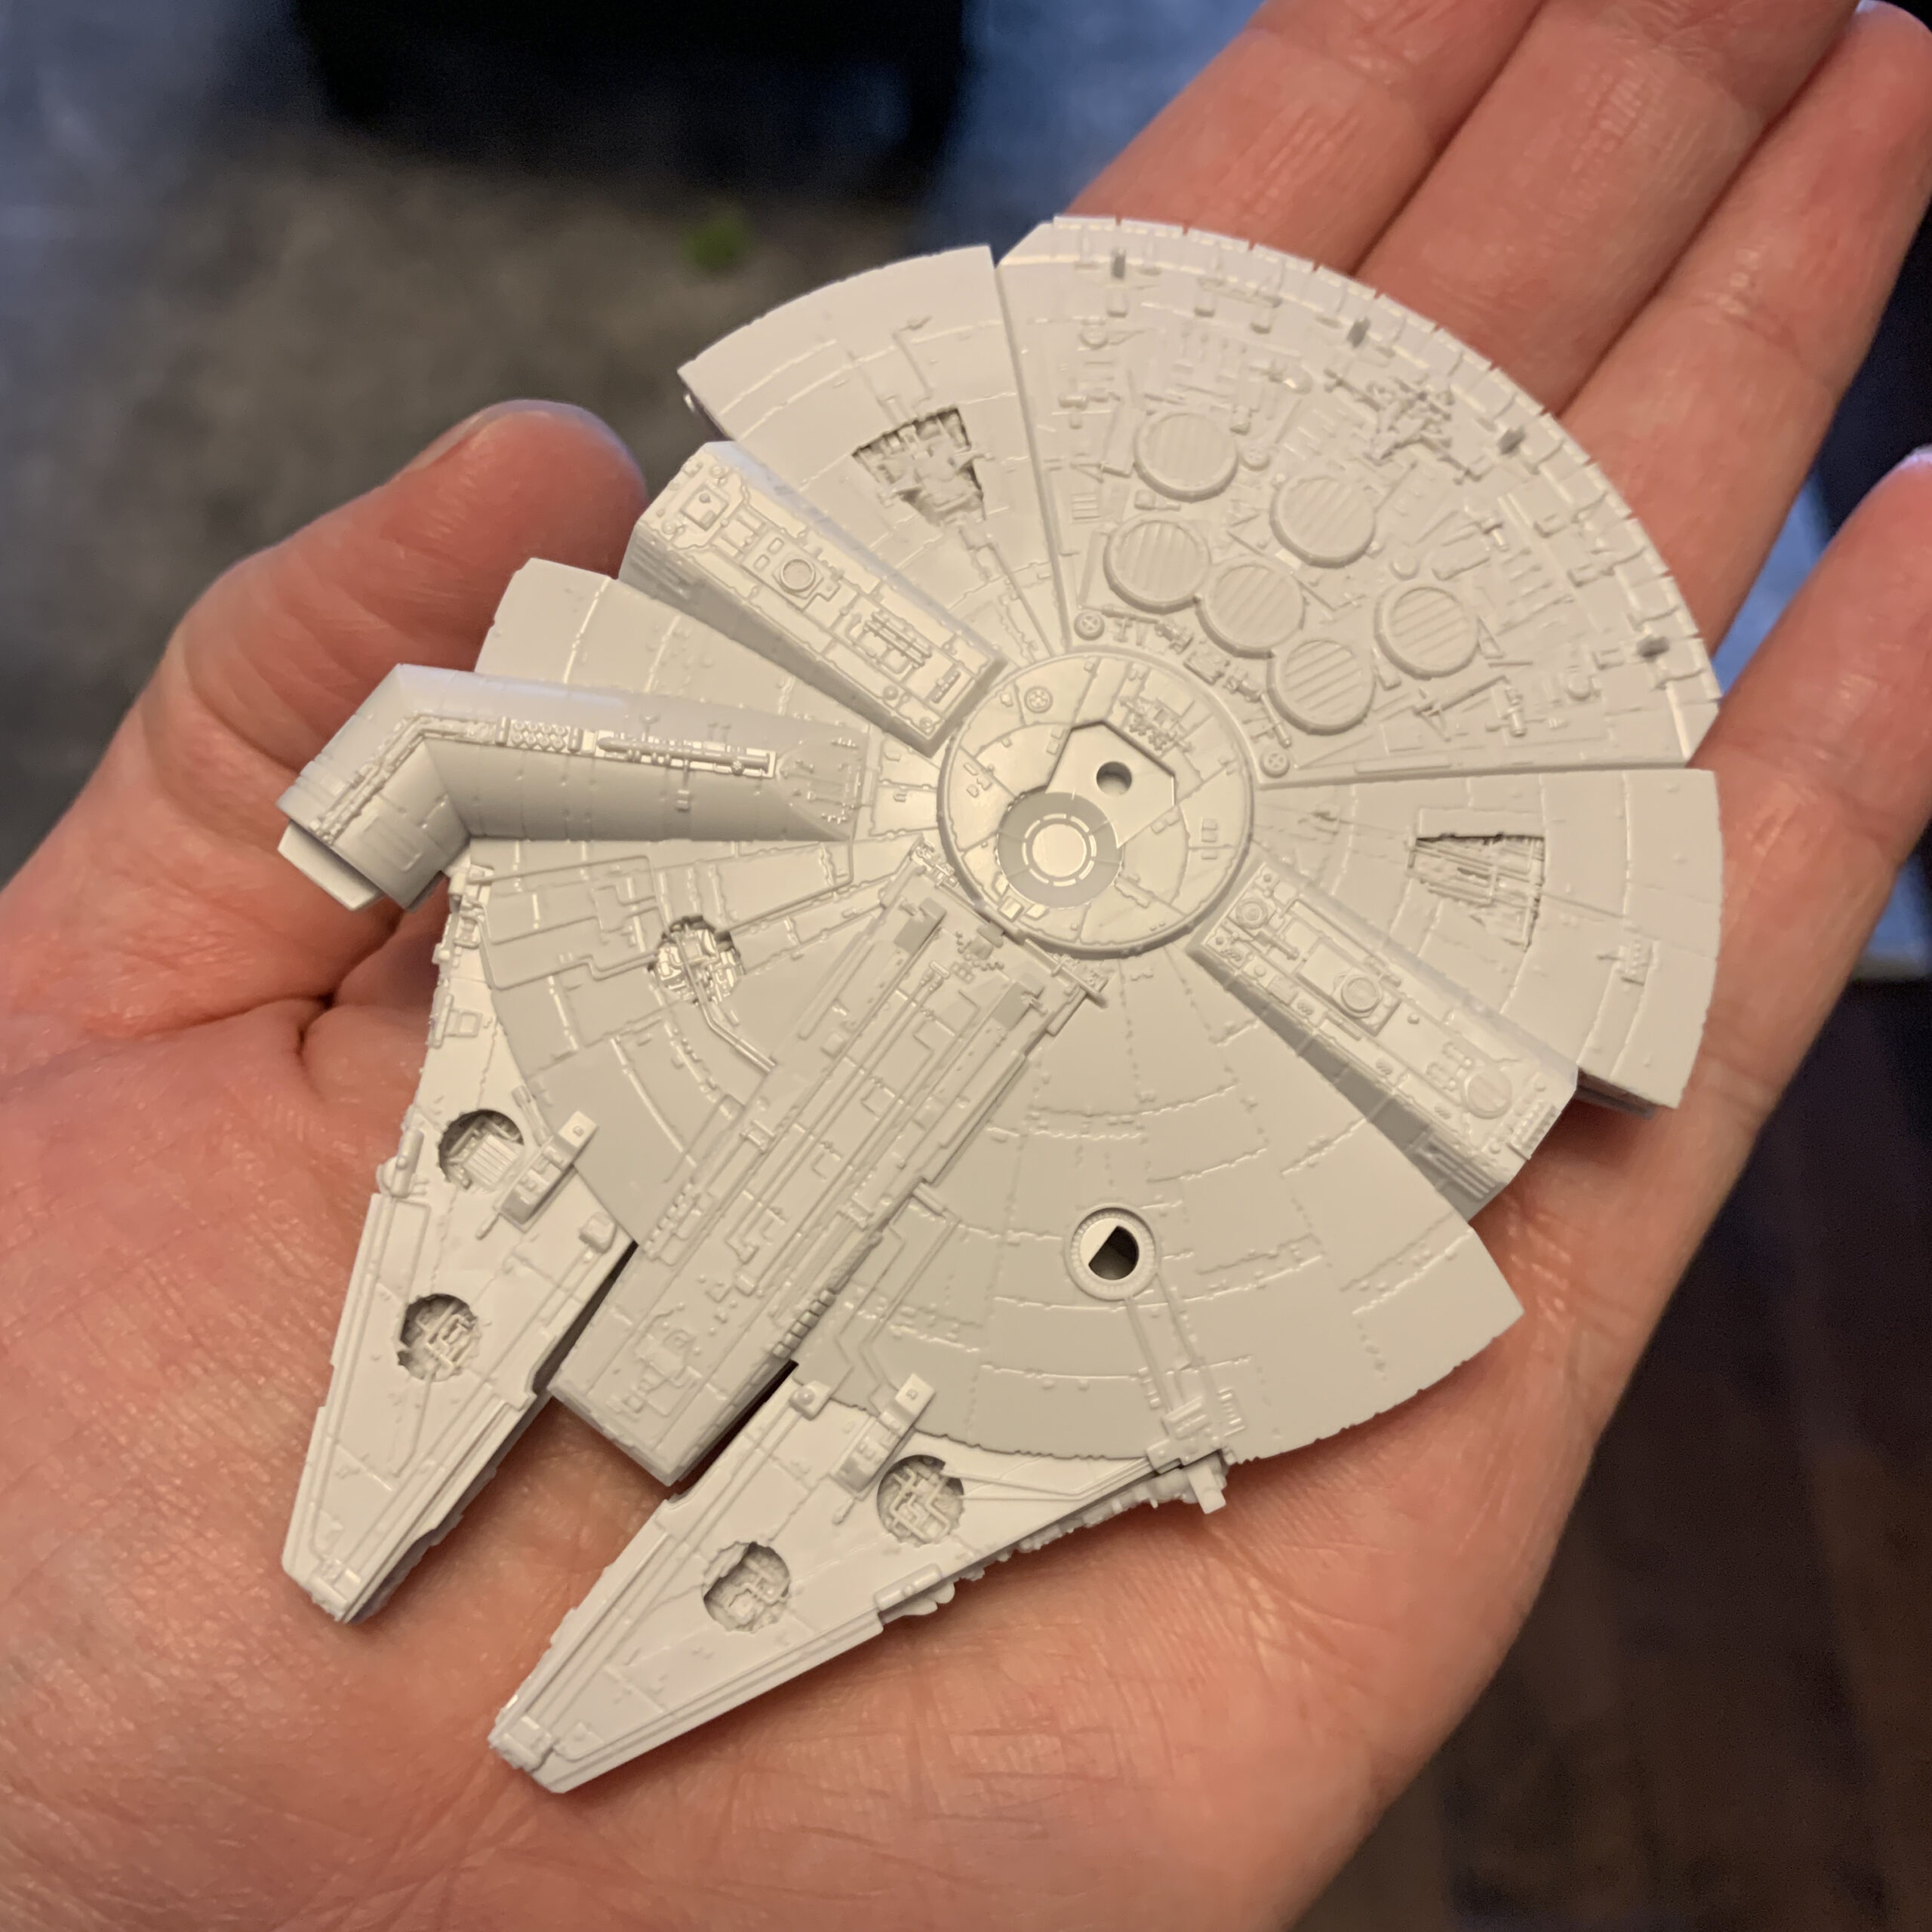
I also did some “pre-shading” to the Millennium Falcon, airbrushing Tamiya Nato Black along some of the panel lines to add definition; when you spray the base color over top, as long as you don’t do it too heavily, it should provide some variation in the shading. This is a technique I’m still trying to master.
If there’s one flaw to these small Bandai kits, it’s that they don’t come with decals, only stickers. I was able to paint a majority of the details myself, but I did have to use a few stickers, specifically the red markings on the X-Wing wings; some of the red markings on the Blockade Runner; and the yellow markings on the “head” of the Y-Wing. (I only found out later there are a couple of companies that sell custom made decals. Alas.)
After the stickers were applied, and re-coated with gloss to seal them, it’s on to weathering.. The Rebel ships are always dirty, damaged and beat up, or “lived in,” as George Lucas calls it, and it’s always super fun to paint them — you can get a little more creative with the weathering than you can with just painting detail. The details are done by (very small!) brush, and occasionally airbrush for exhaust marks and so on; the grime is done using a combination of dark washes, panel line accent colors and oil paint.
The oil paint method is a lot of fun. After you apply your gloss coat, you brush your oil paint all over an area, making sure you get it into any grooves or recesses. Then you basically just wipe it off with a rag (or q-tip for small areas); the paint will stay in any grooves or recessed areas, looking like a dirt (or rust, or oil, or mud, etc., depending on the colors used) build-up. It gives a great grungy, dirty, weathered look.
I think they all turned out quite well, but I was really happy with the Falcon.
Because the Empire keeps its shit nice and clean, there was no weathering or battle damage to be painted on the TIE Fighters or Star Destroyers. But, lots of tiny masking tape was needed to keep the details clean and the lines straight, especially on the TIE fighter wings! Unfortunately I didn’t snap a single pic! Just now really getting into the habit of taking photos of my work. At least I snapped pics at the end!