Welcome to the Death Star Mobile Build Log Part 2!
Click here for: Part 1 | Part 3
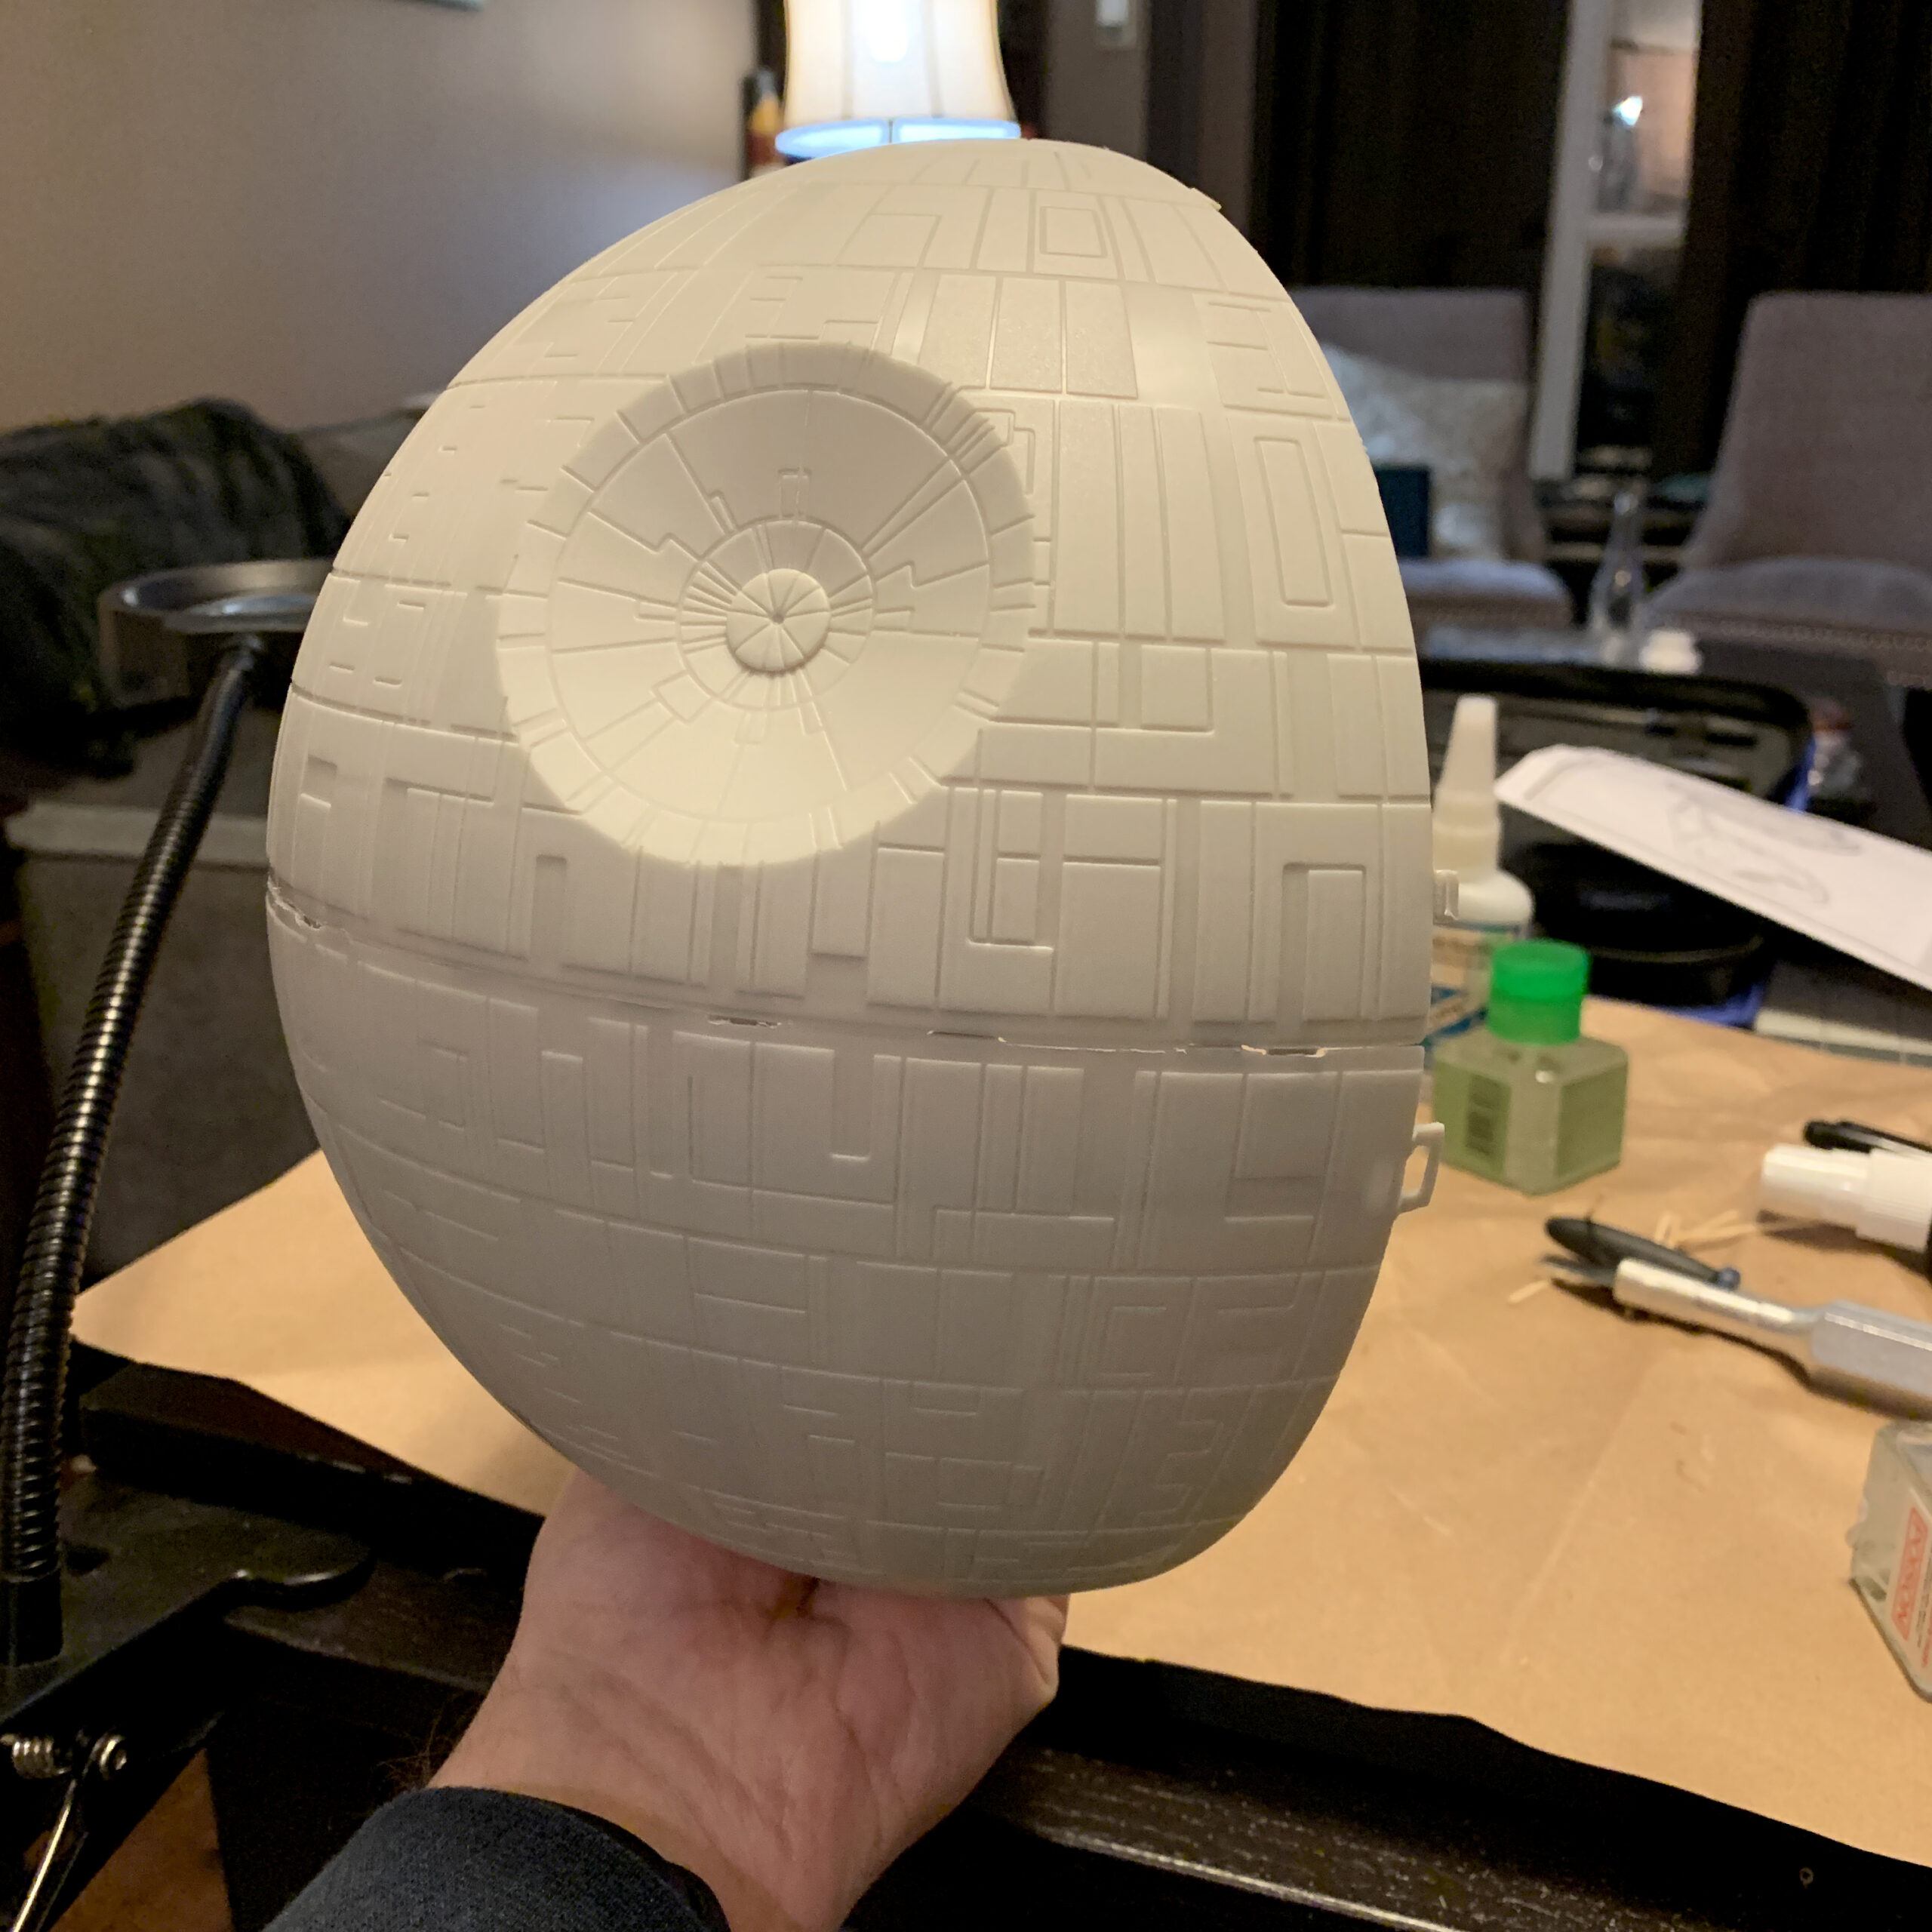
I started this project by assembling the Death Star itself. I knew the Bandai kits would be easy enough to do; the incredible fit and accuracy of their Star Wars kits is legendary. The AMT-Ertl Death Star, however, is a different story.
As I noted in the Death Star Mobile Build Log Part 1, this Death Star kit is notorious for being, well, a piece of crap that doesn’t fit together very well, and even if you did get it together, the surface details were not accurate to the filming model or what was seen on screen. But, in for a penny, in for a pound, right?
The kit comes in eight sections, four on the bottom, four on the top. (There’s also a display stand.) The instructions tell you which piece matches up with which. Easy!
Hilariously, the original 1998 version of this kit (I was building the re-boxed 2005 version) indicated this was a snap-together kit, with no glue required. Ha! Fat chance of putting this thing together without glue! Sure, there are tabs that help you line up the sections, but I don’t think it would stay together if you didn’t glue it — and it certainly wouldn’t look very good!
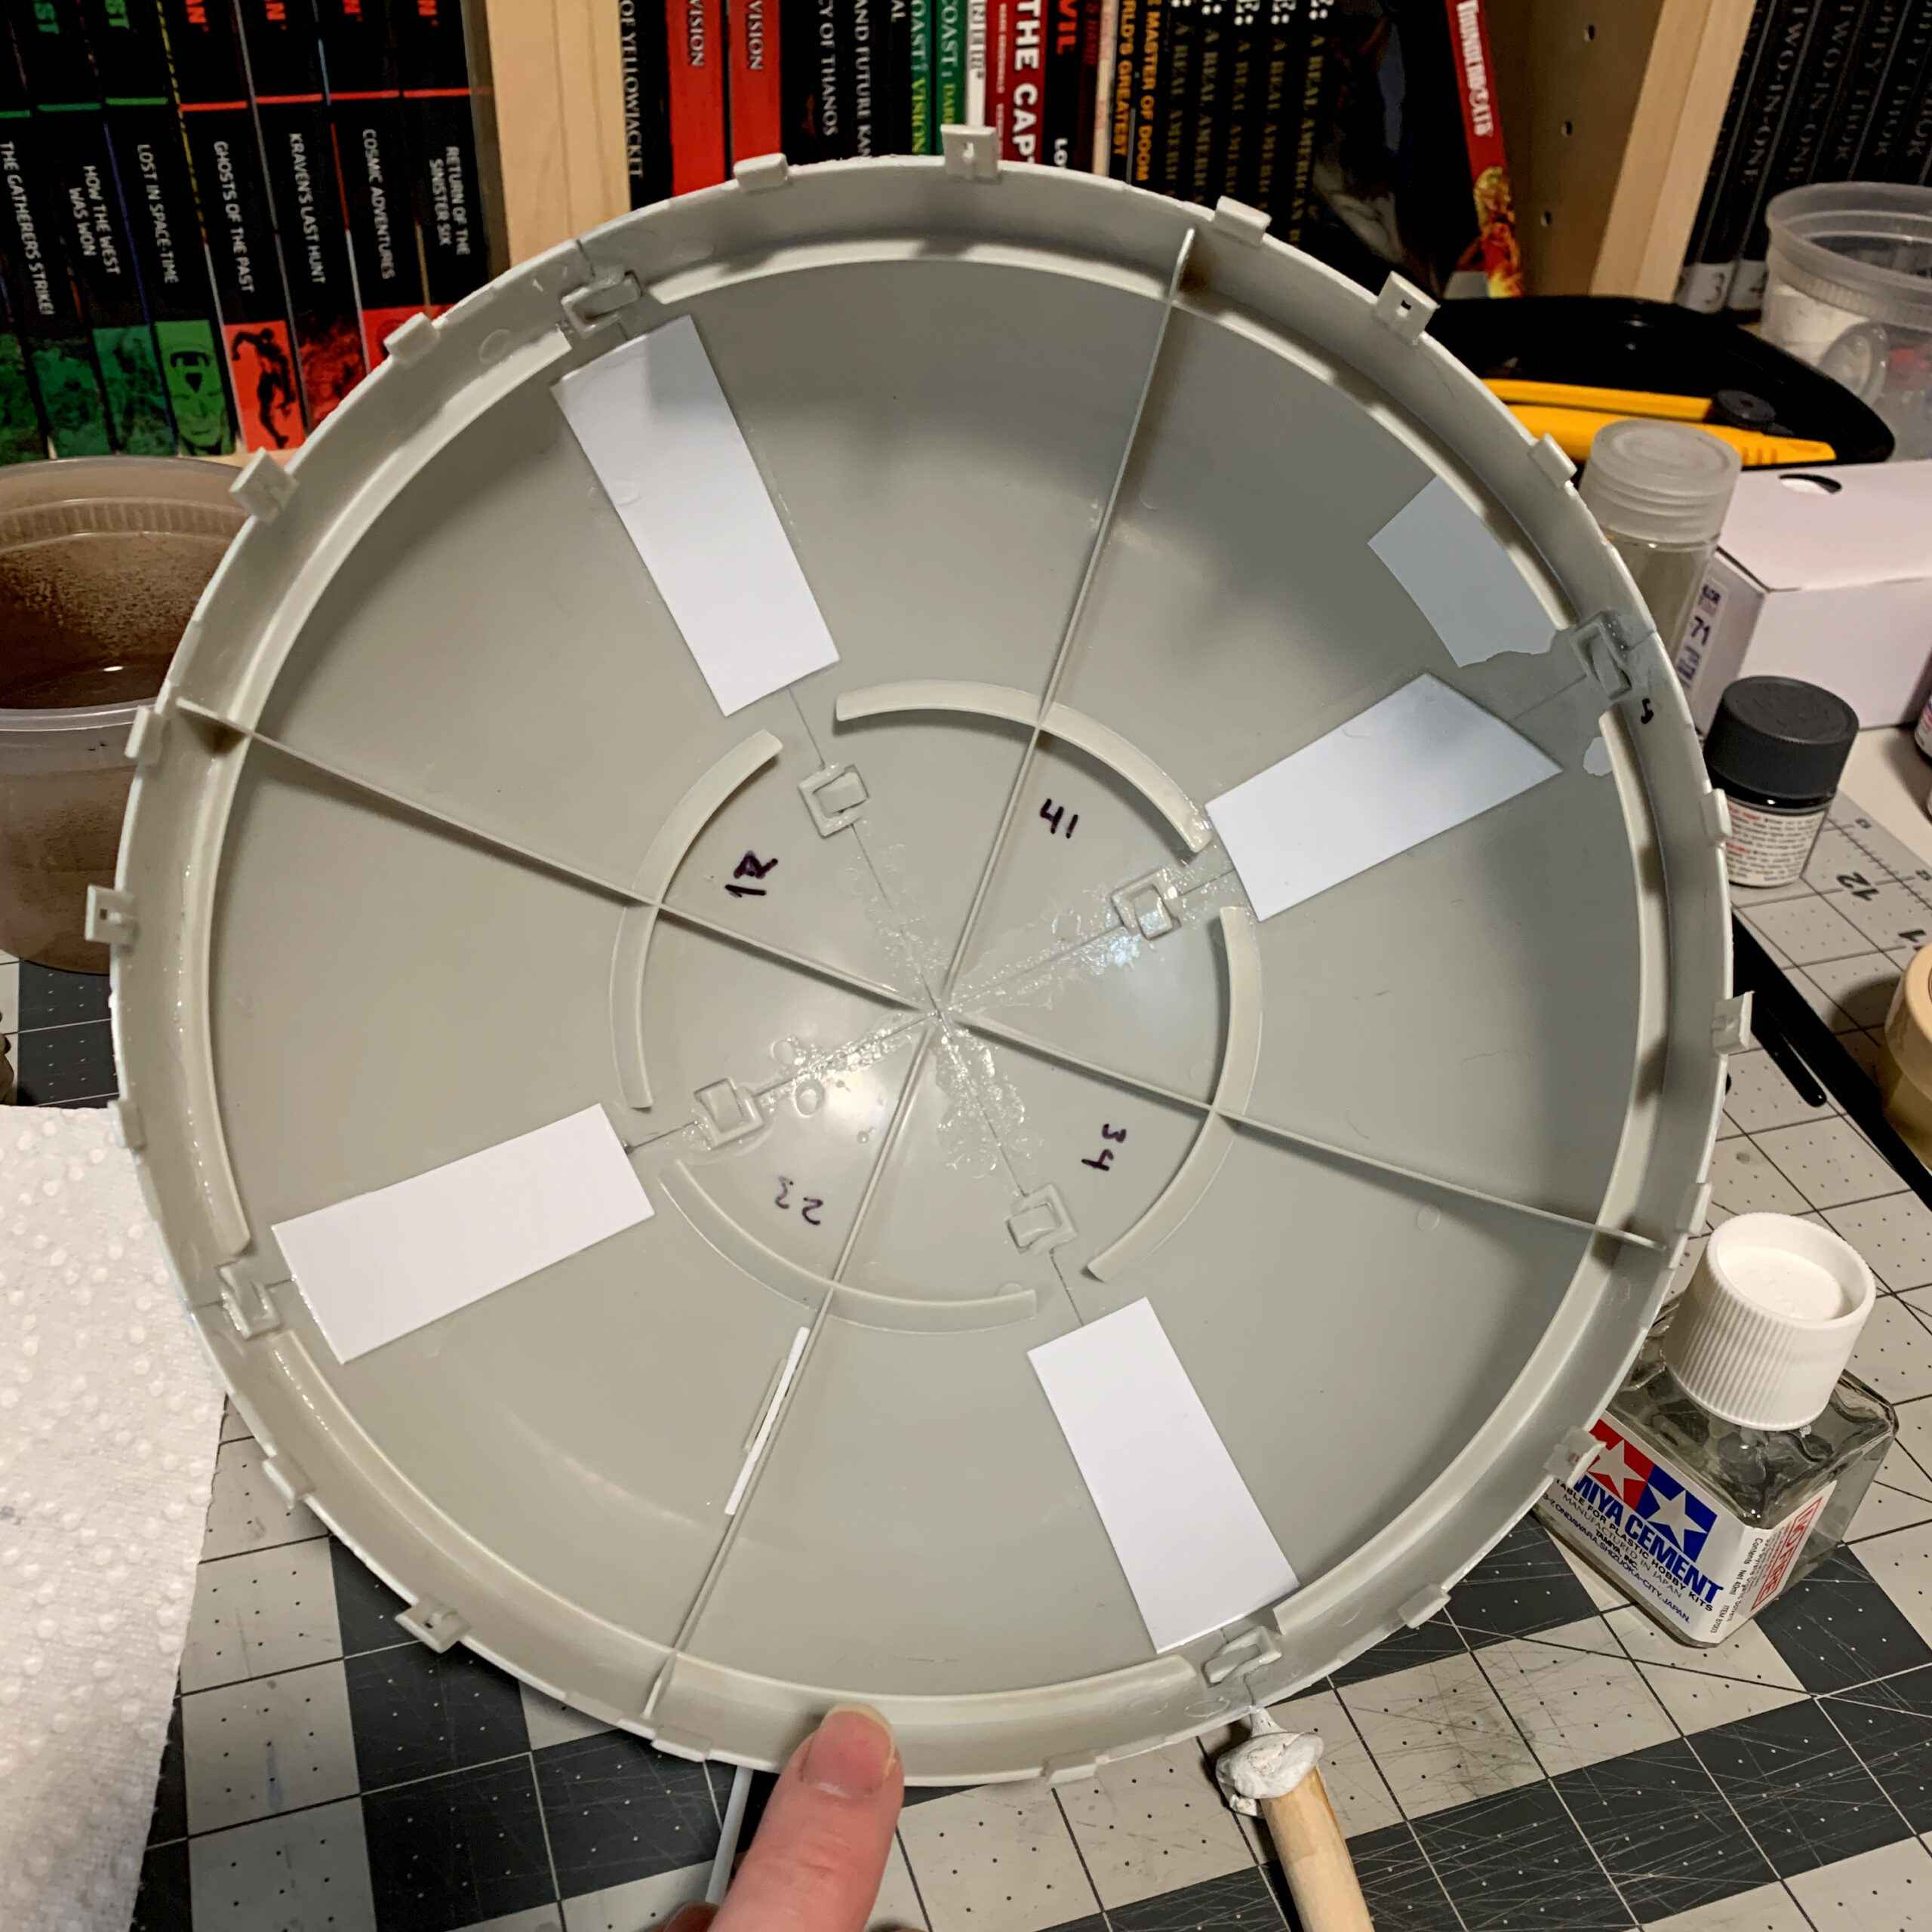
I cemented the bottom half together first, and reinforced the insides of the seams with additional sheet styrene plastic. Then I basically laid another coat of model cement on to “melt” the sheet styrene to the kit, creating a nice strong bond. Then repeated it with the top half, although I didn’t glue the two halves together for some time.
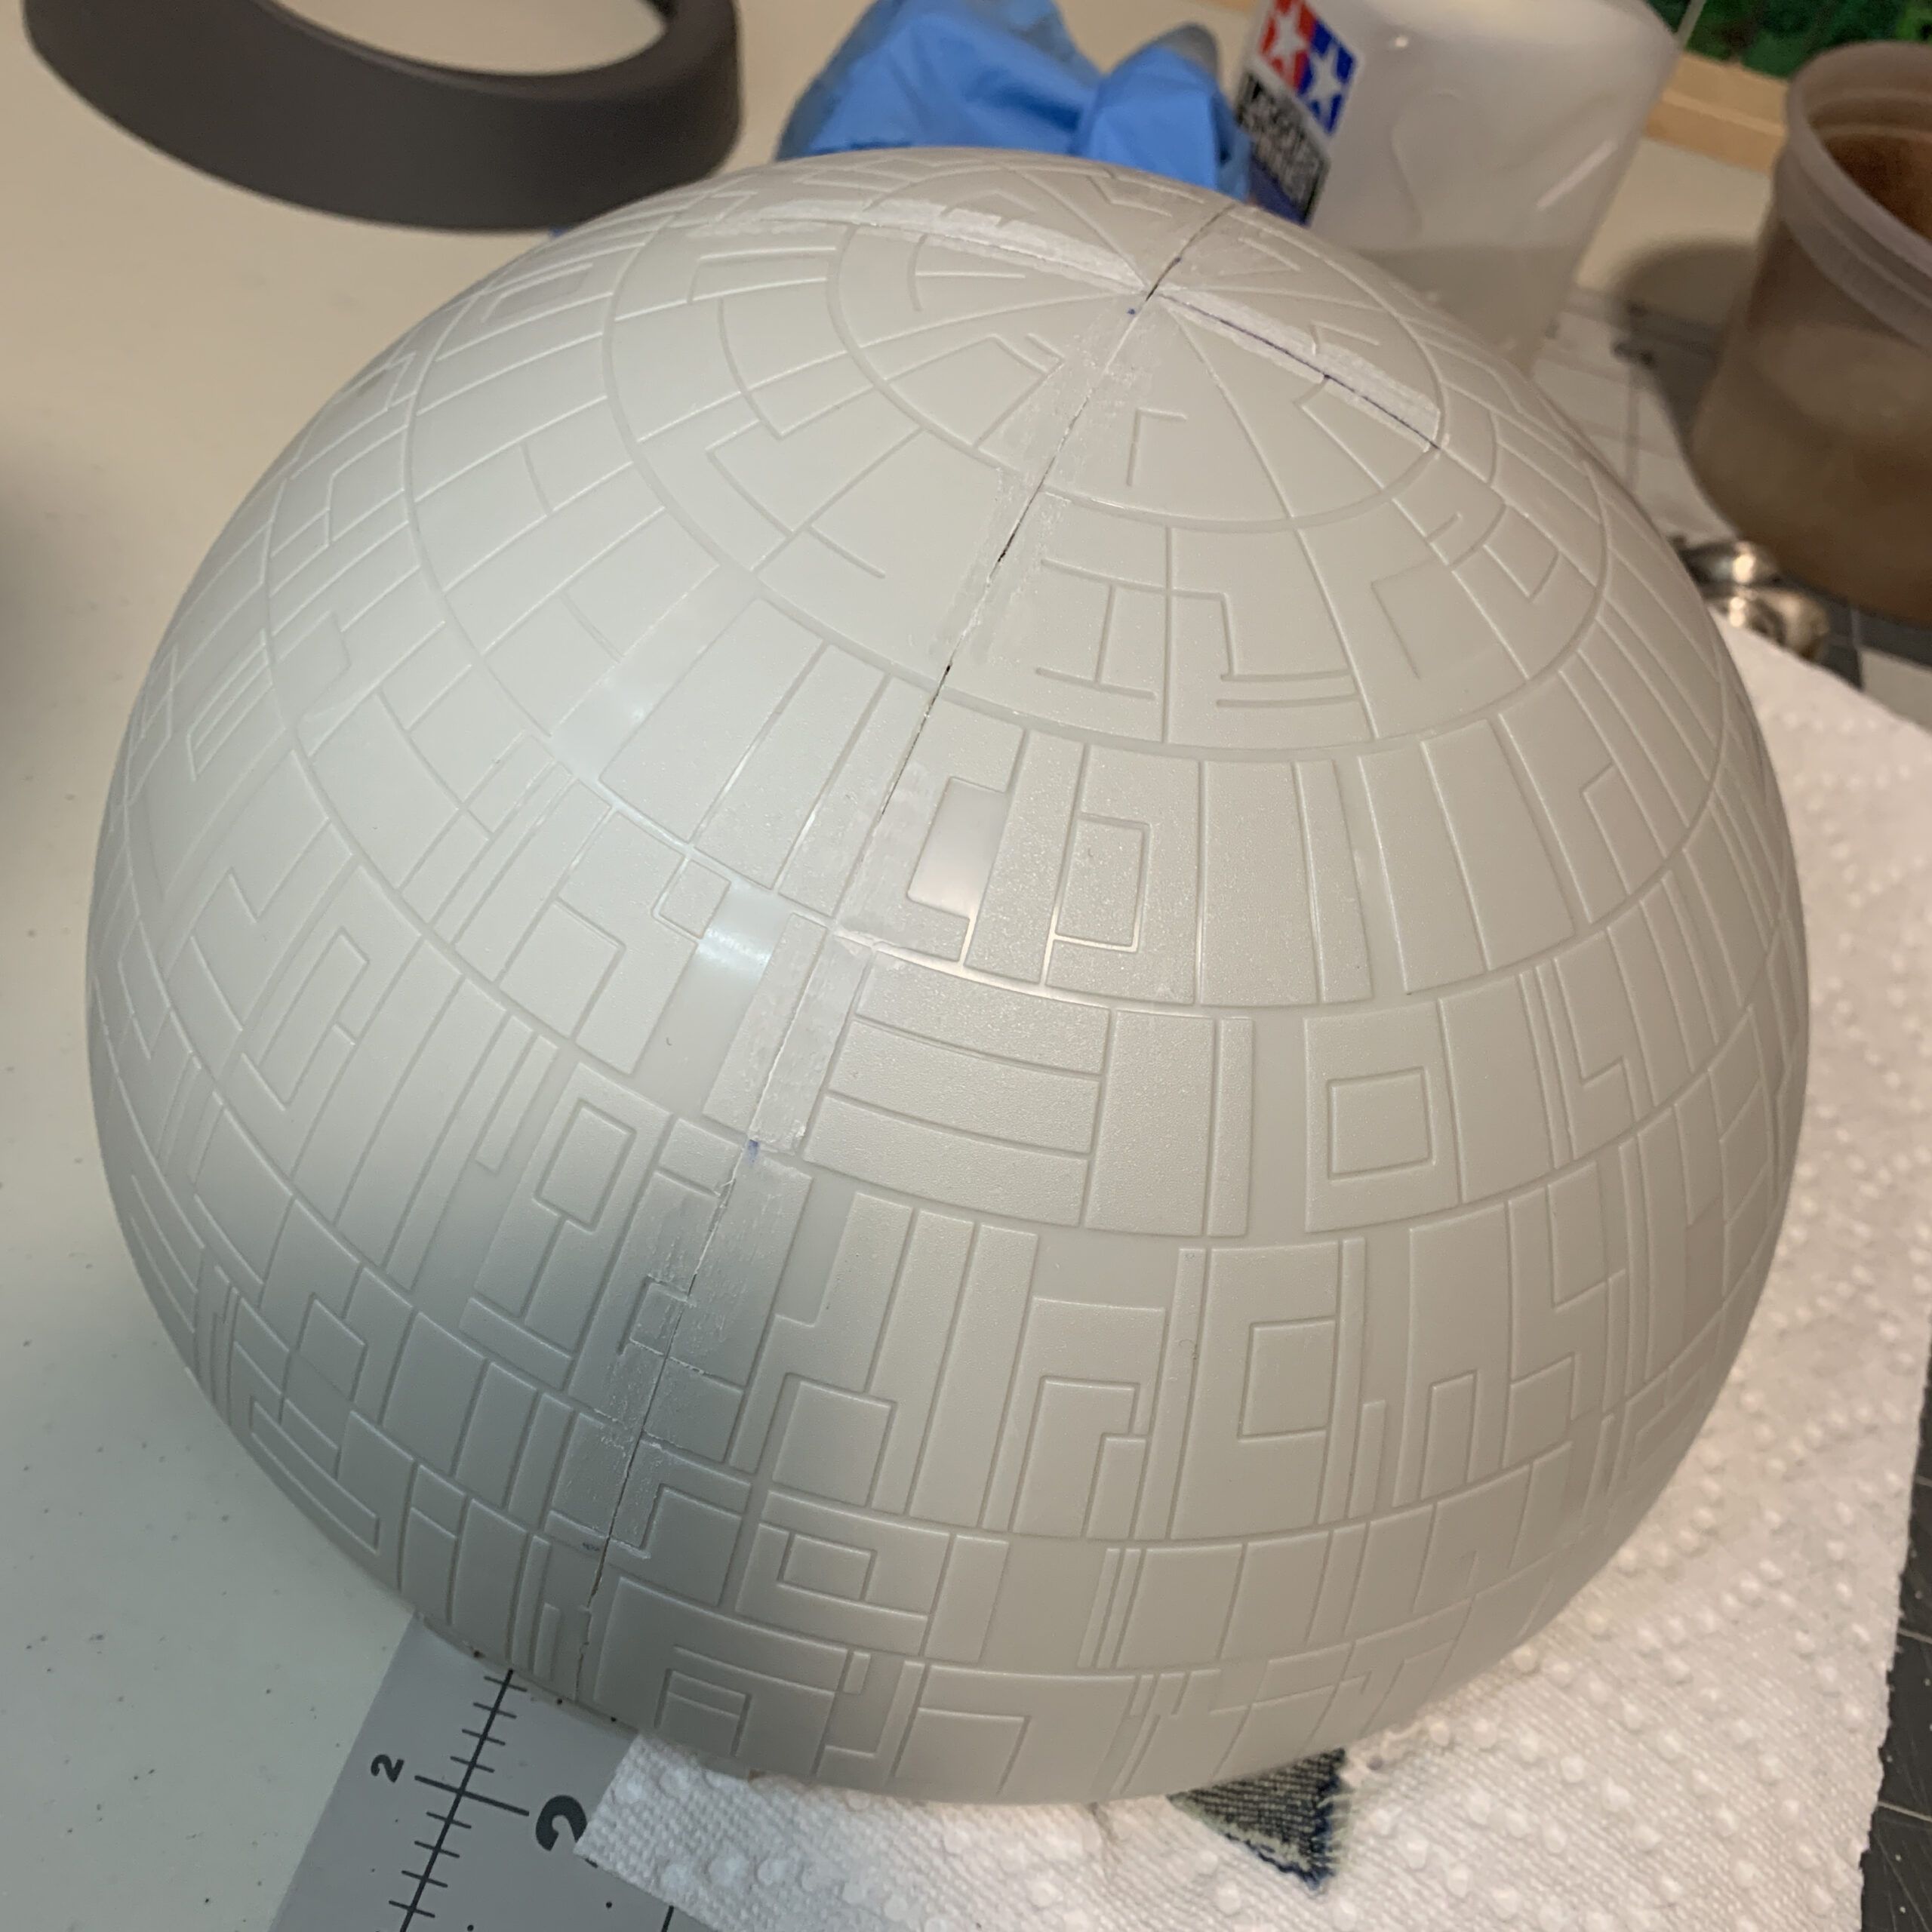
Once the glue was set, then it was sanding and filling the seemliness on the outside. I used Mr. Hobby’s Mr. Surfacer 500 for the ones that weren’t too bad, and Tamiya’s plastic putty for the ones that were really rough. Then I sanded them down, filled again, then sanded… I think there were three rounds total, and the seams still weren’t perfect, but, that was as much as I was willing to do! I did end up sanding out some of the detail around the “poles” but I knew that the painting stage would fix that.

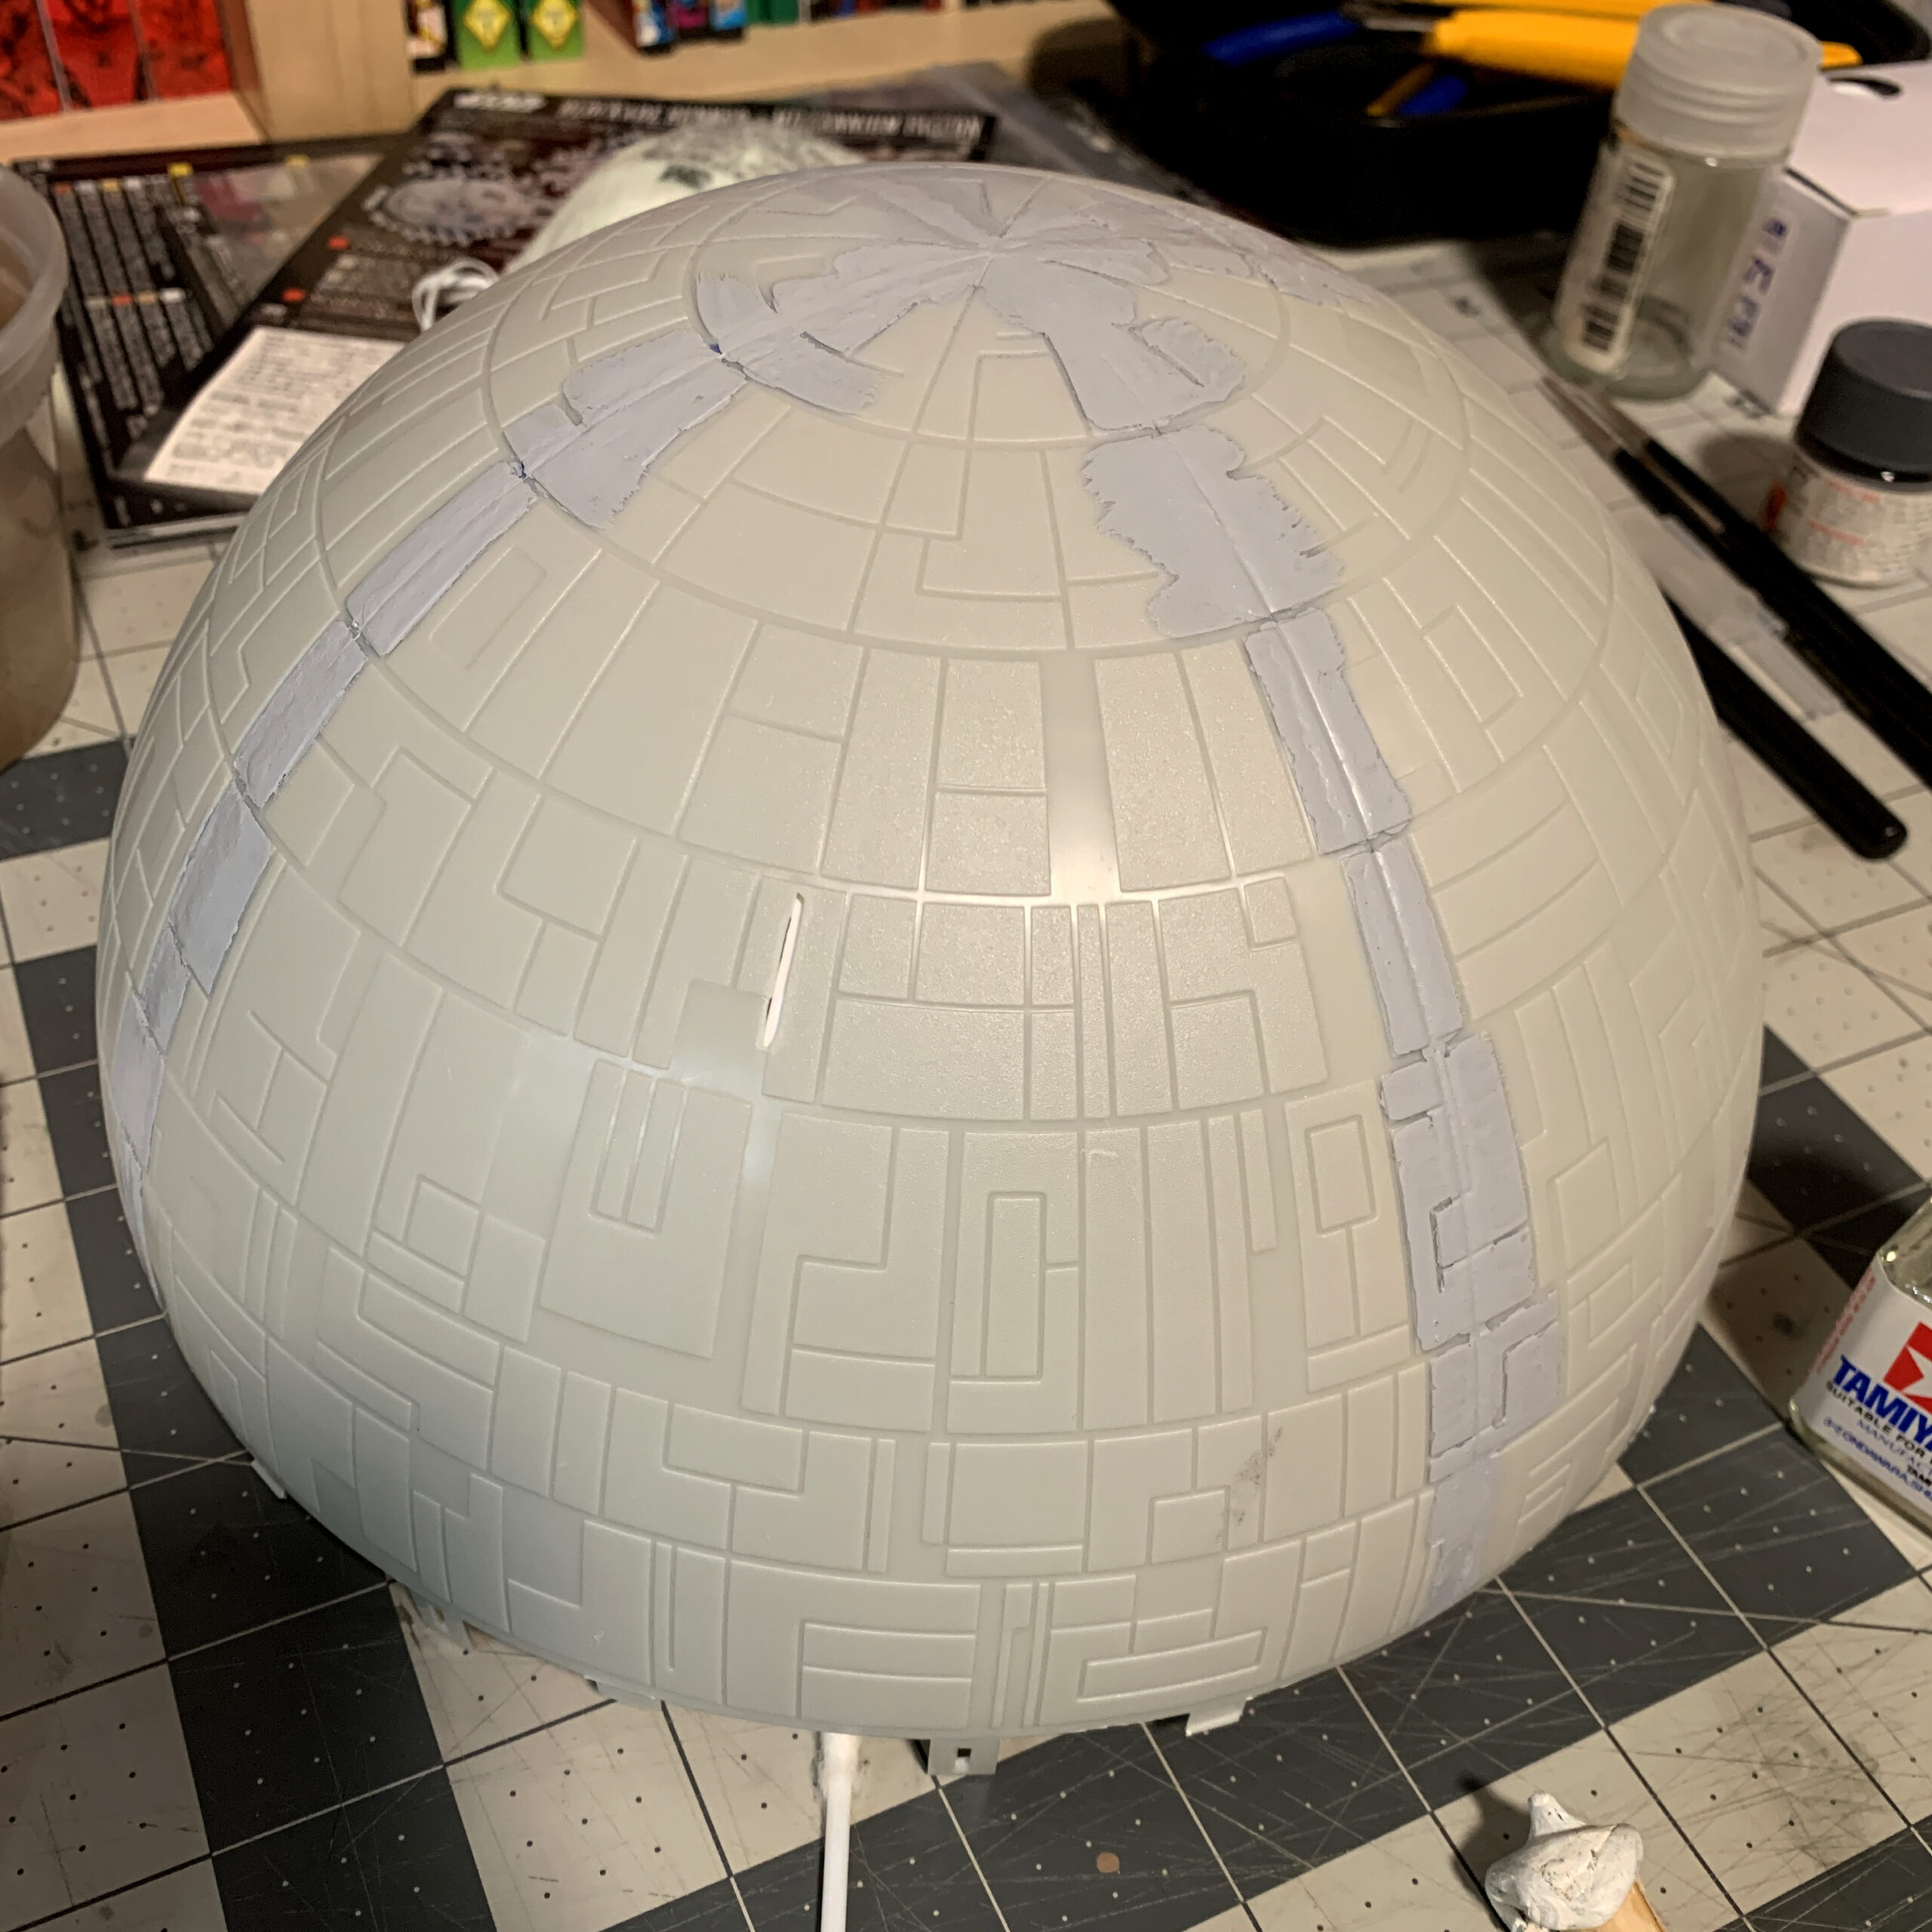
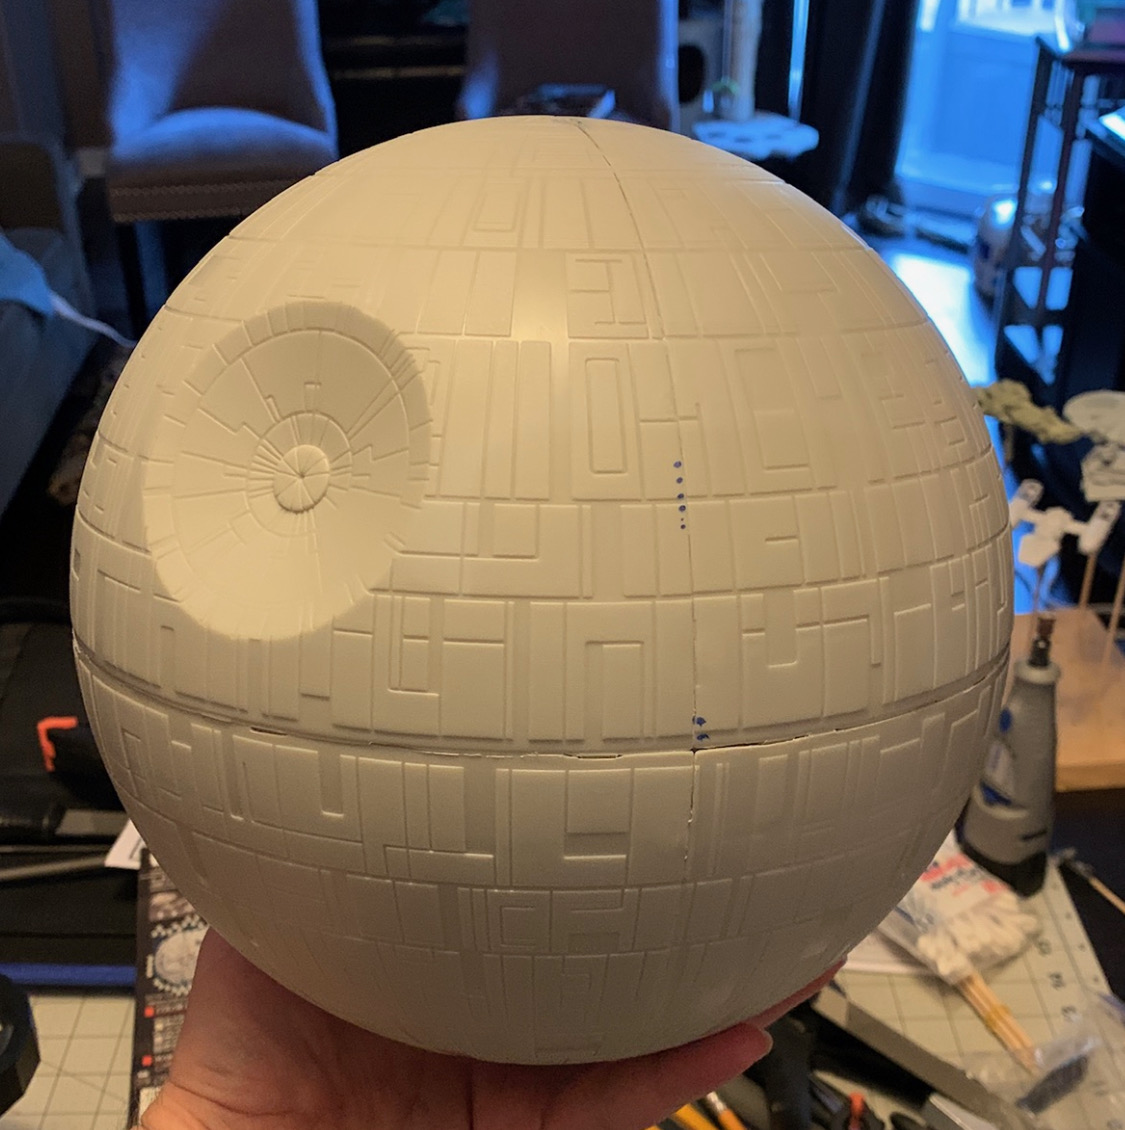
When it did come time to glue the two halves together, rather than try and repair the “equator” seam, which was really bad (If you can, take a close look at the box — even on the finished model they used for the photo the seam isn’t lined up!) I used a thin strip of styrene plastic to simply “cover” the equator; glued it in place and it did the job perfectly.
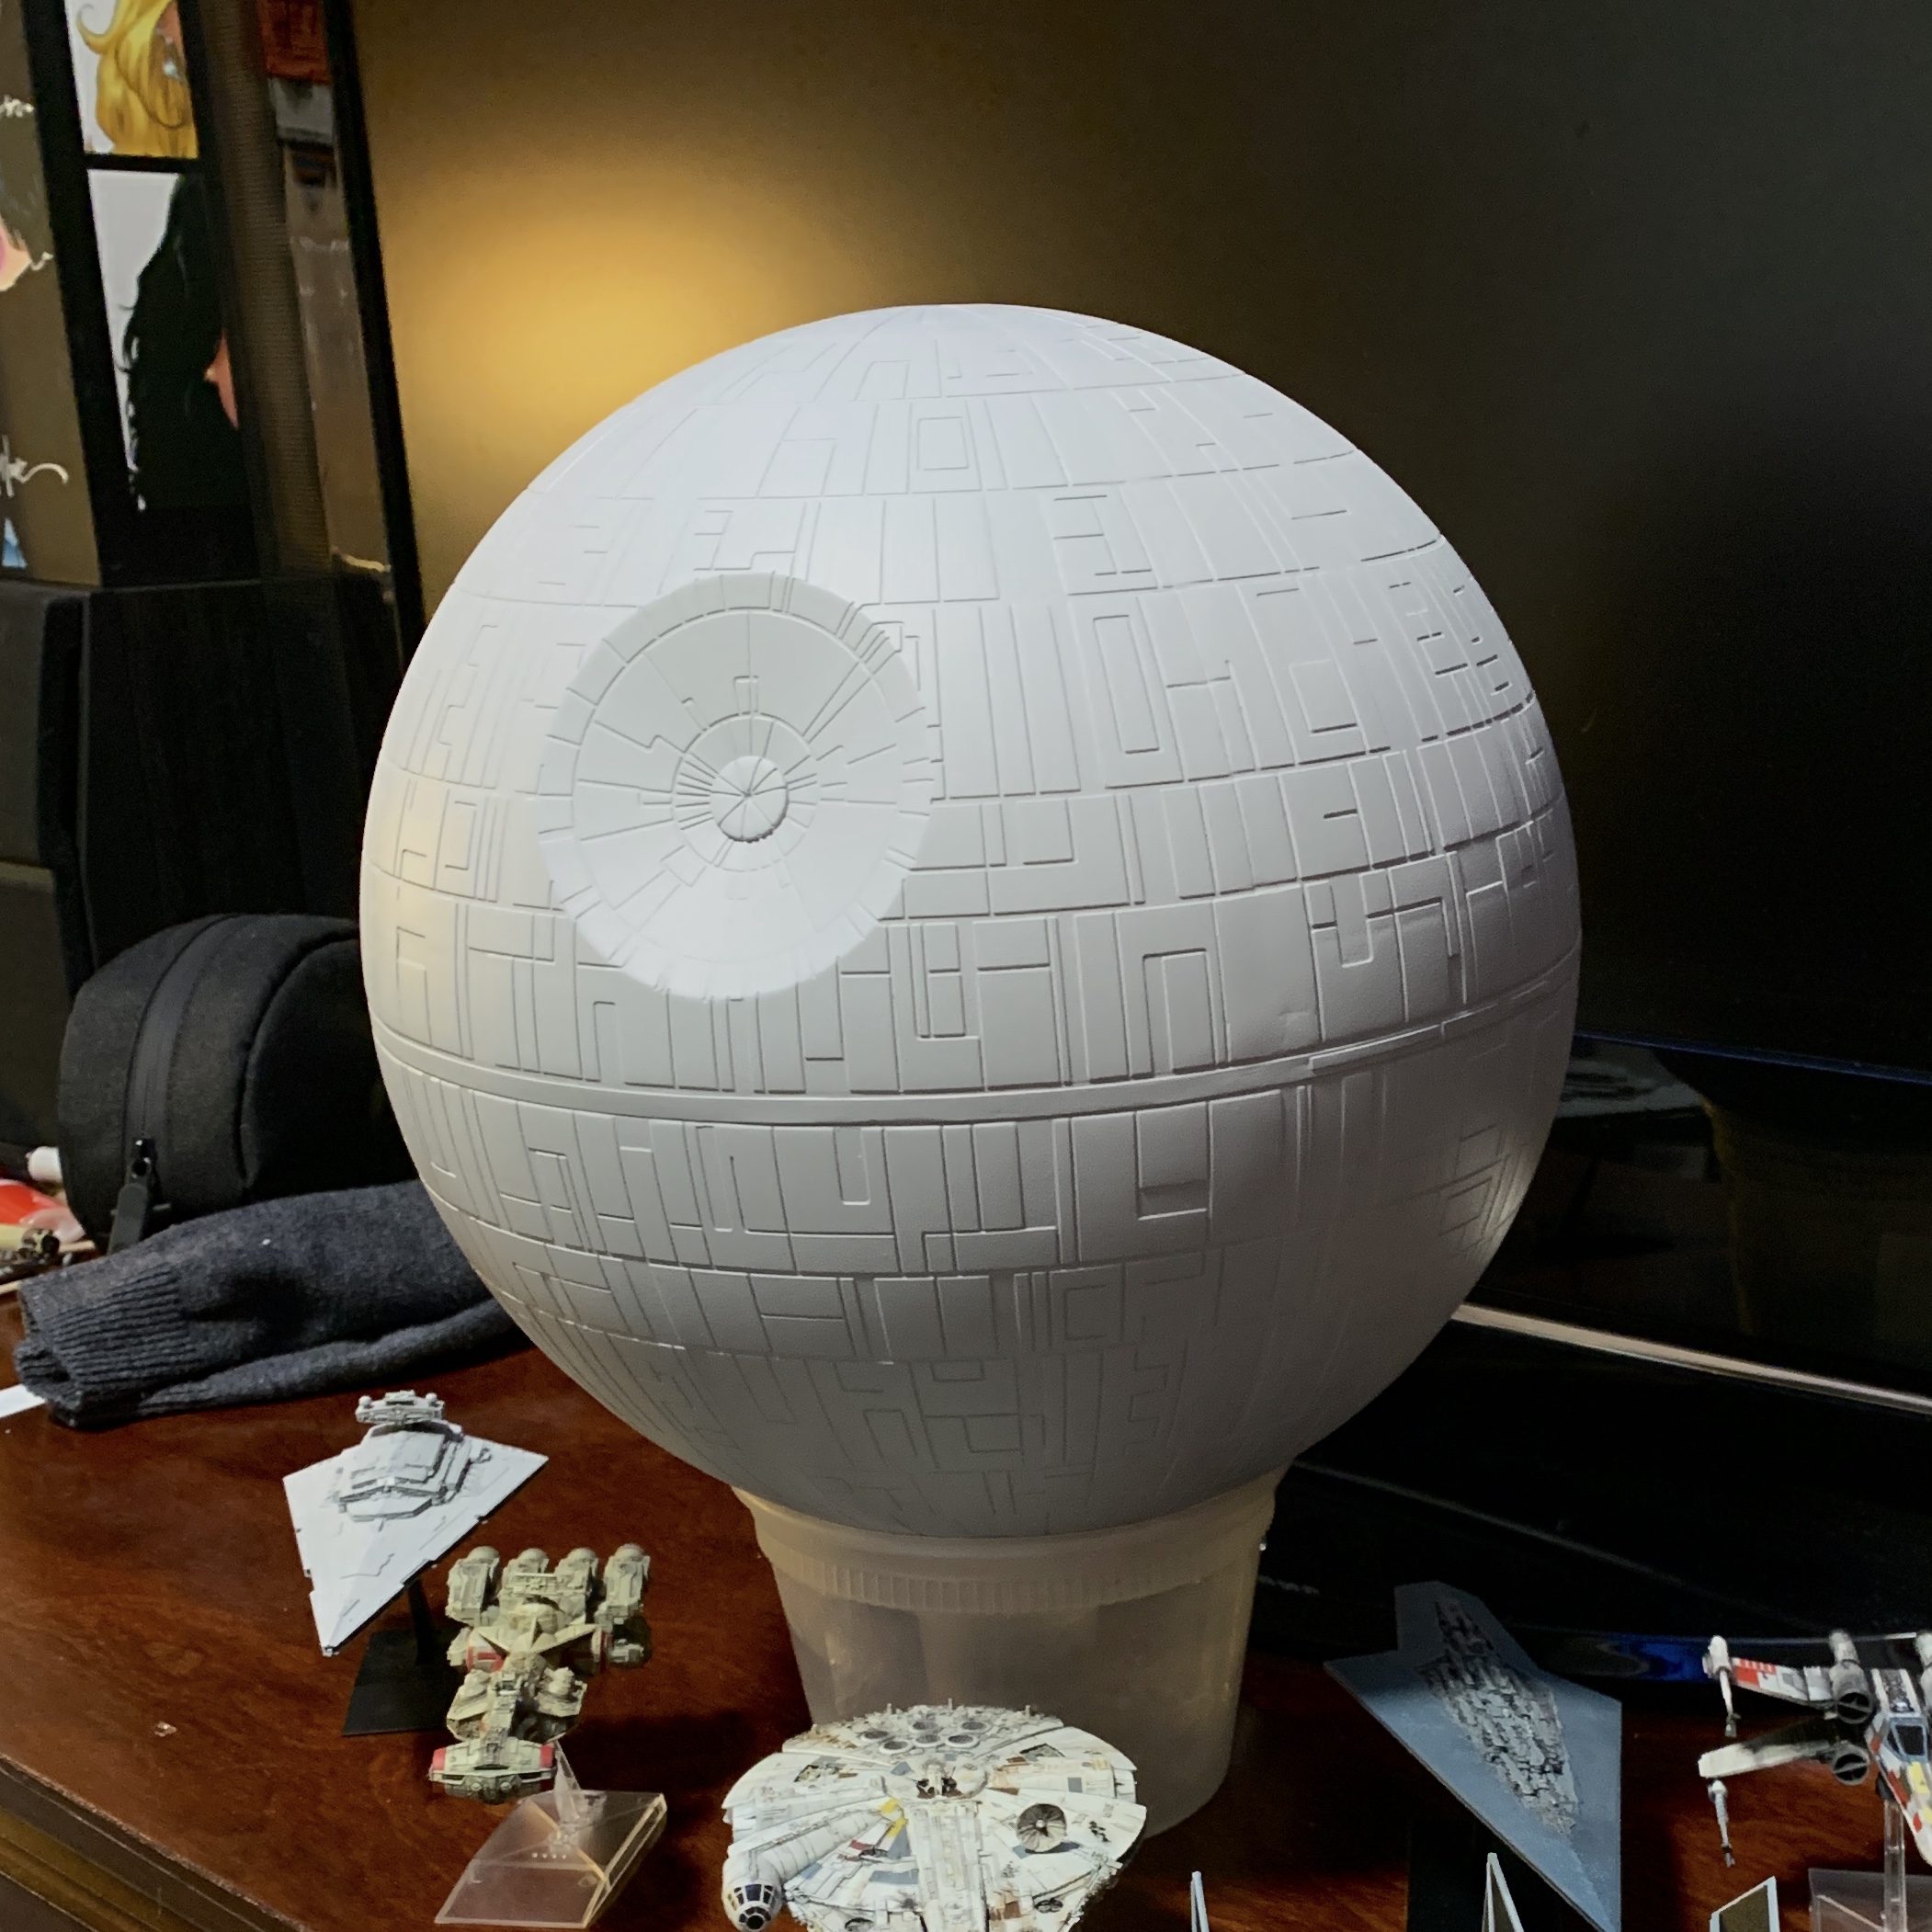
From there, I did two coats with a grey primer, sanding between coats. Ultimately I decided that the grey primer was good enough as a base coat as well, so, it was ready to move on the painting stage!
 .
.