Welcome to the Polar Lights Refit Enterprise Re-deco Log Part 6!
Click here for Part 1 | Part 2 | Part 3 | Part 4 | Part 5
Now that most of the fine detail has been painted on the surface of the Enterprise, it’s time to start creating the panels that make up the hull of the ship; these panels are called “Aztec” panels for some reason, and there are two ways this can be done: With paint, or with decals. (Actually, I guess there’s a third way… you can not do them at all! But is that really the Enterprise, then?)
When I first started building this ship back in 2006, my intention was to paint the Aztec panels. I don’t know why that was my intention, and it’s probably a good thing life got in the way and I never got to attempt it, because I wasn’t nearly good enough back then to be able to do it. Painting the Aztec panels requires extensive masking, some airbrush skill, and tons of patience.
In 2009, Polar Lights released a set of decals you can apply to the surface of the ship to simulate the Aztec panels without painting them. This is absolutely an inferior method — doing it this way won’t give you the shimmering, pearlescent effect that proper interference paints will, nor is it as colourful — but it’s easier, takes less time, and is a nice alternative for a less experienced modeler like me to give your ship some added detail and dimension.
Thus, in 2015, when I first thought about fixing this beast up, I bought a set of the Aztec decals, and then as mentioned previously, didn’t get around to working on the ship until a couple months ago. So now, finally, with the base coats and details all painted, it’s time to start working with these decals!
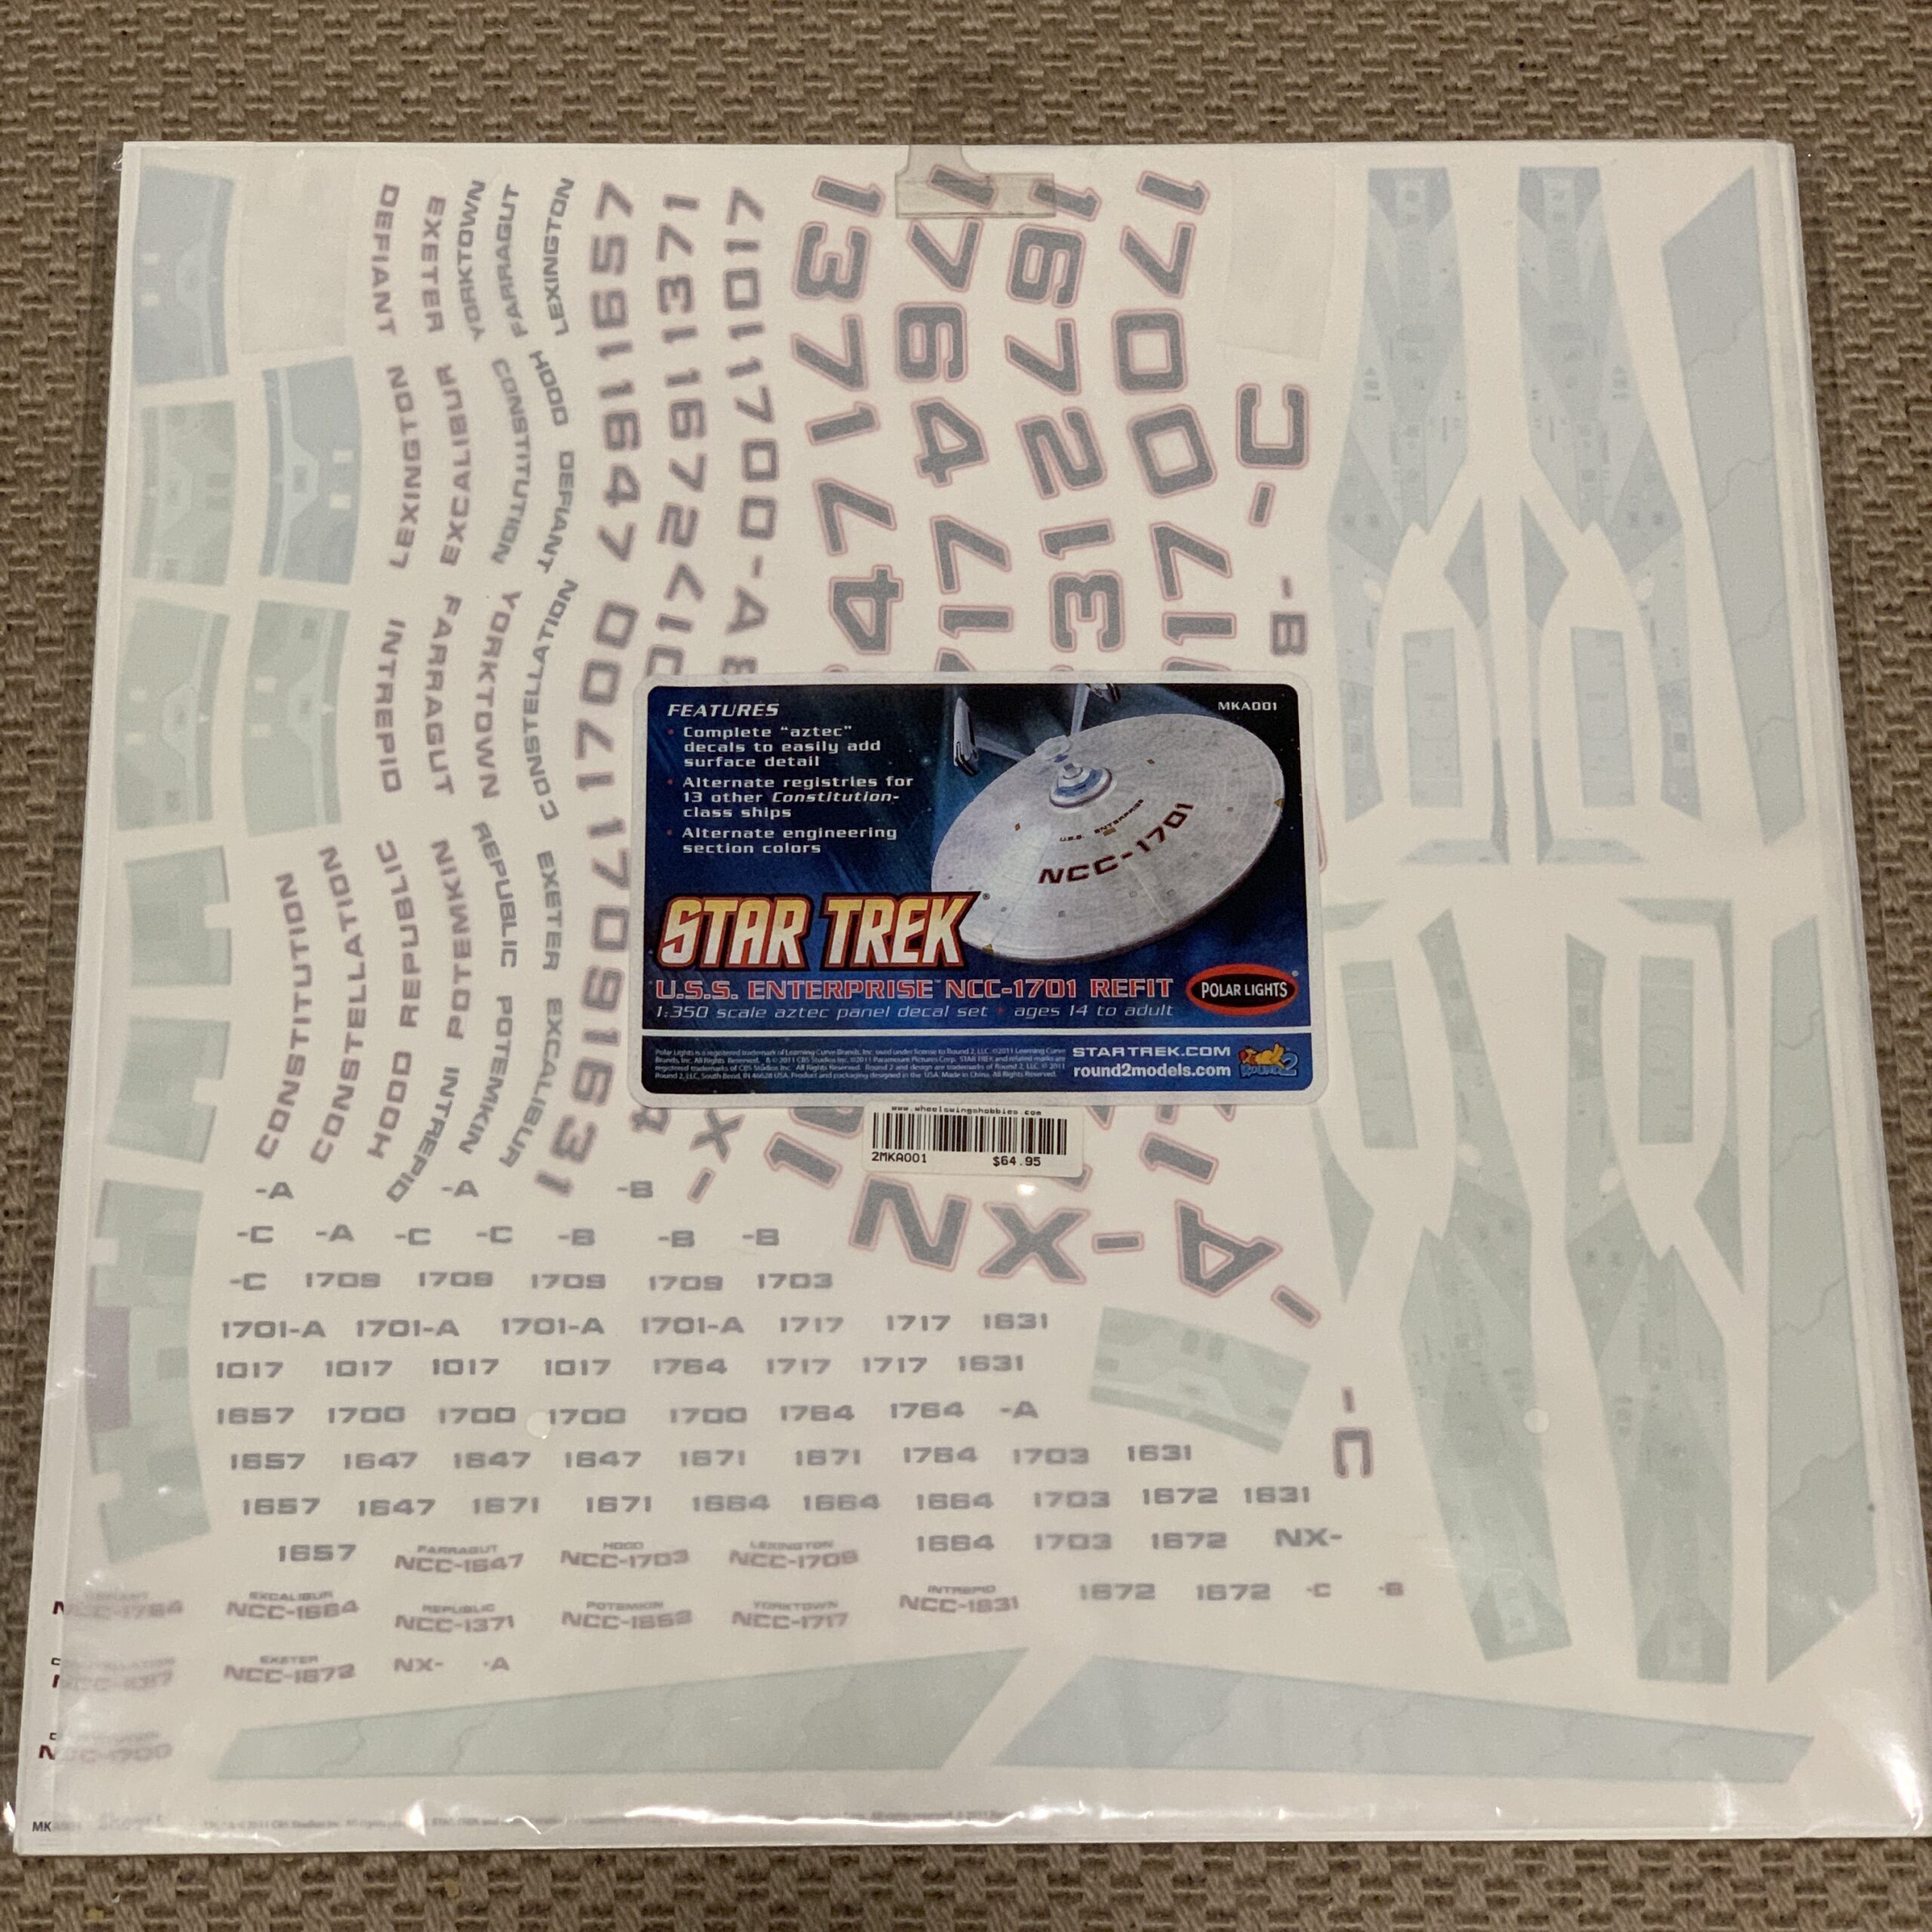
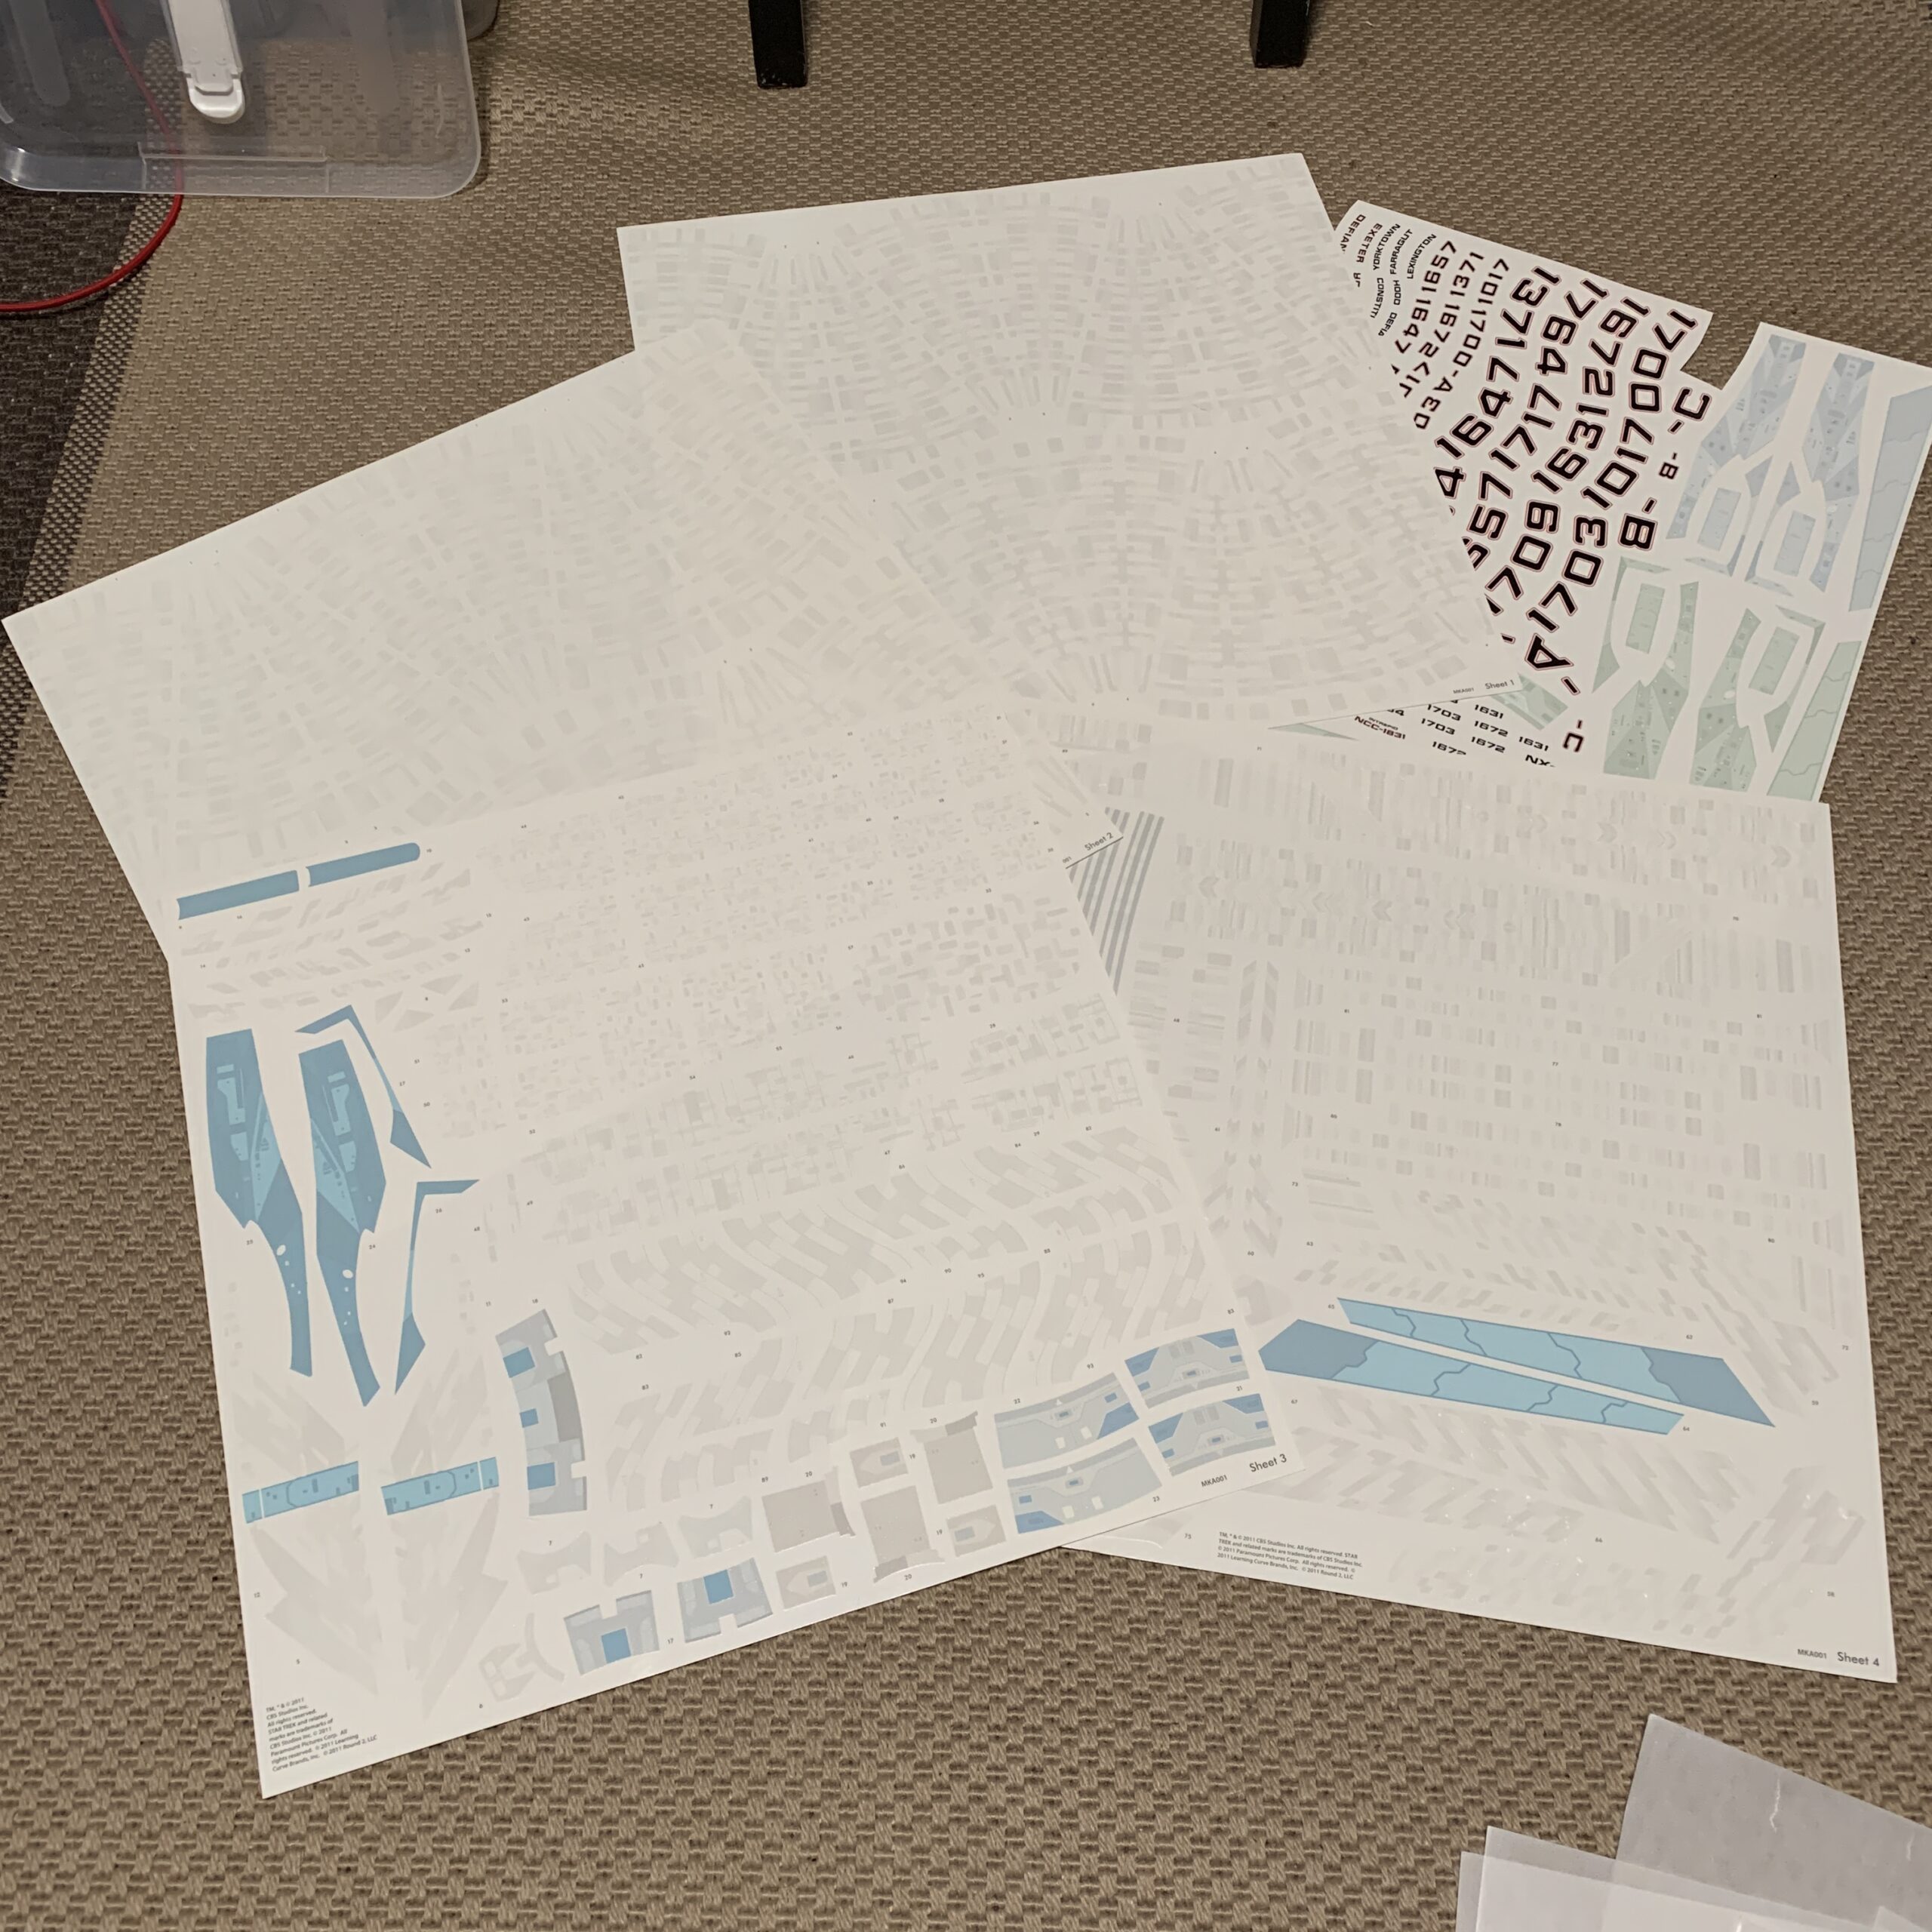
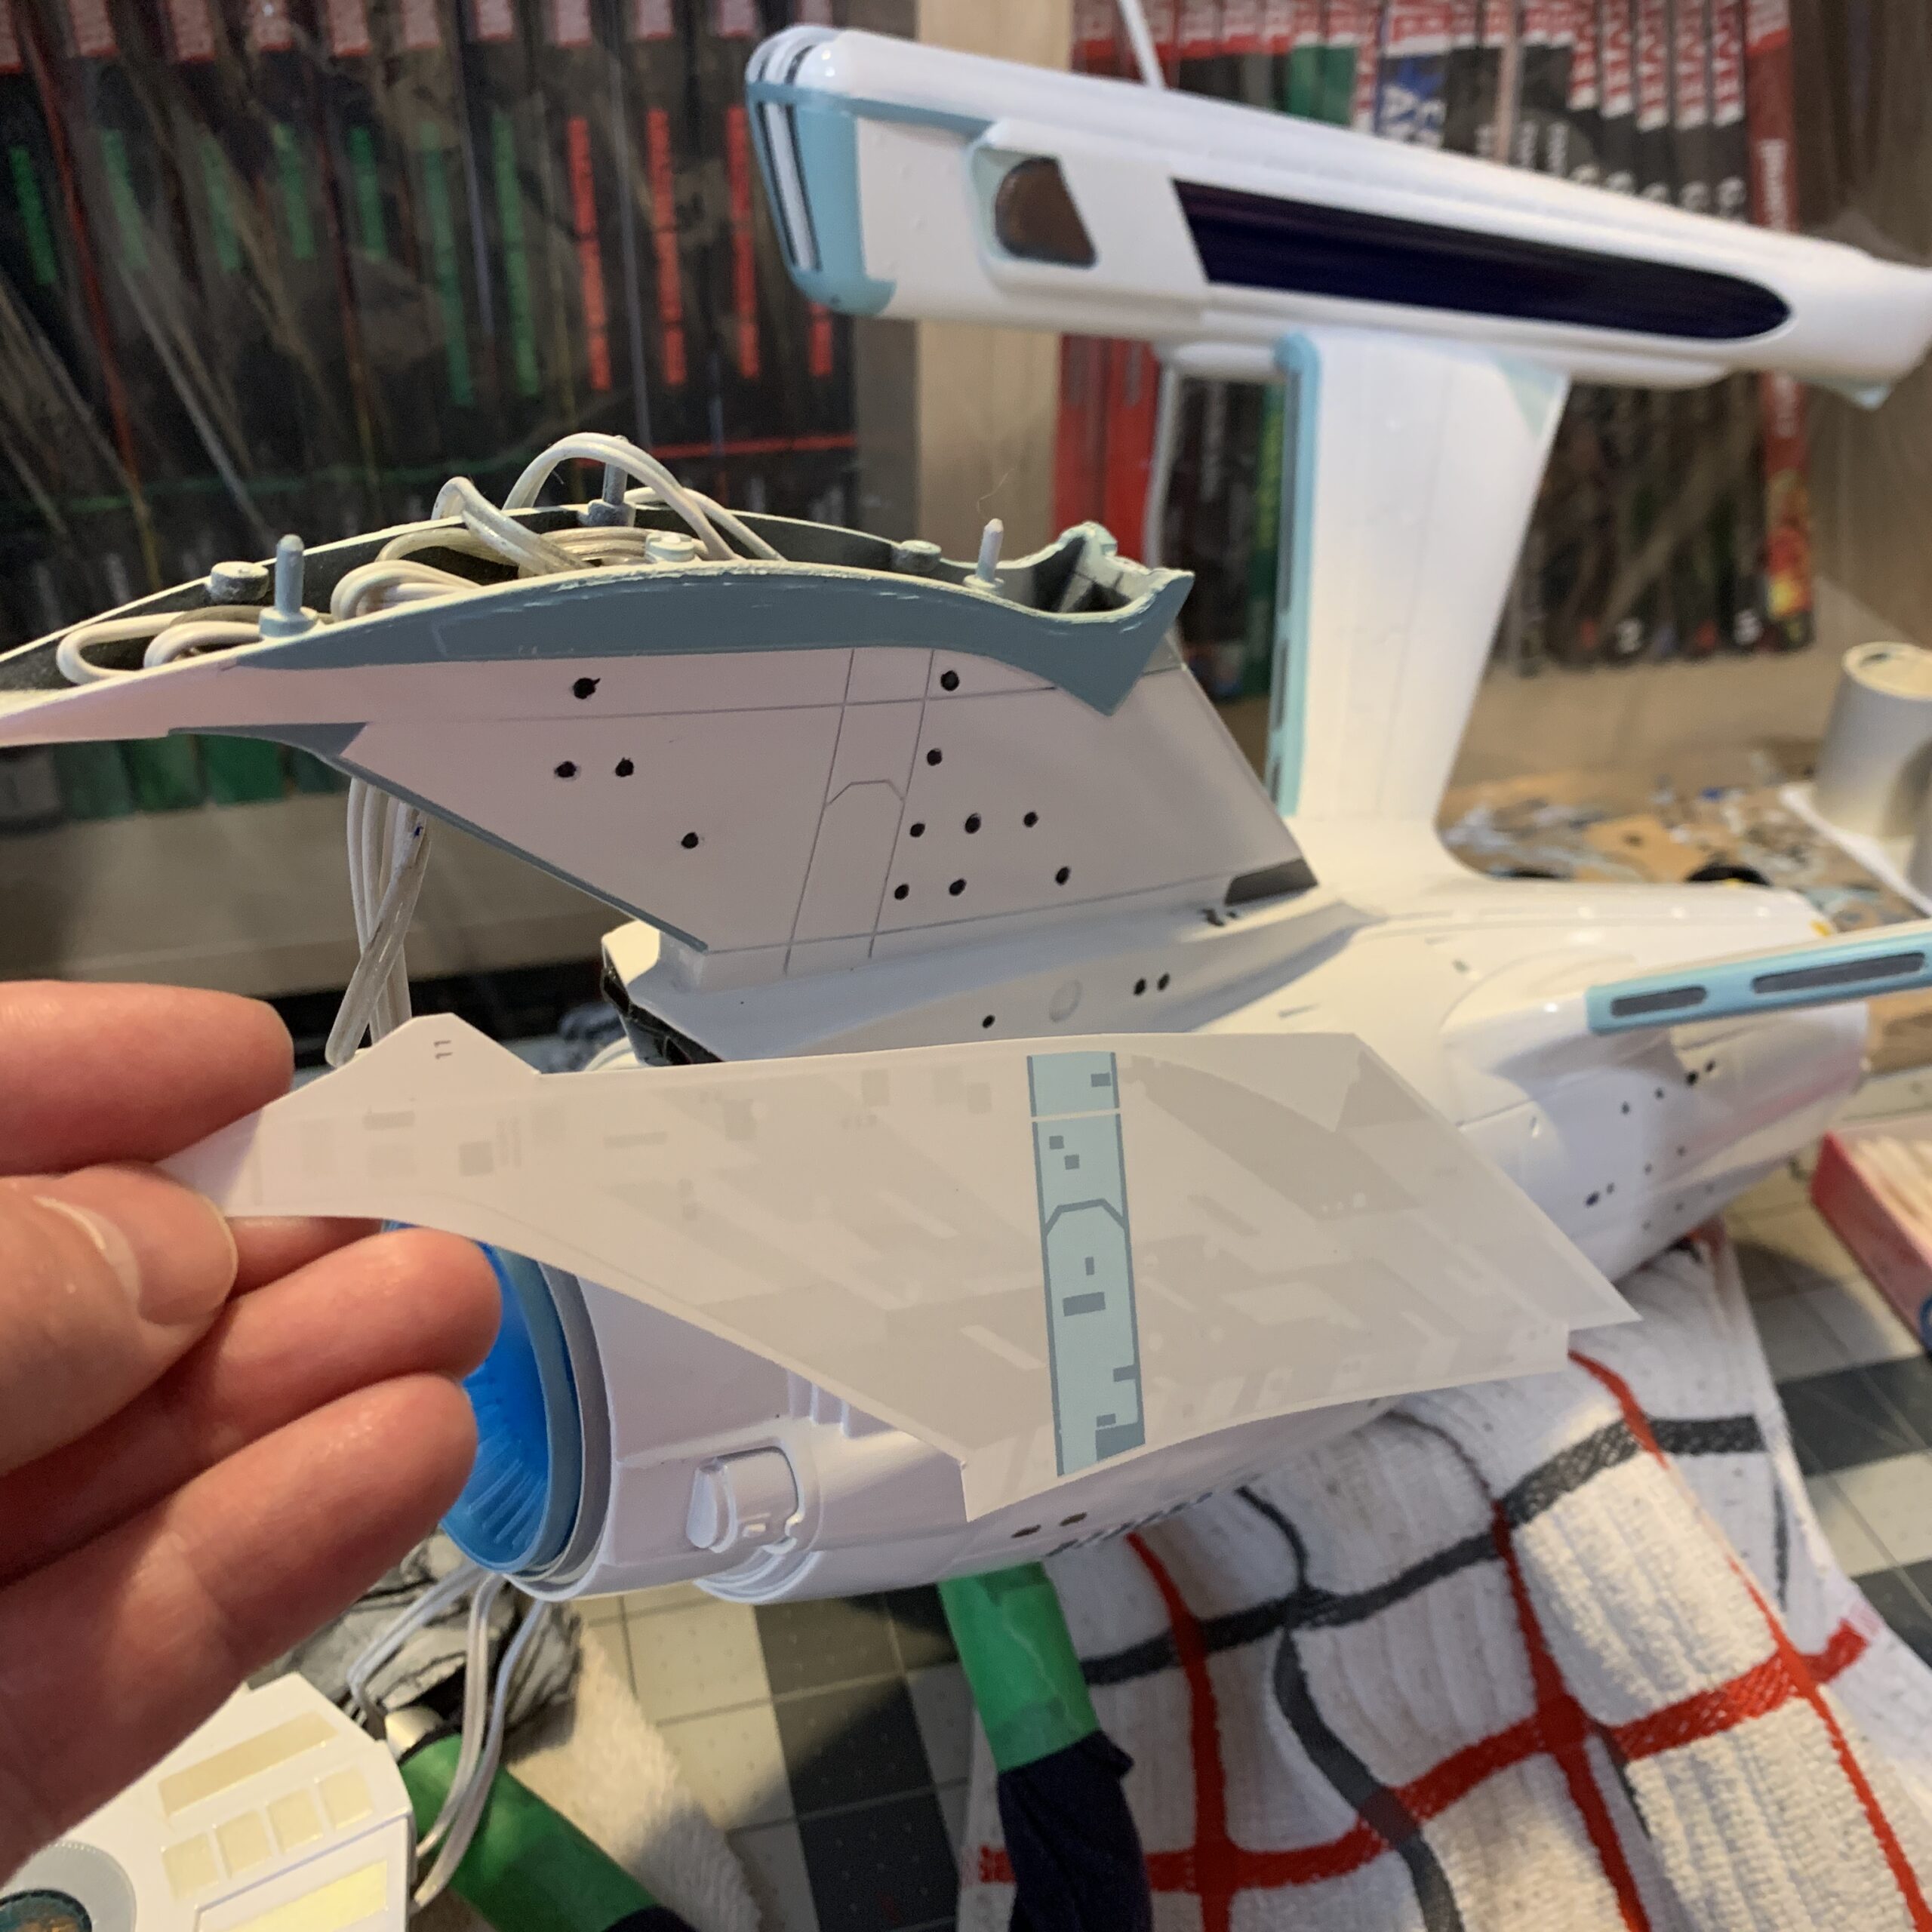
As you can see, there are enough decals to cover the entire ship from bow to stern. Hardly any of the surface is uncovered!
They’re waterslide decals, so, standard approach: dunk them in water for a few seconds, take them out and let them soak the water in for a few more, then slide them onto the model. Position them before they dry, then pat out any excess water or air bubbles and voila! I also use a two-part decal setting solution, Micro Set (to help the decals adhere) and Micro Sol (to help the decals sink in to the panel lines and recesses).
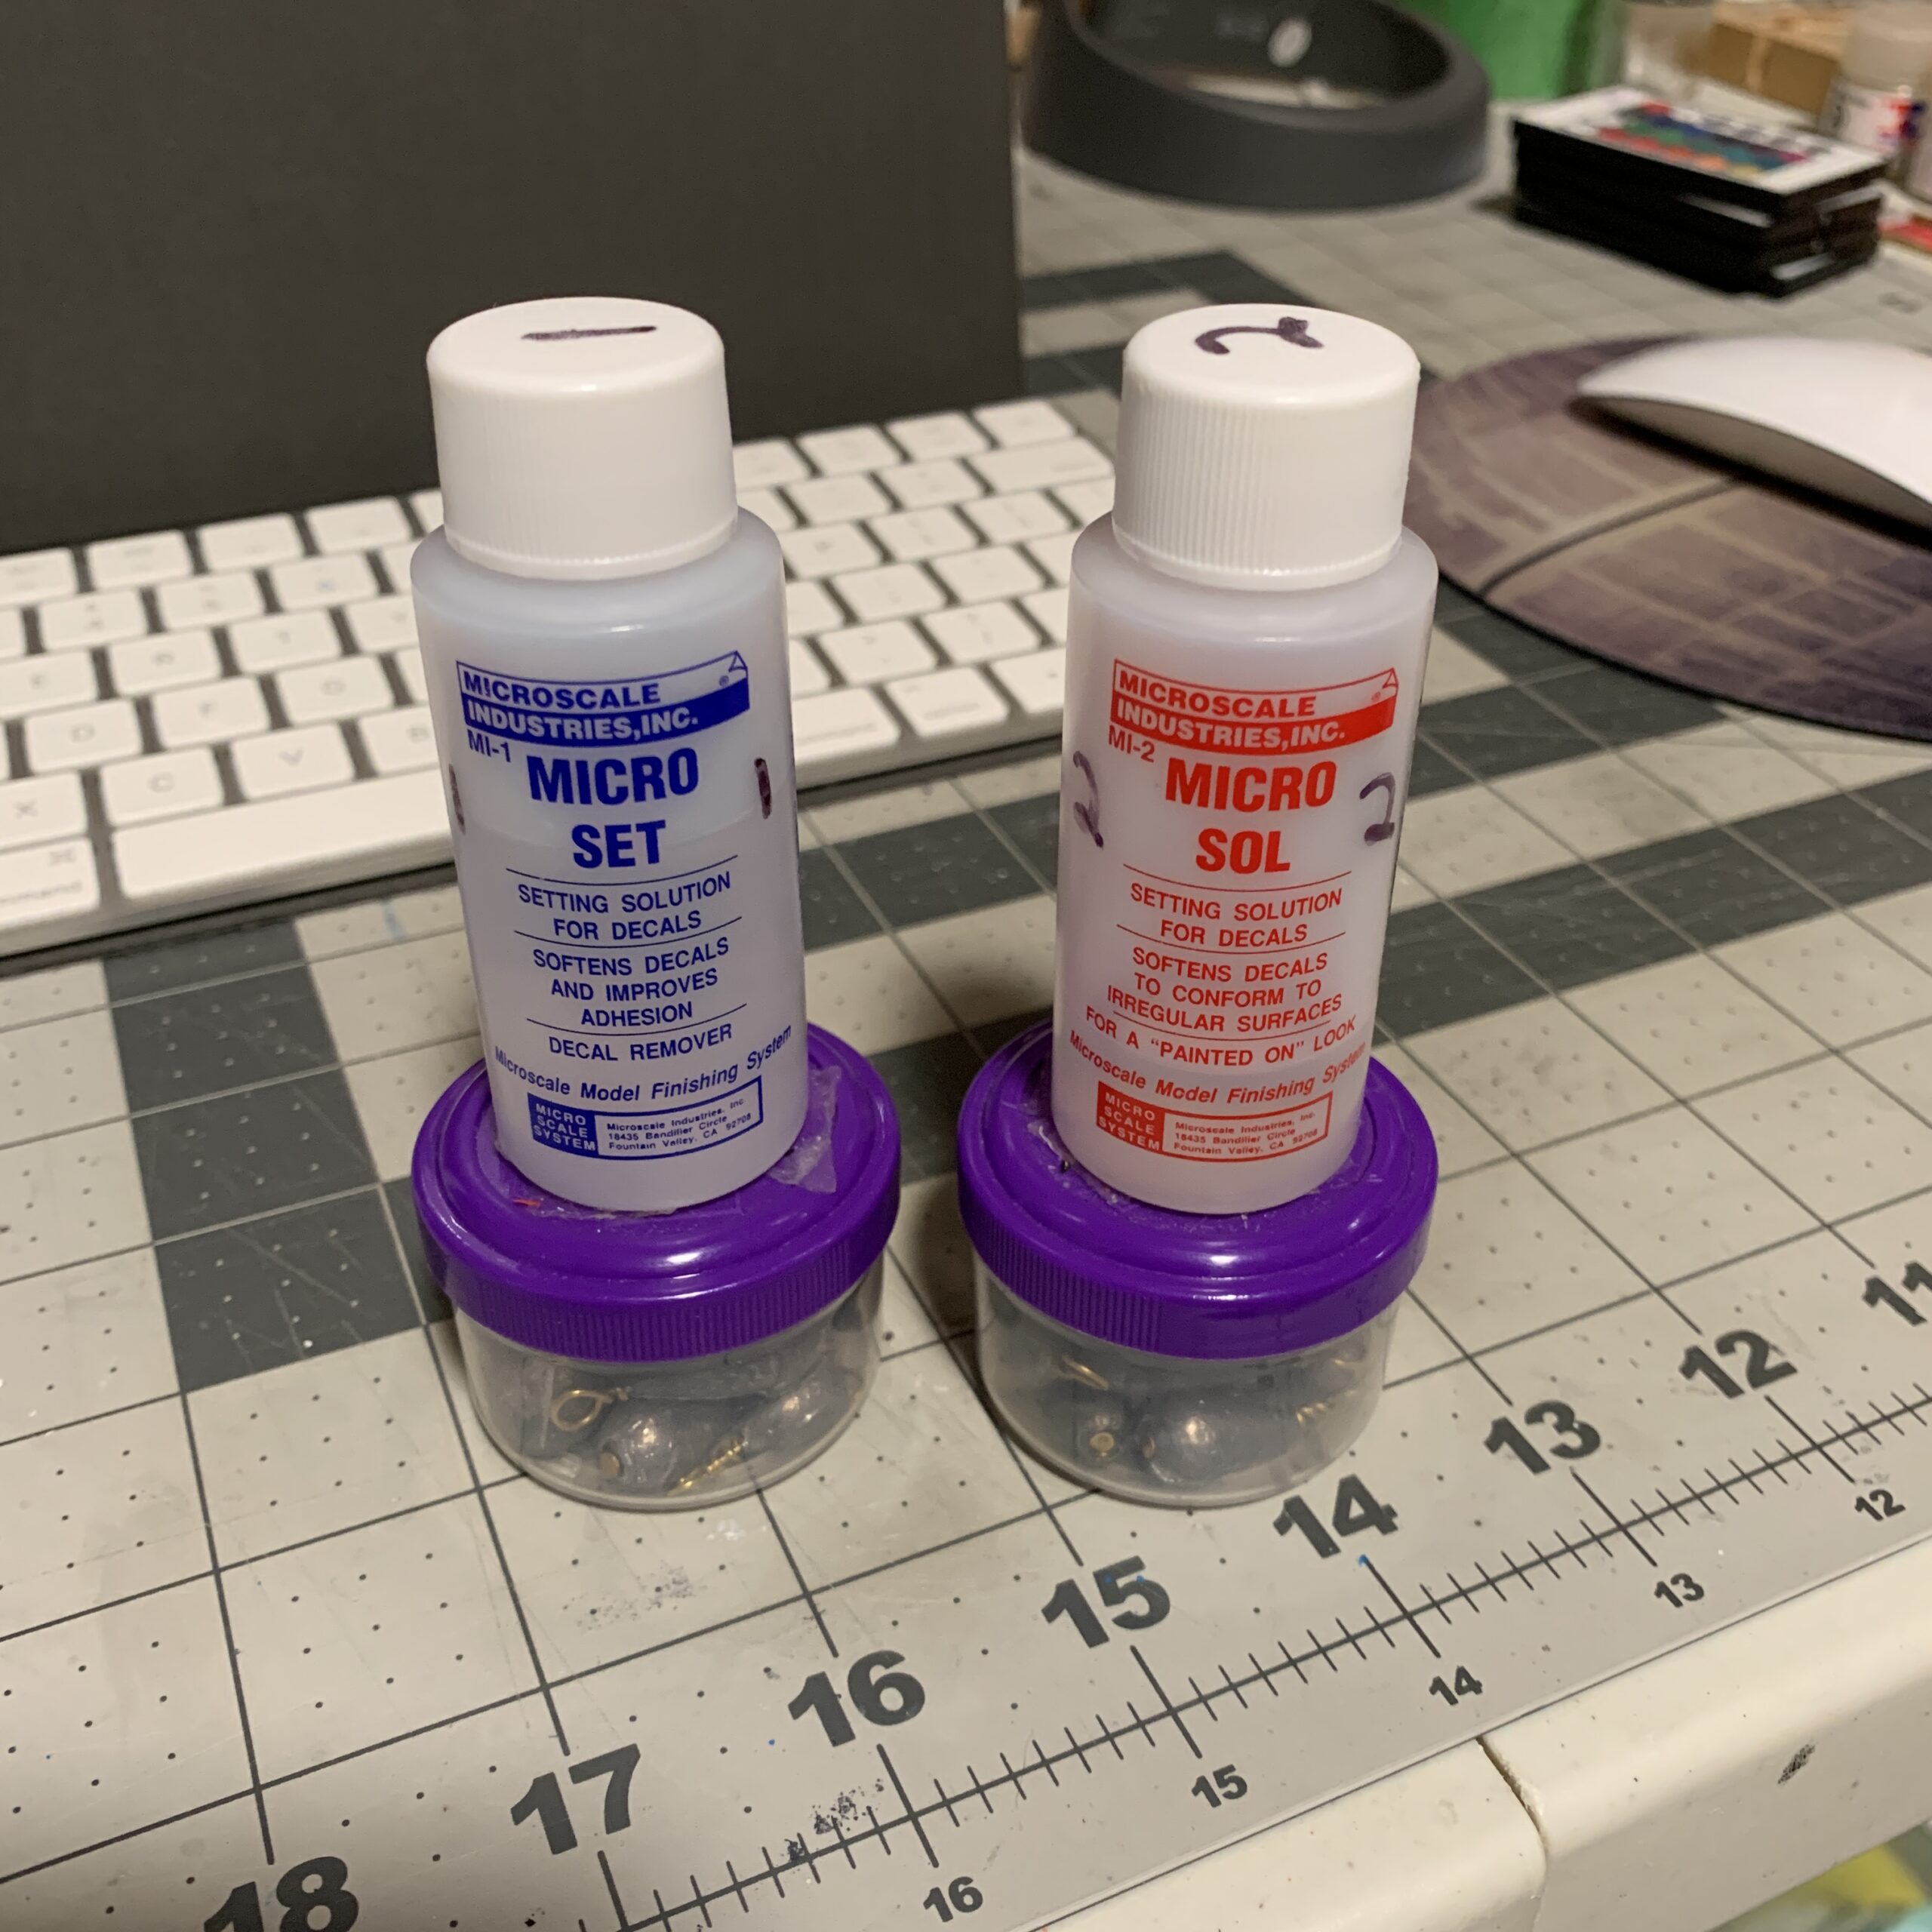
(Yes, I write “1” and “2” on the bottles so I don’t forget what order to use them! Also, a good tip: these bottles are super easy to knock over. I weight them down to help keep them upright!)
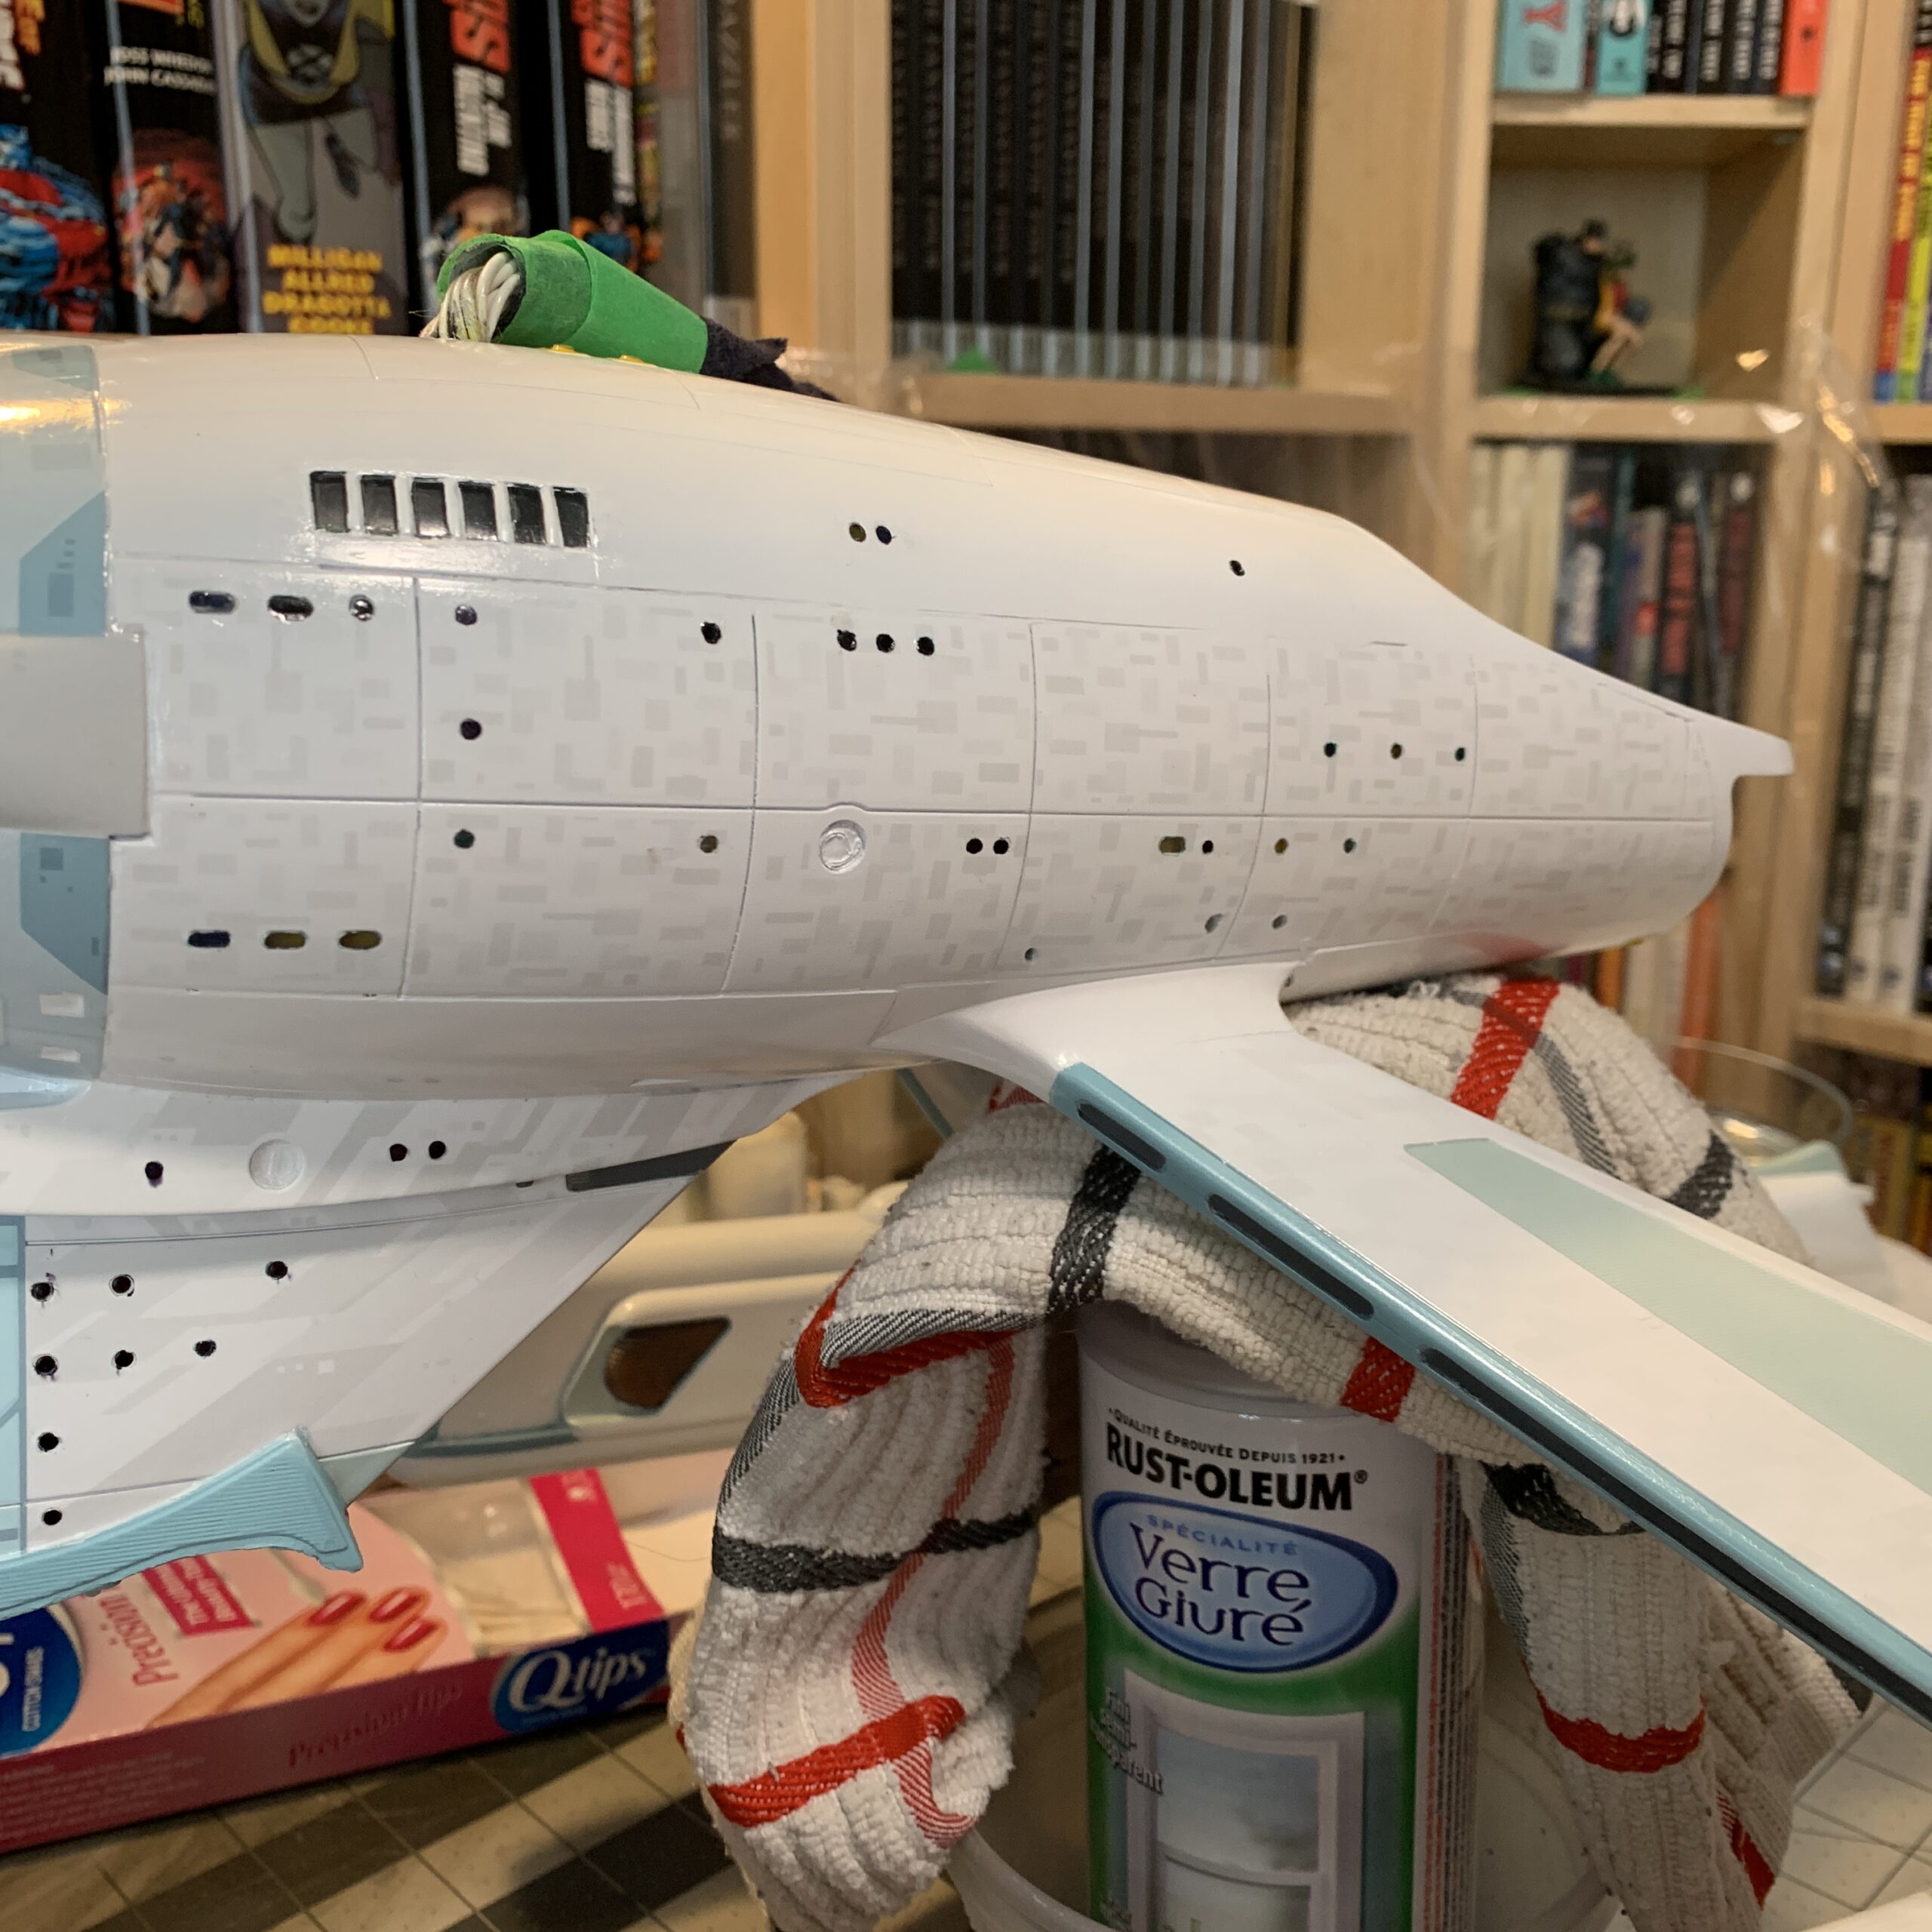
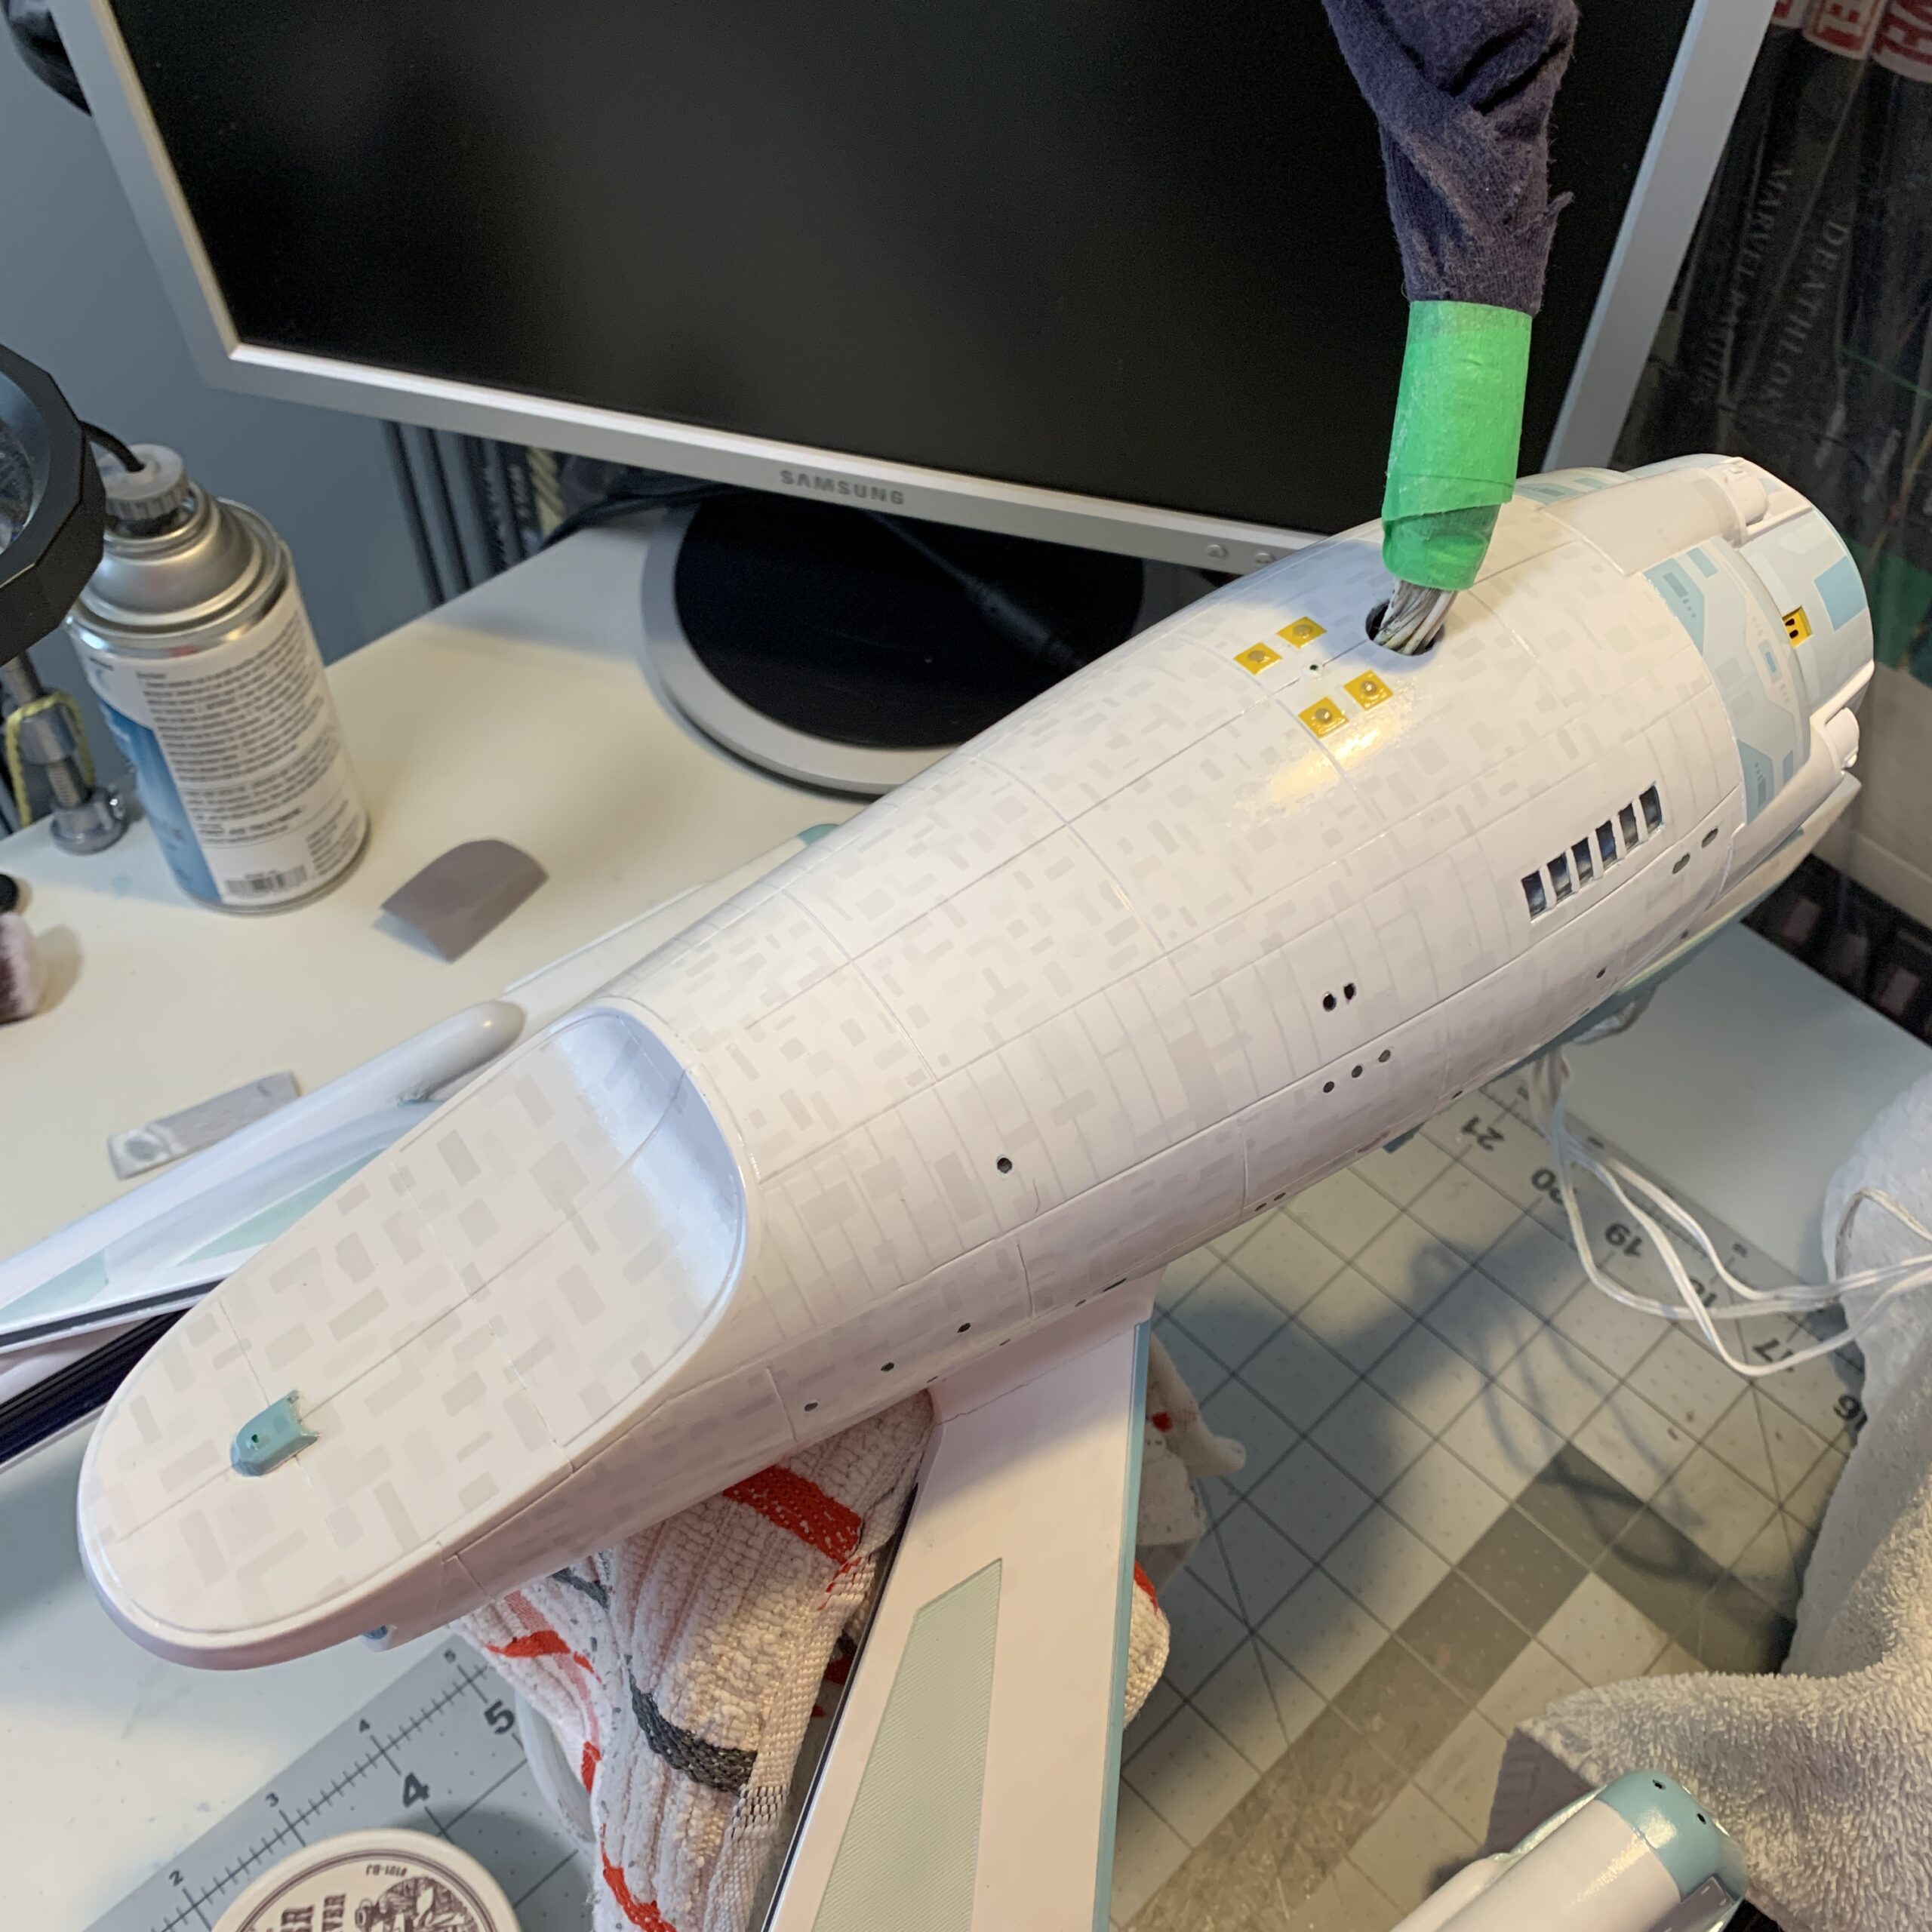
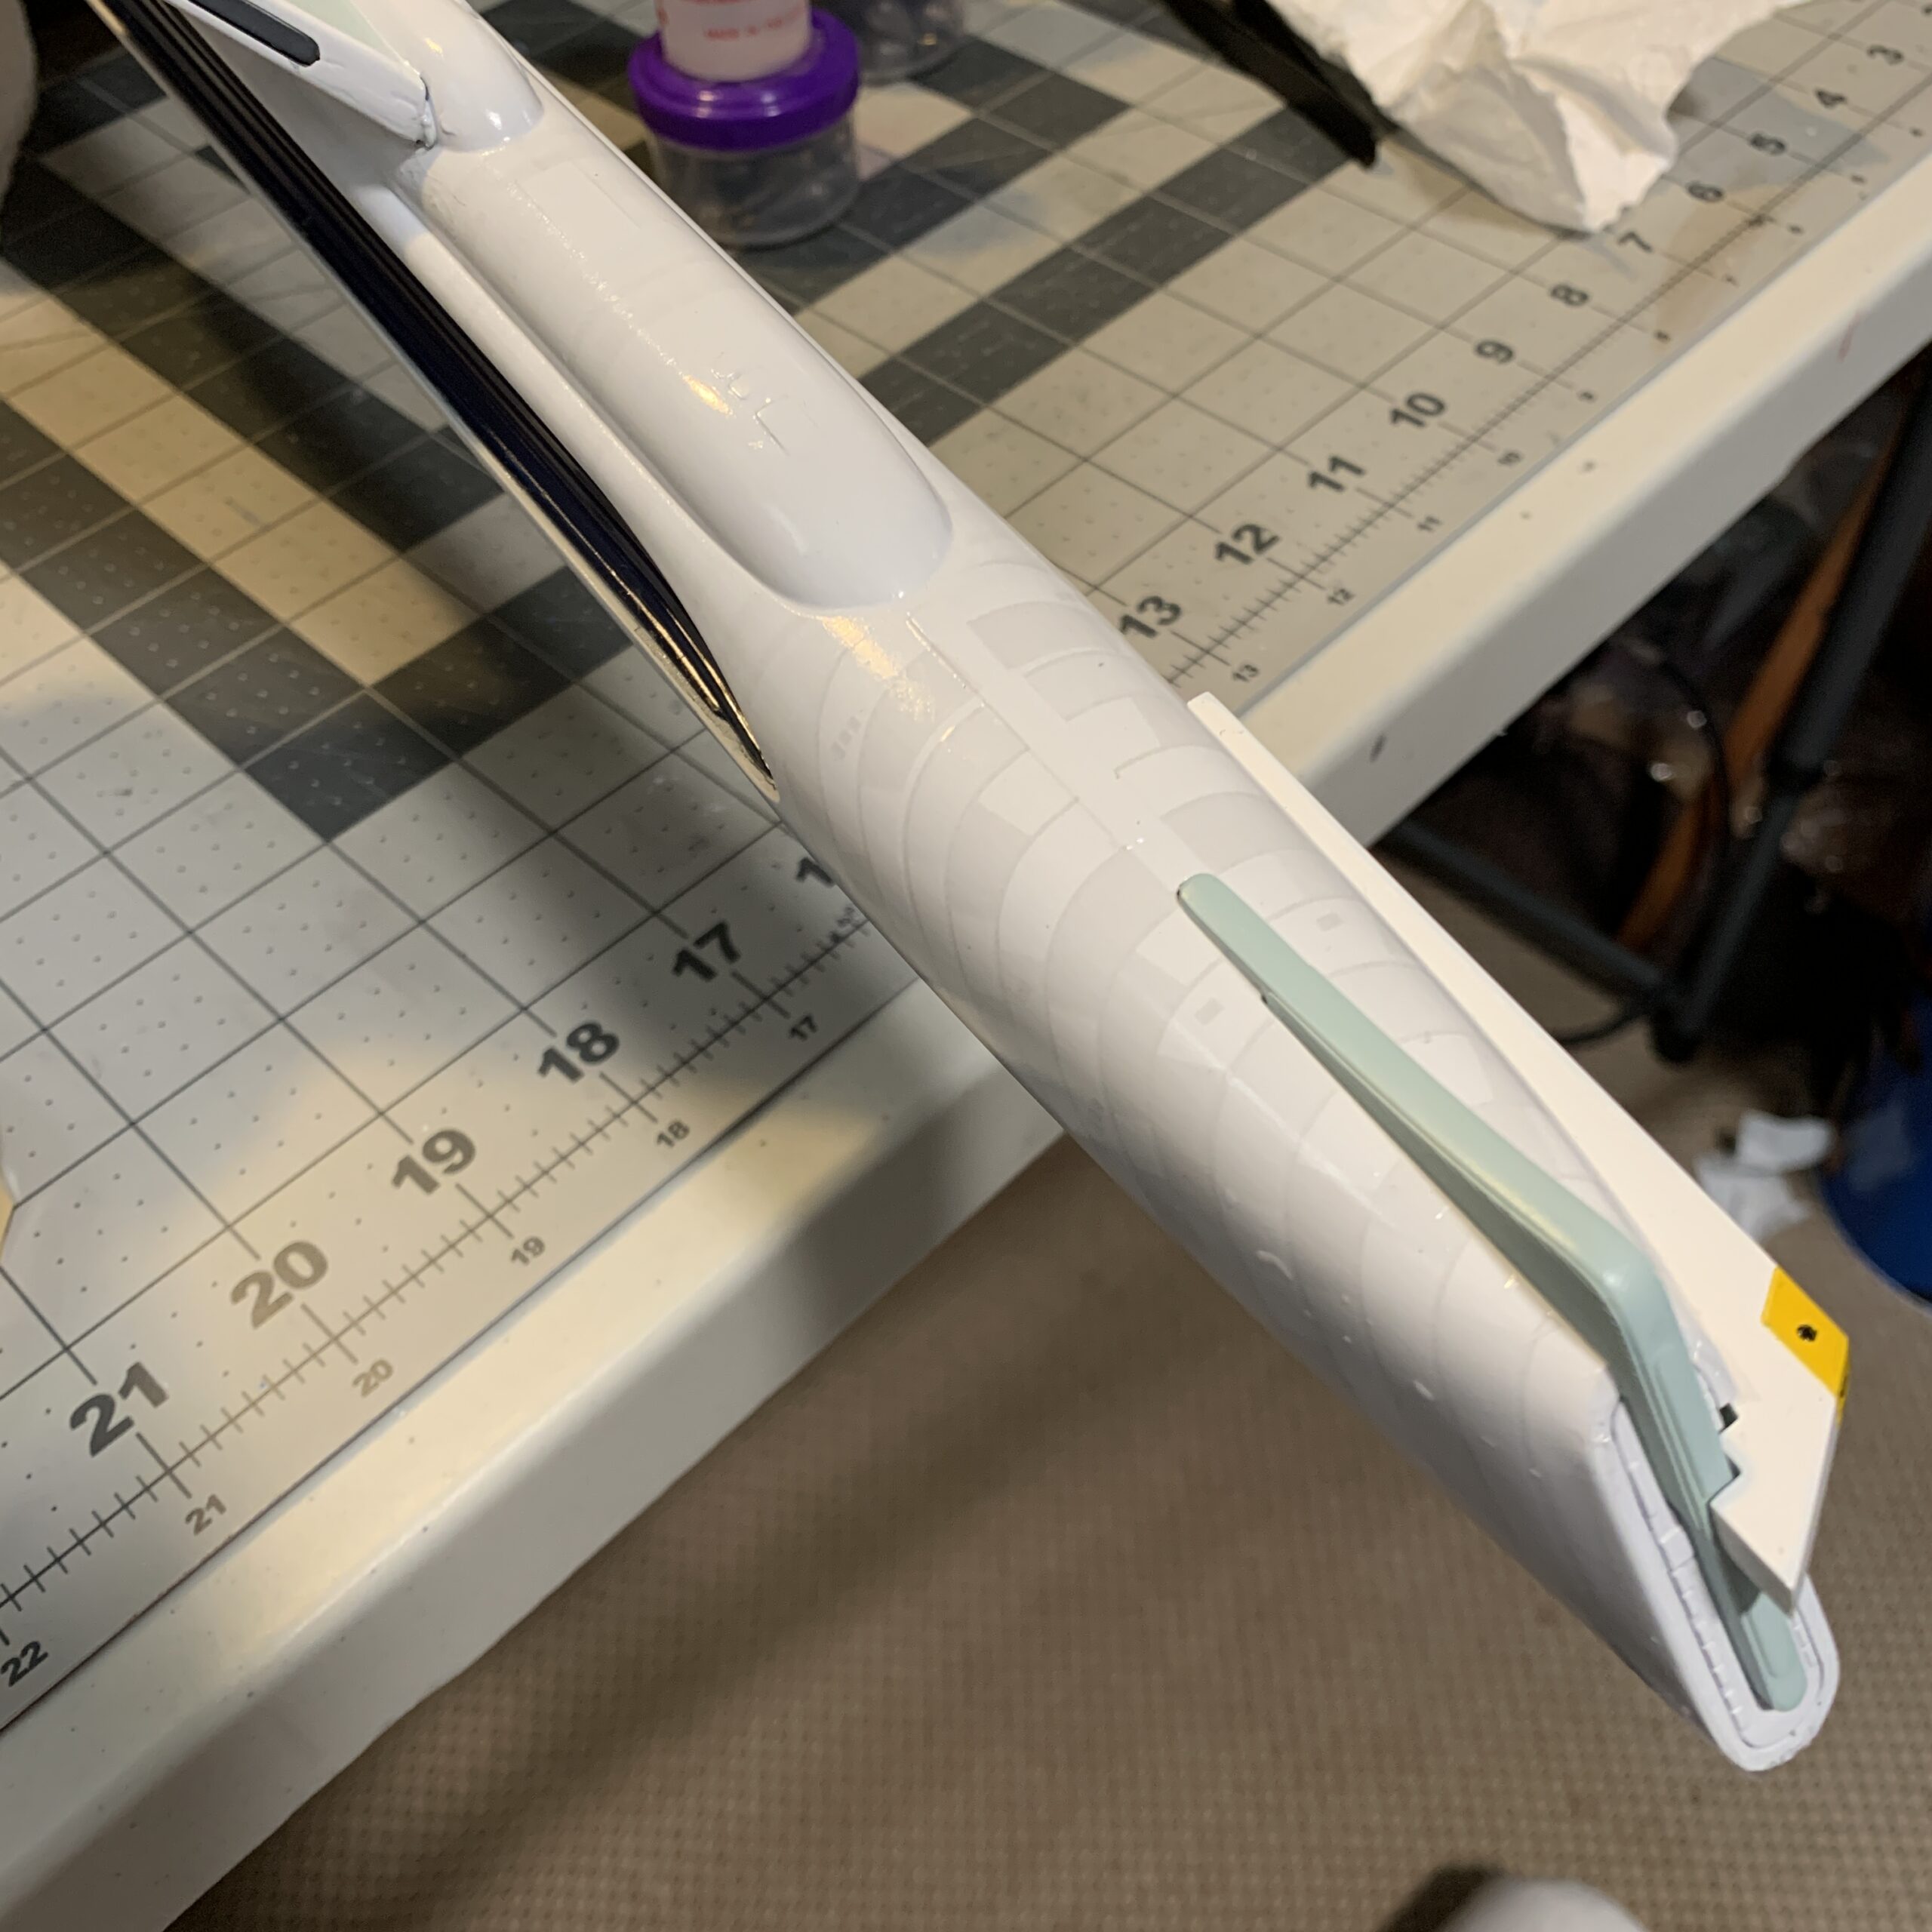
I started with the neck and secondary hull; I wanted to save the saucer section for last, since that’s the most “visible” area — I figured that I could work out any kinks and get a feel for the decals by doing the back sections first.
I was really impressed with these decals, I have to say. They’re sturdy but not too thick; I barely had any rips or tears along the way. And the fit is quite good, so very few wrinkles or overlapping seams.
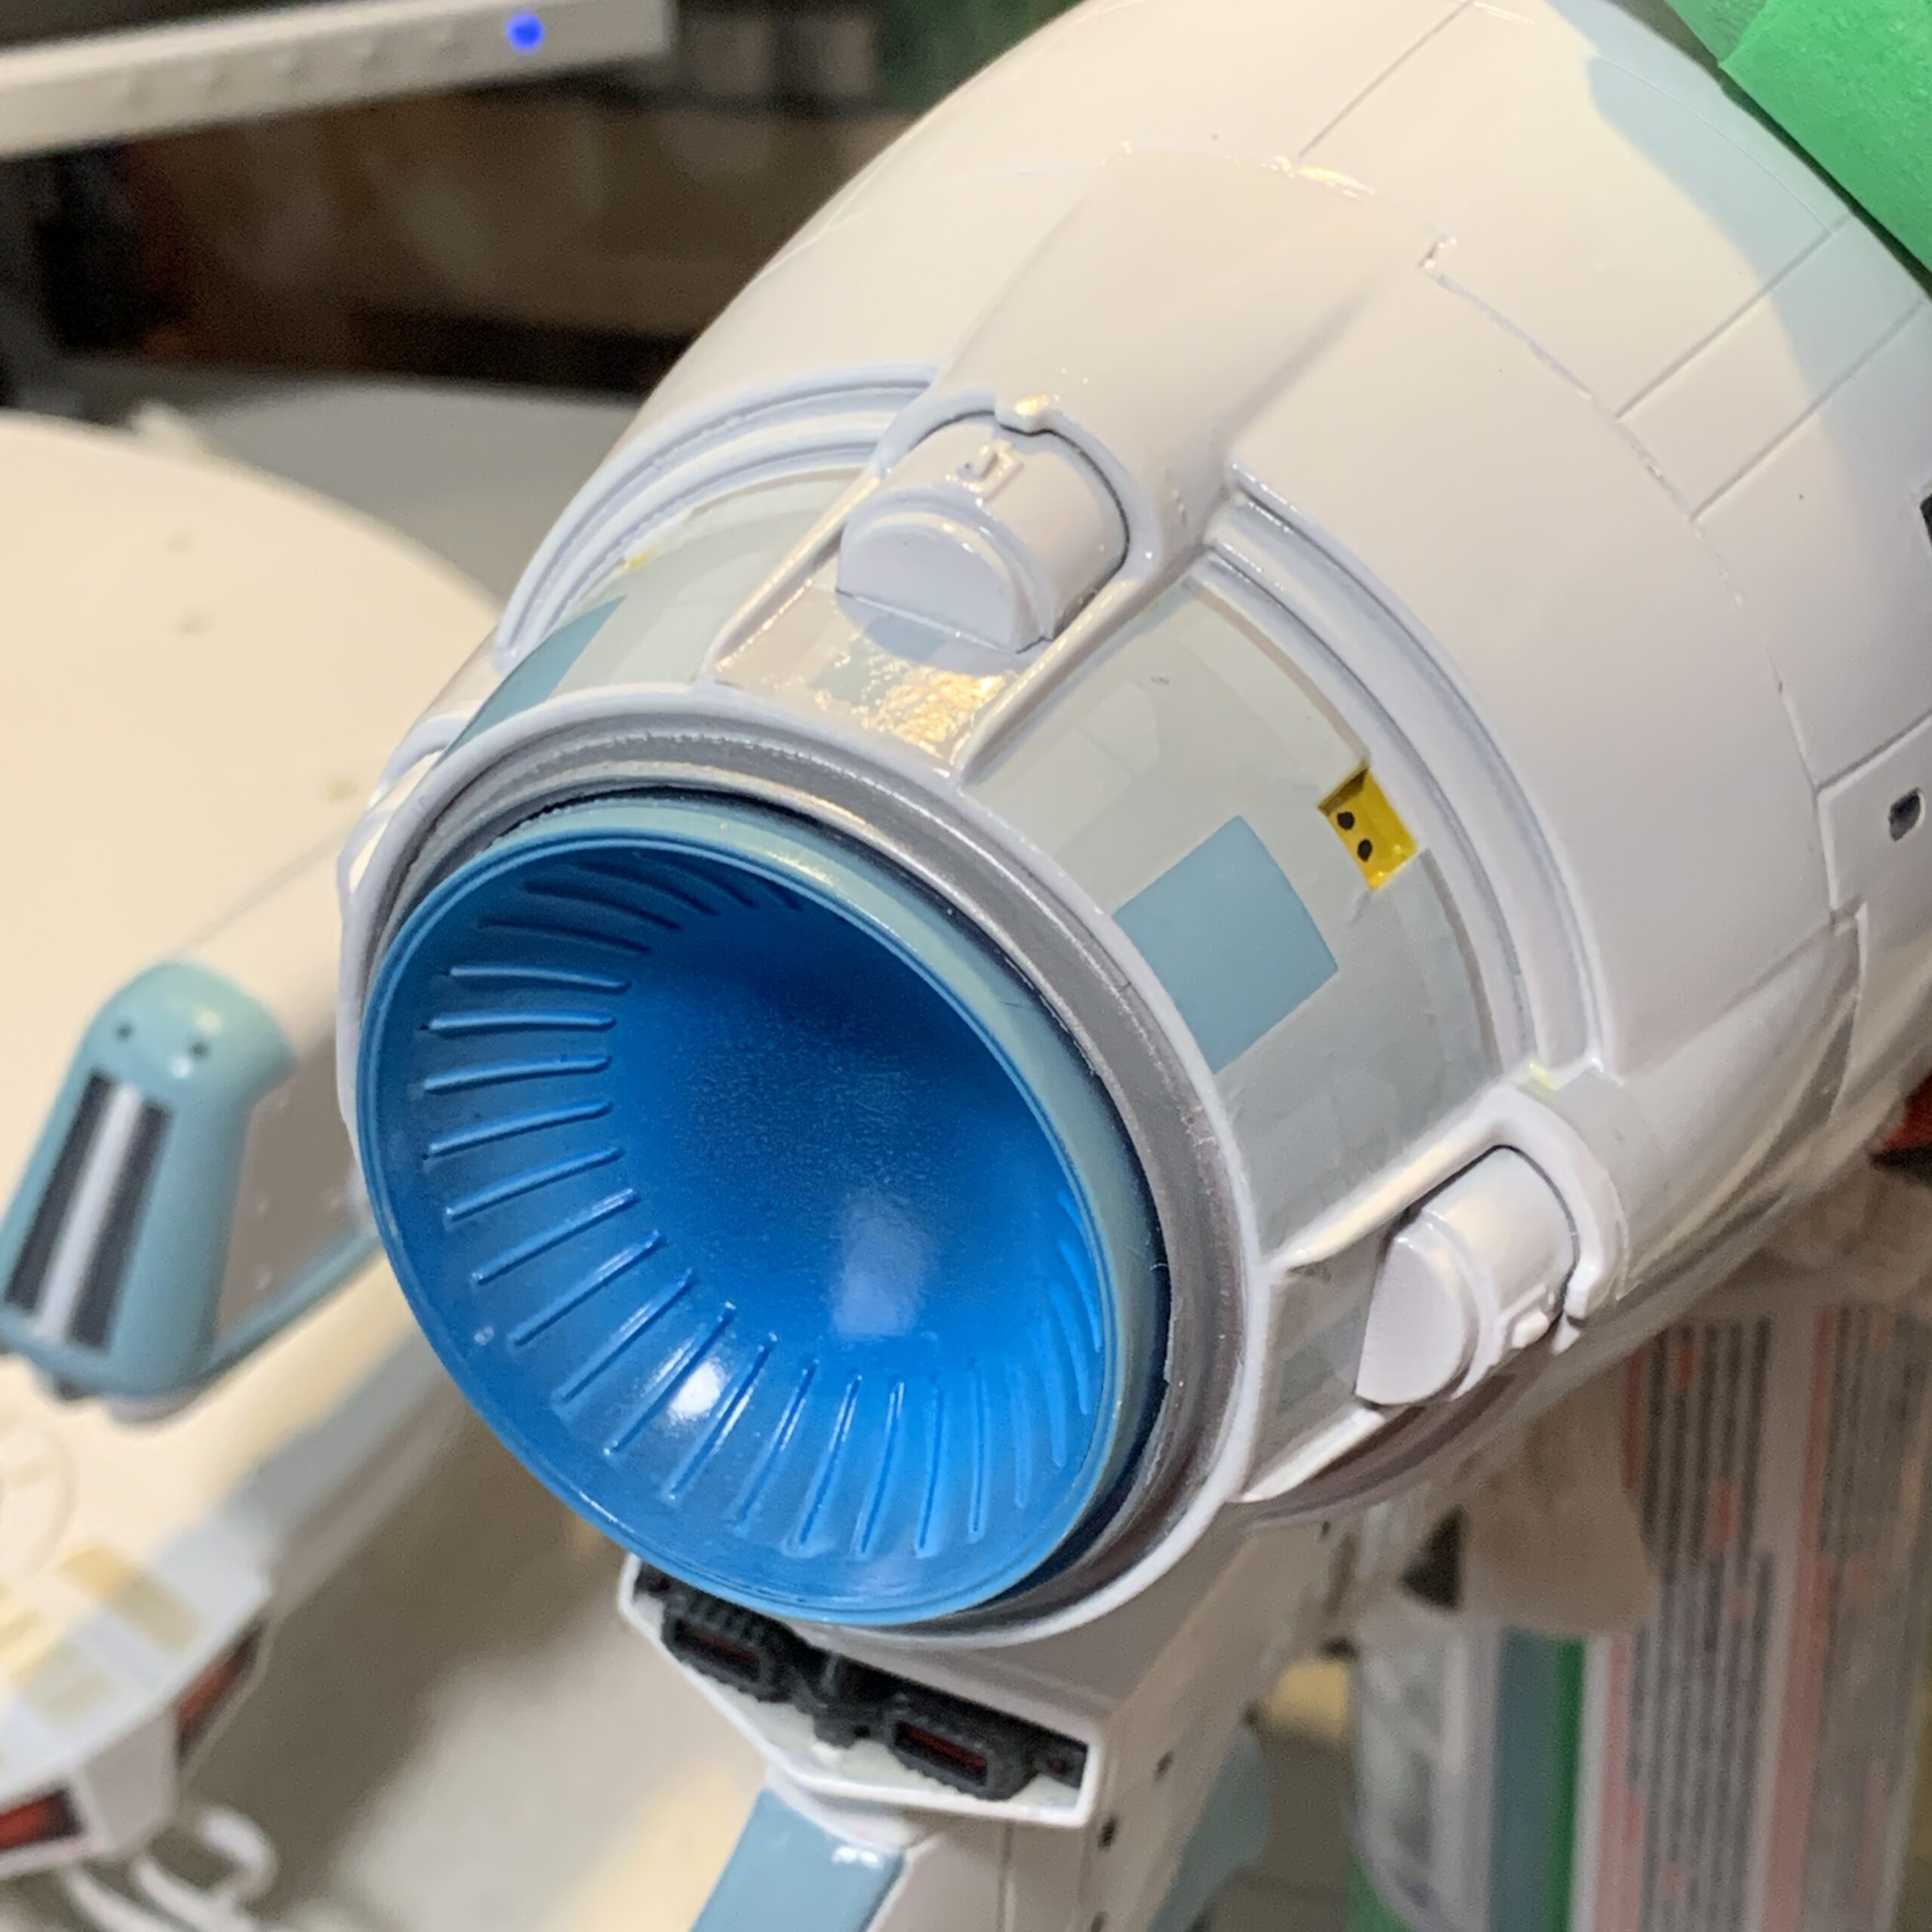
So: I completed the neck and the deflector dish first…
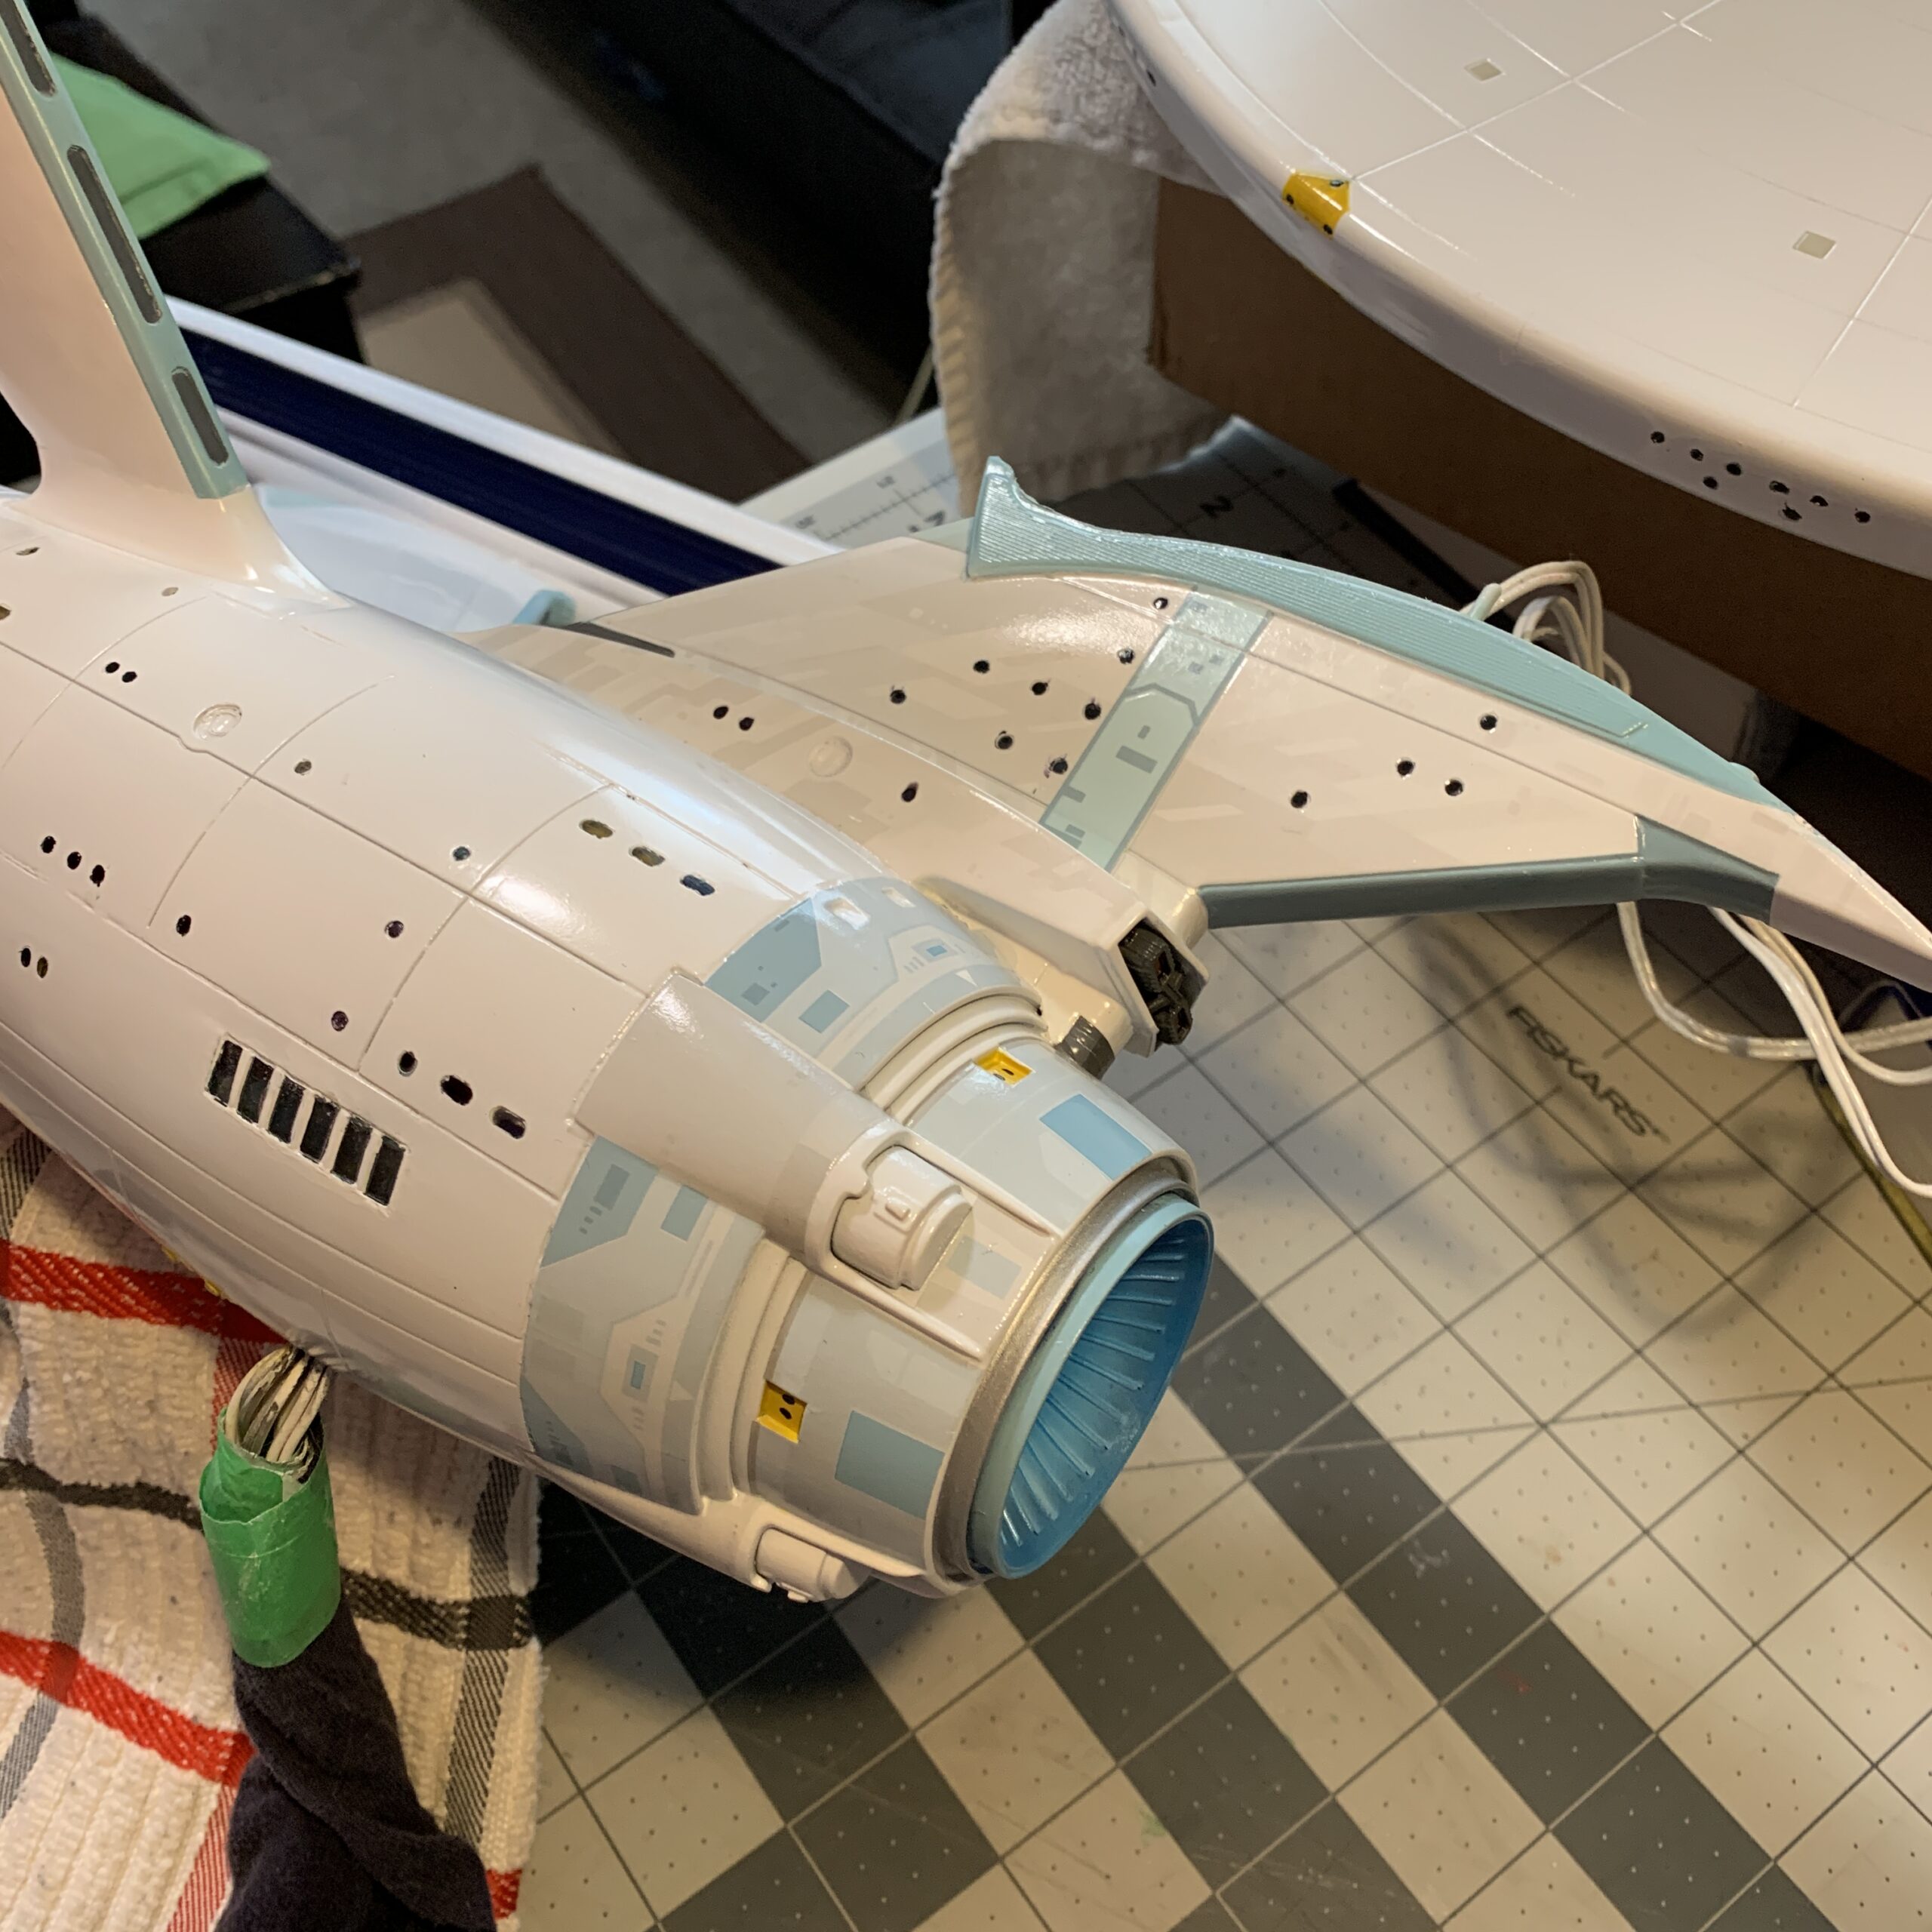
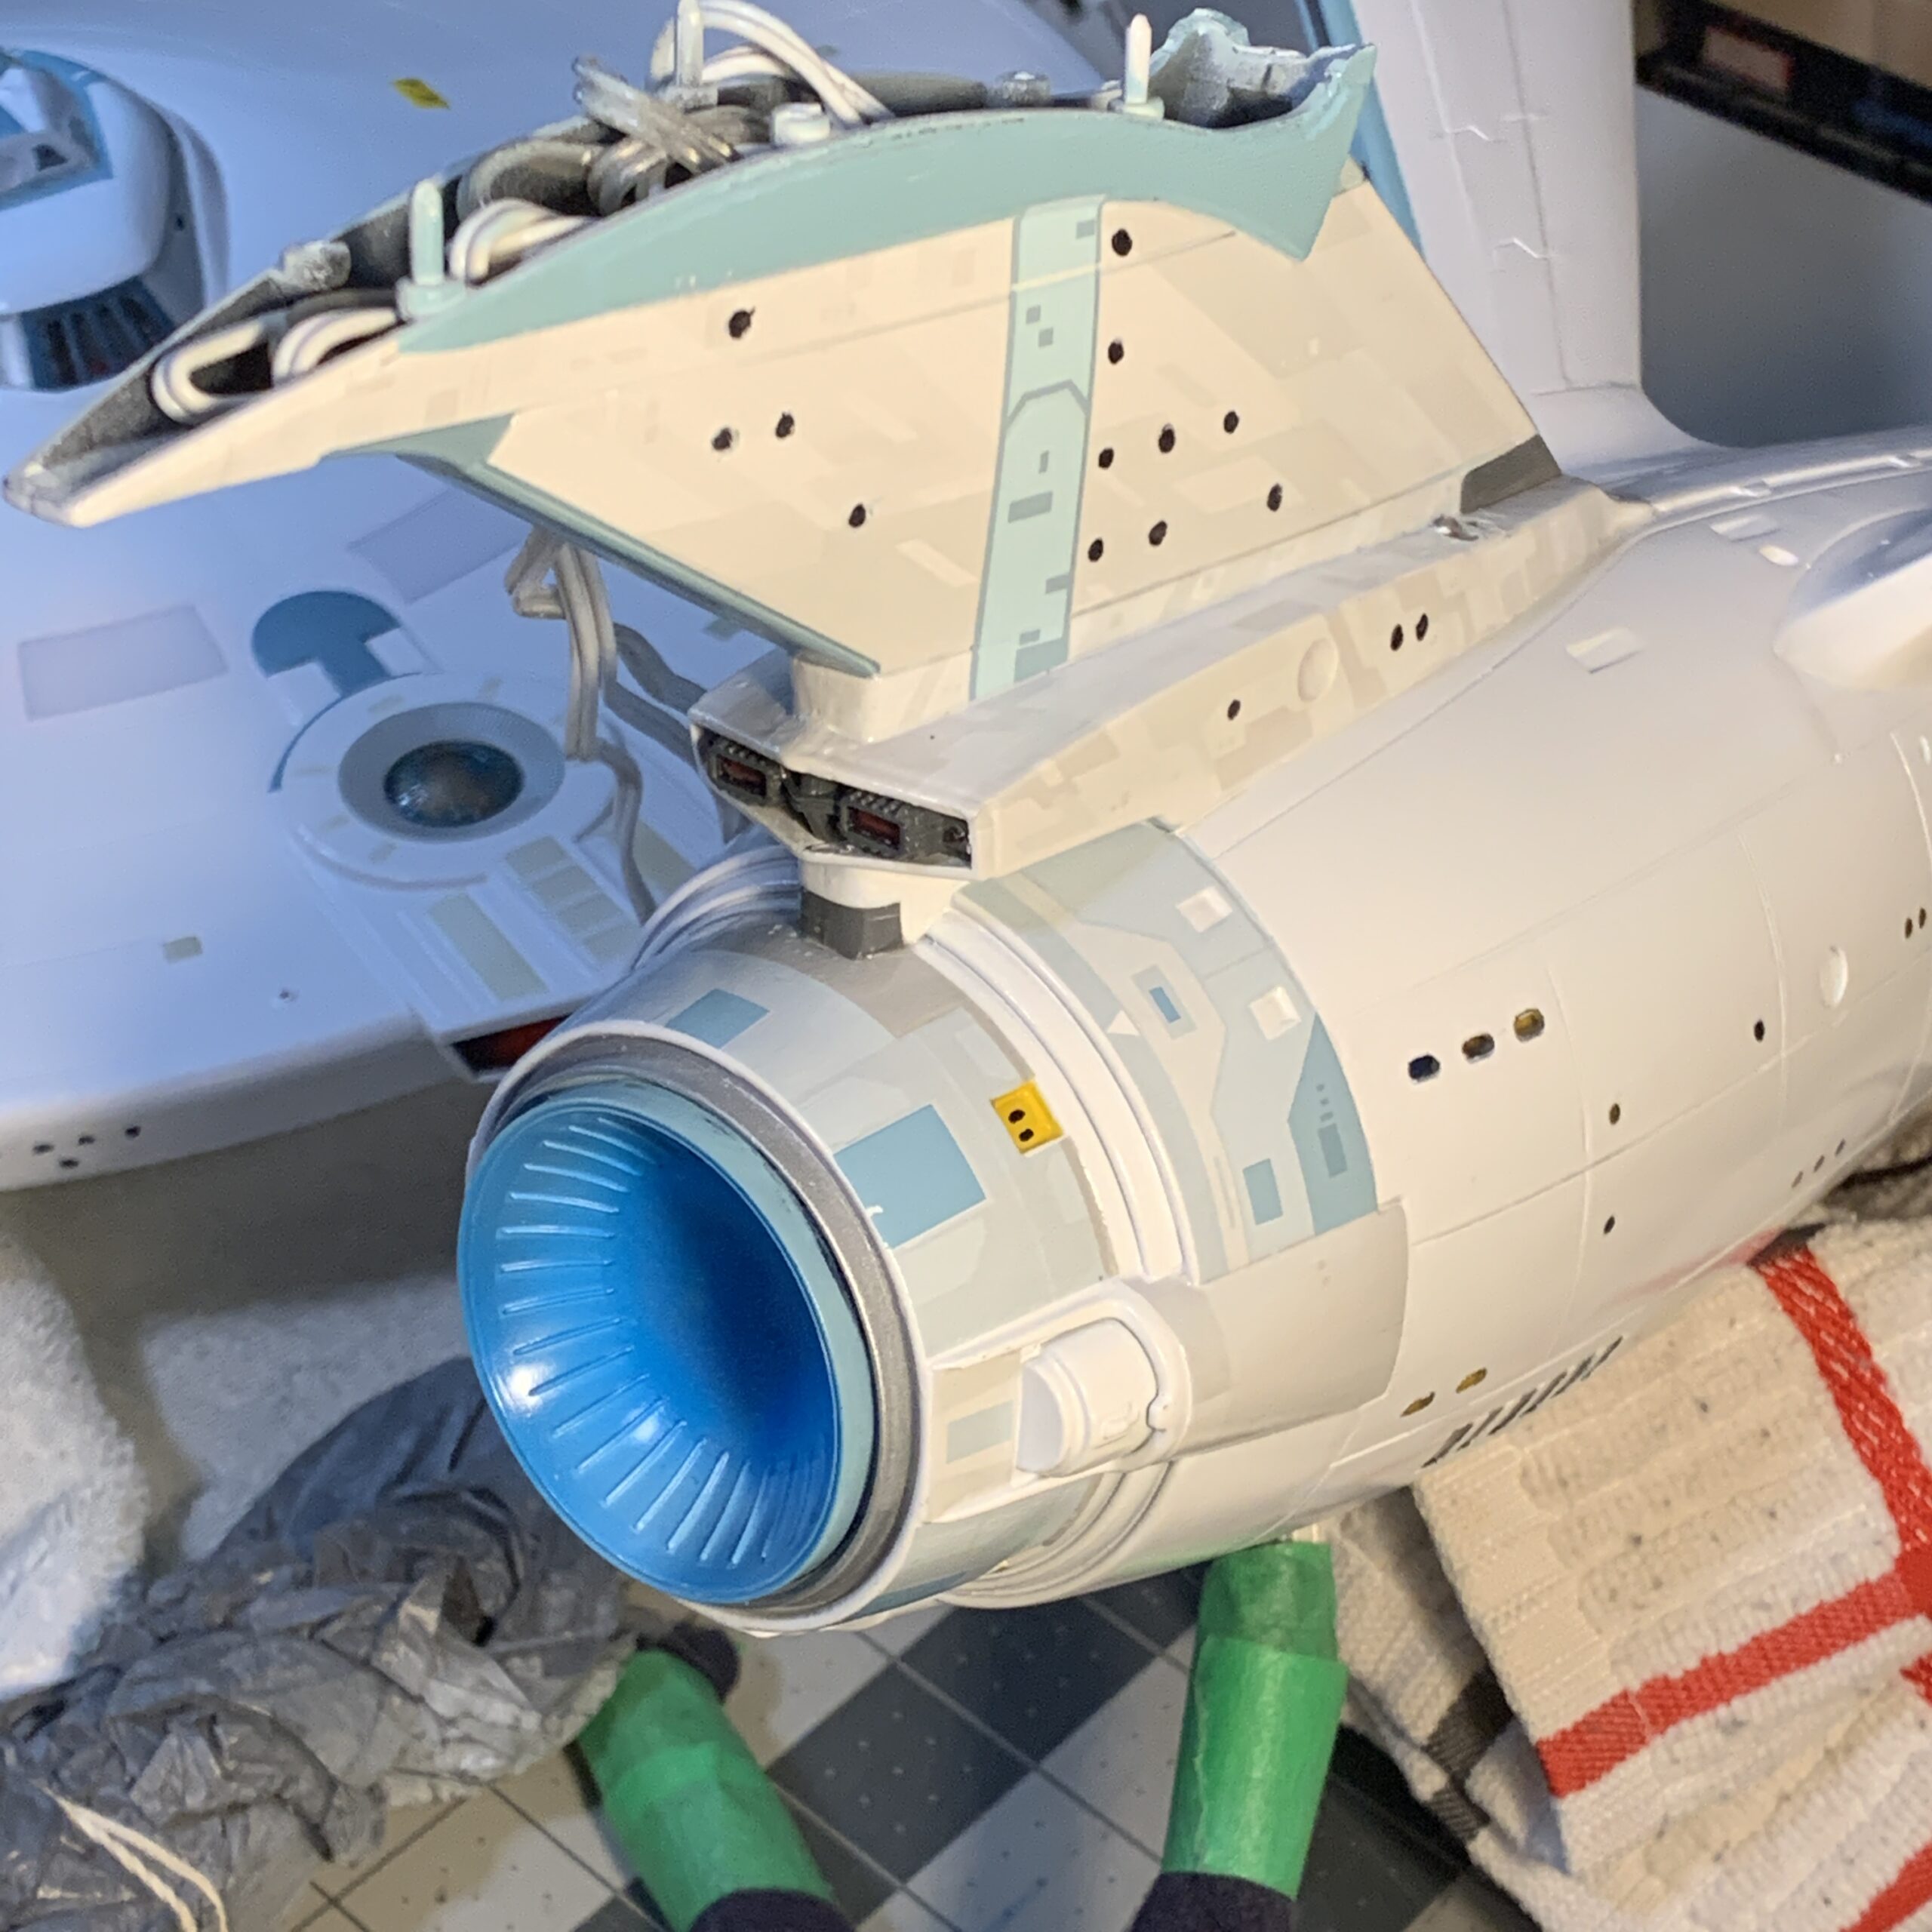
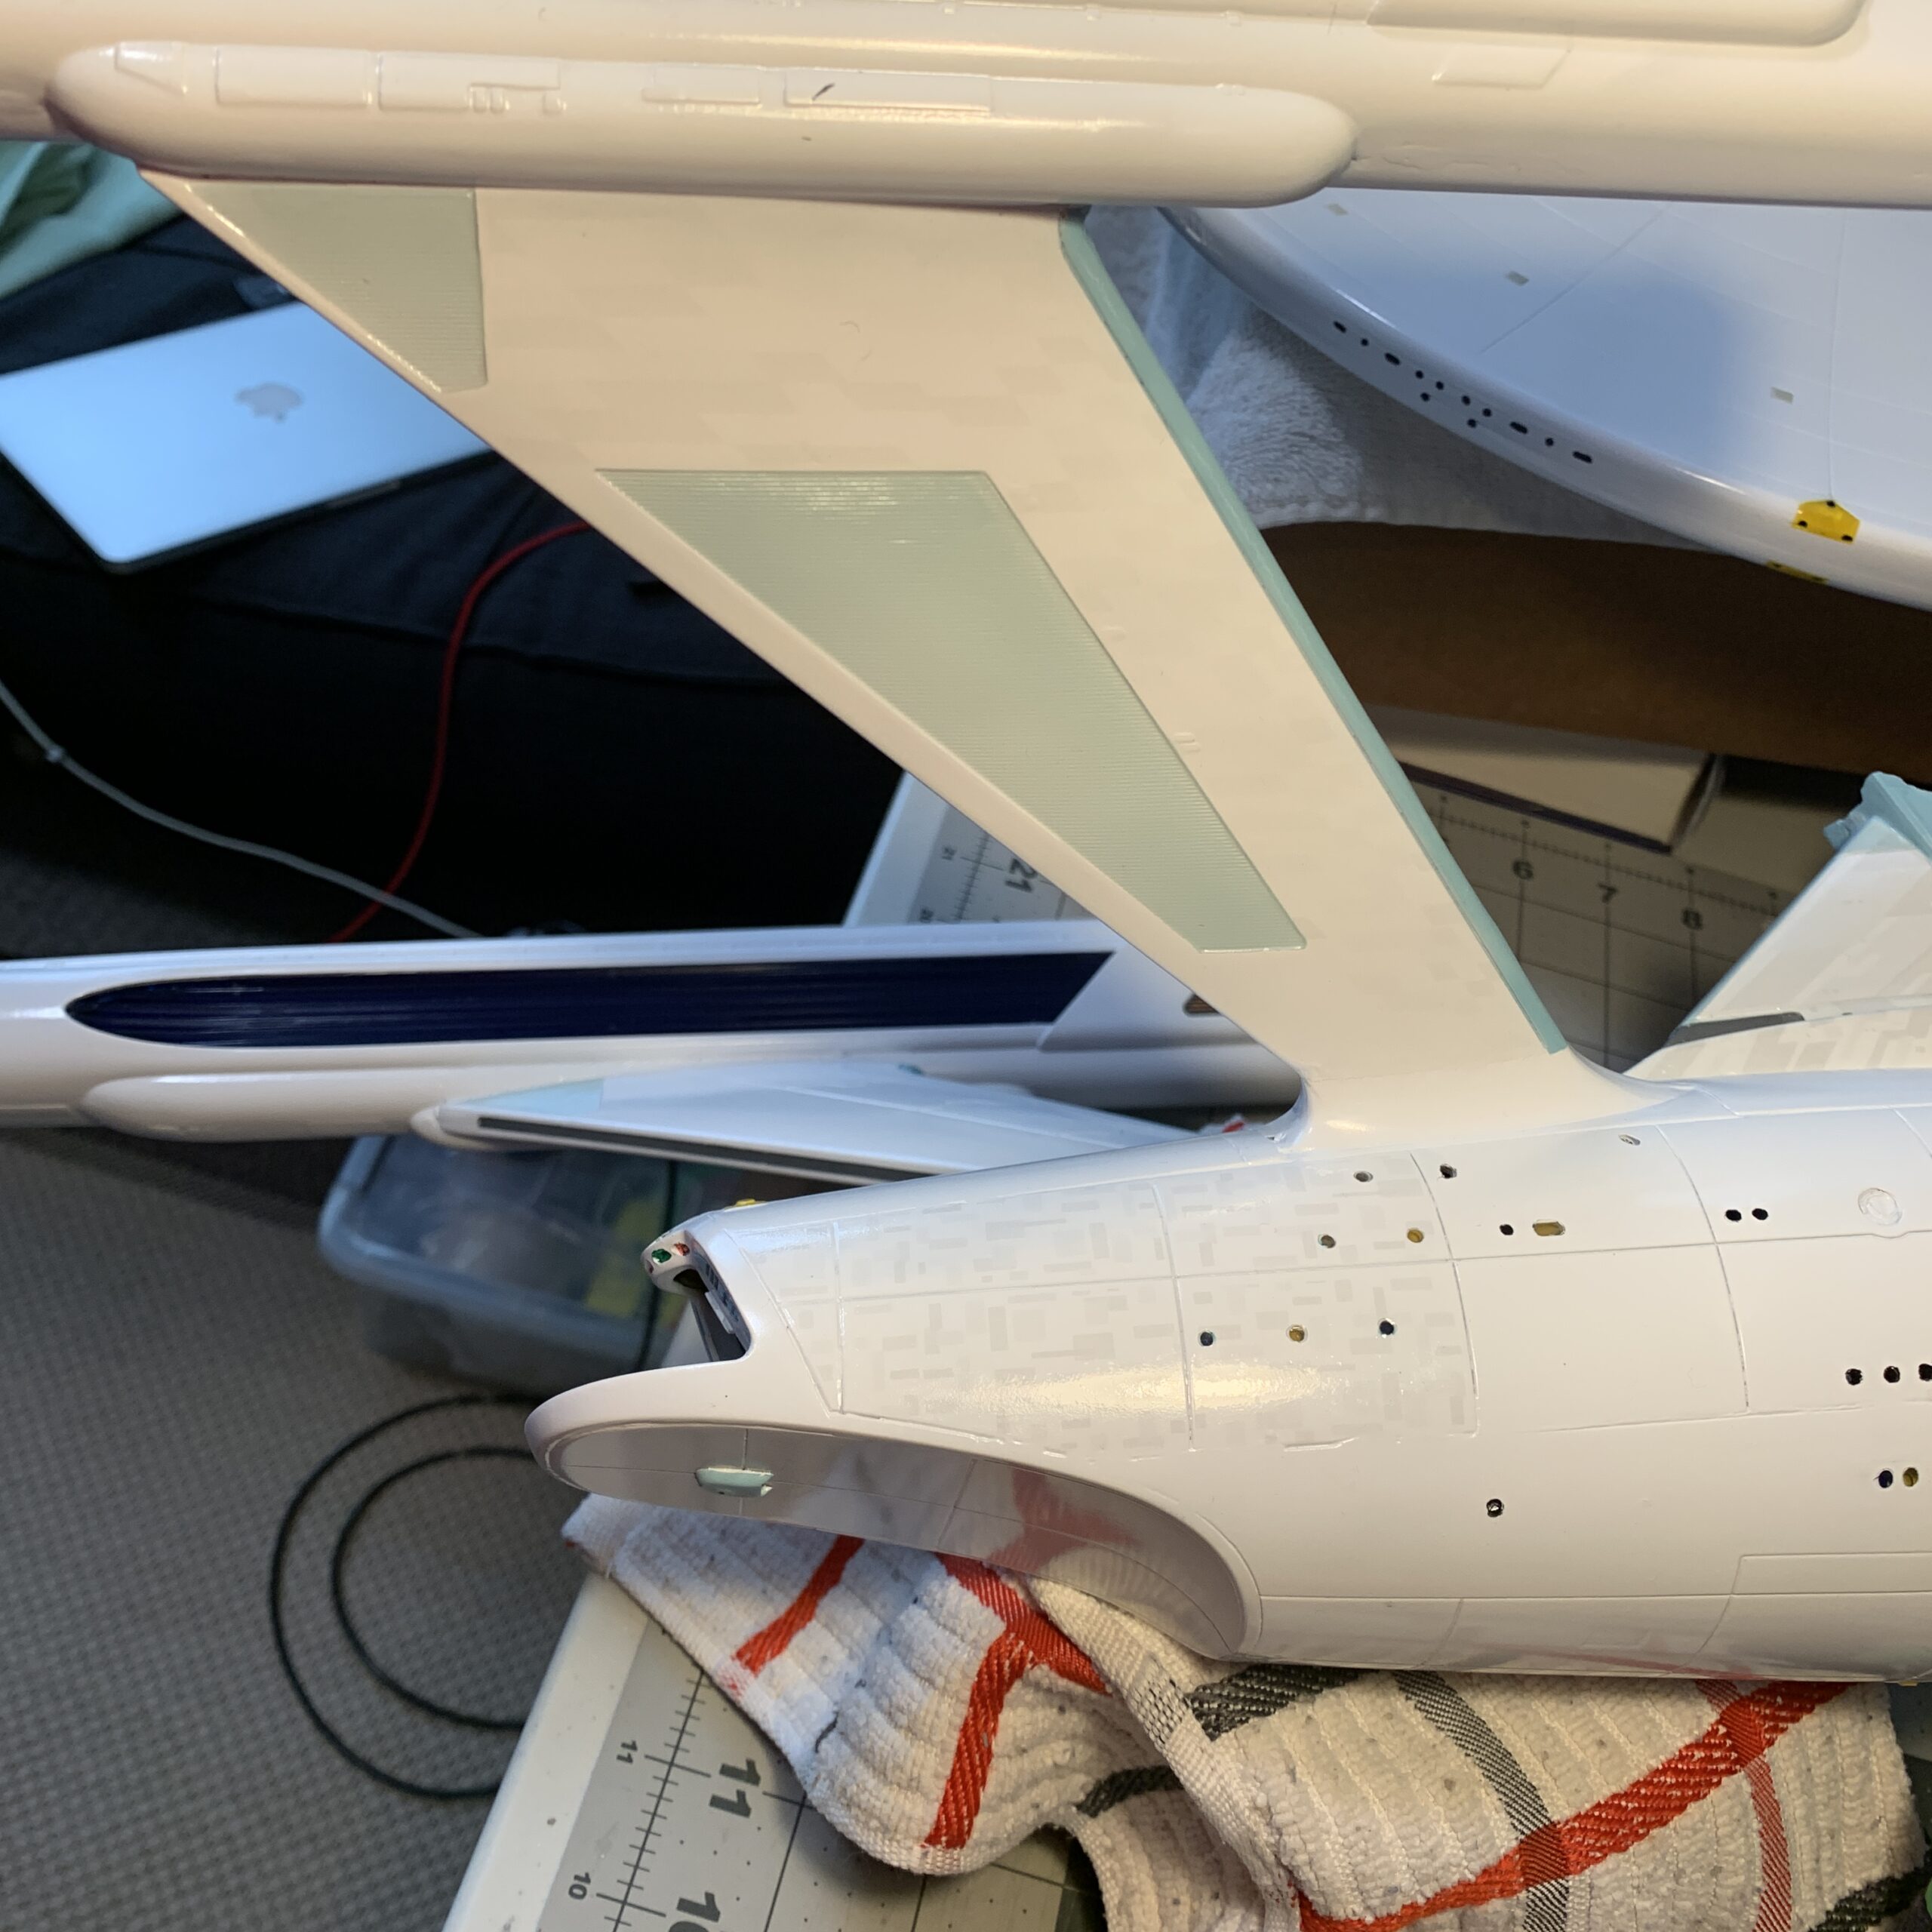
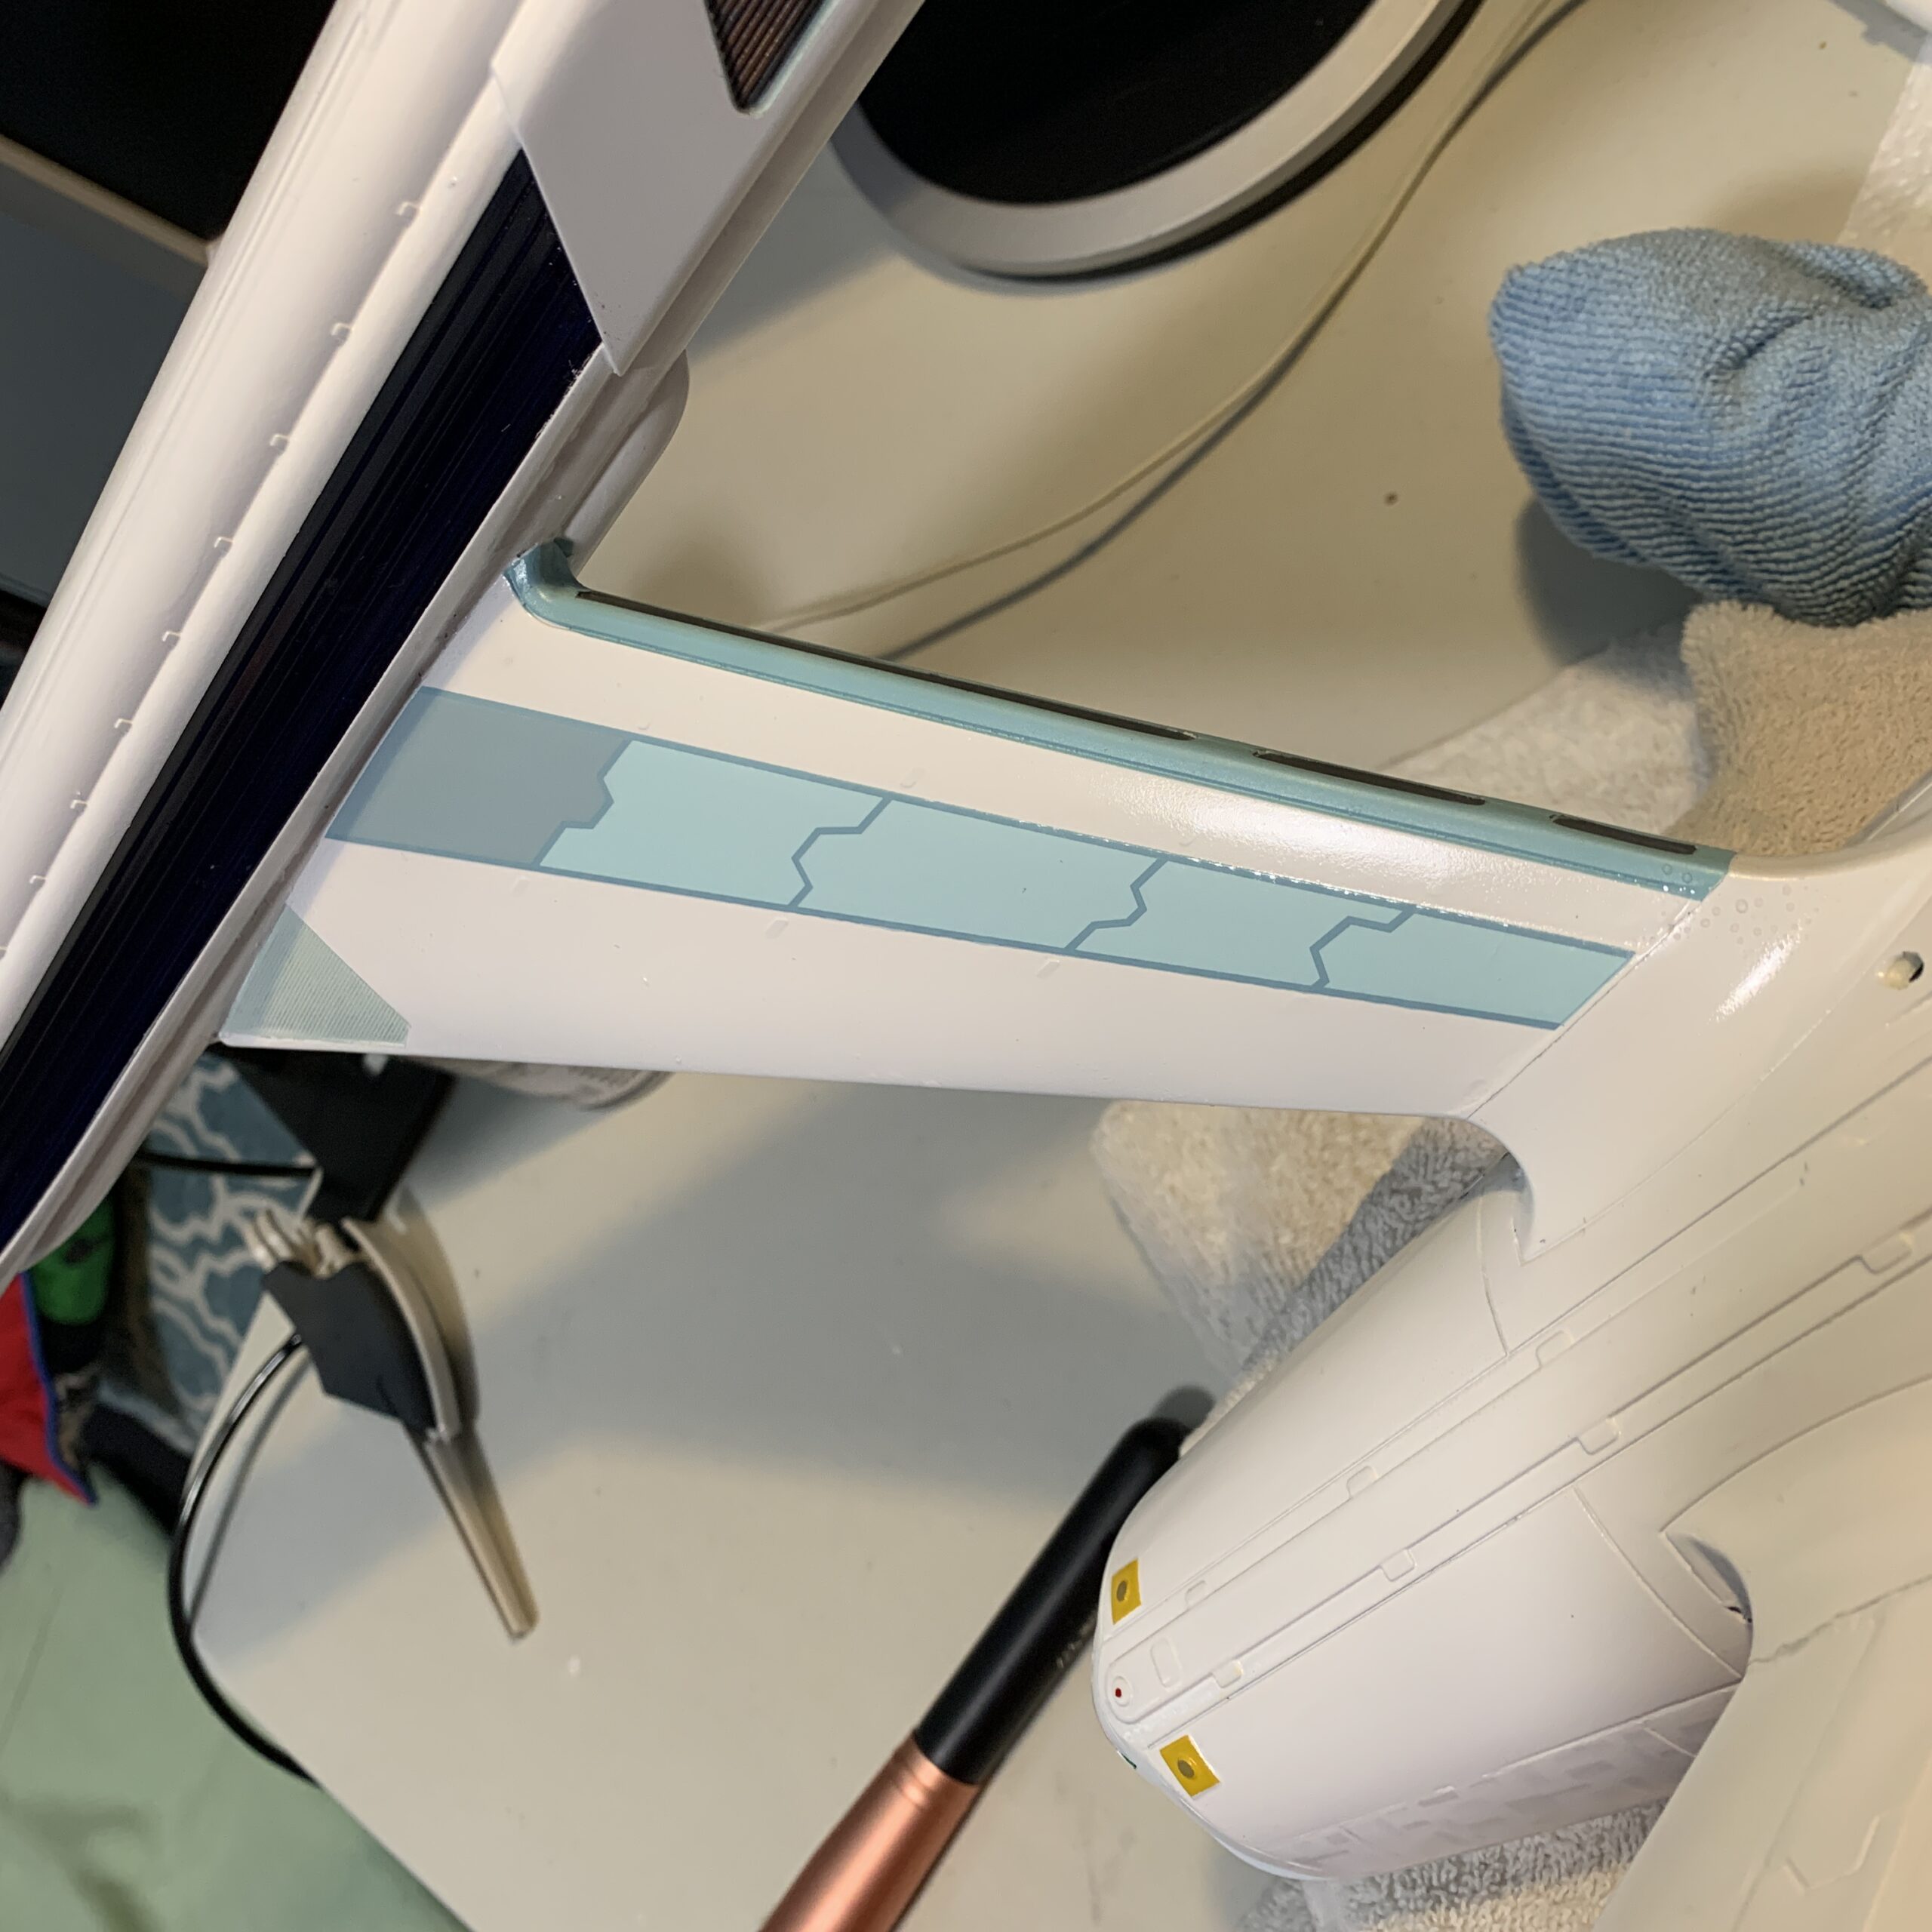
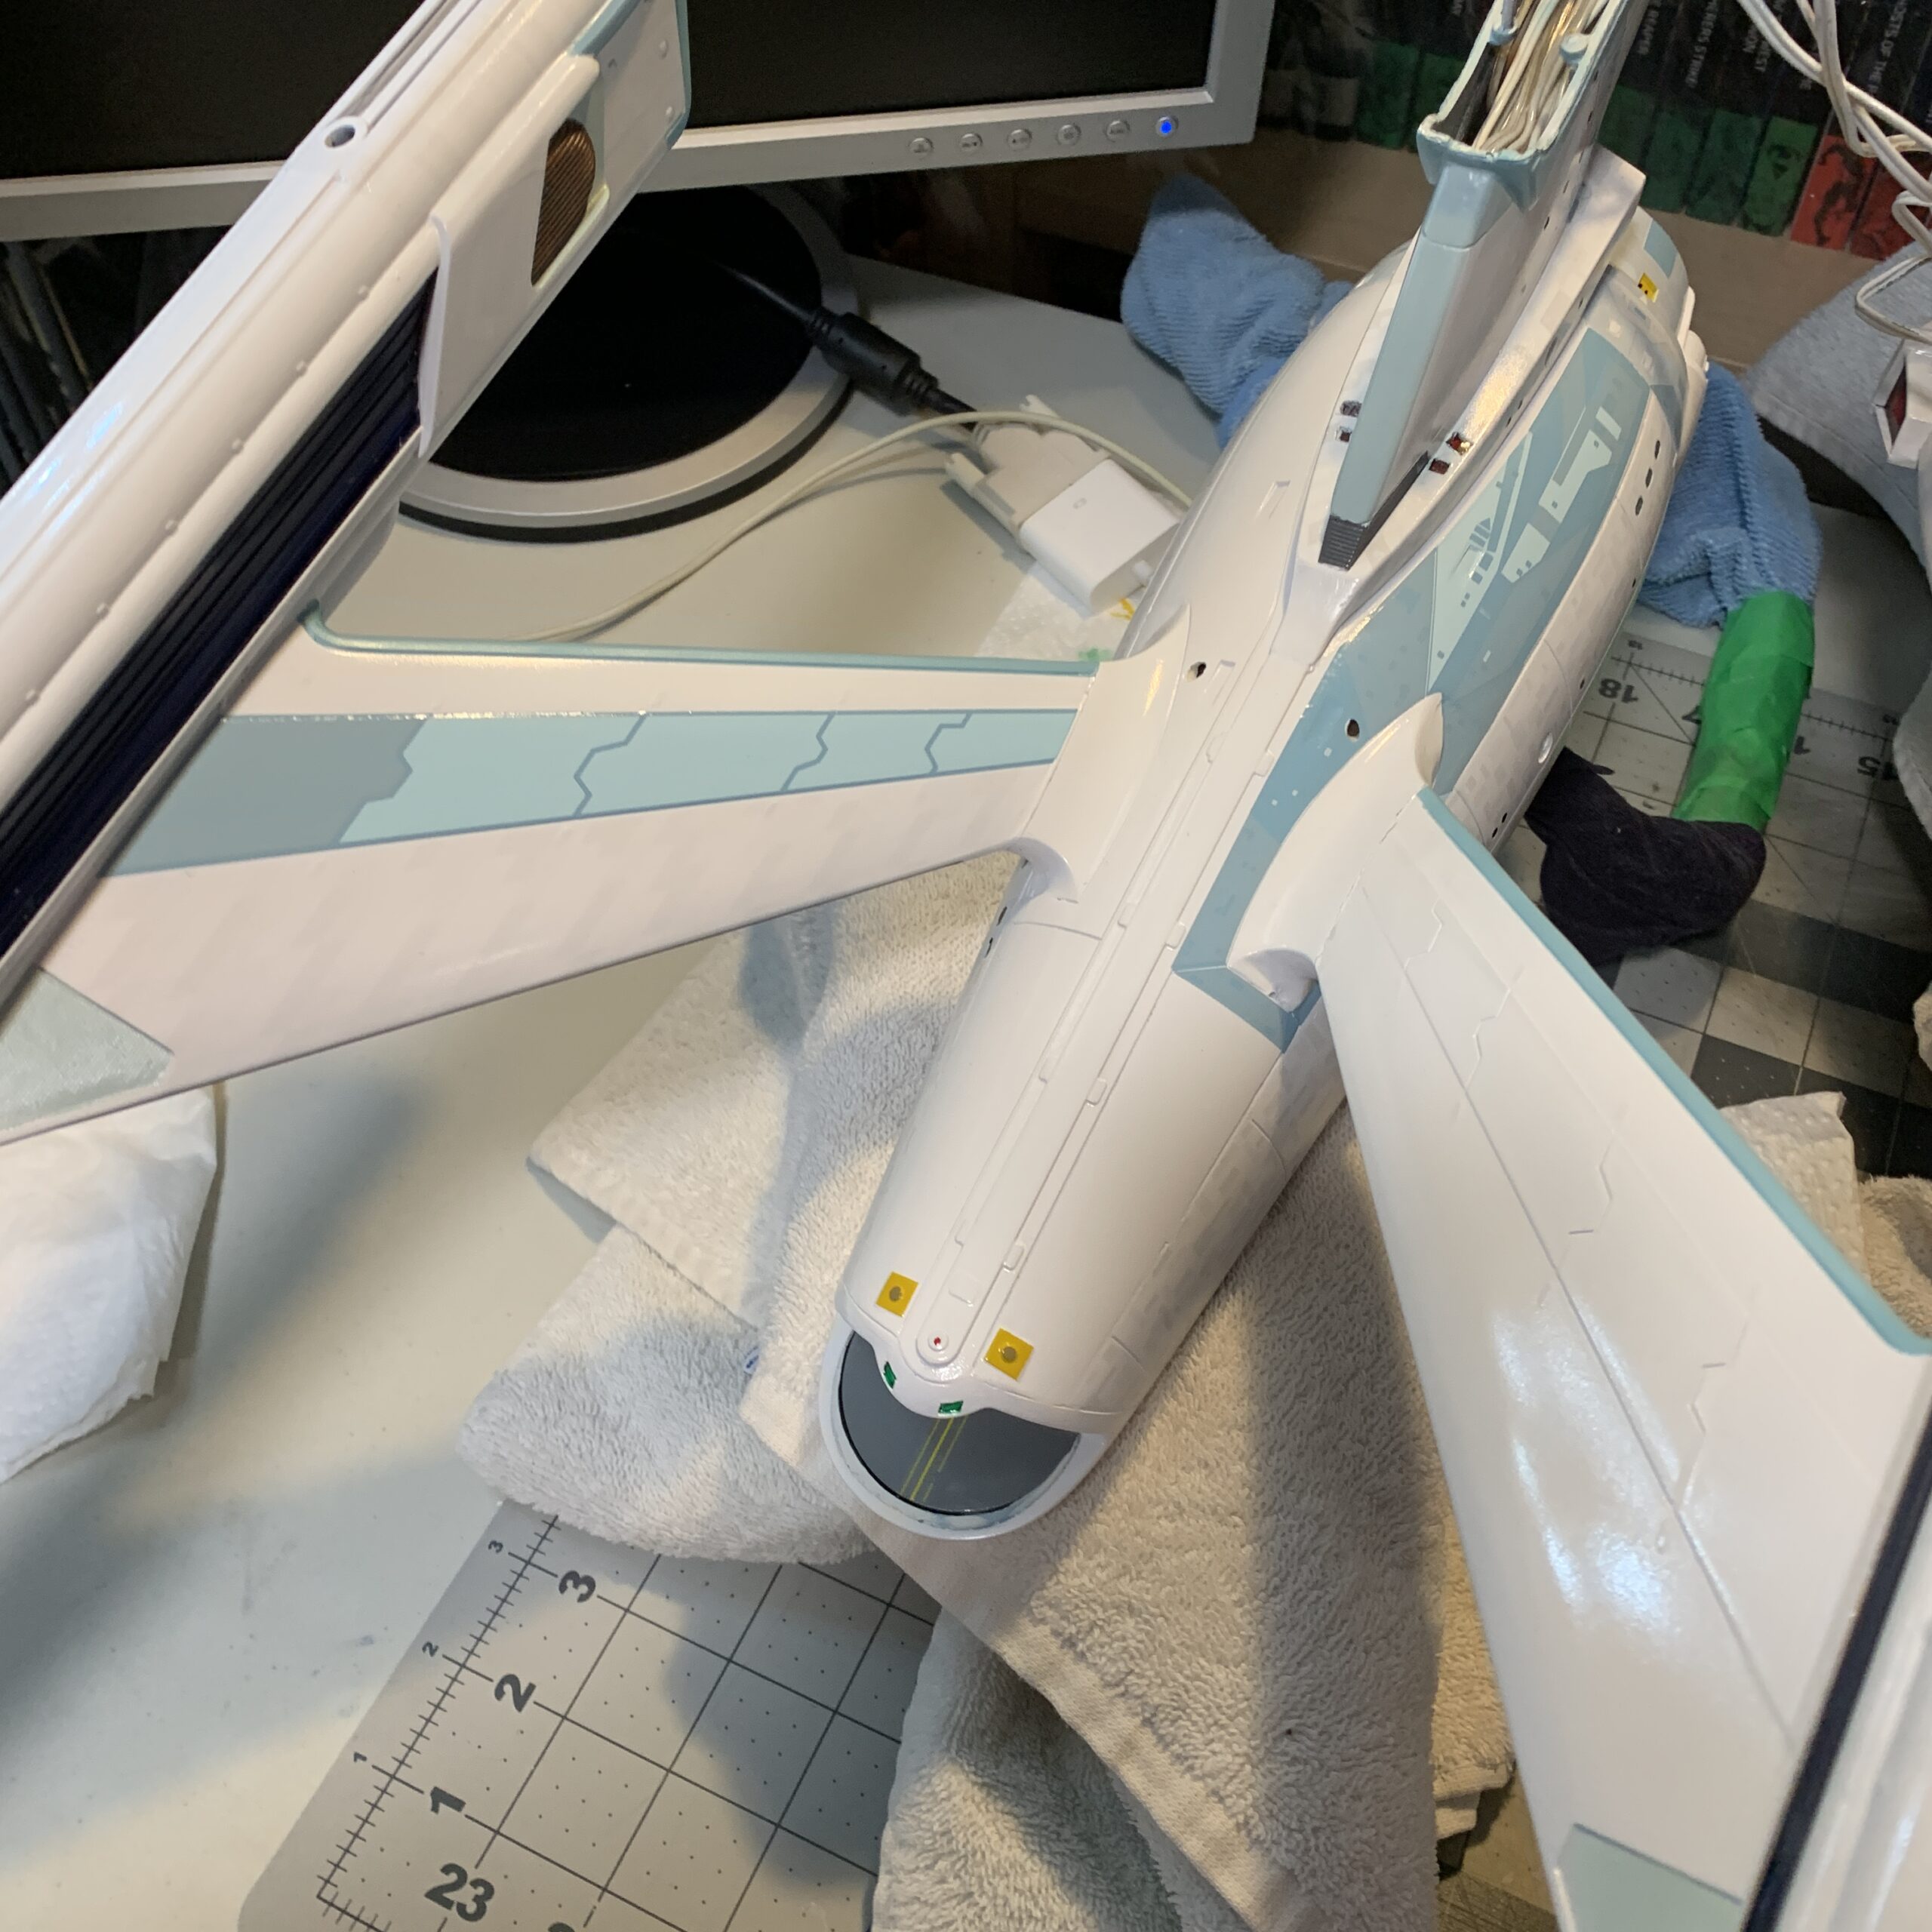
…then moved on to the bottom of the engineering hull and the outside of the pylons and nacelles, including a couple of the detail decals for the very bottom:
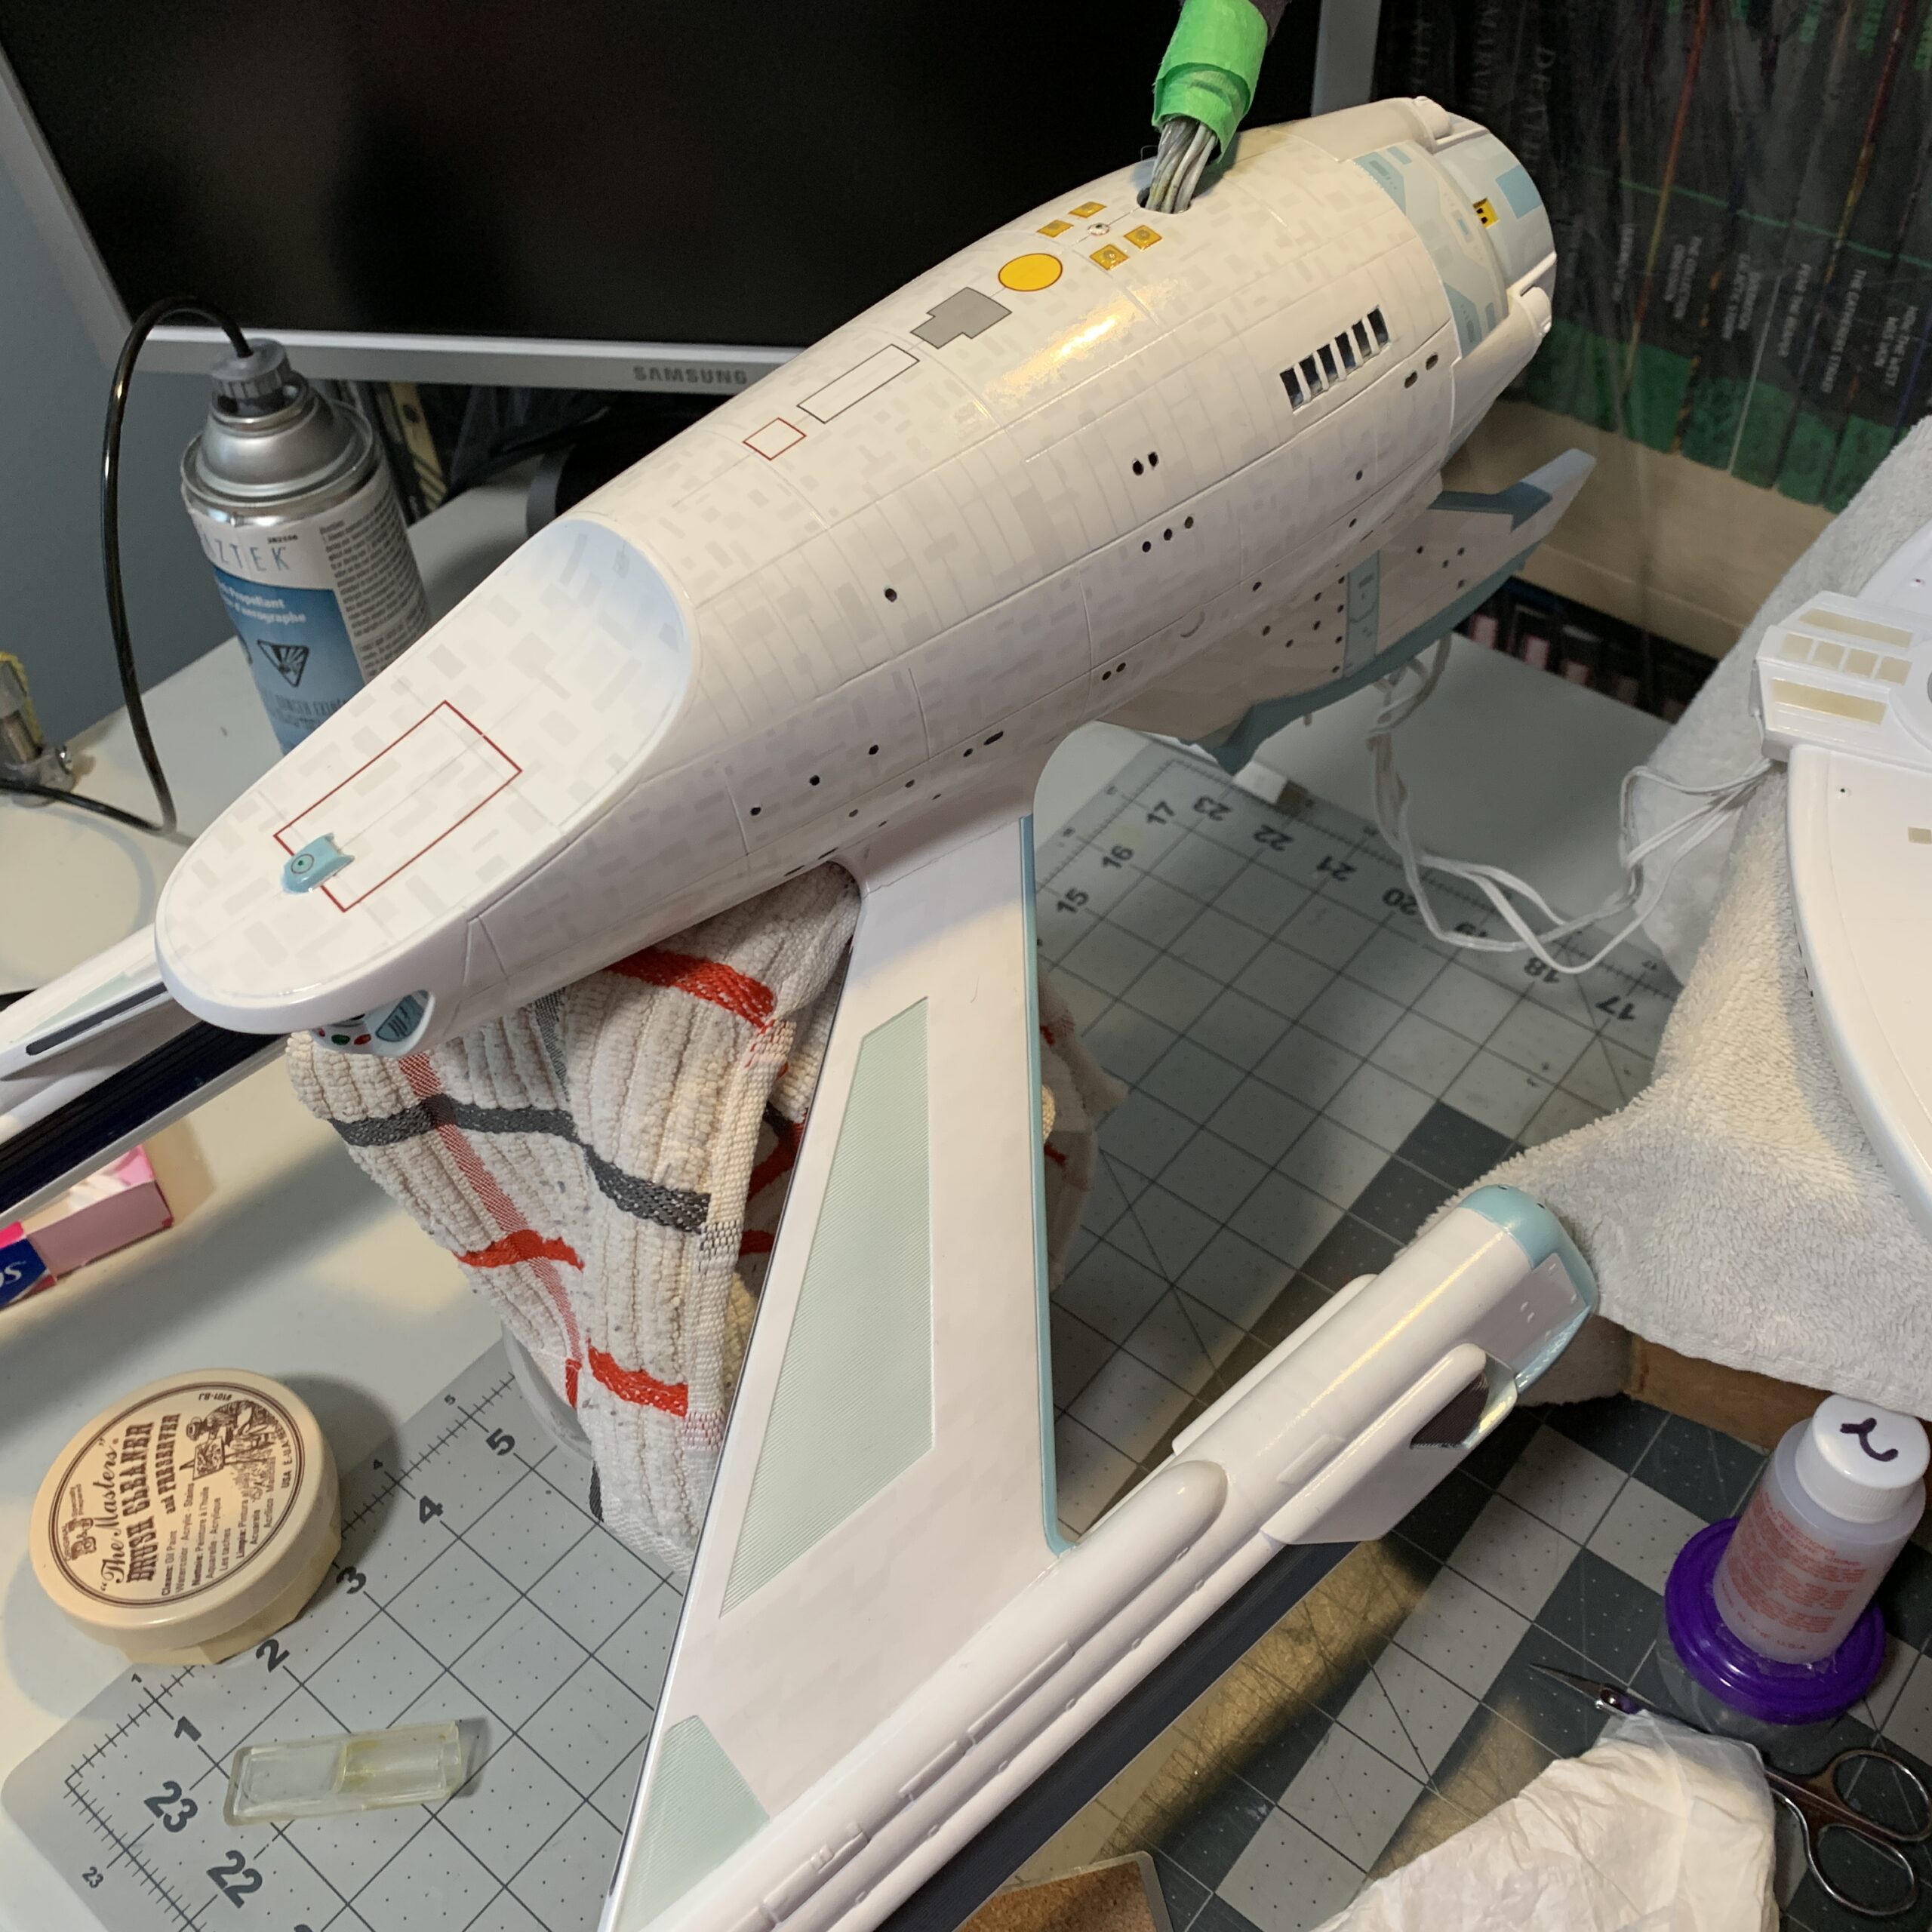
This process took about two days, as I would apply one decal on one section, then while it dried, apply another decal on another section, etc.
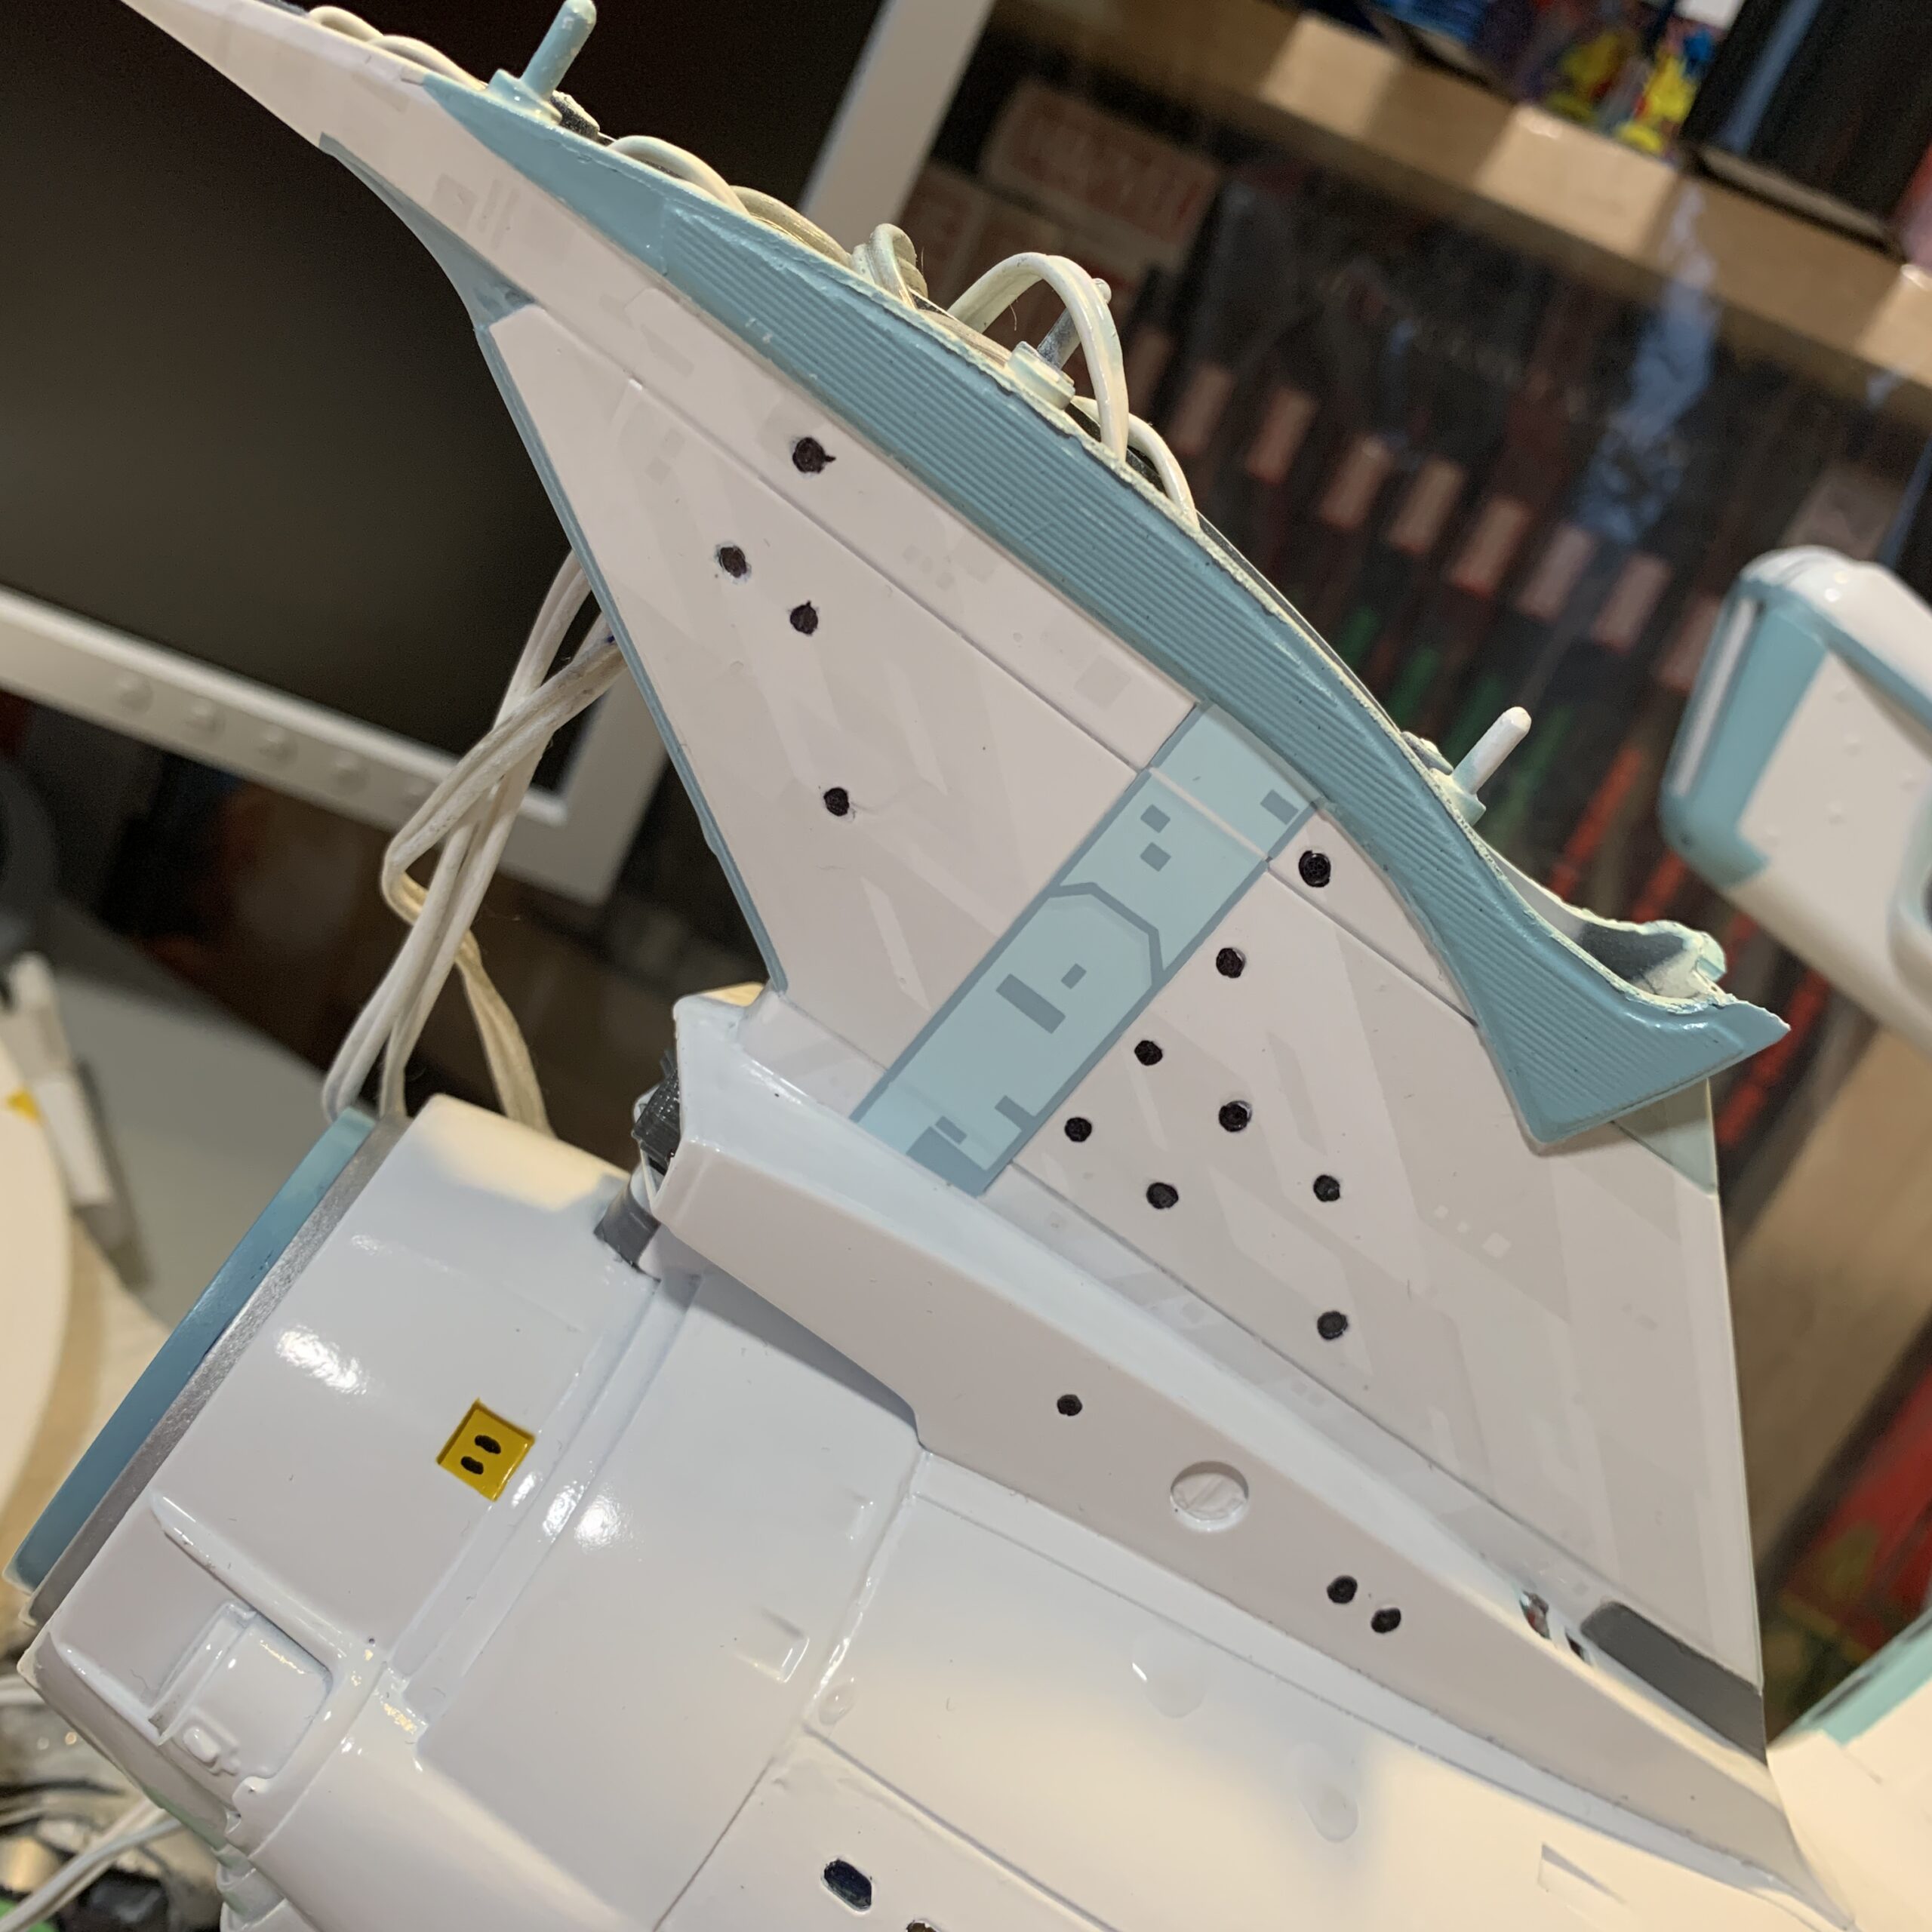
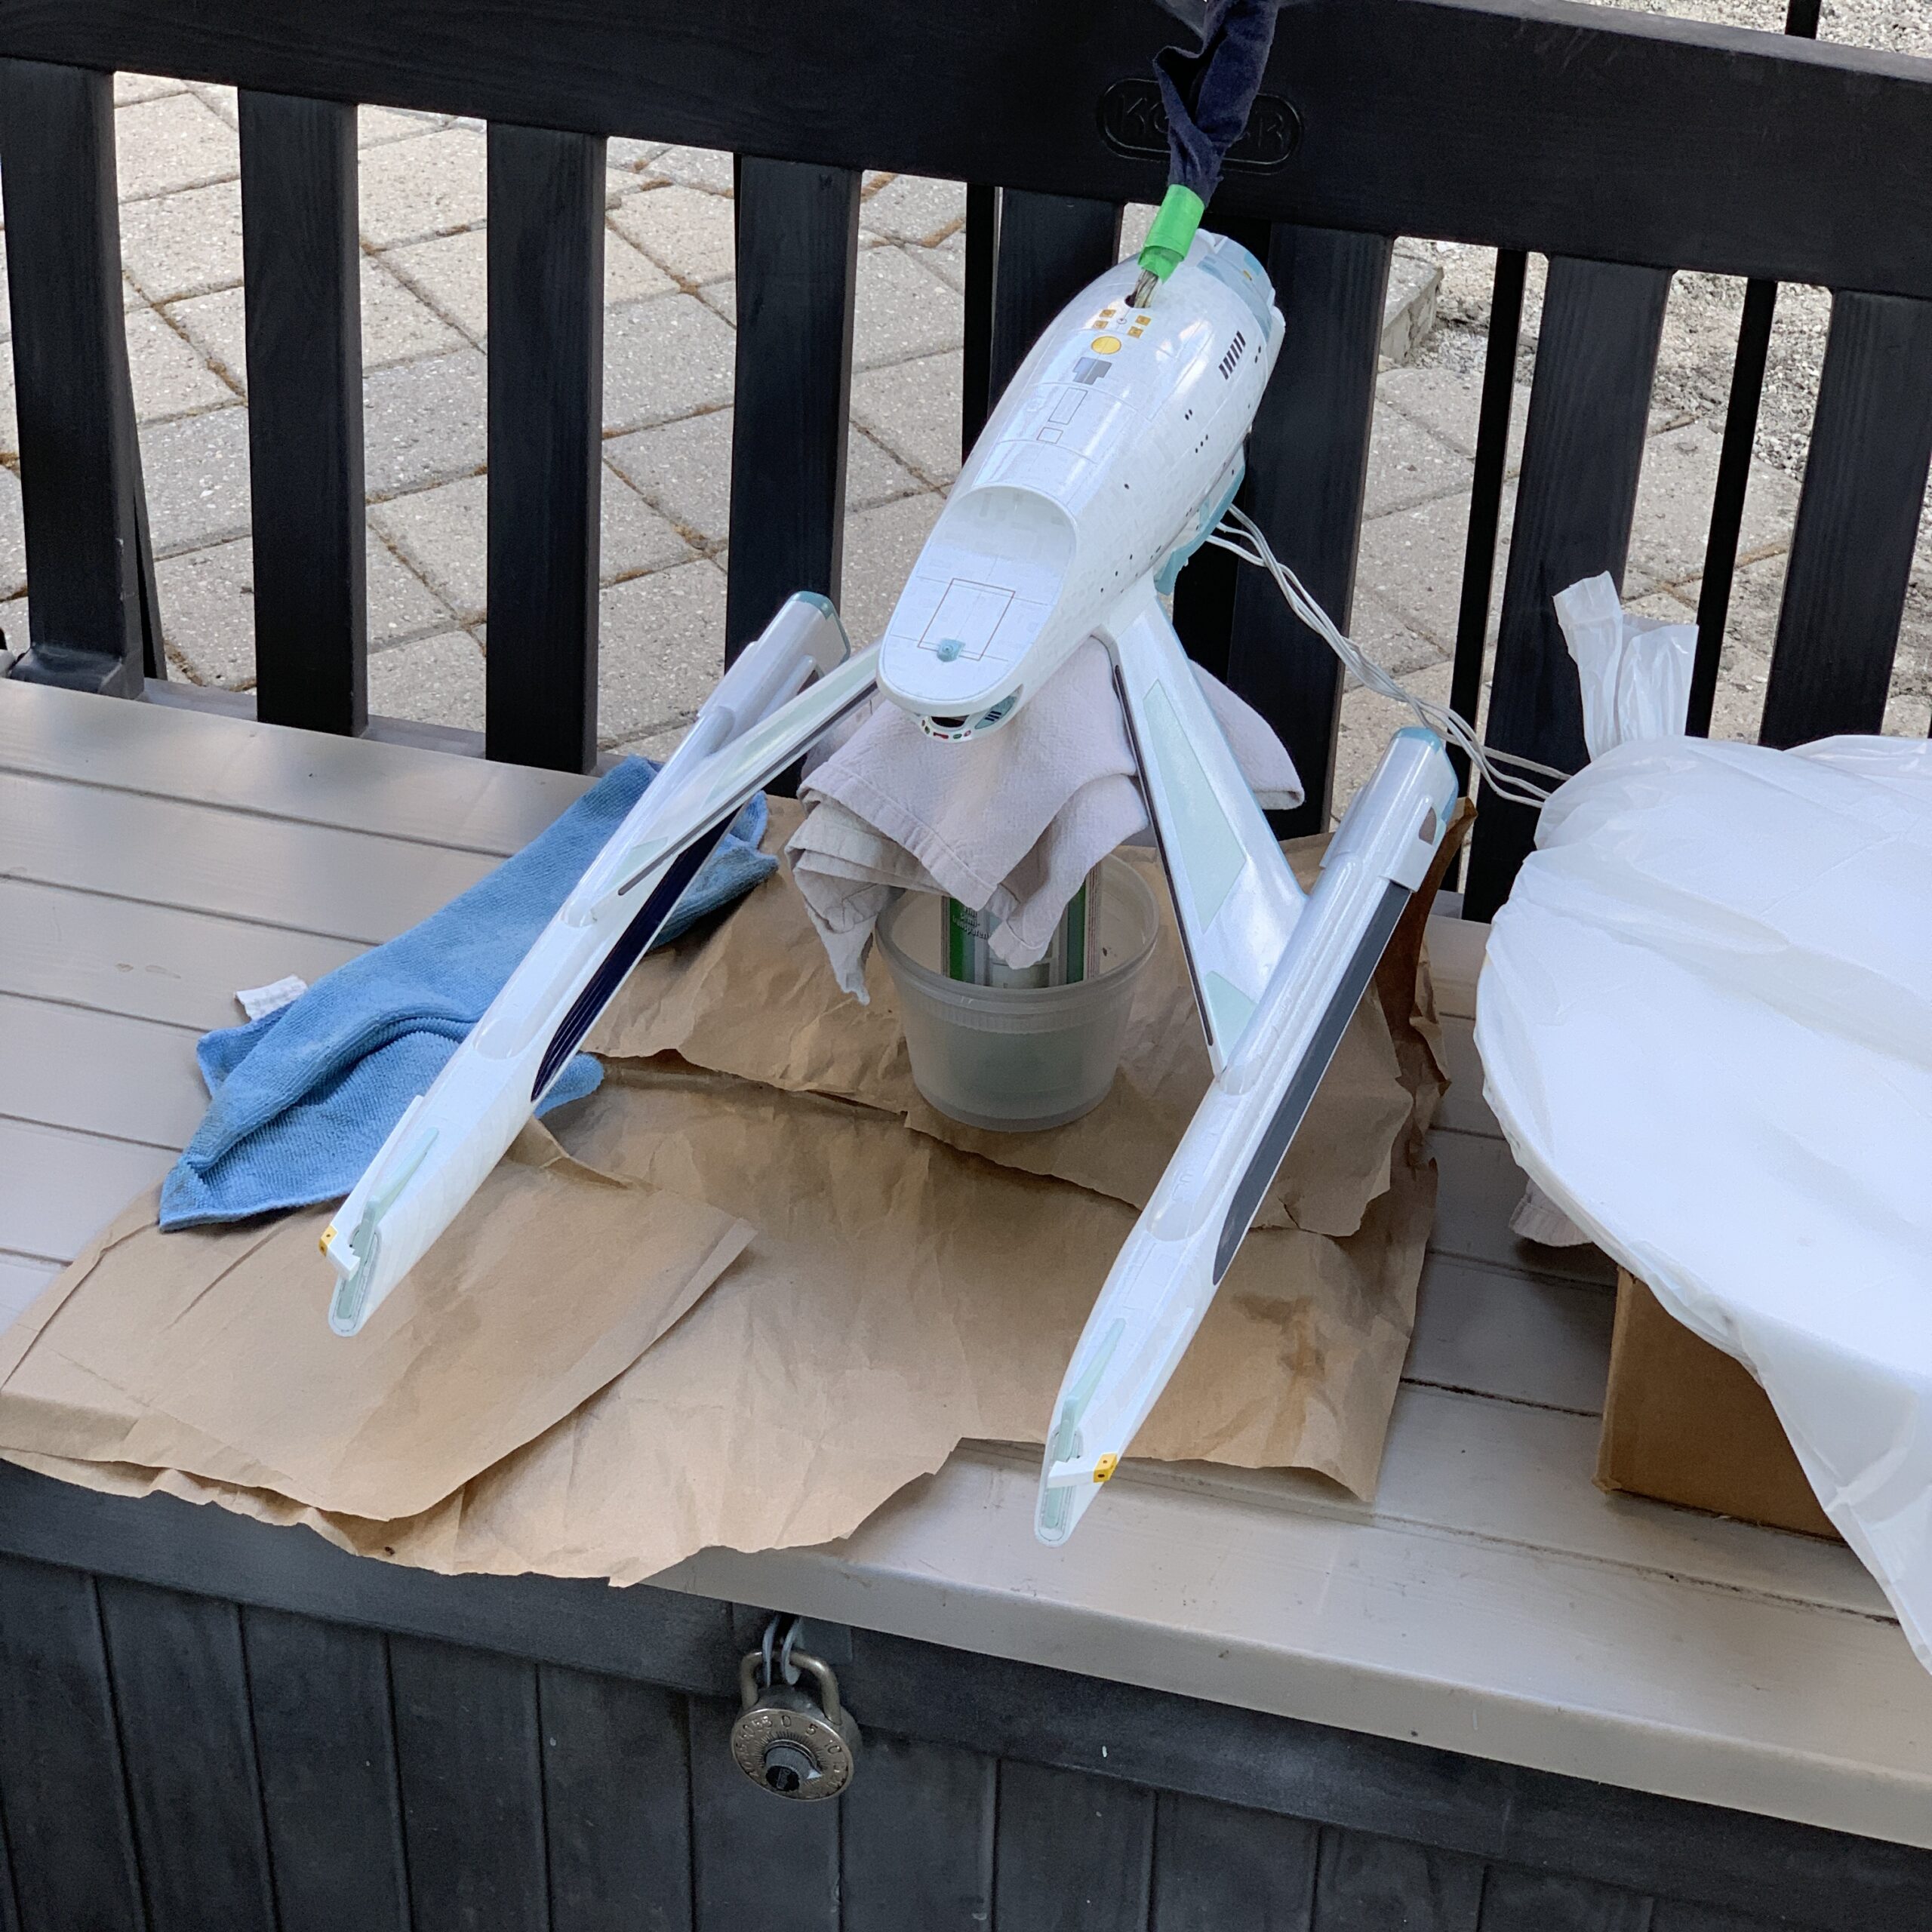
From there, I clear-coated the bottom of the secondary hull and outside of the nacelles to protect them from damage while I did the topside and inside decals. And then it was on to those decals, including the “strongback” decals around the base of the neck and the nacelles:
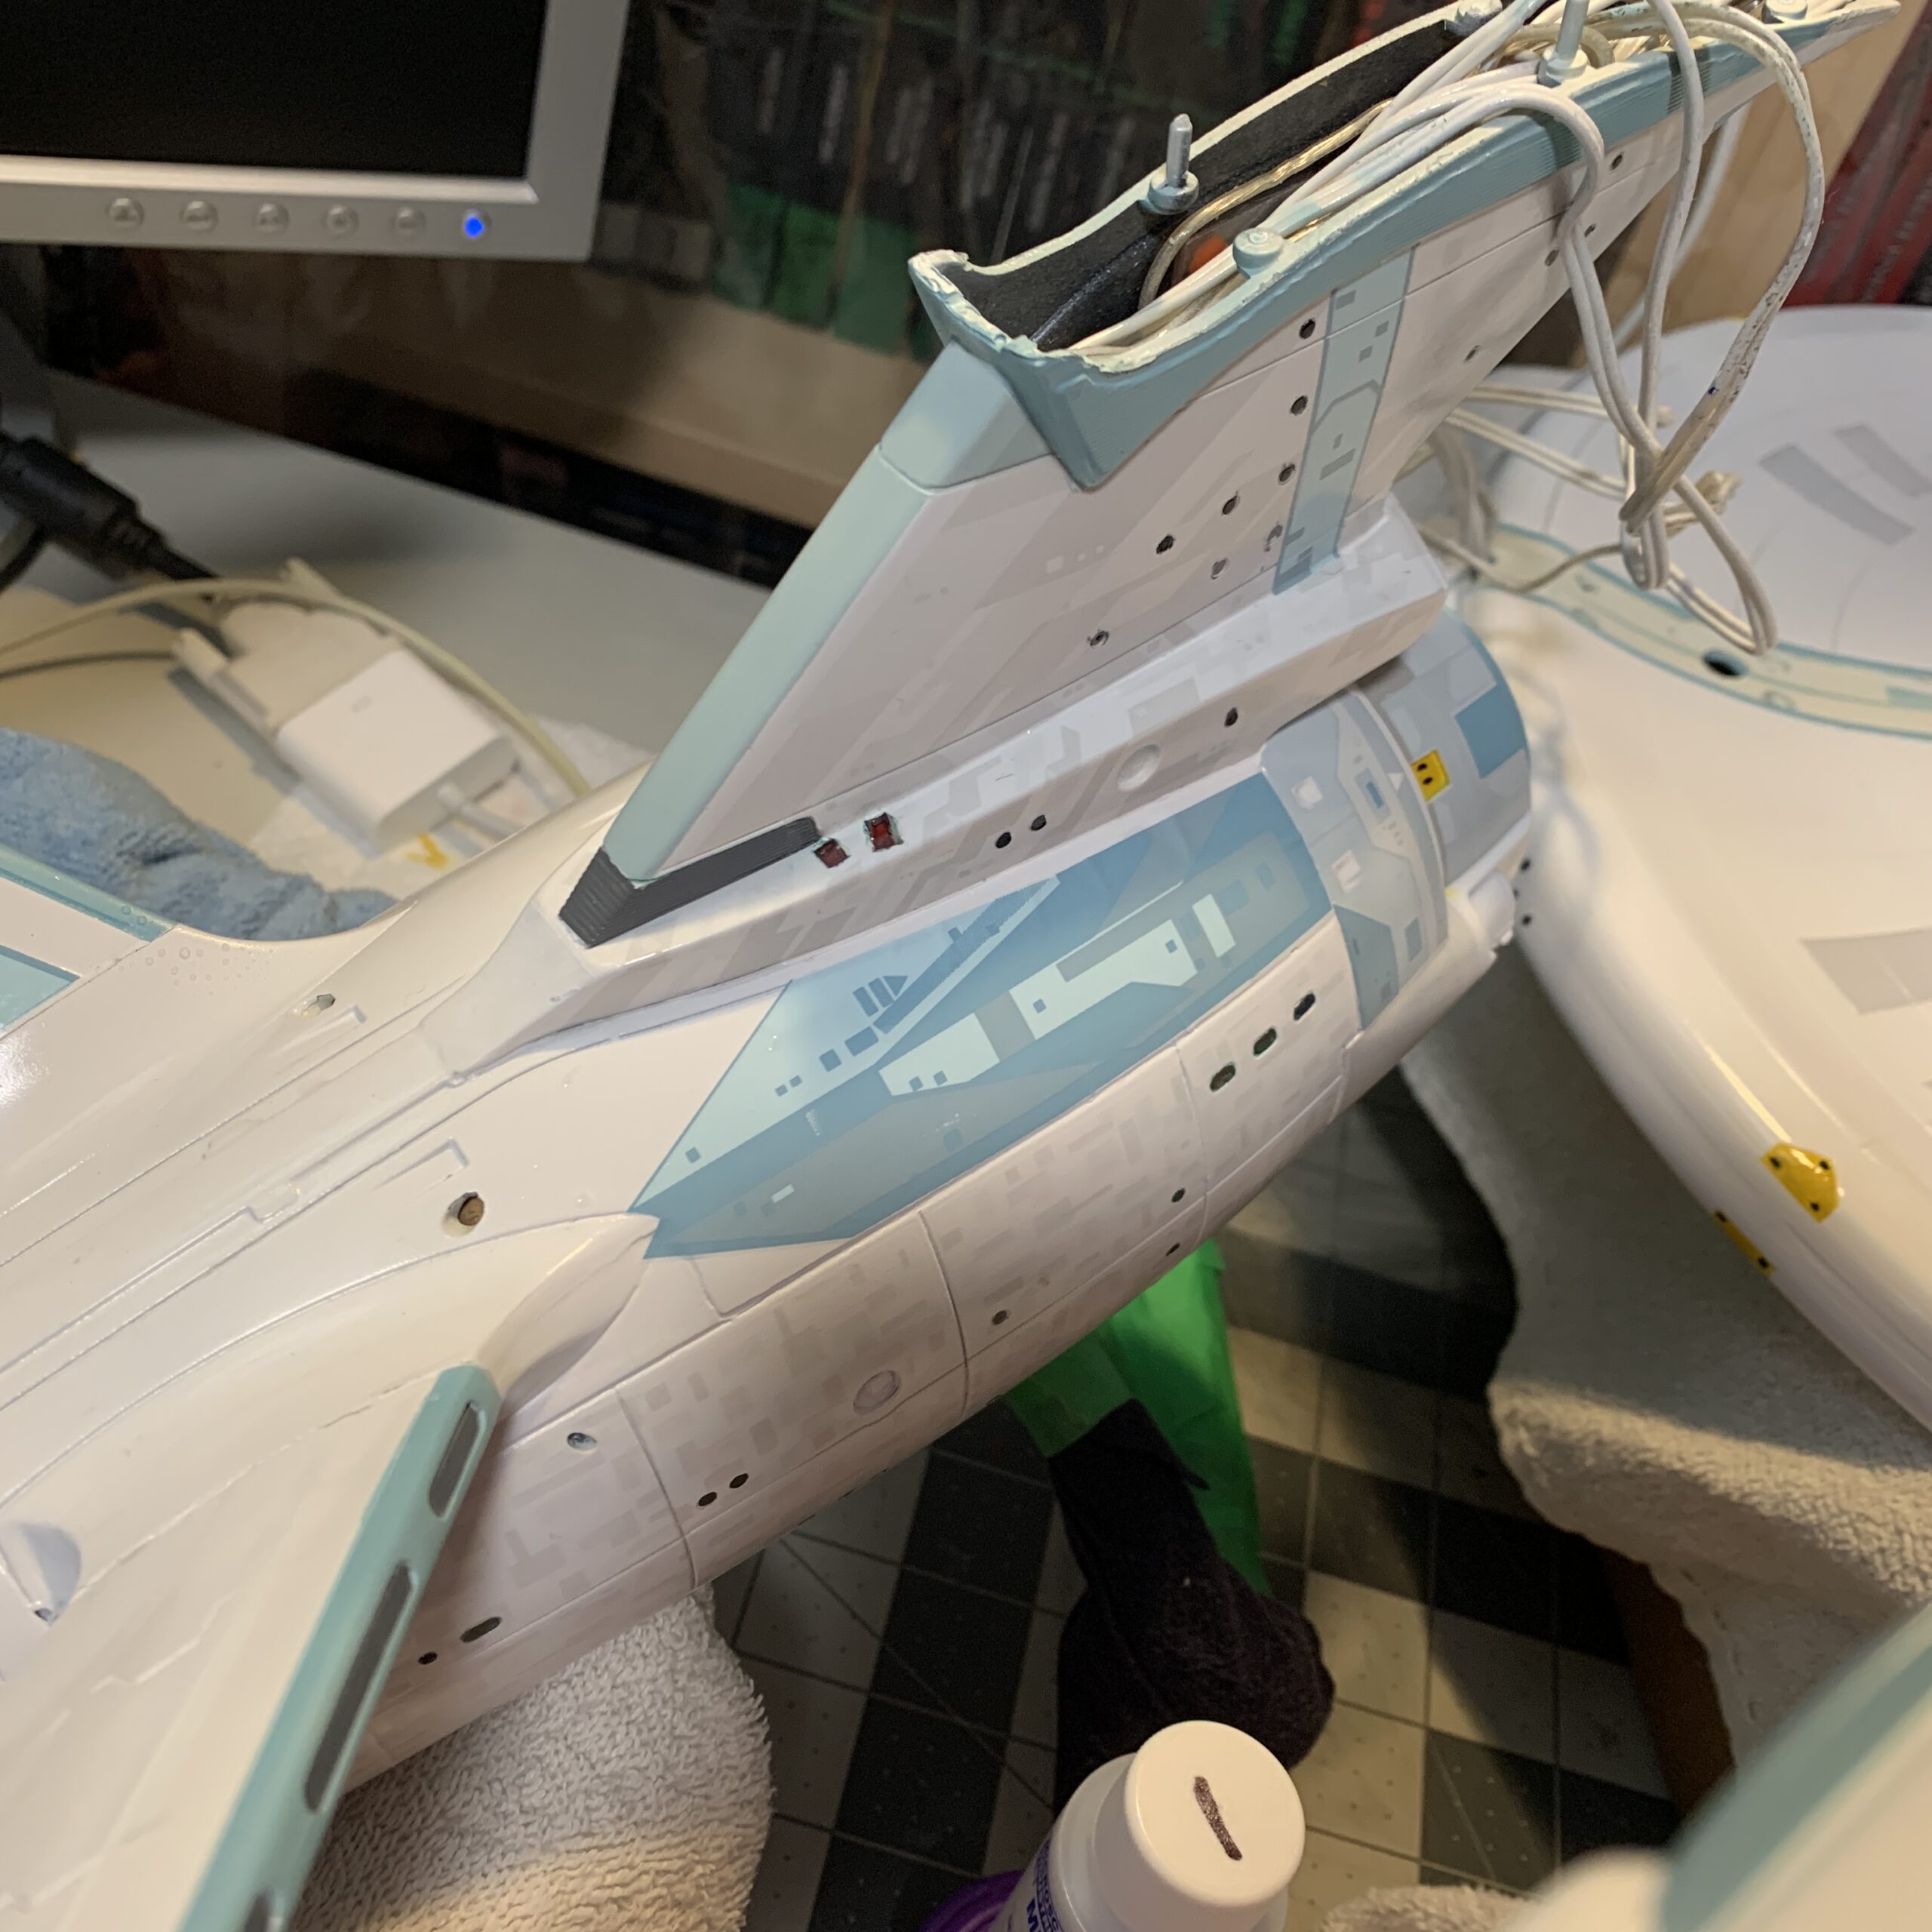
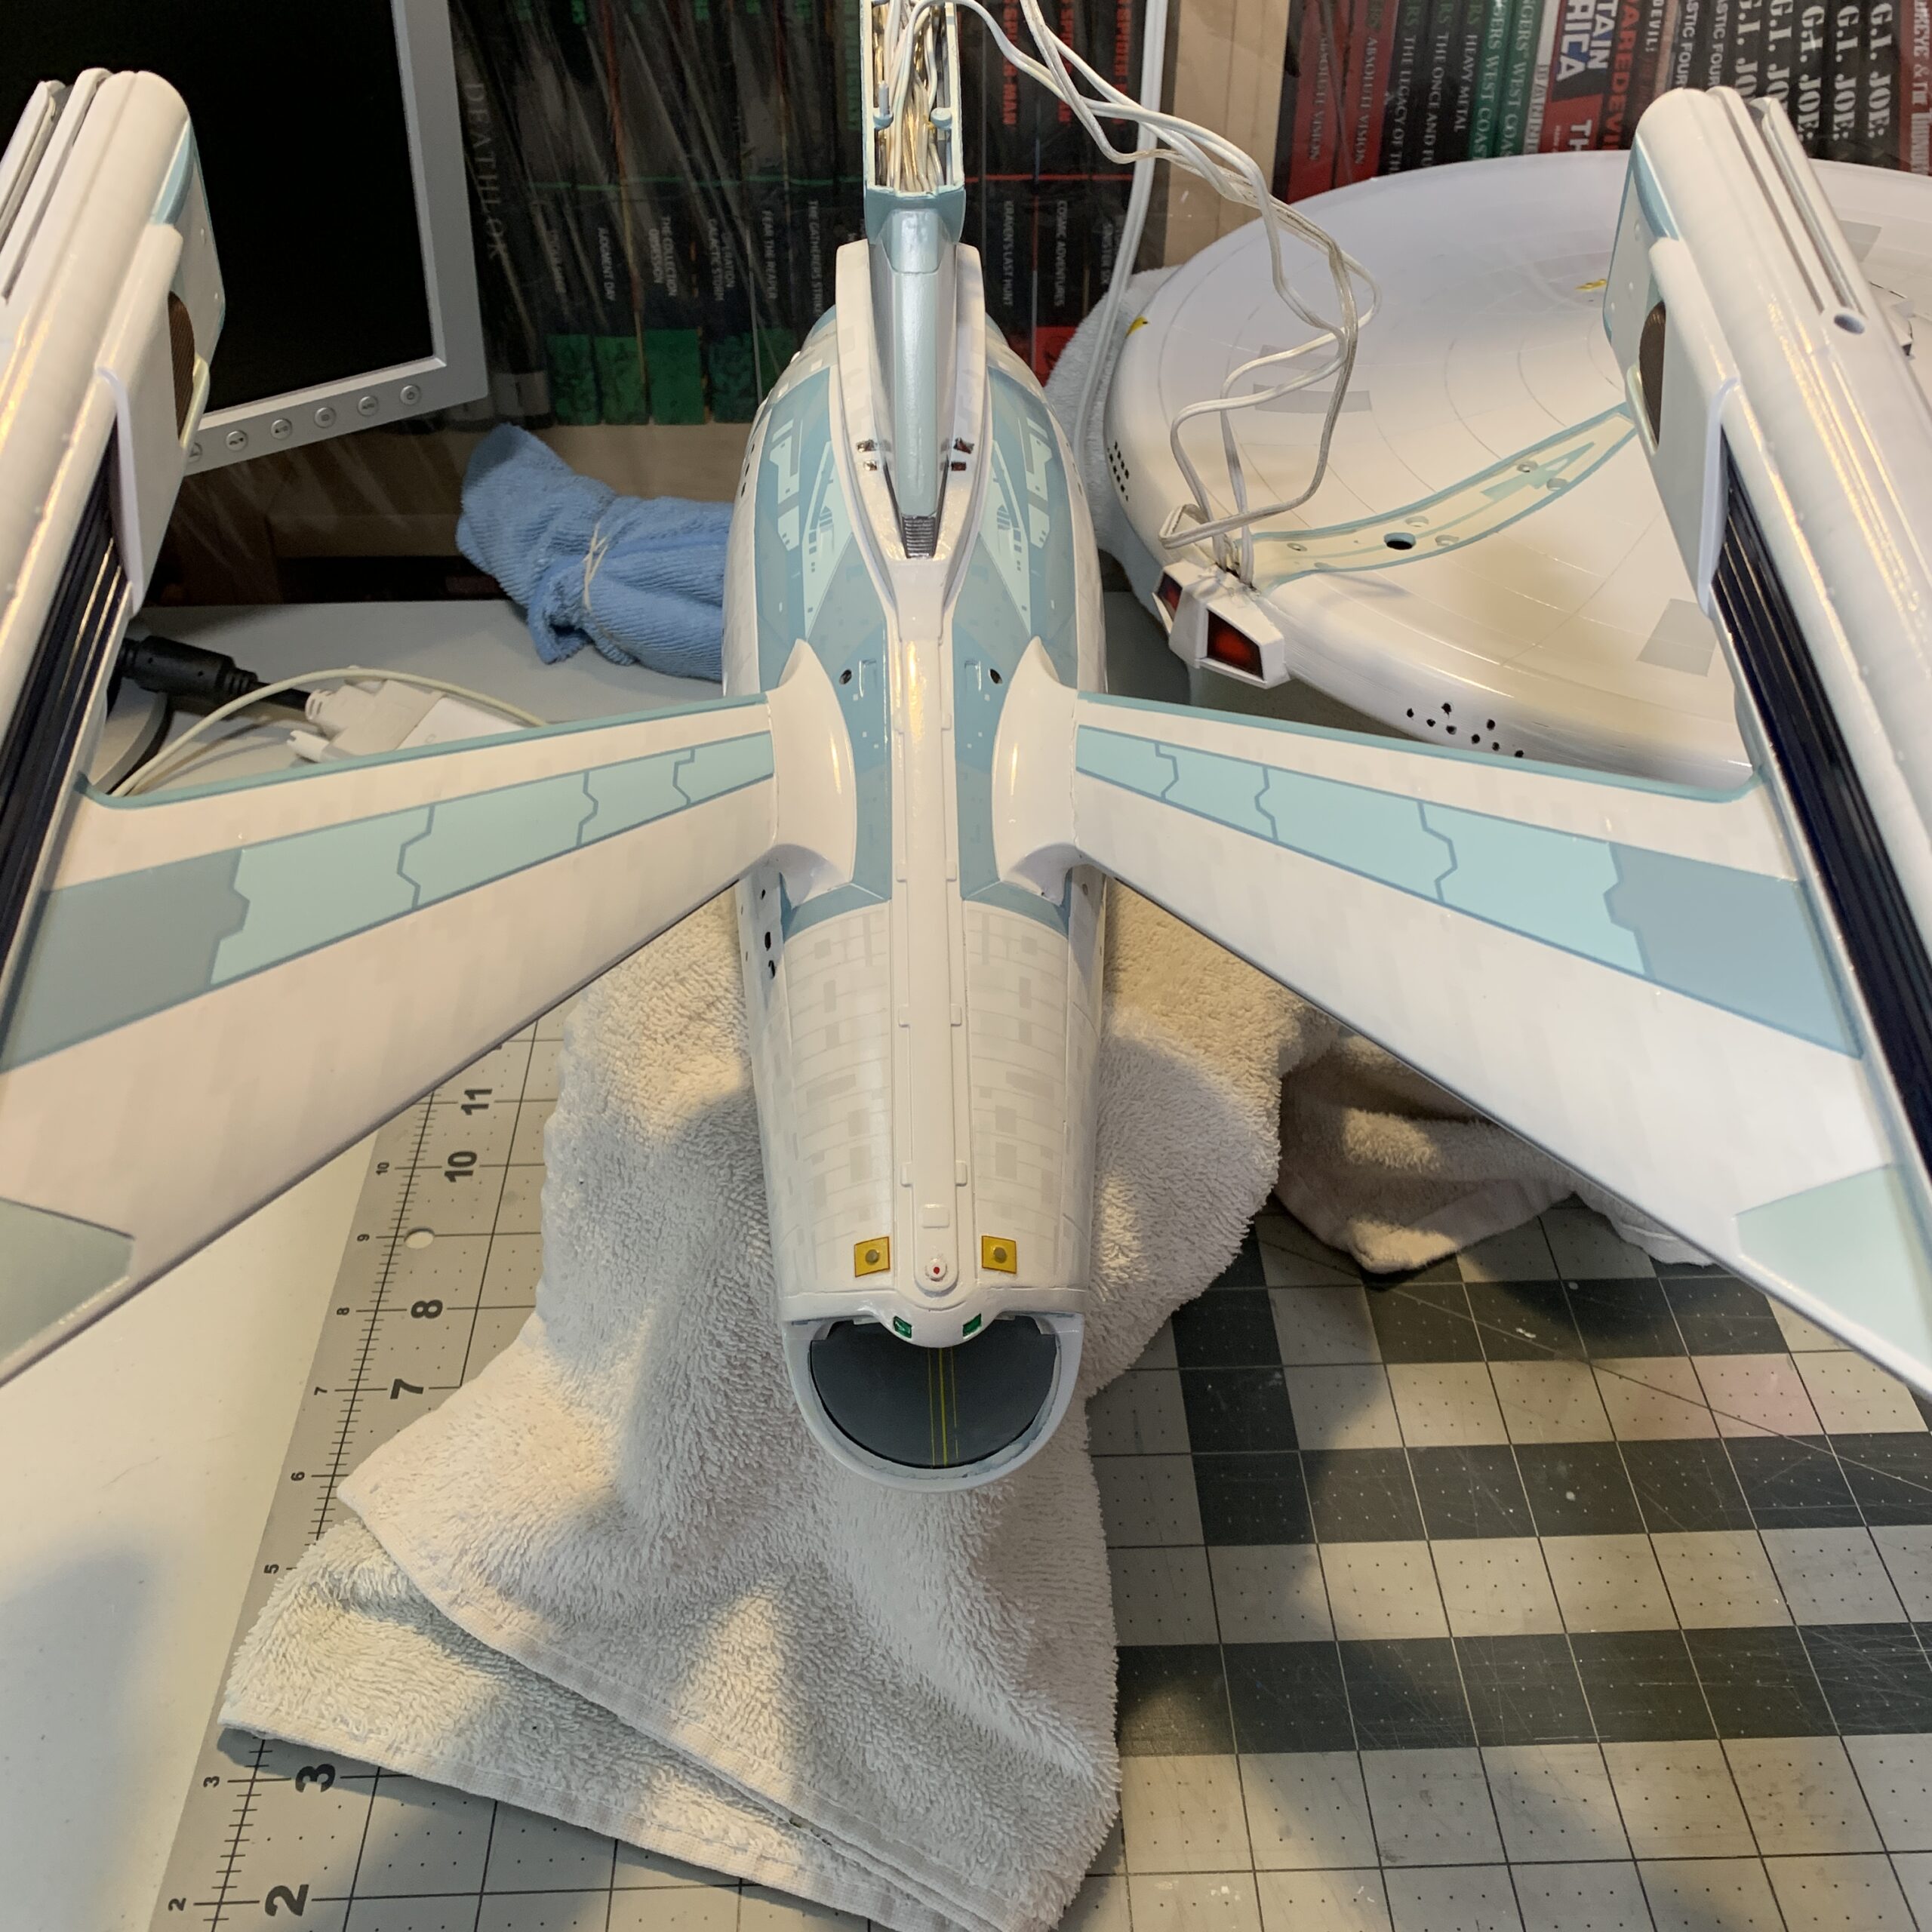
And then I left them to set for a couple of days before I started applying all of the little detail decals, and some registry decals, over top. Stay tuned!