Welcome to the Polar Lights Refit Enterprise Re-deco Log Part 5!
Click here for Part 1 | Part 2 | Part 3 | Part 4
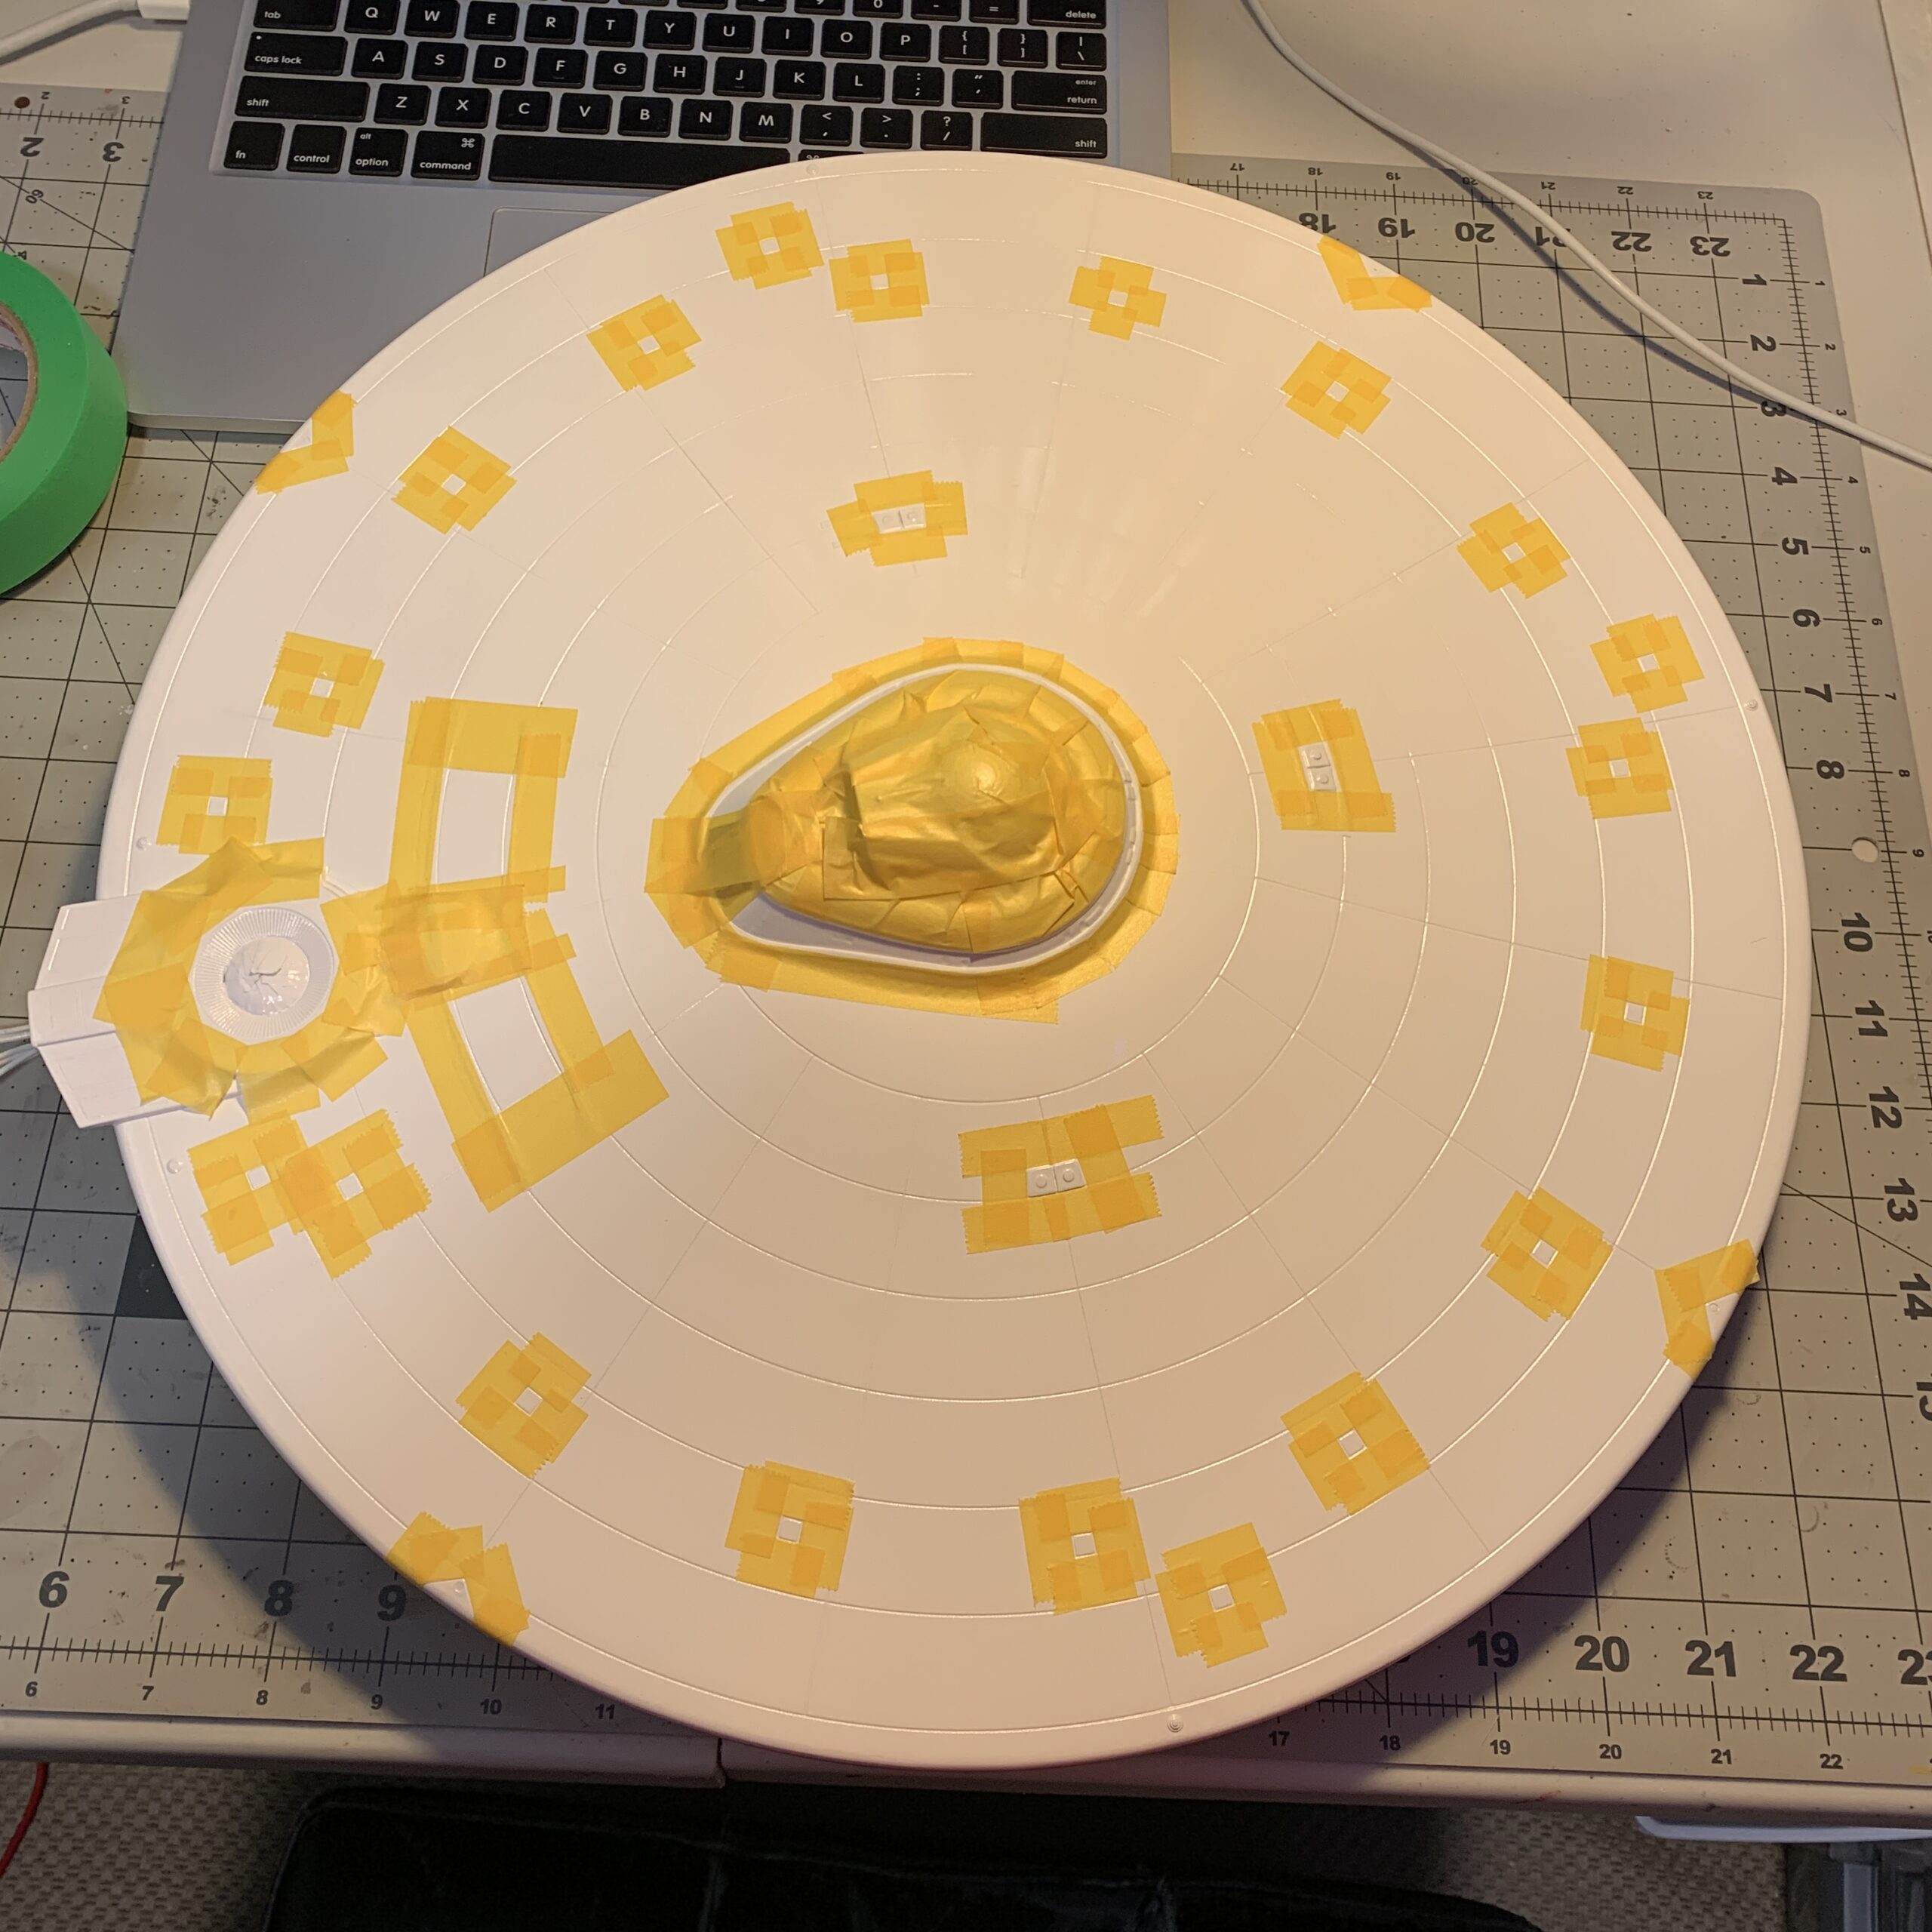
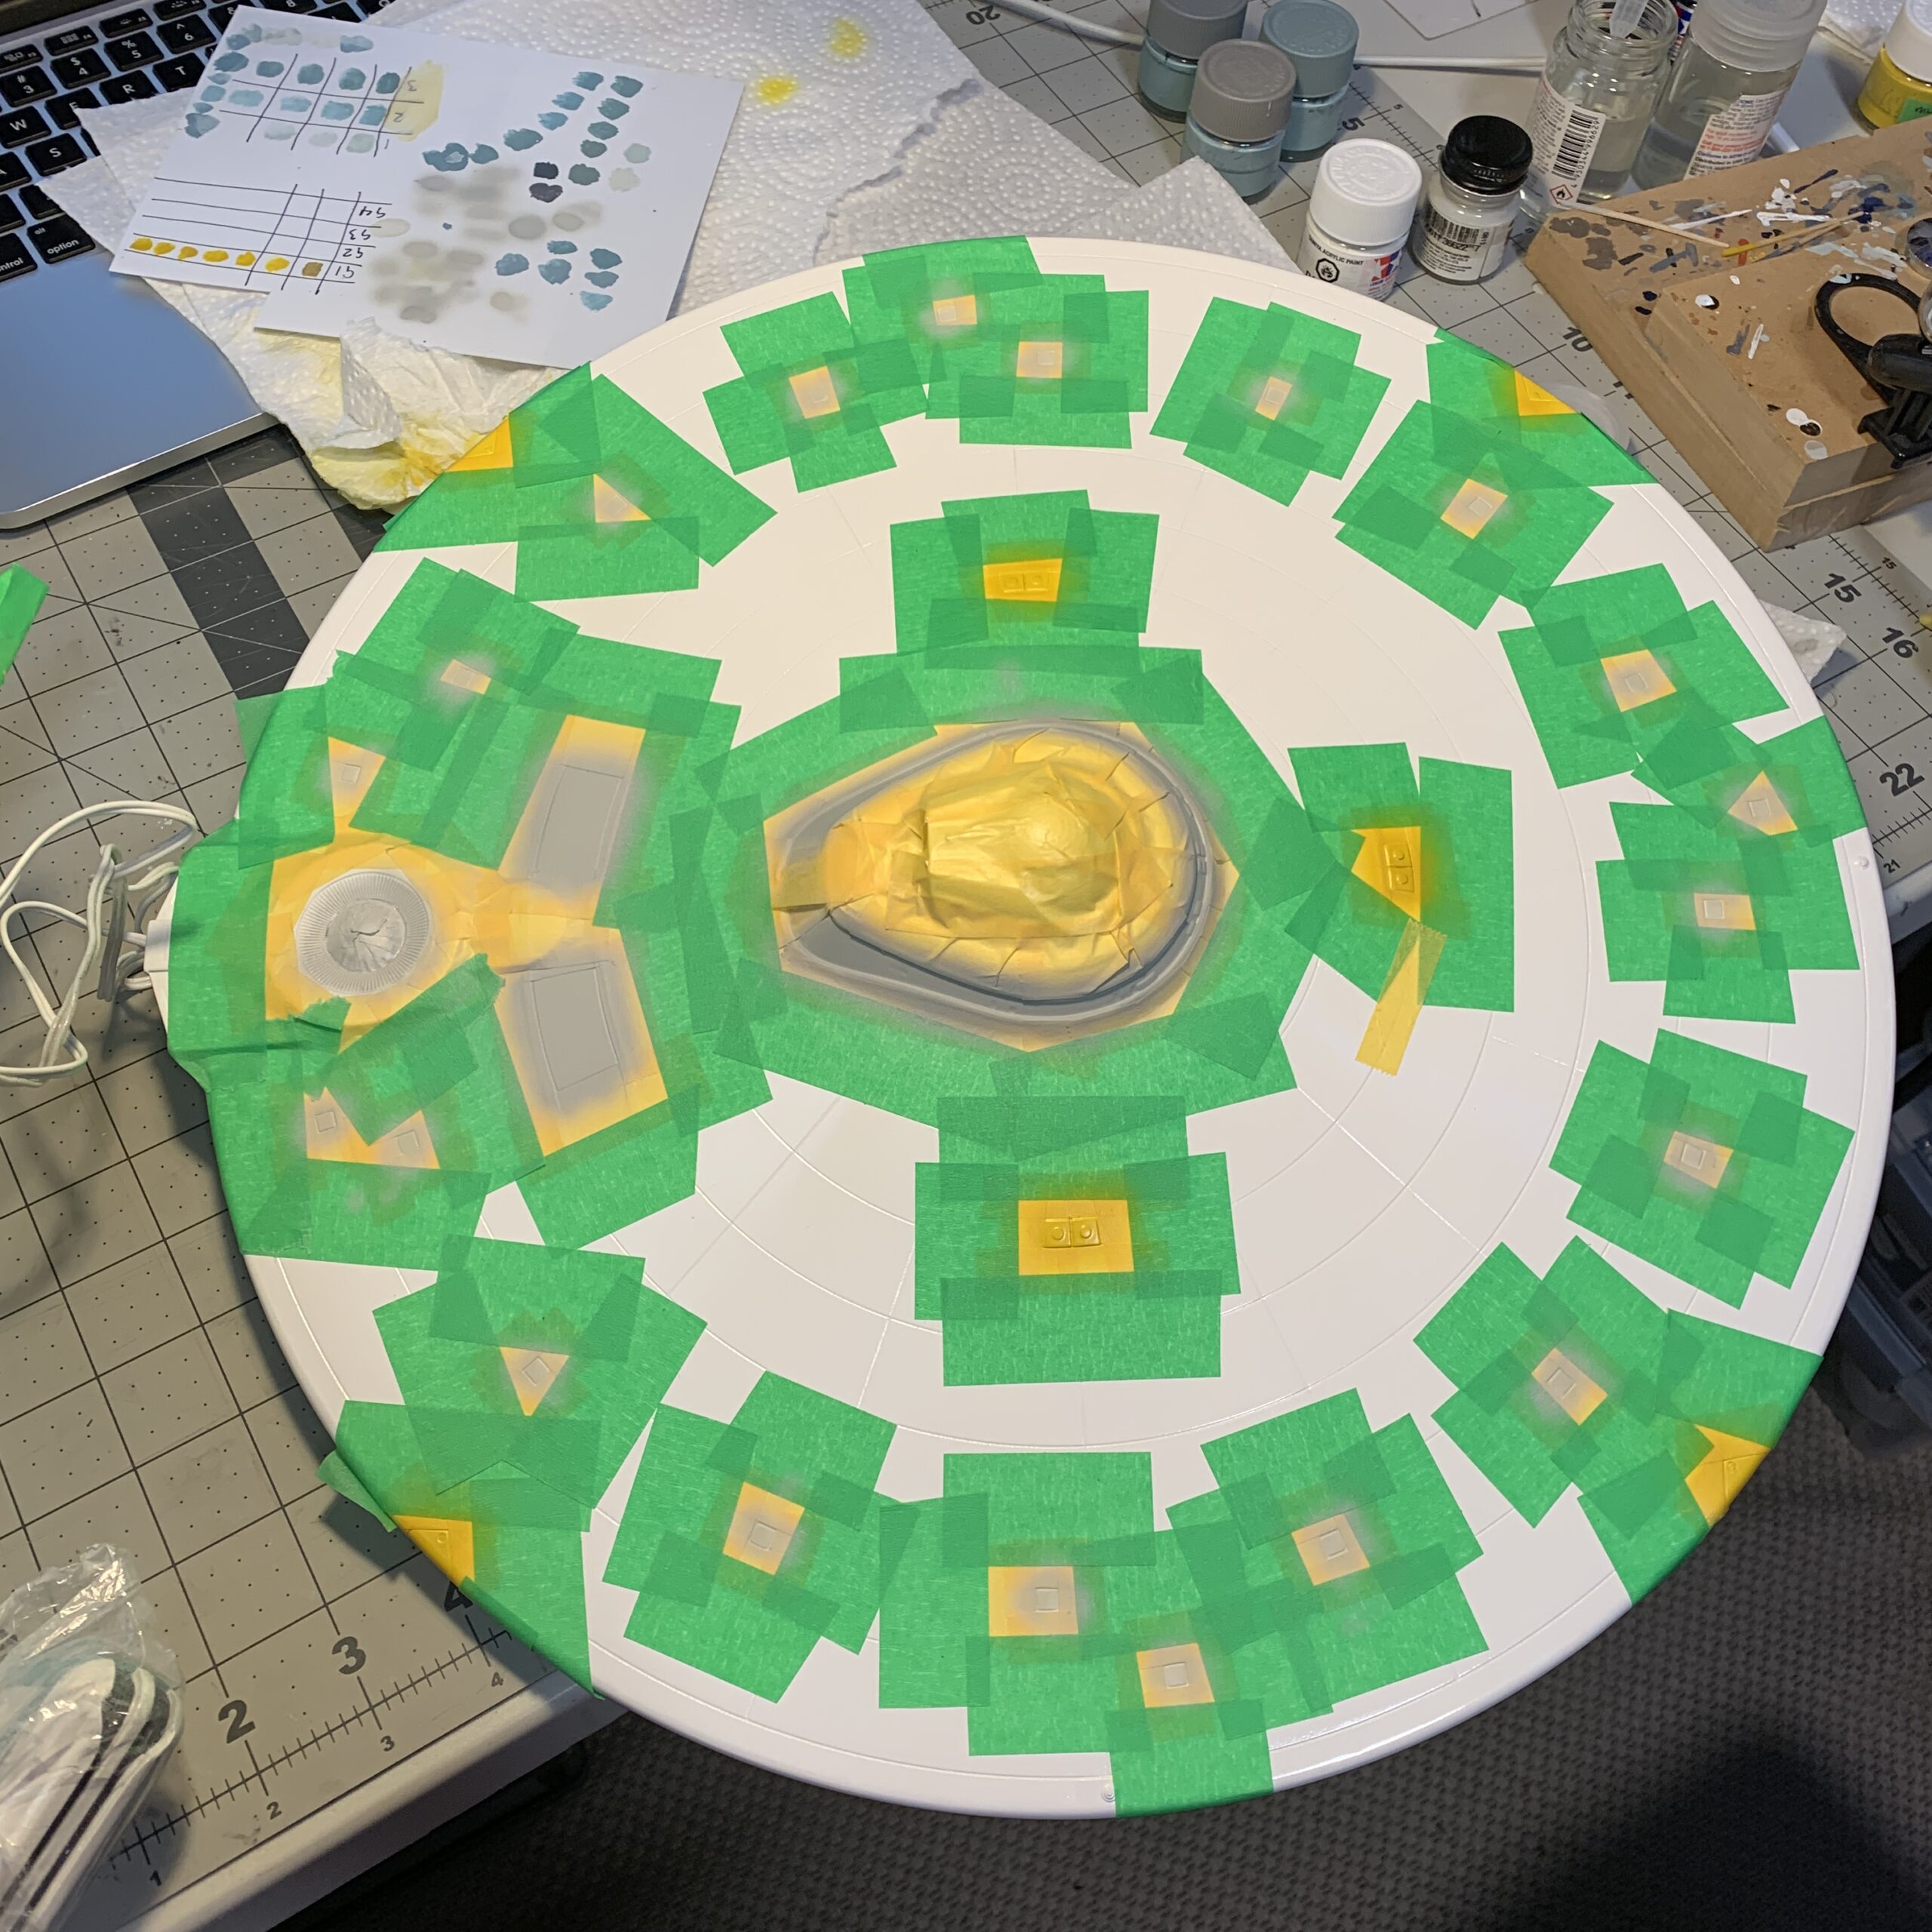
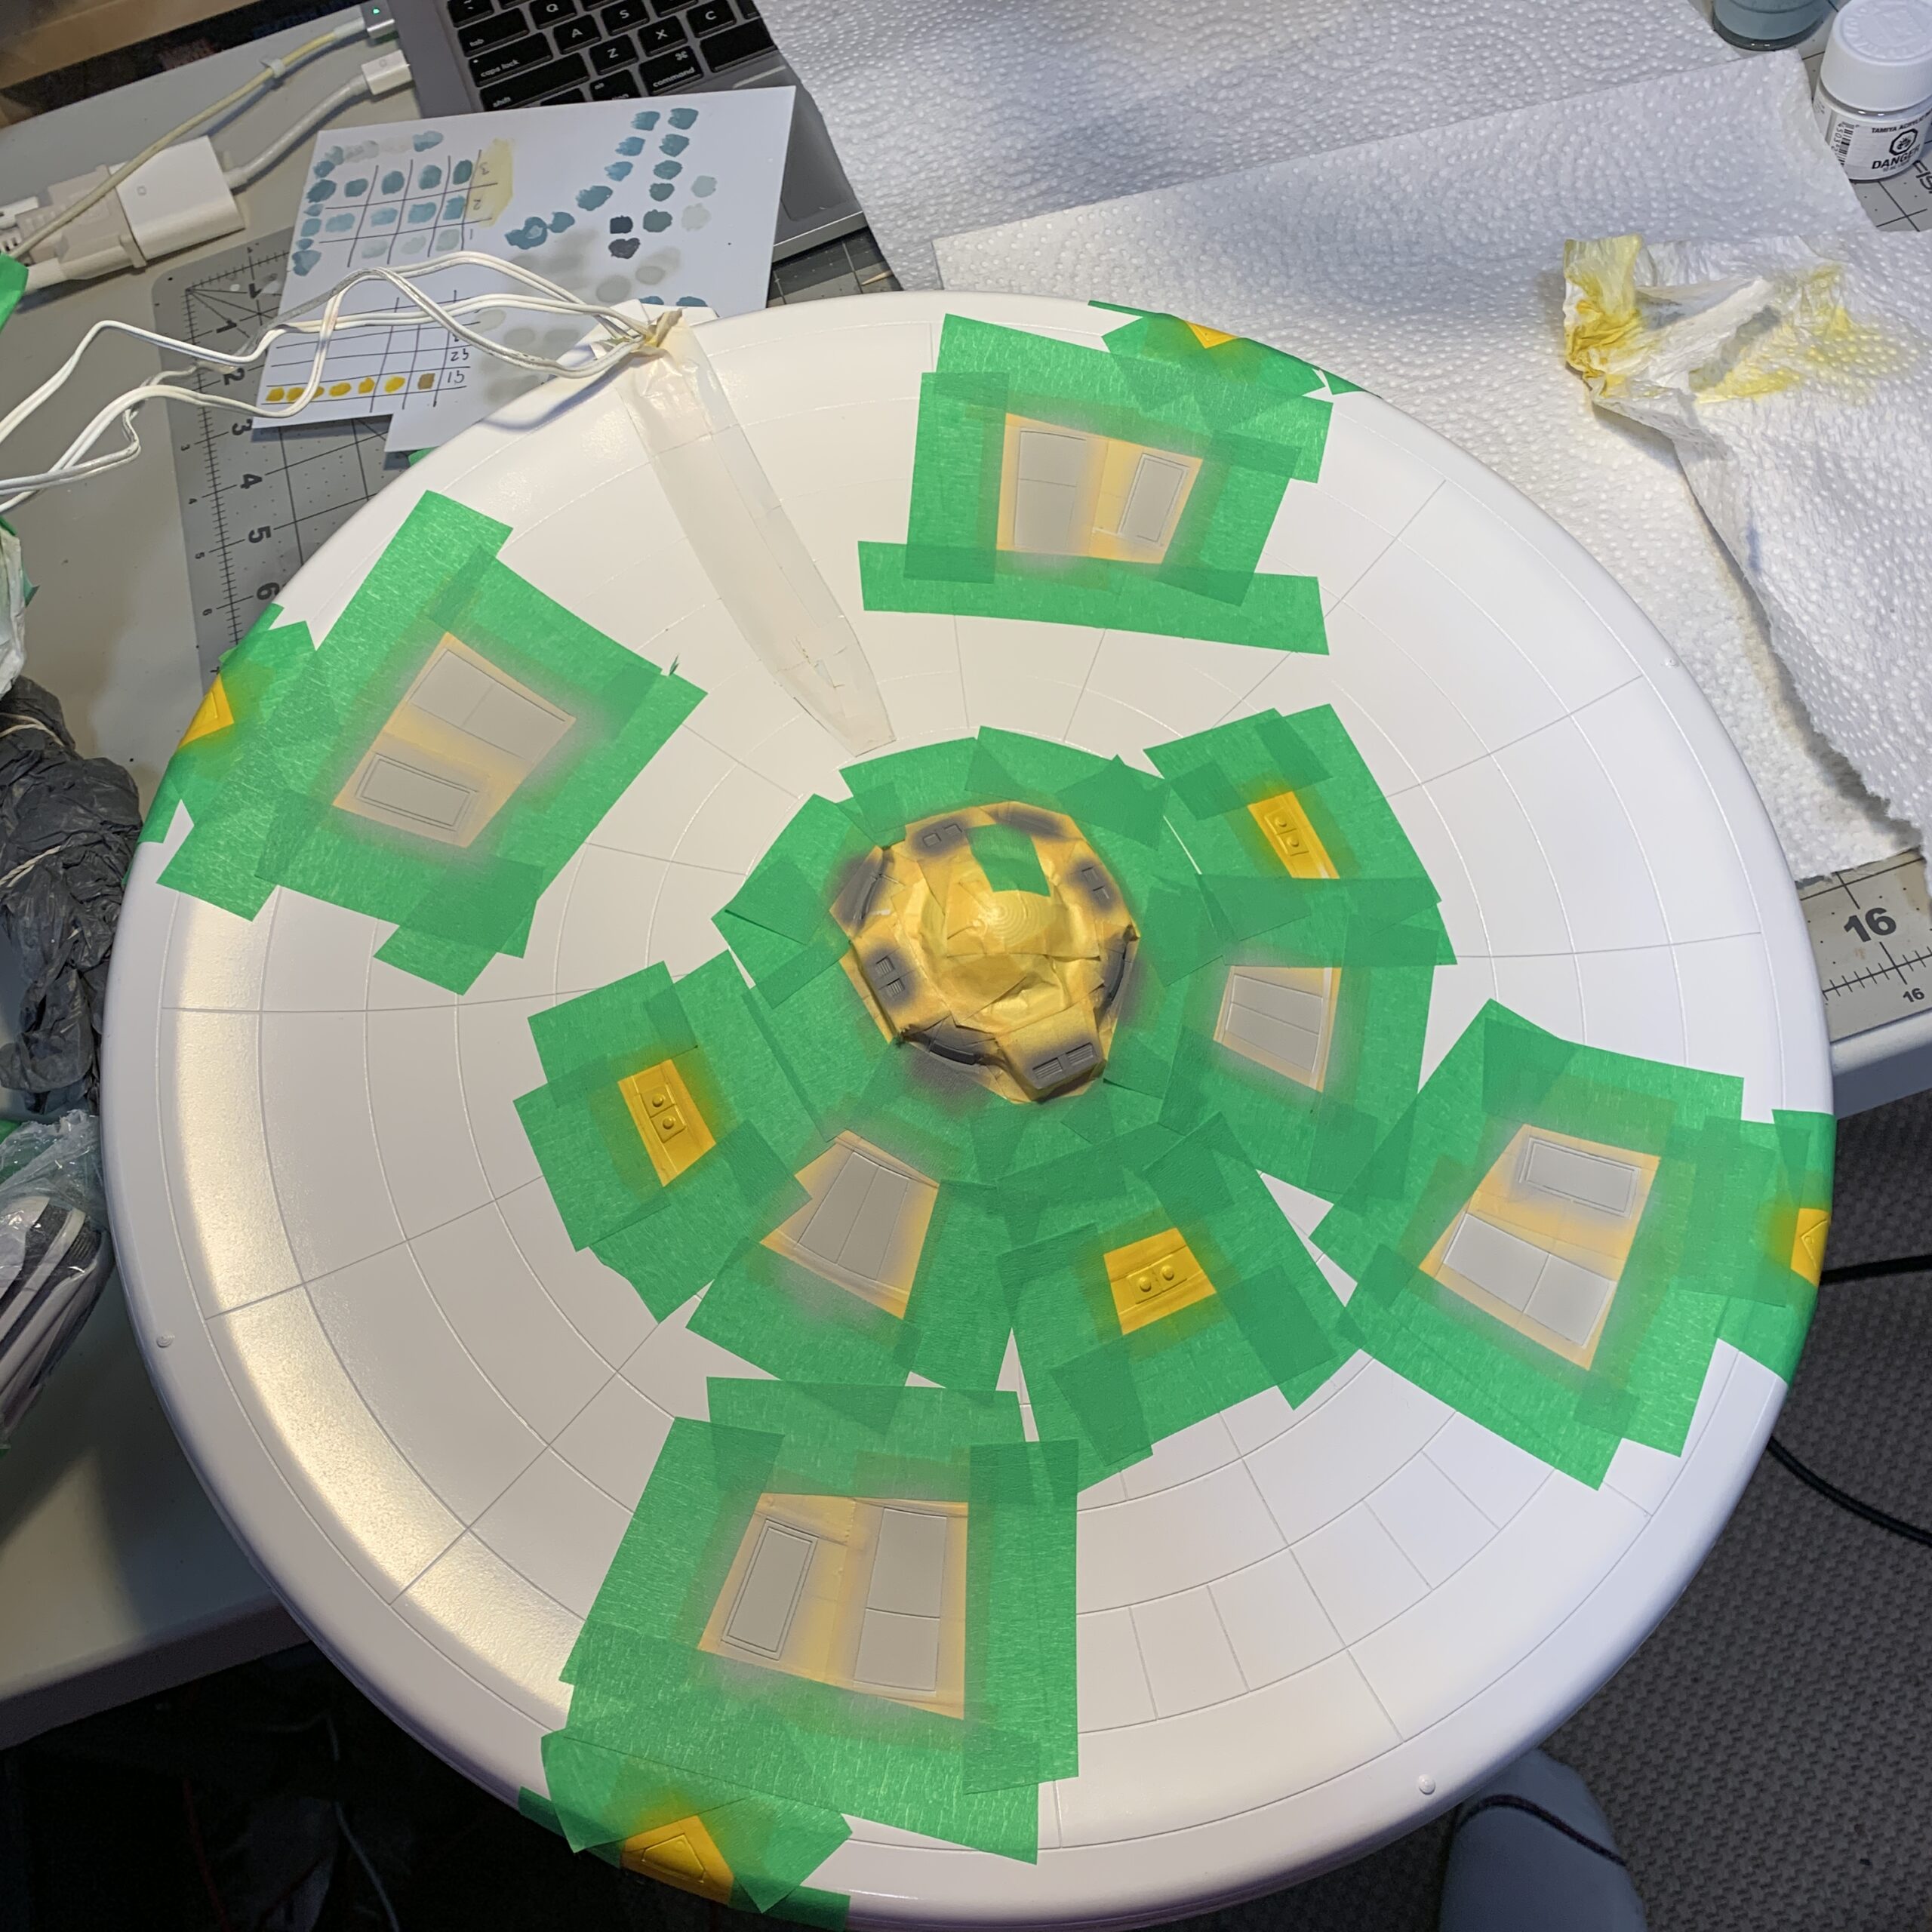
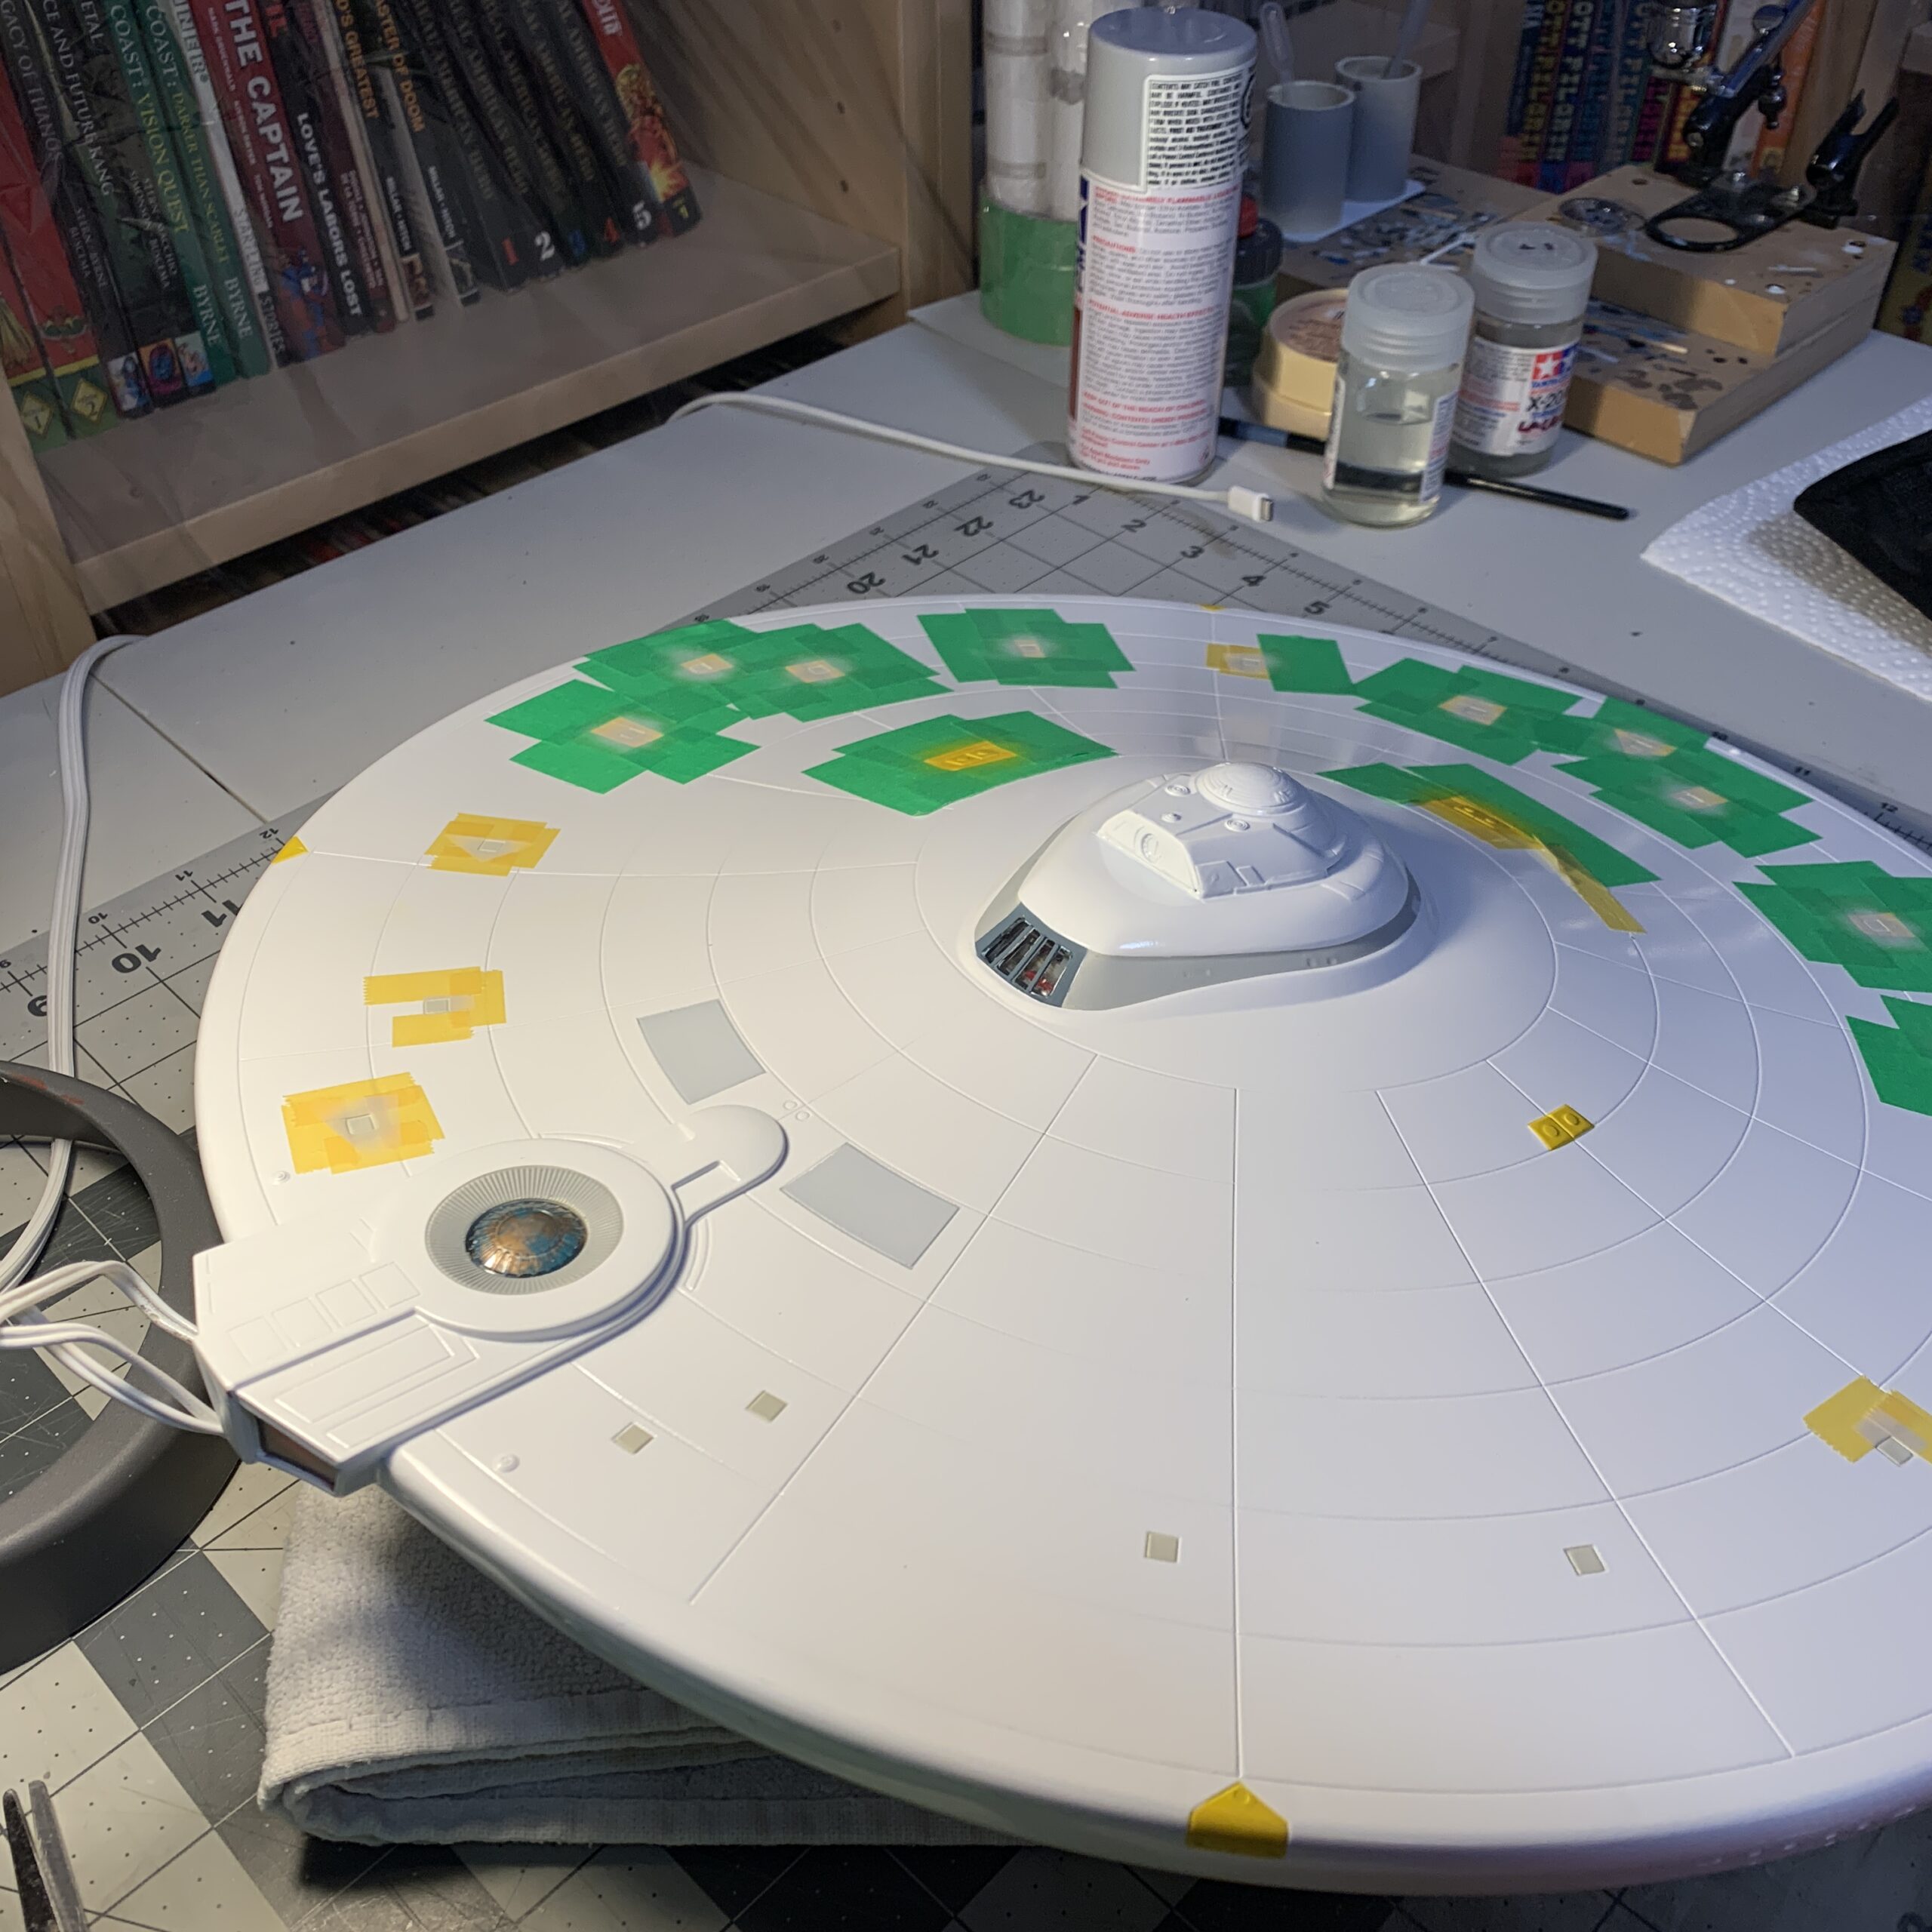
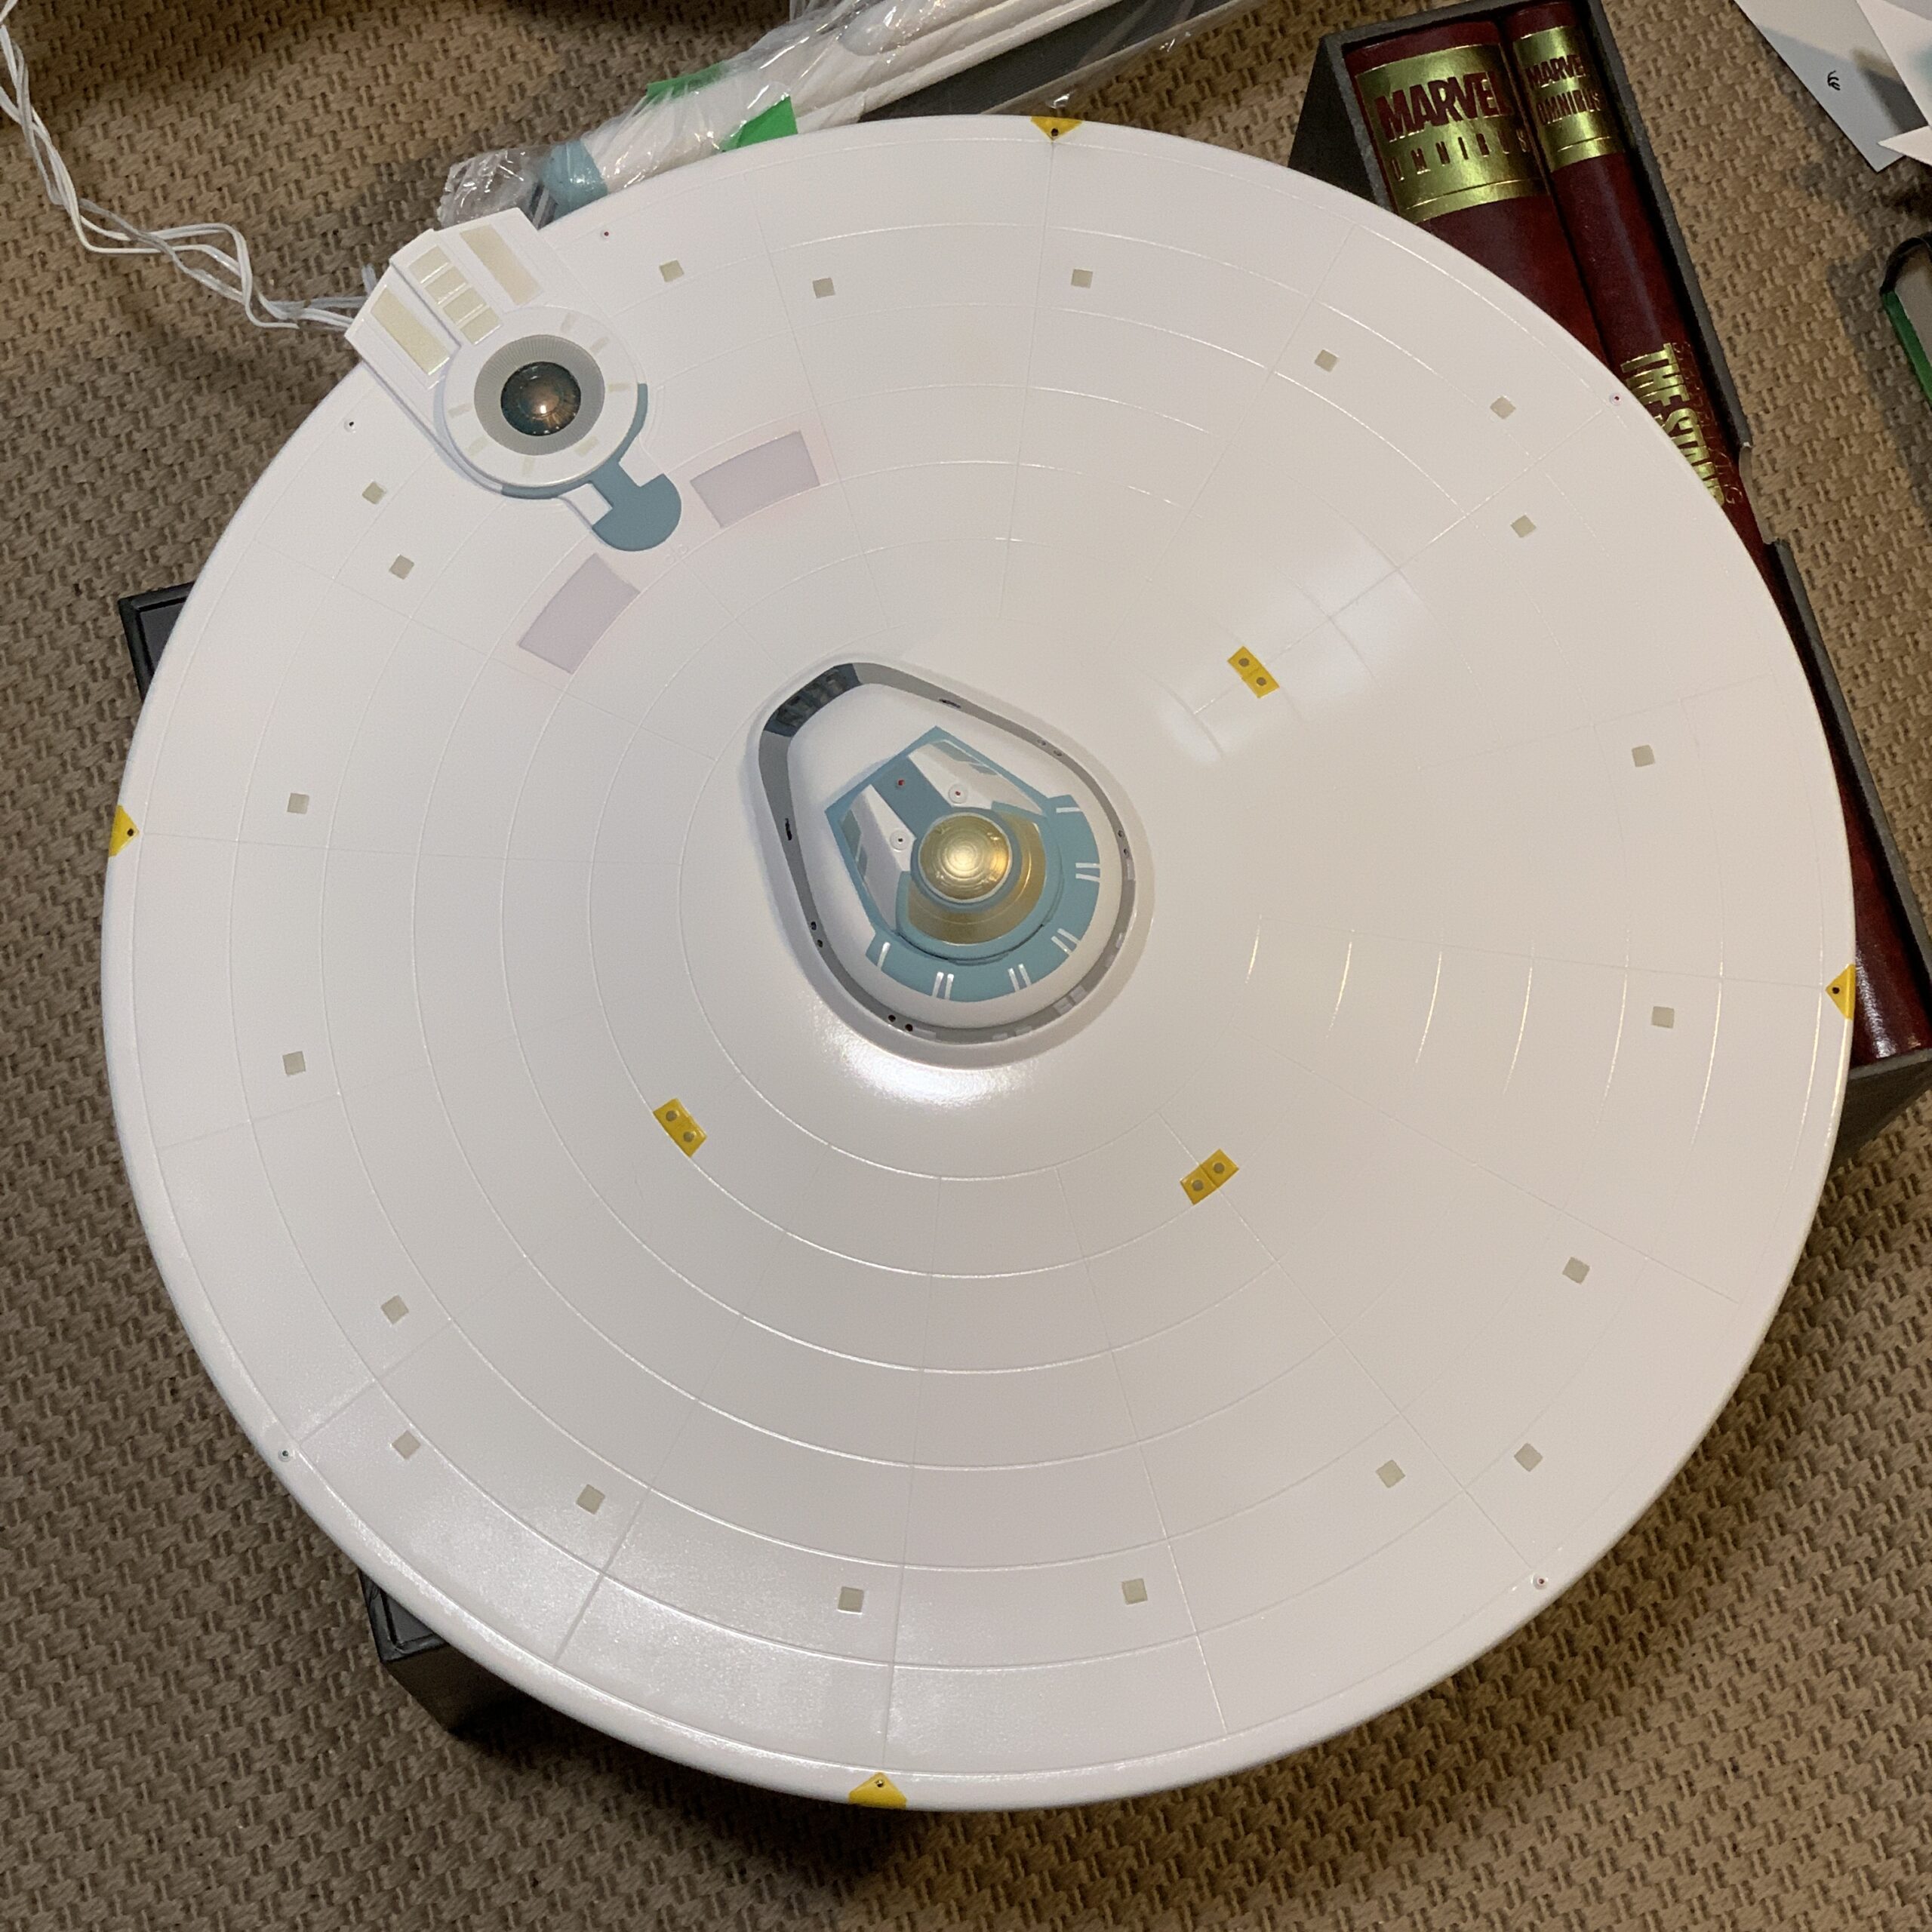
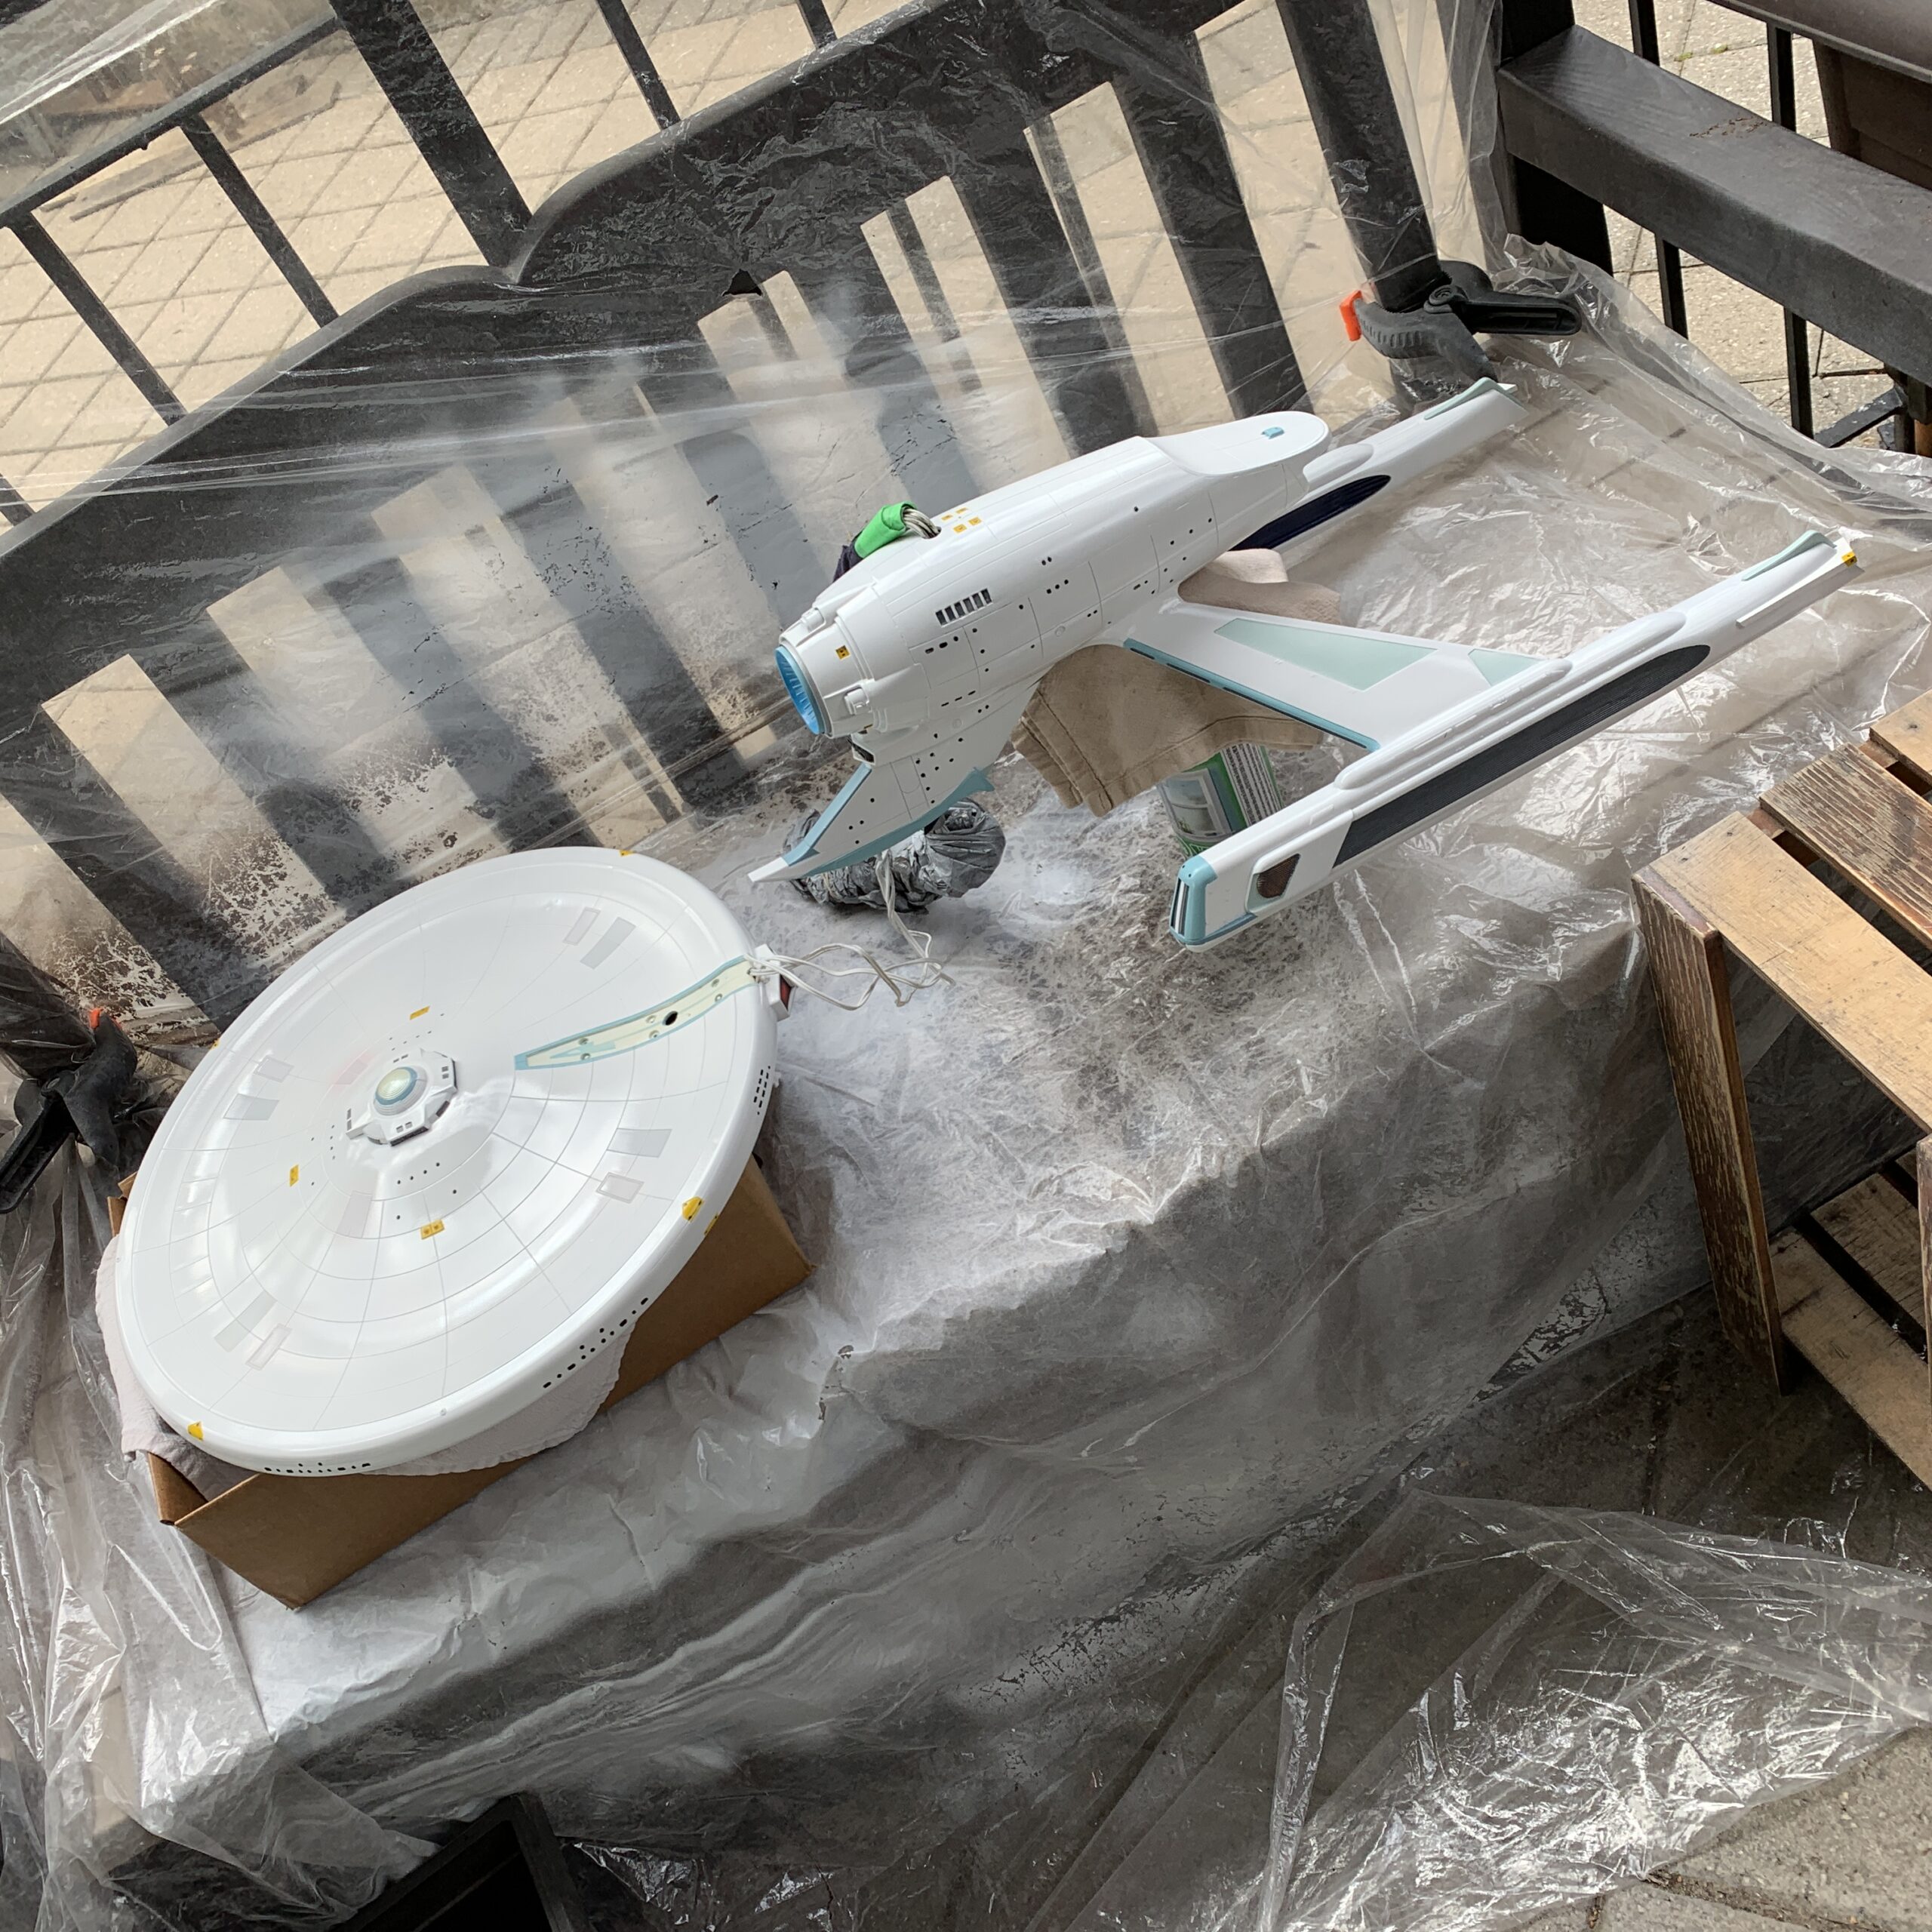
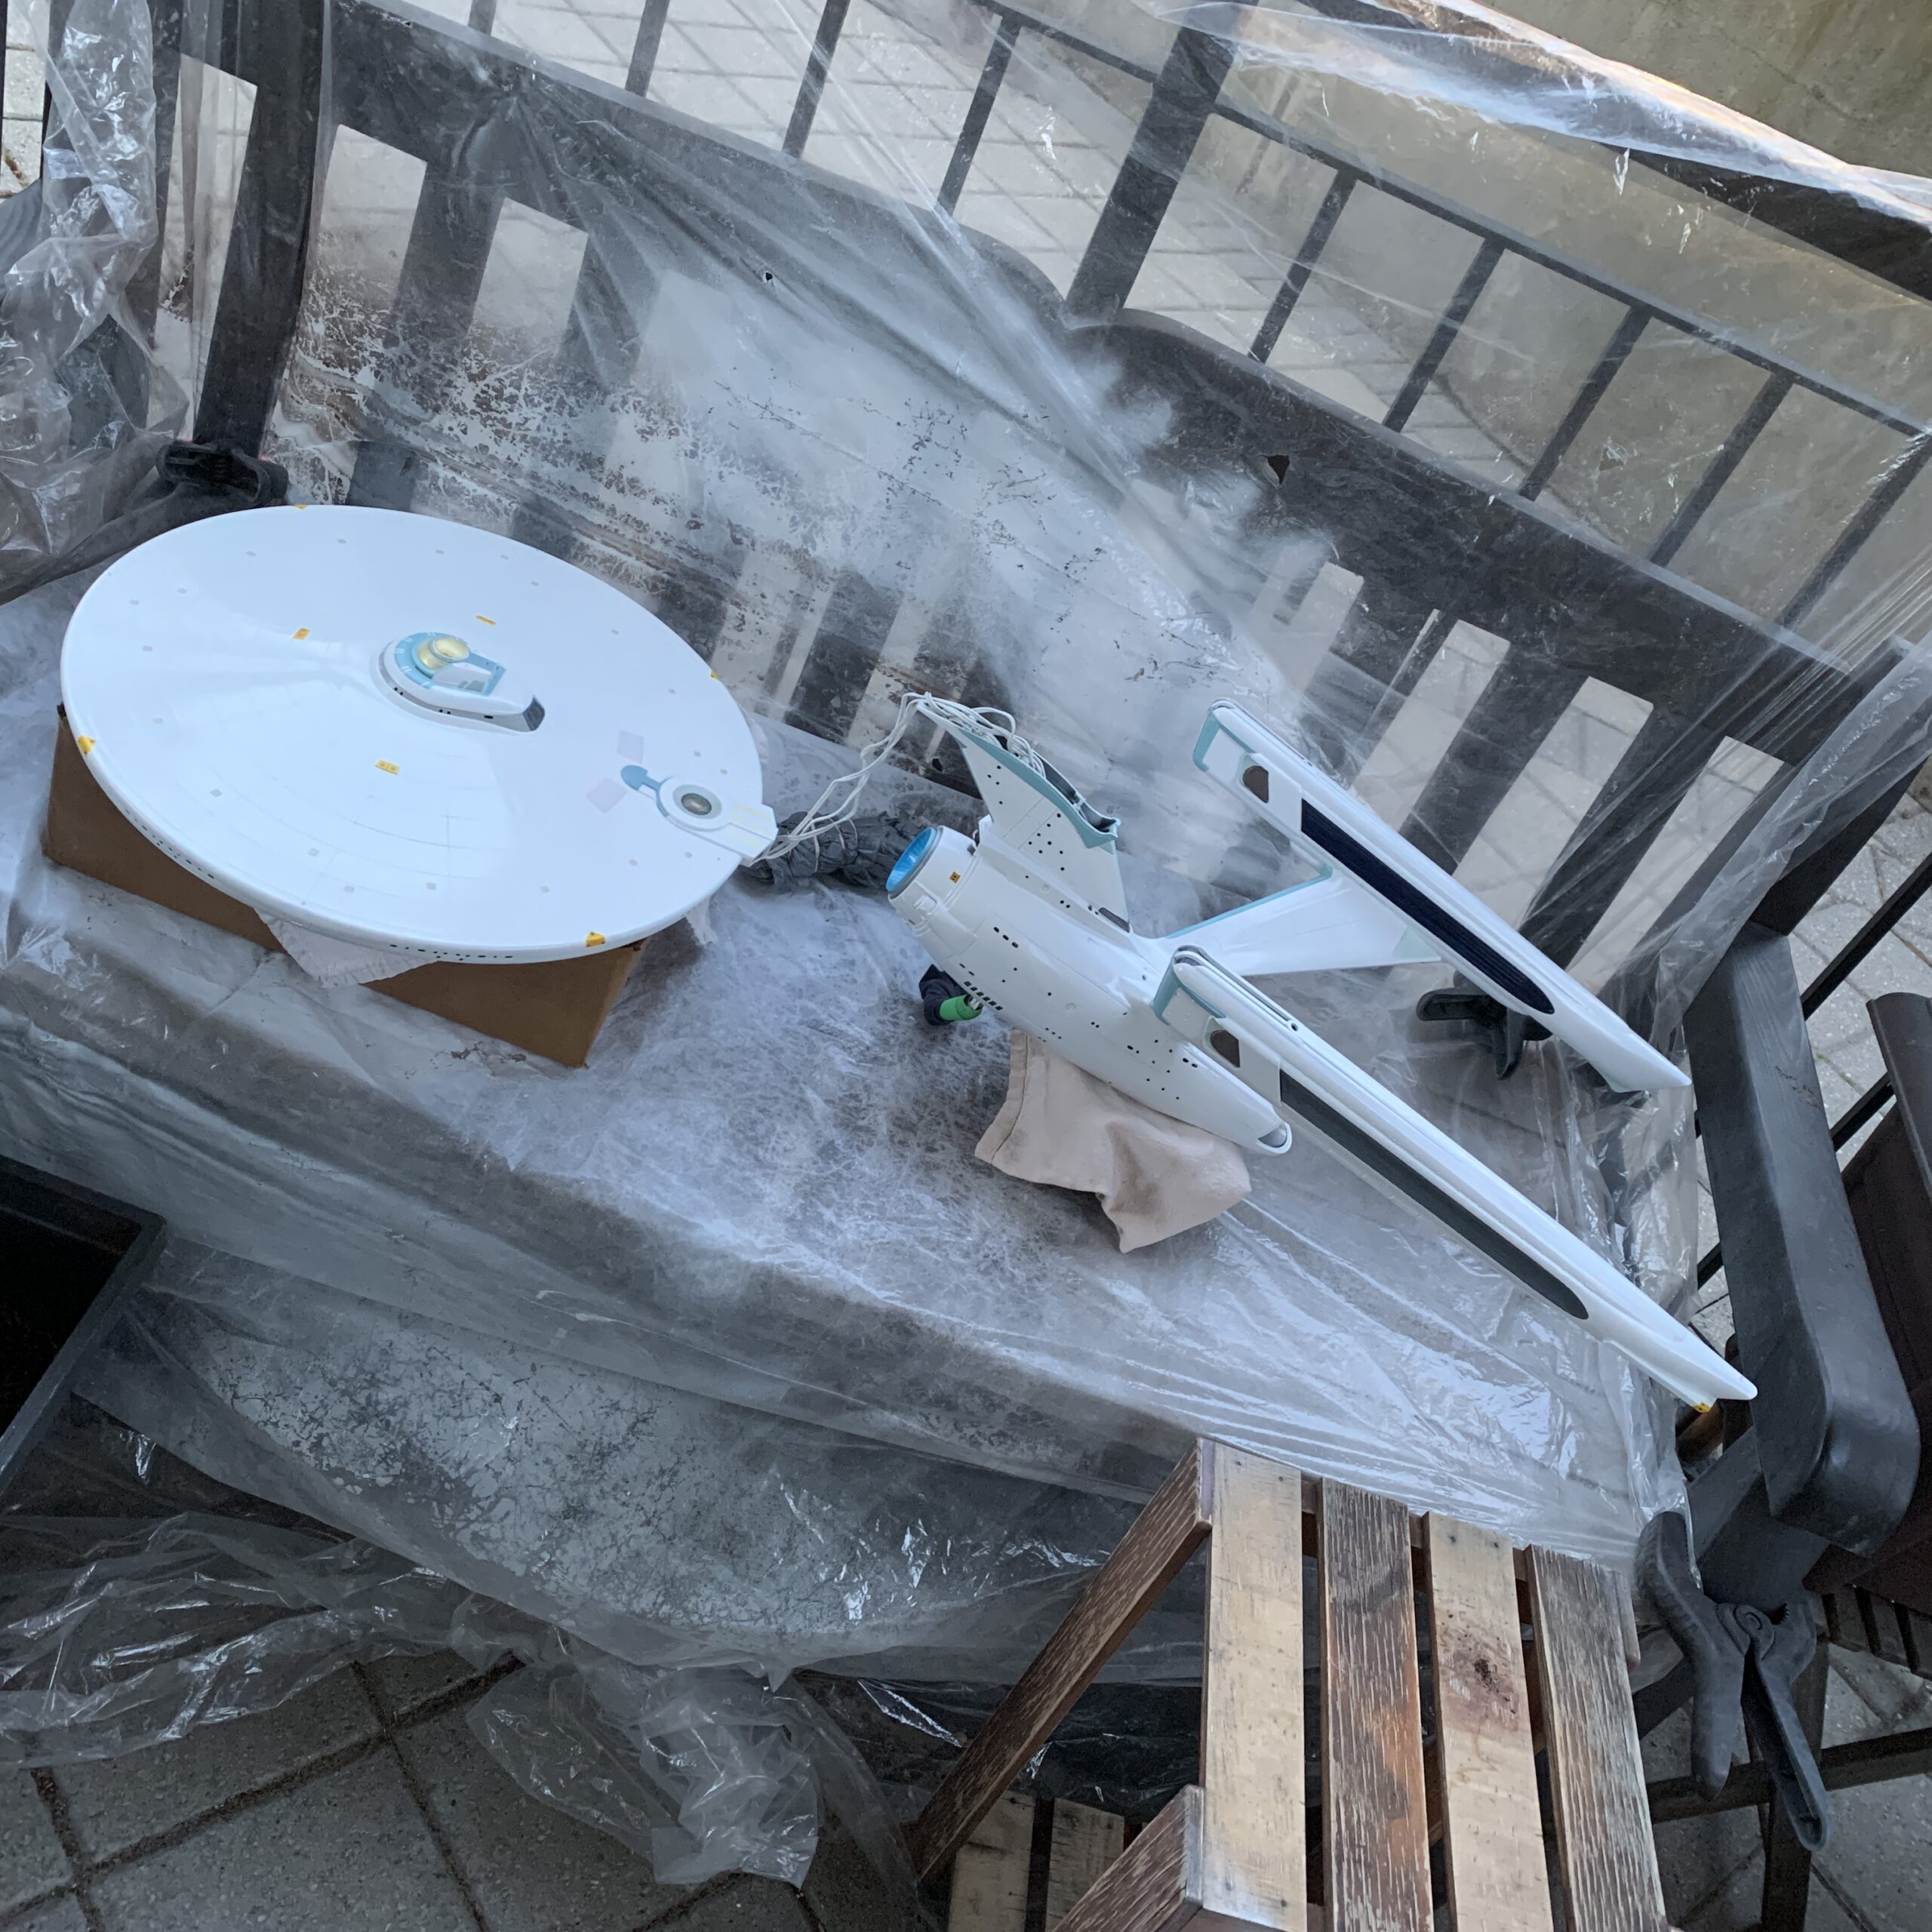
As with the nacelles and secondary hull, I needed to paint on all of the little details on the saucer section before I could move on to applying the “aztec” decals. This includes:
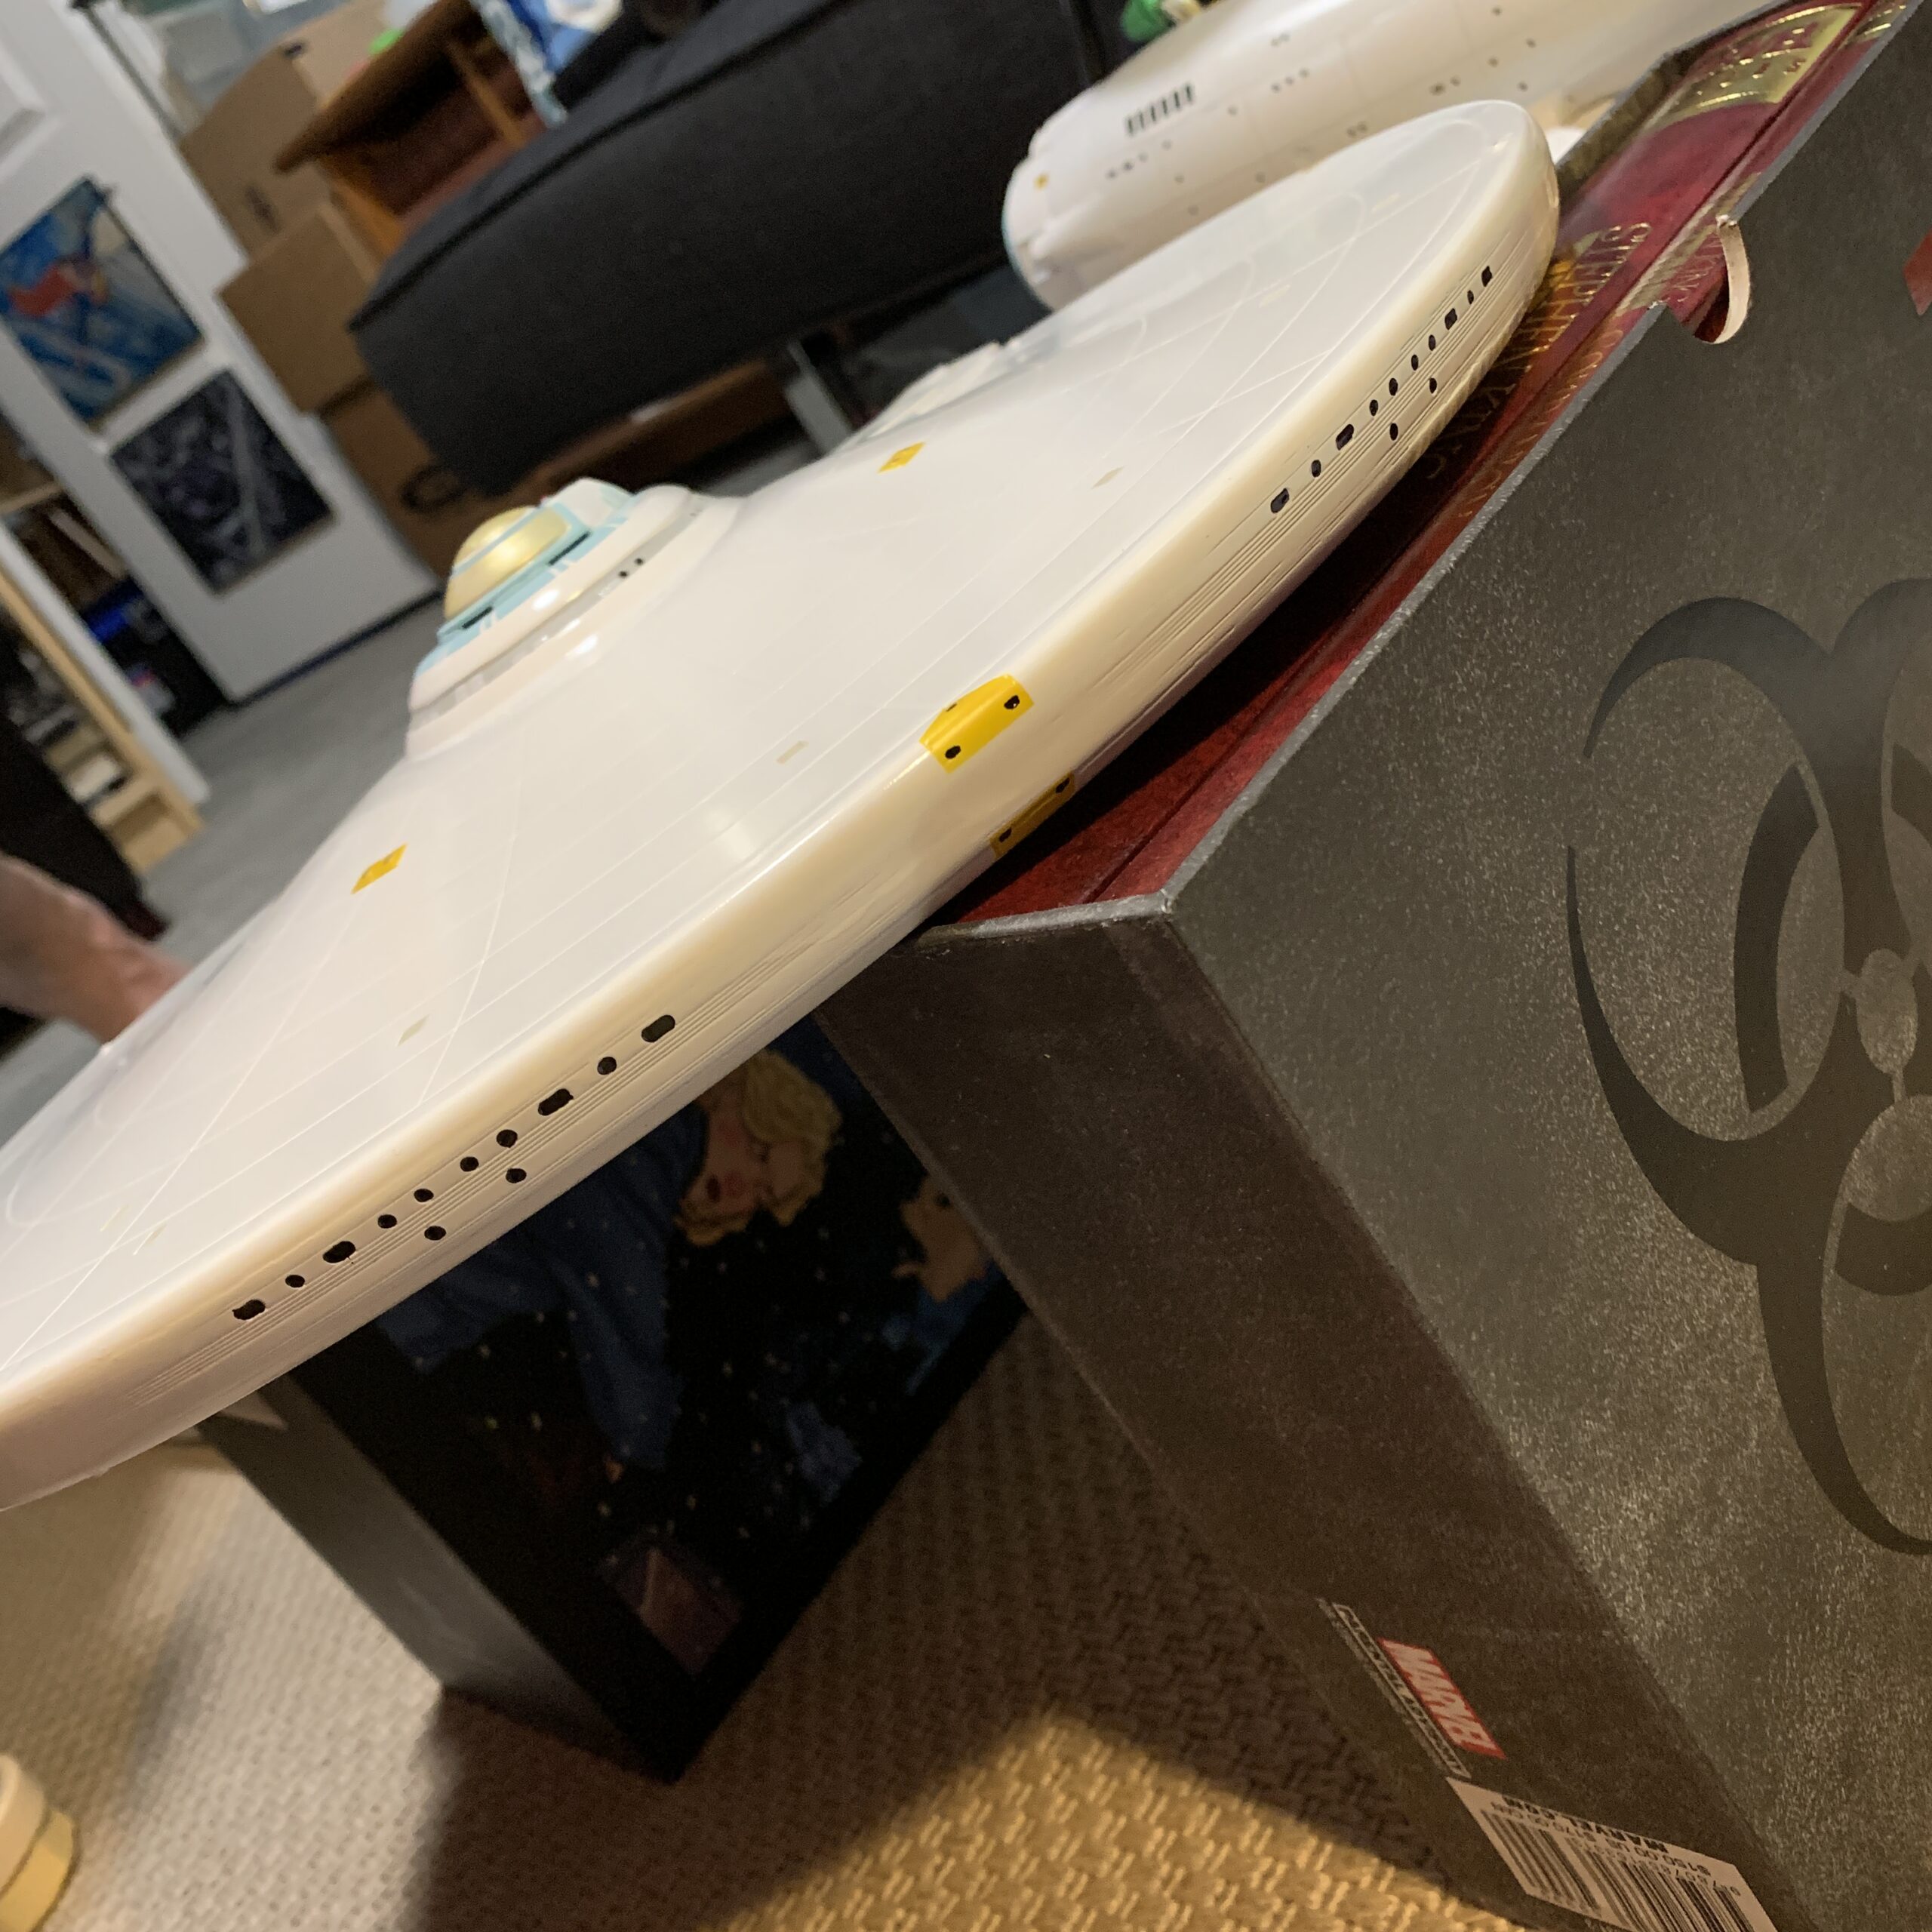
- The thrusters around the saucer
- The upper and lower phaser banks
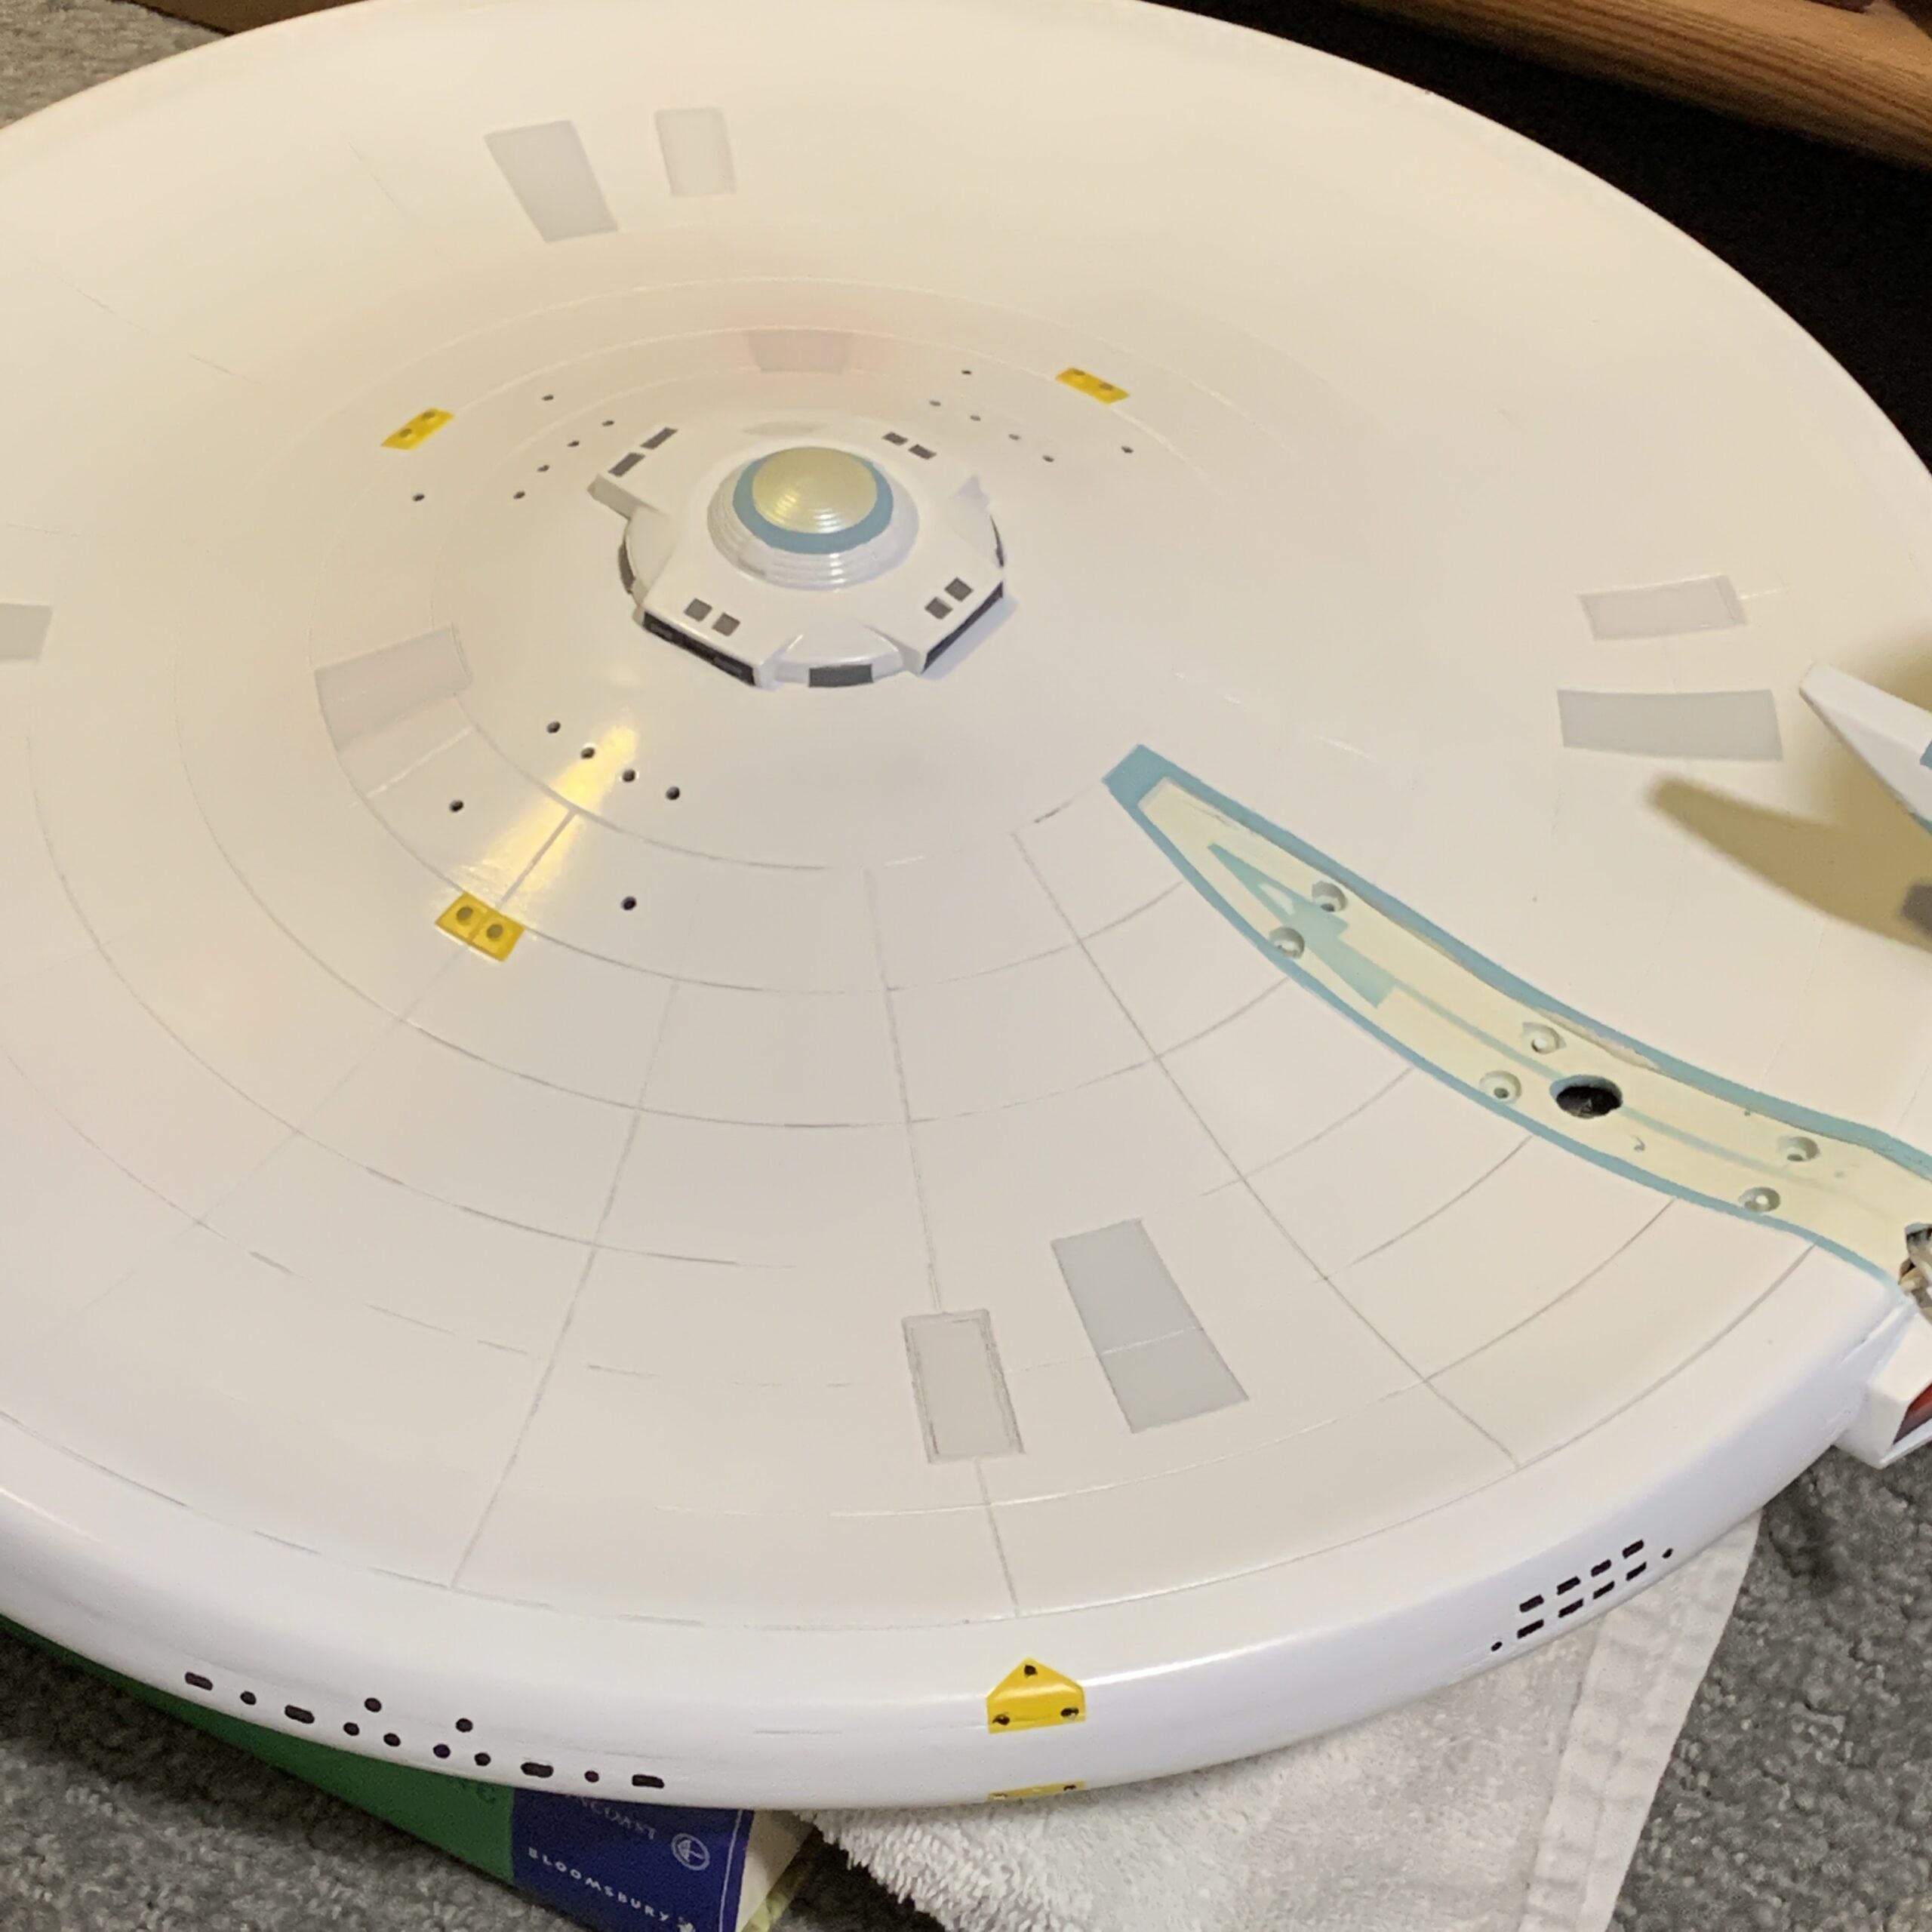
- The lifeboats on the upper saucer
- The airlock and landing pad panels on the lower saucer
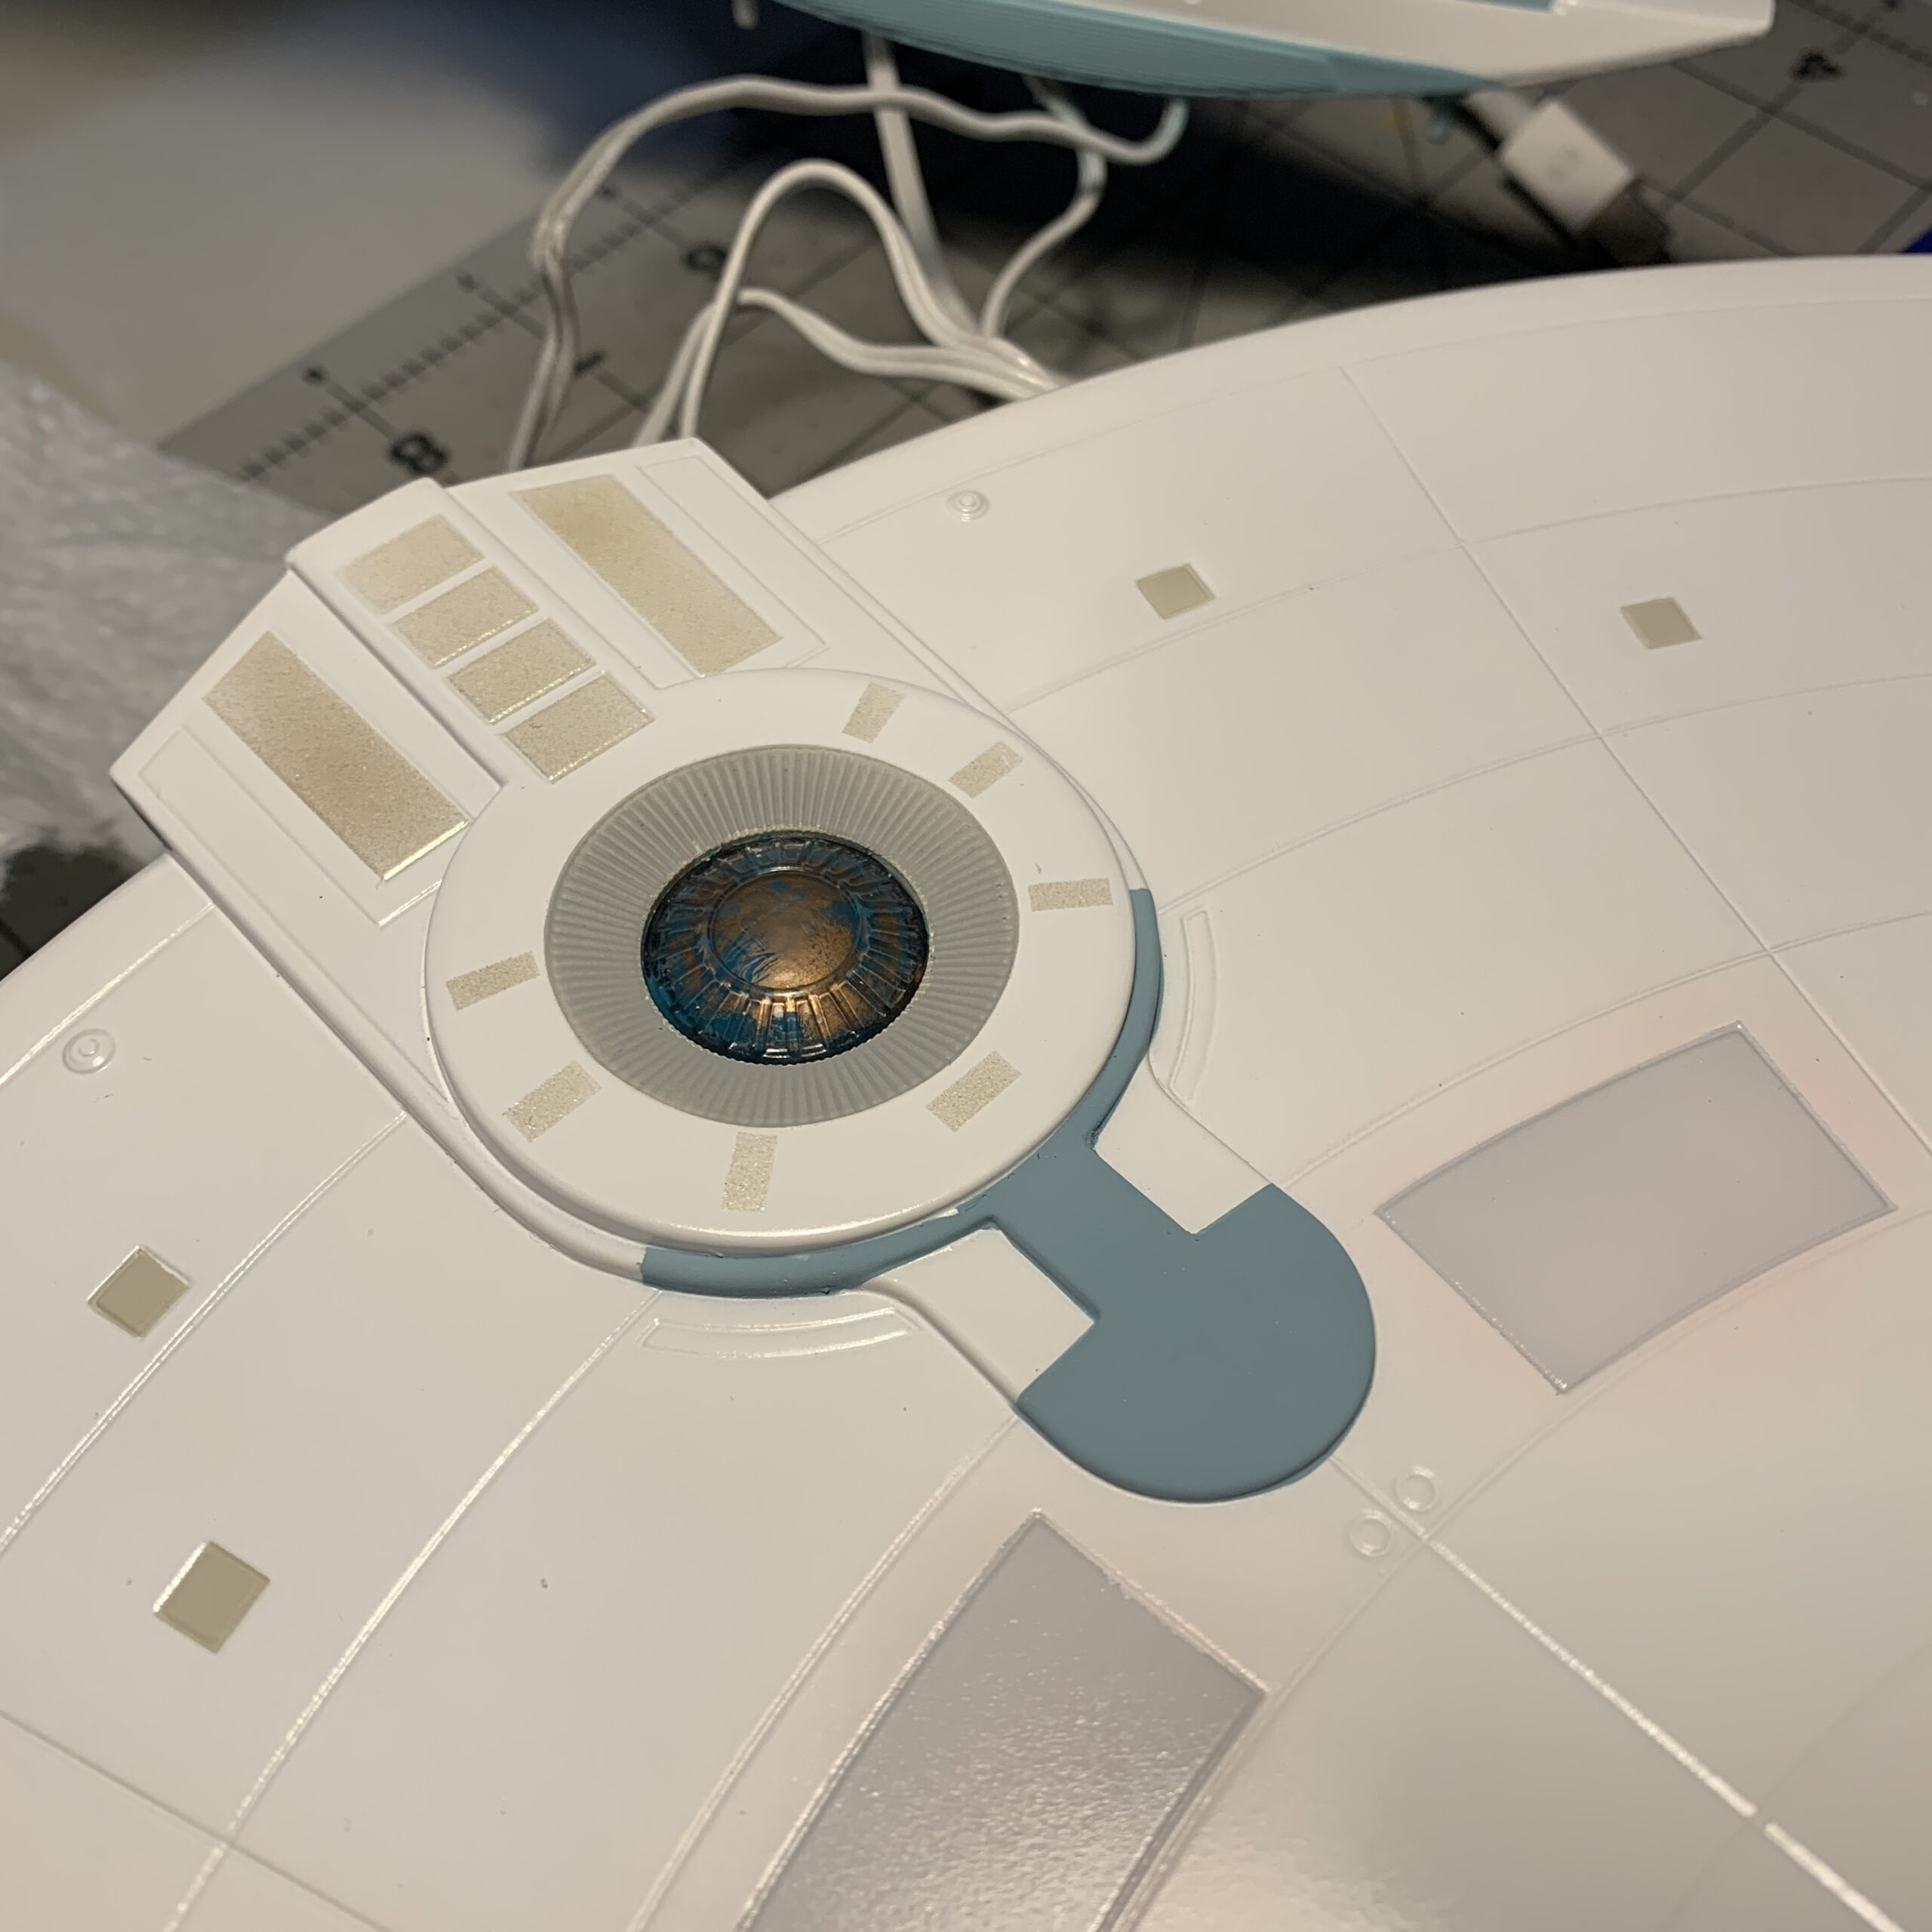
- Detail around the impulse engines
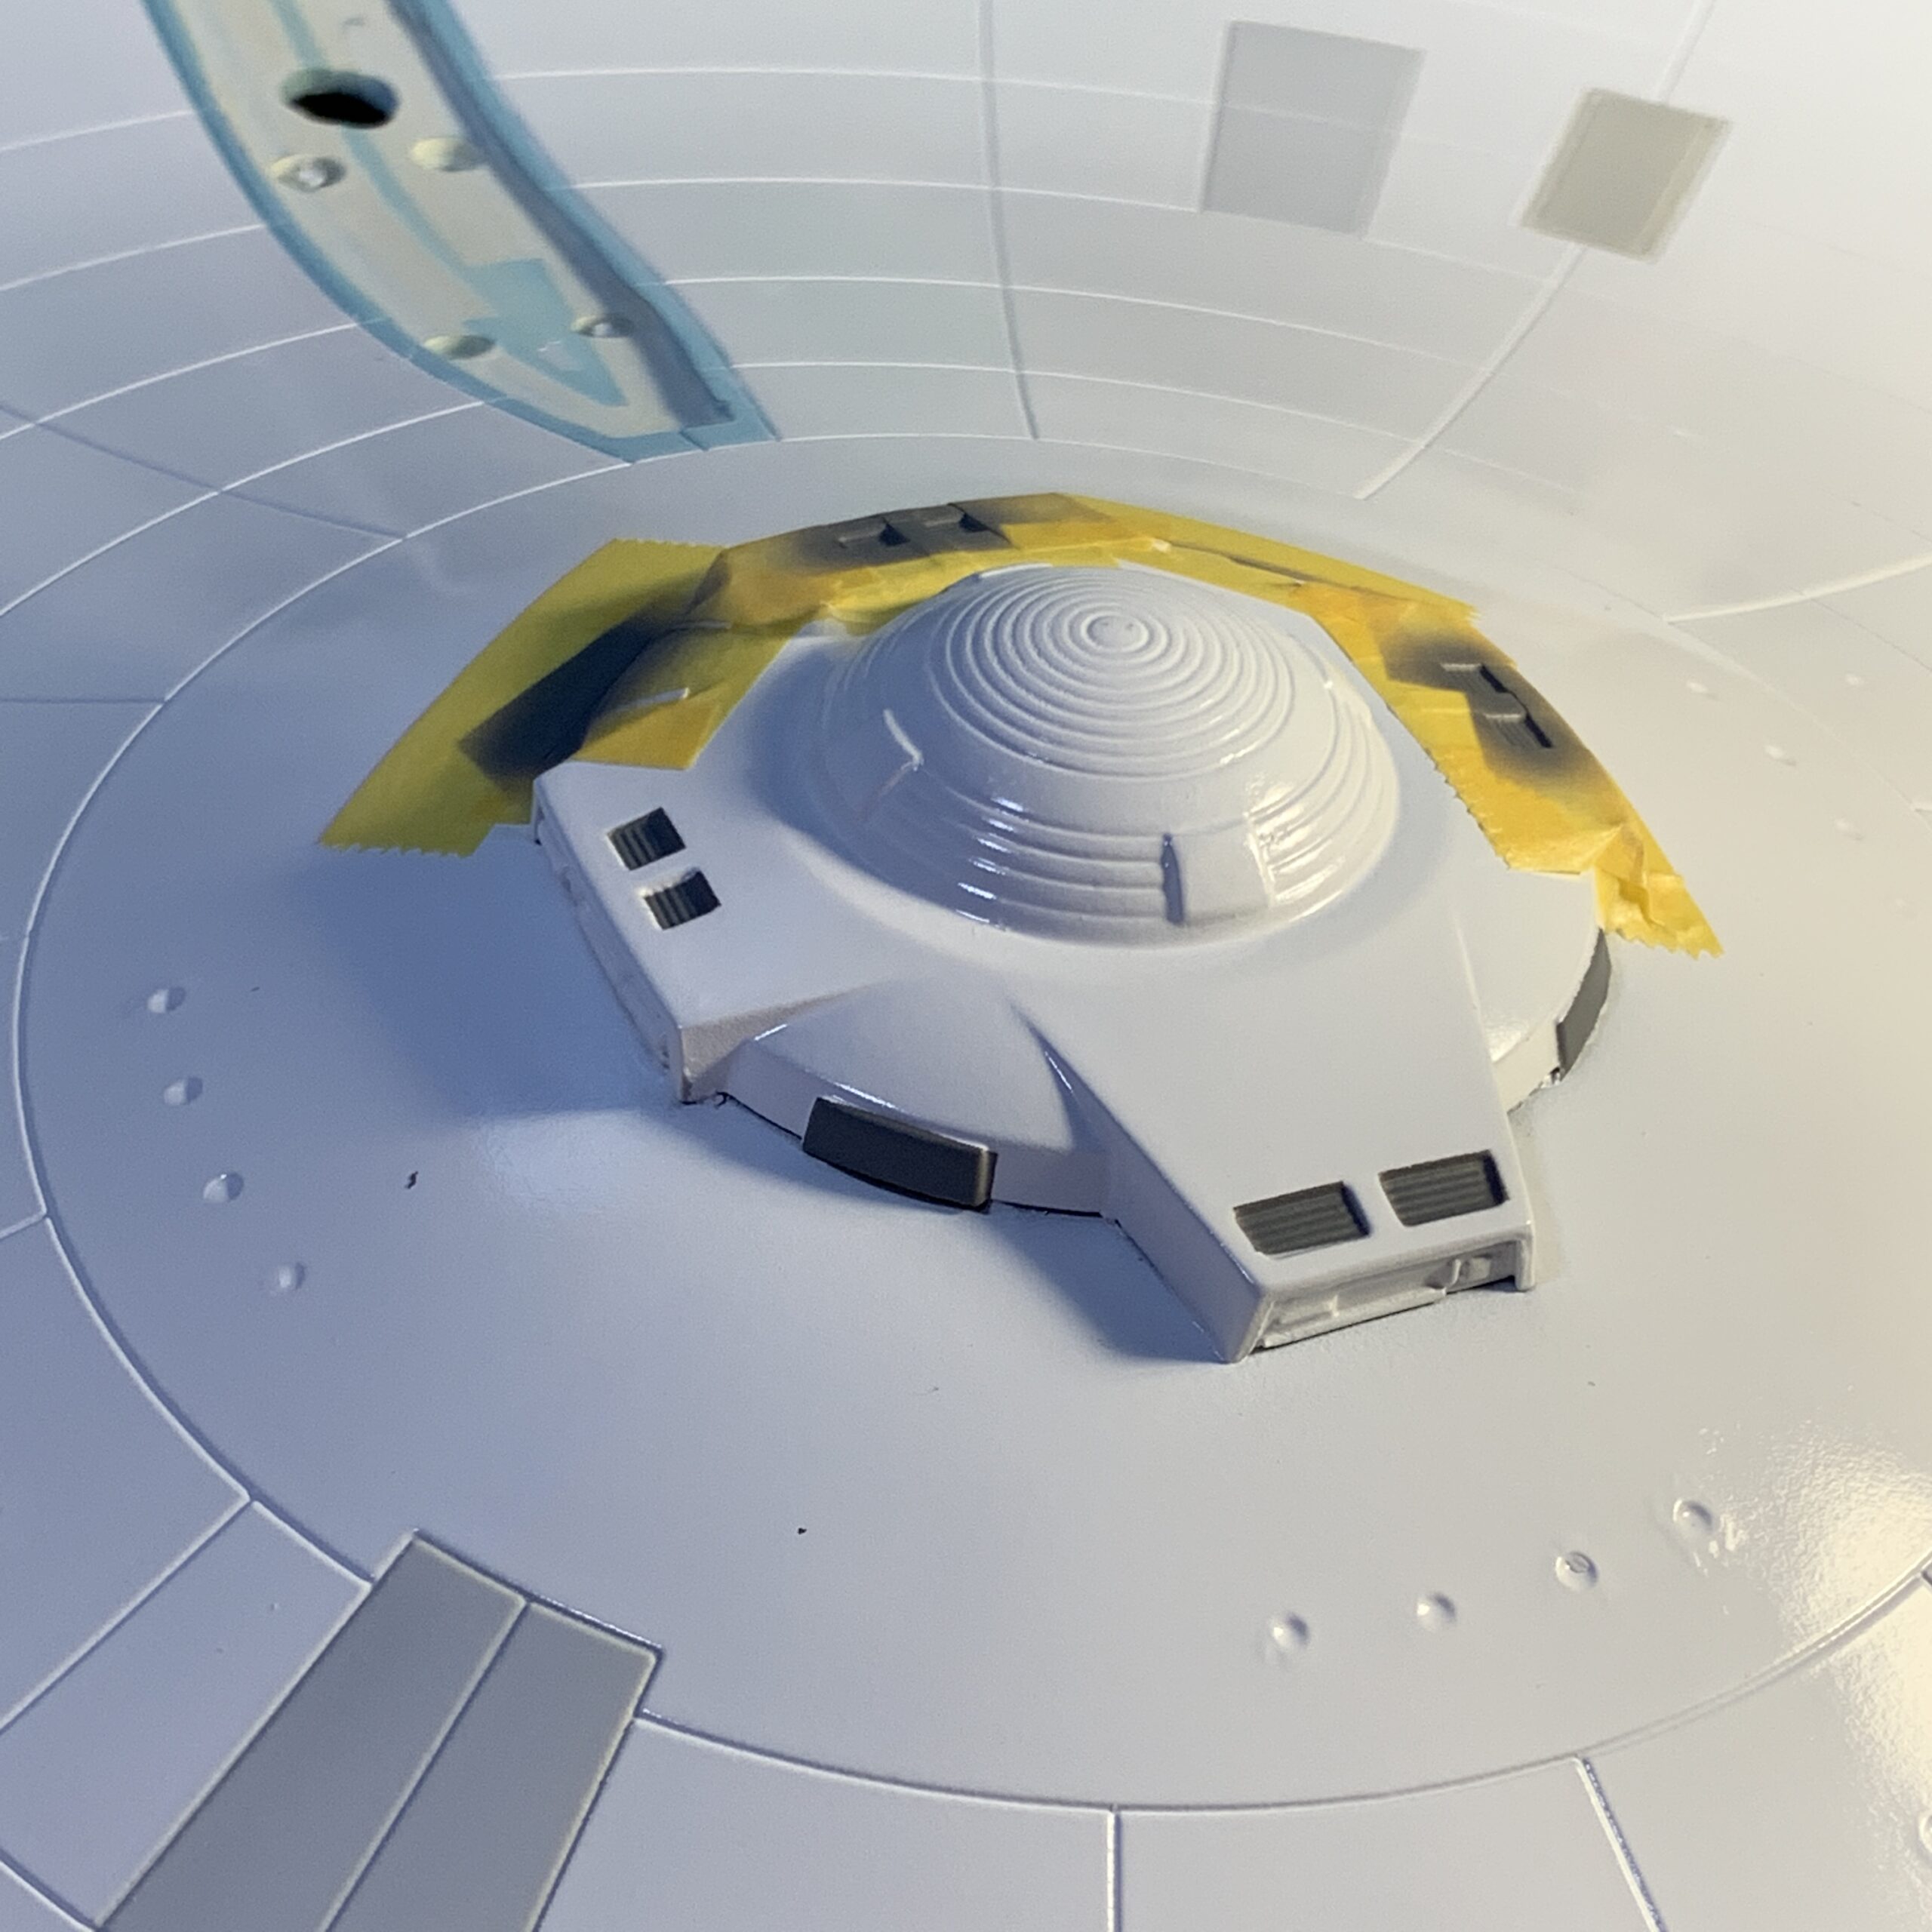
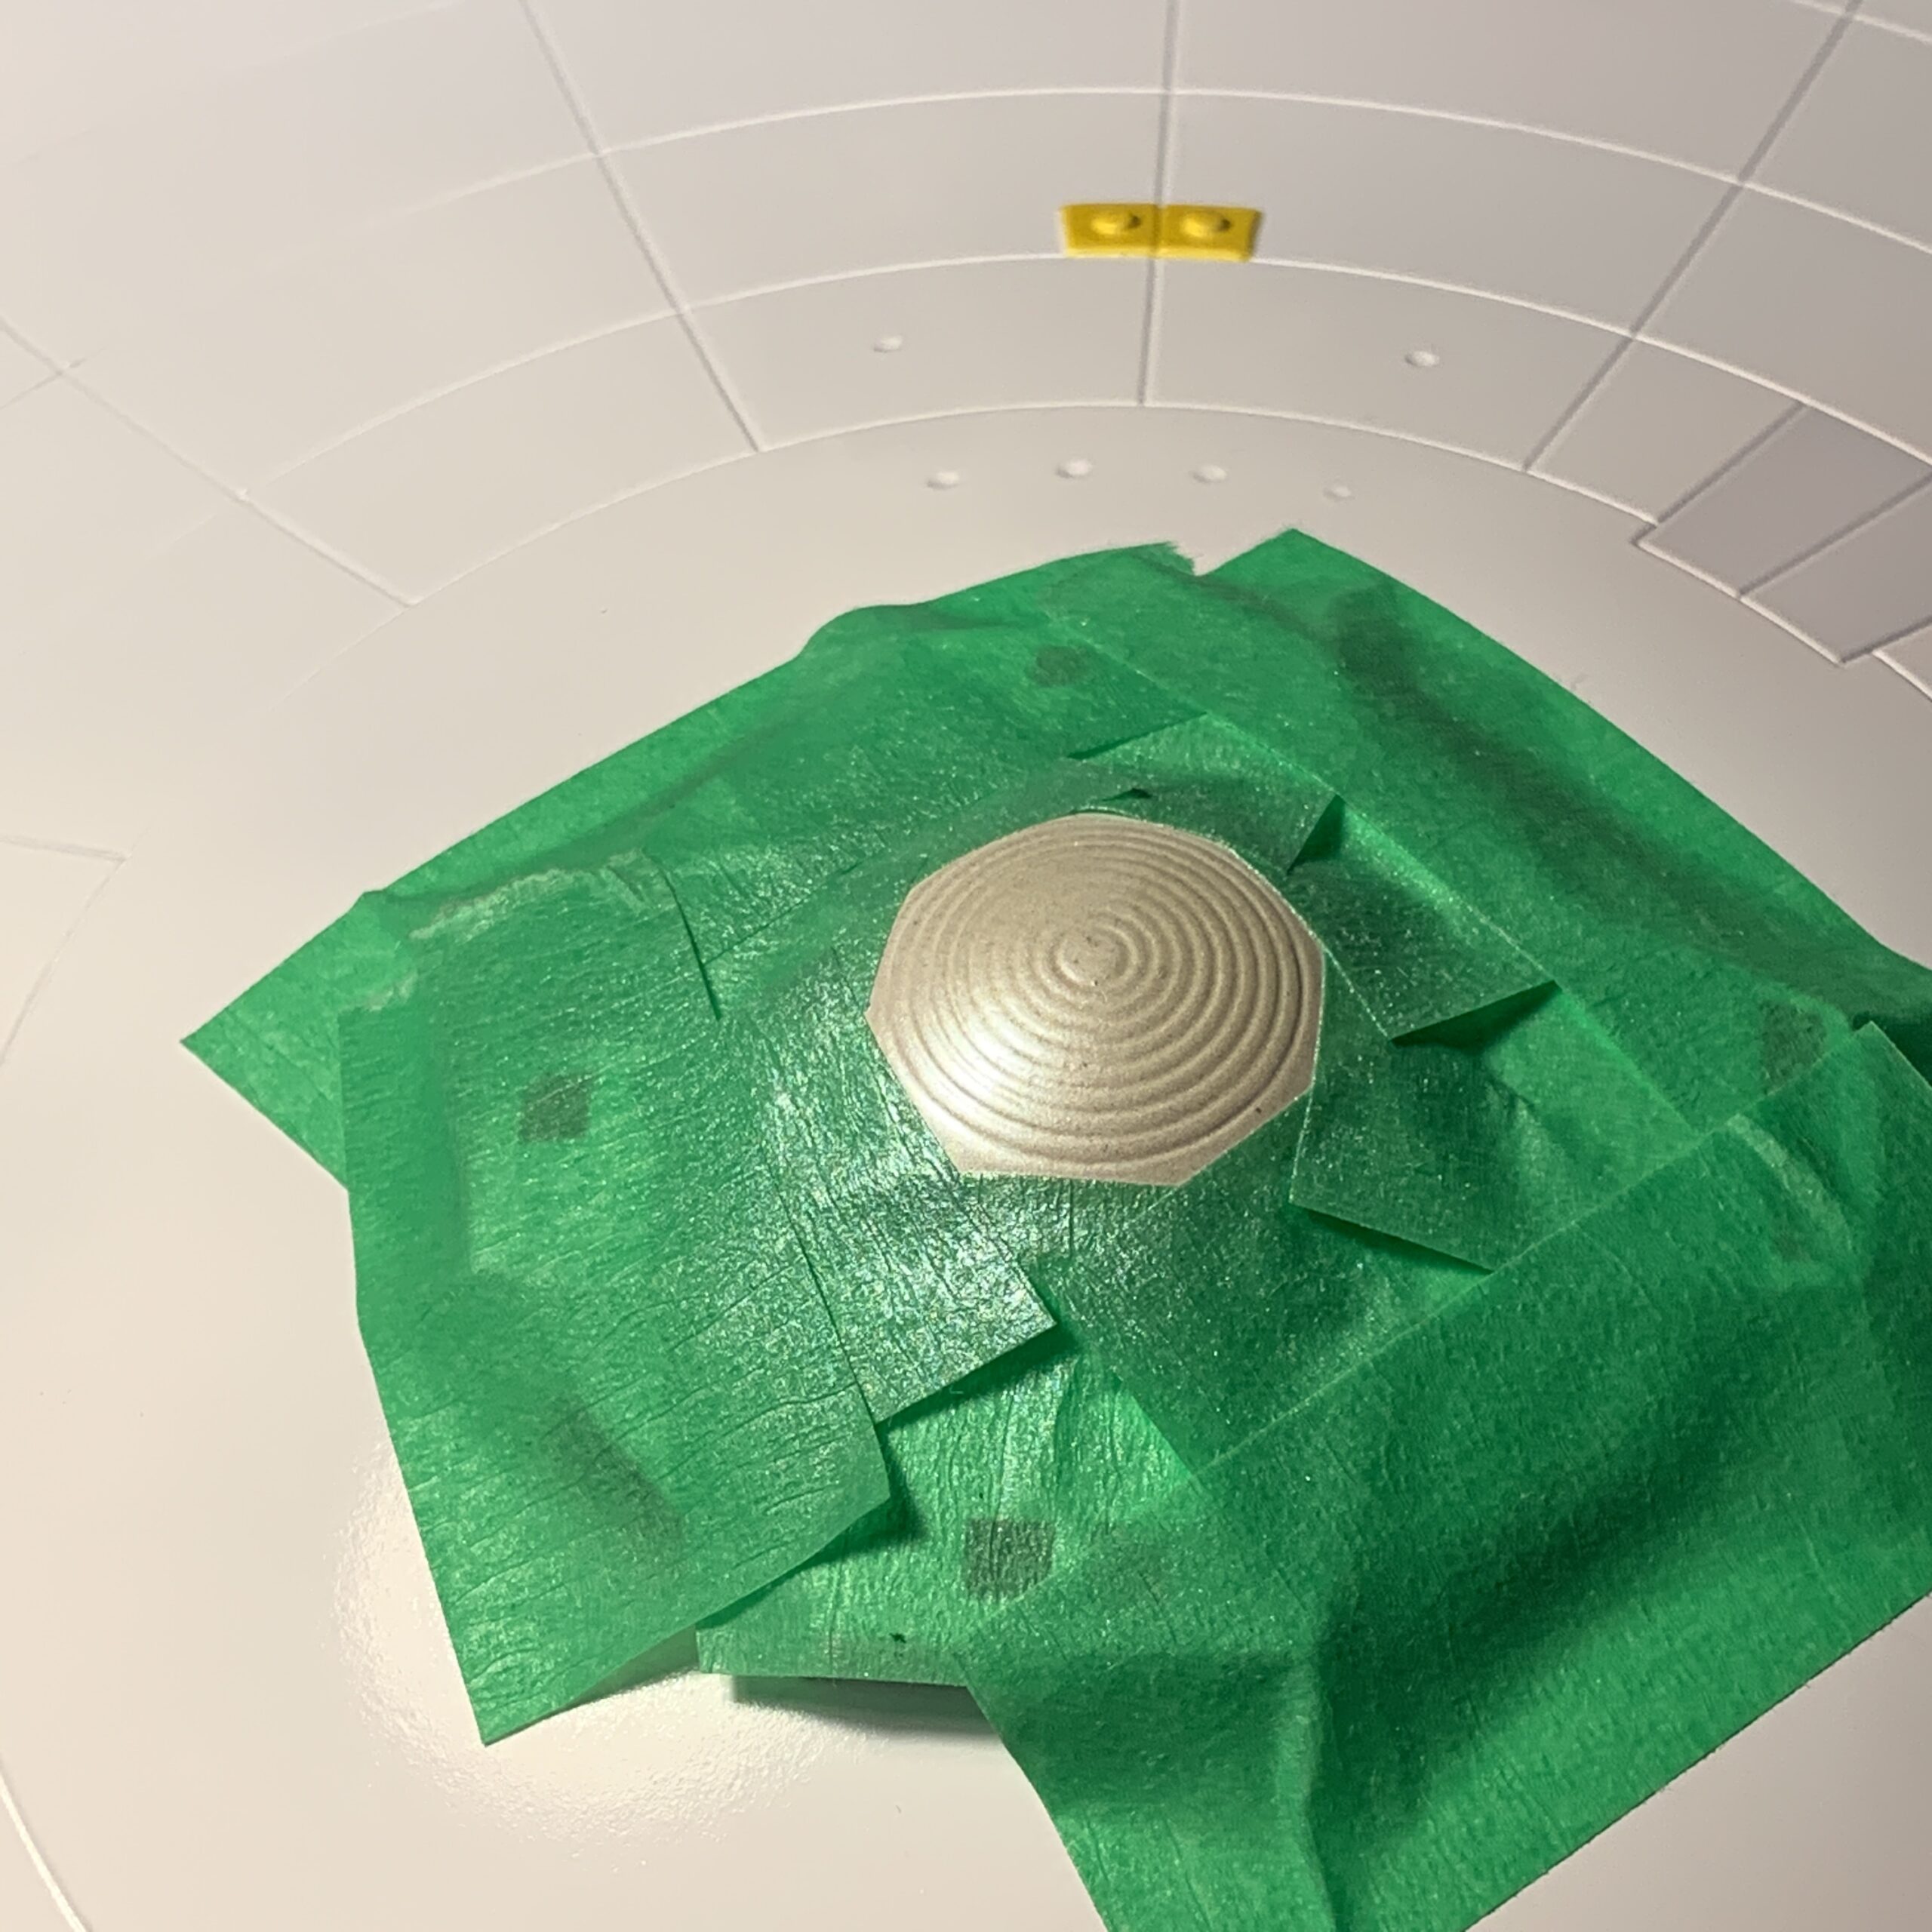
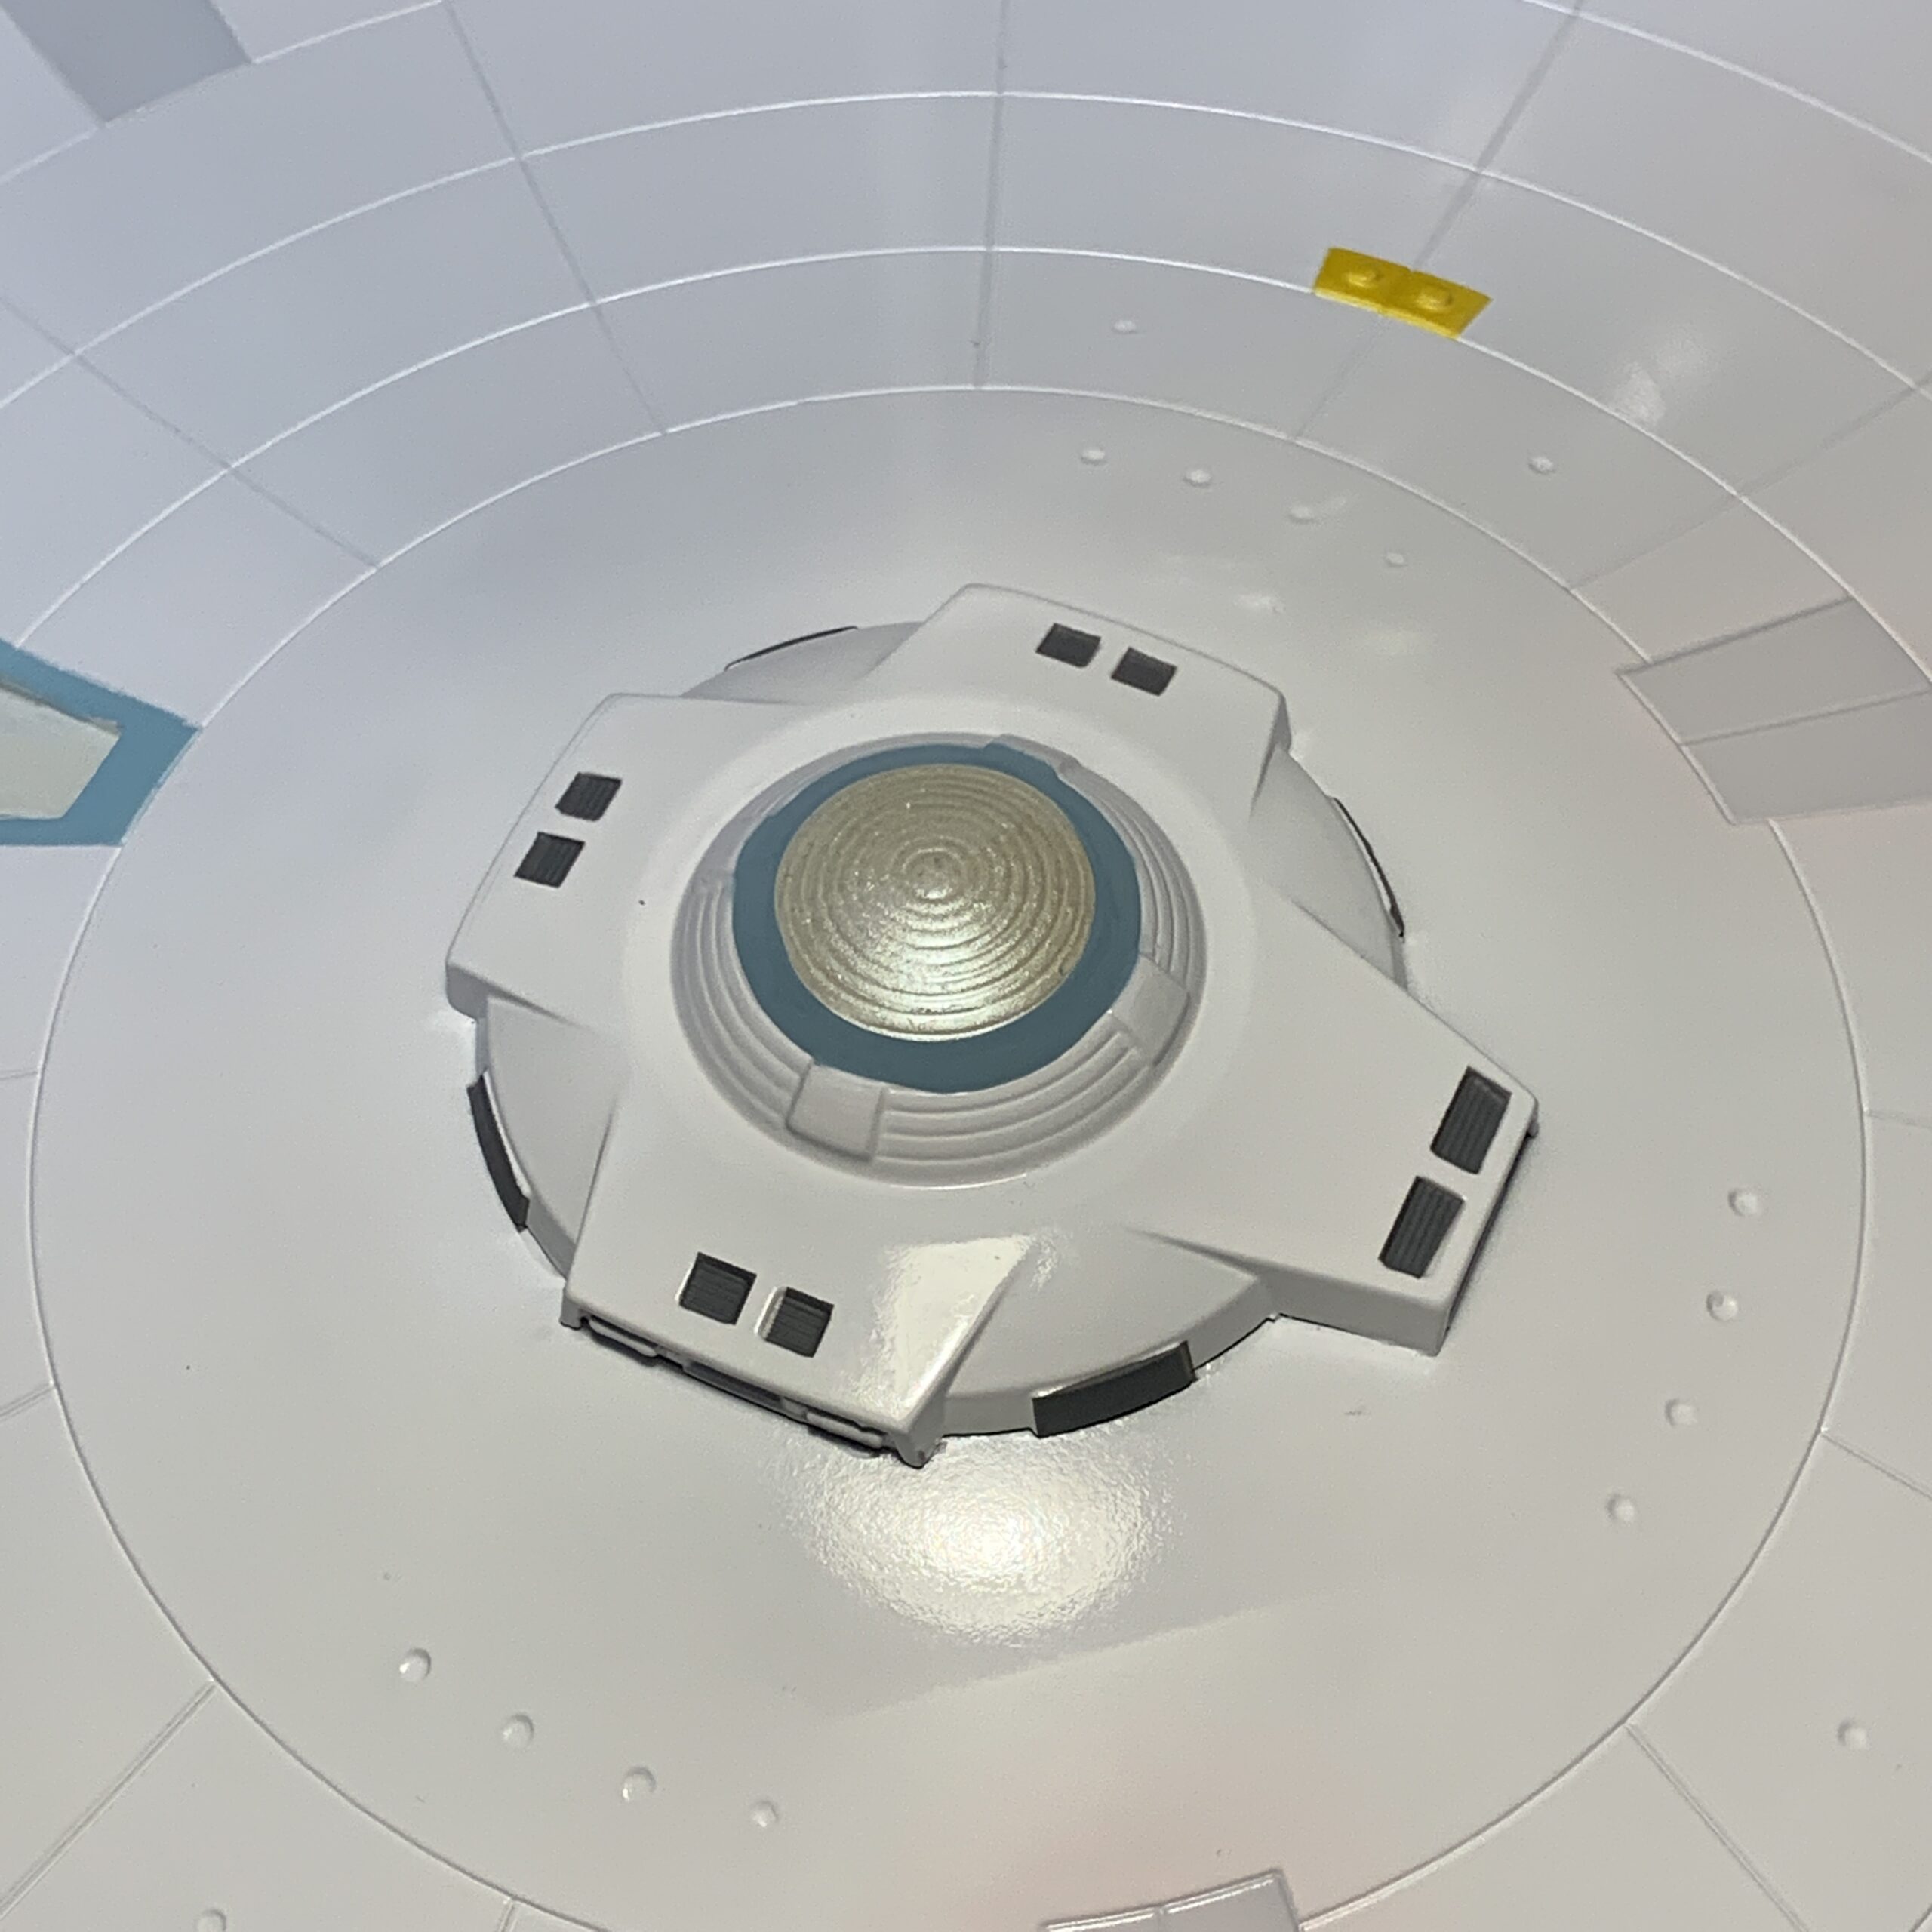
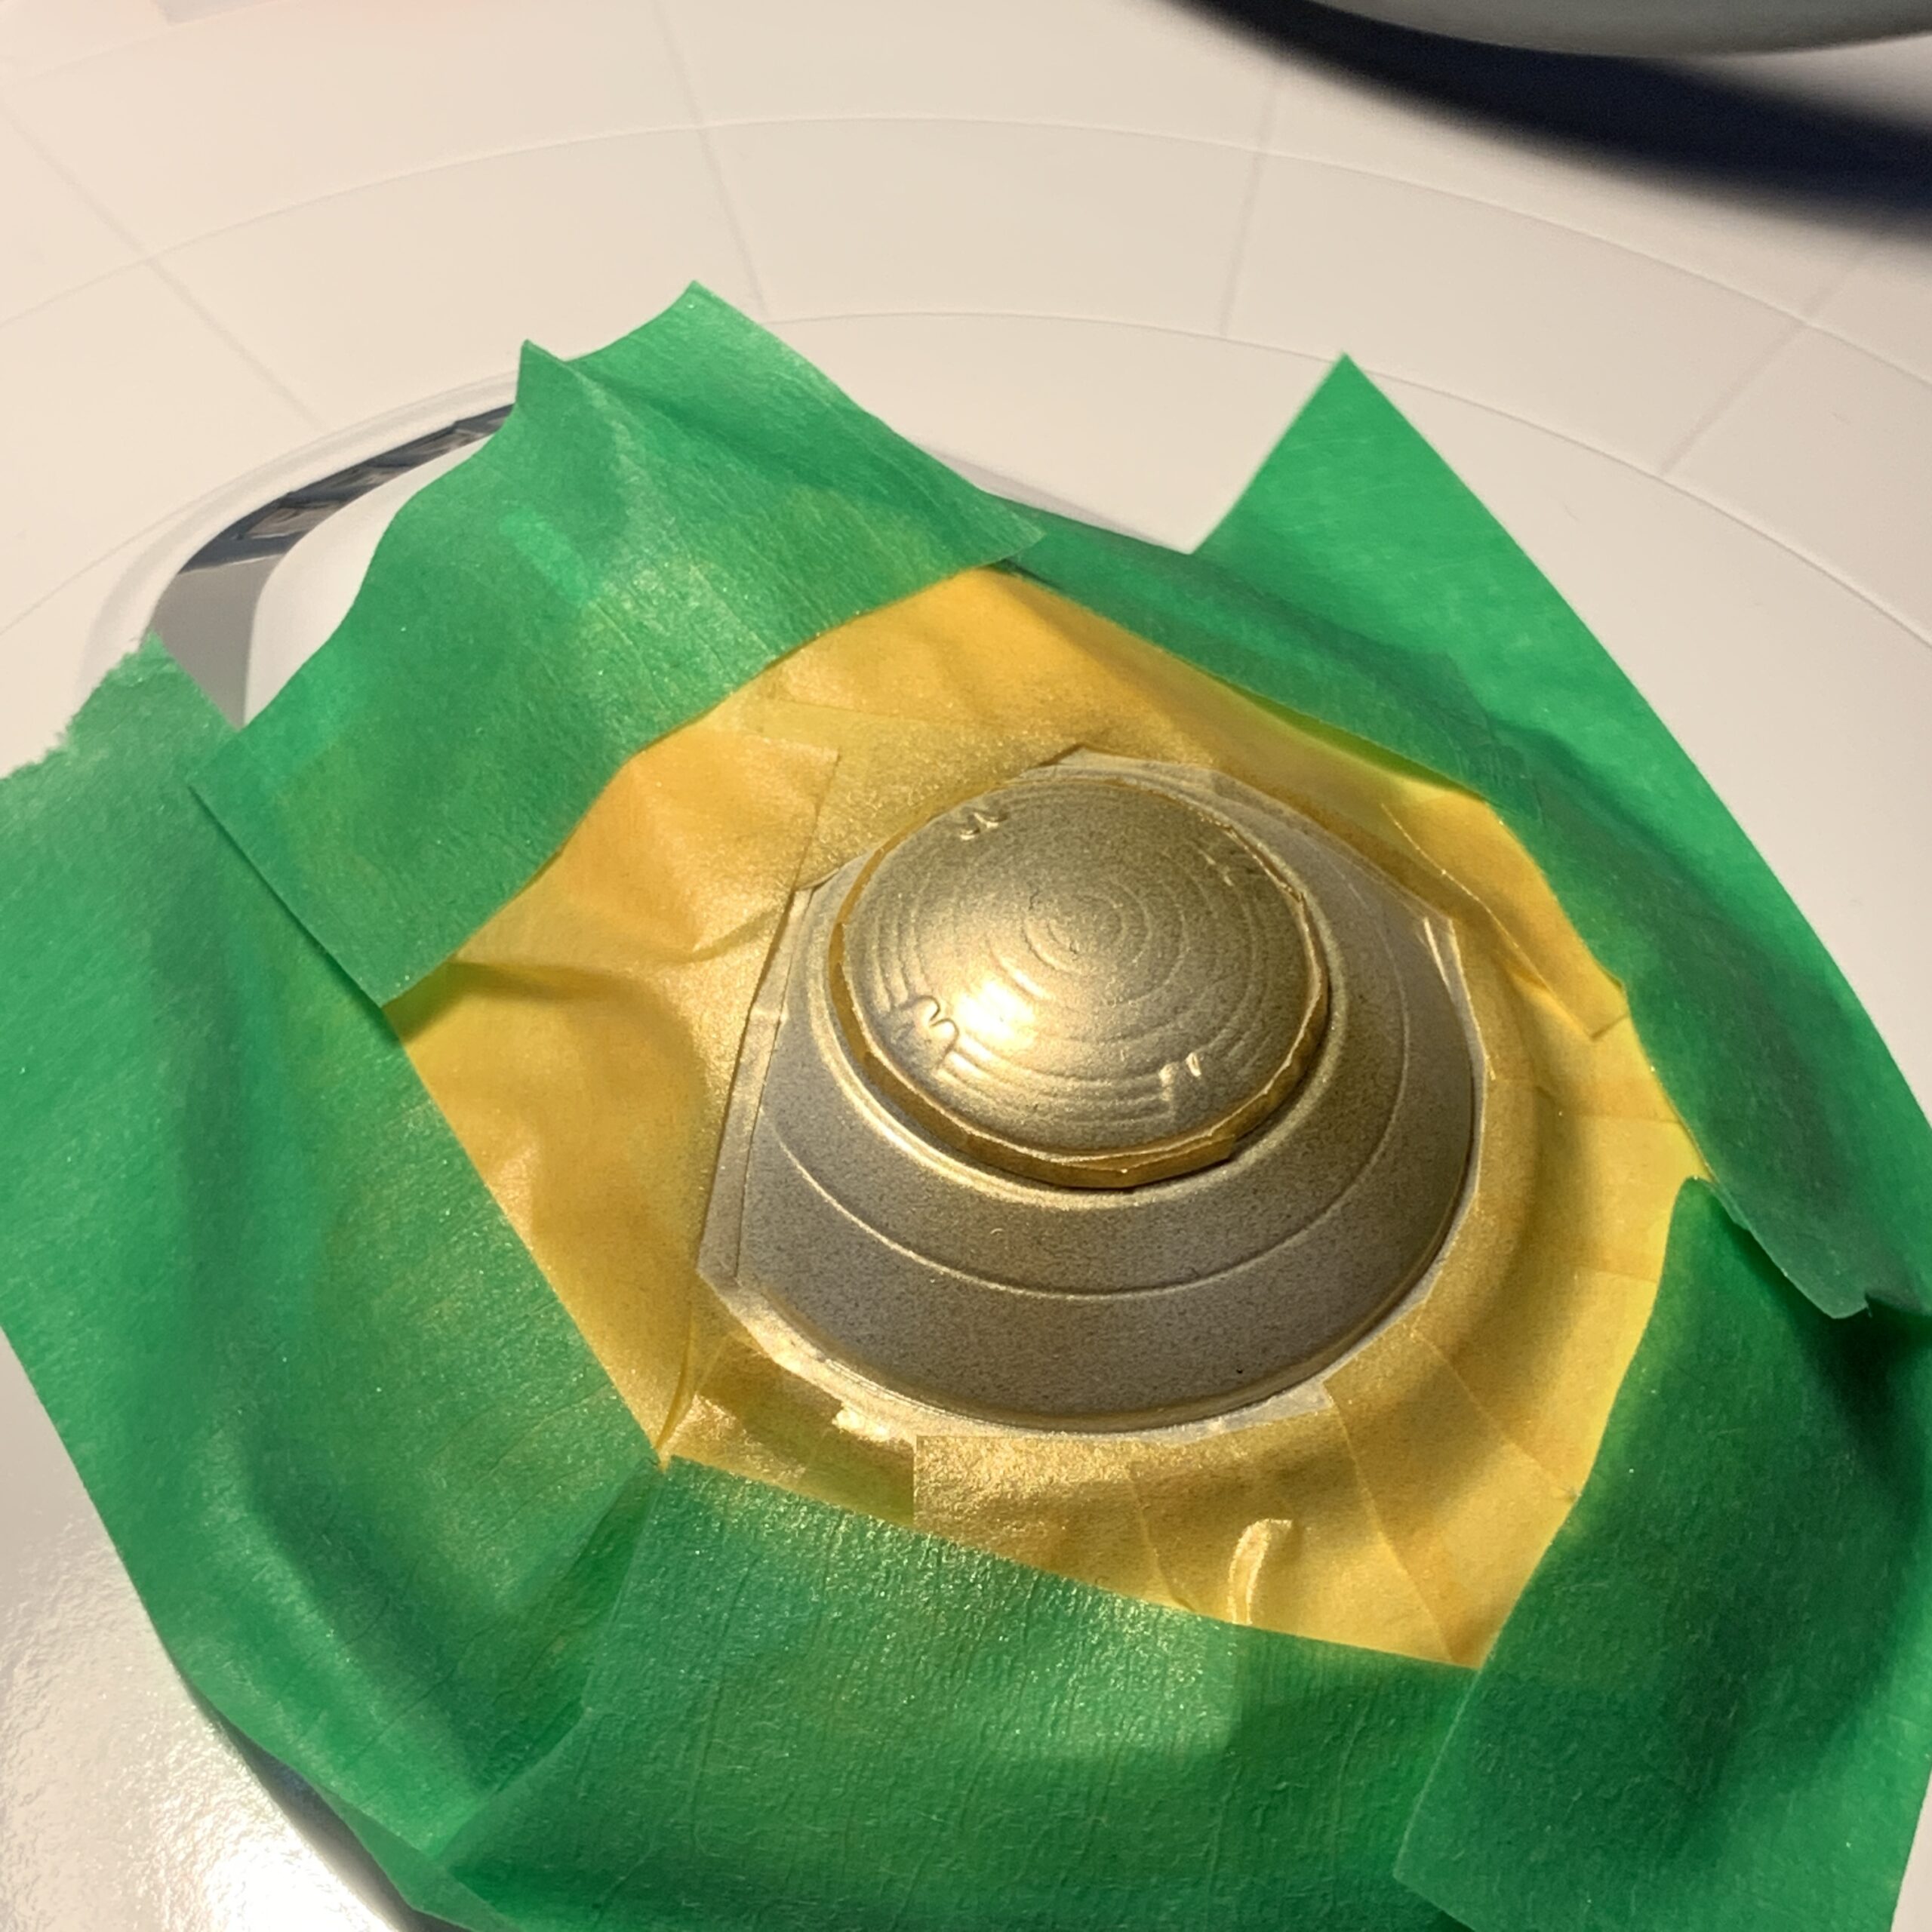
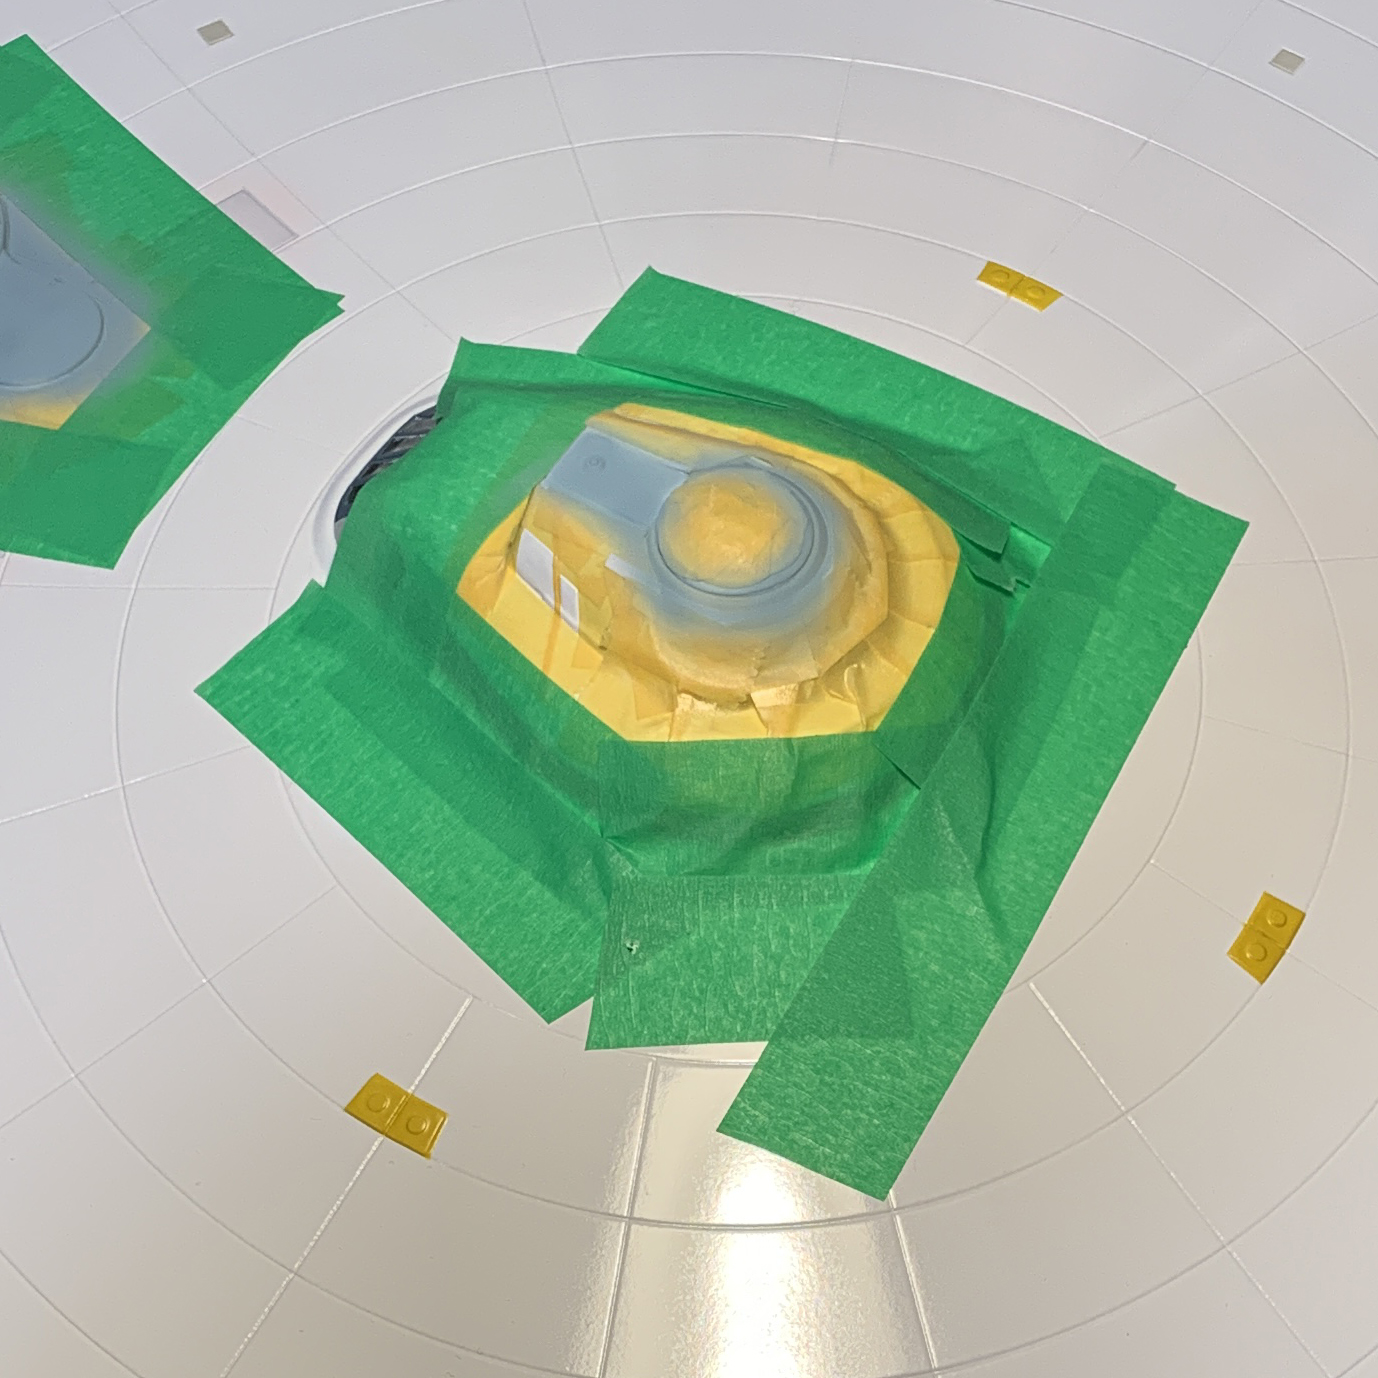
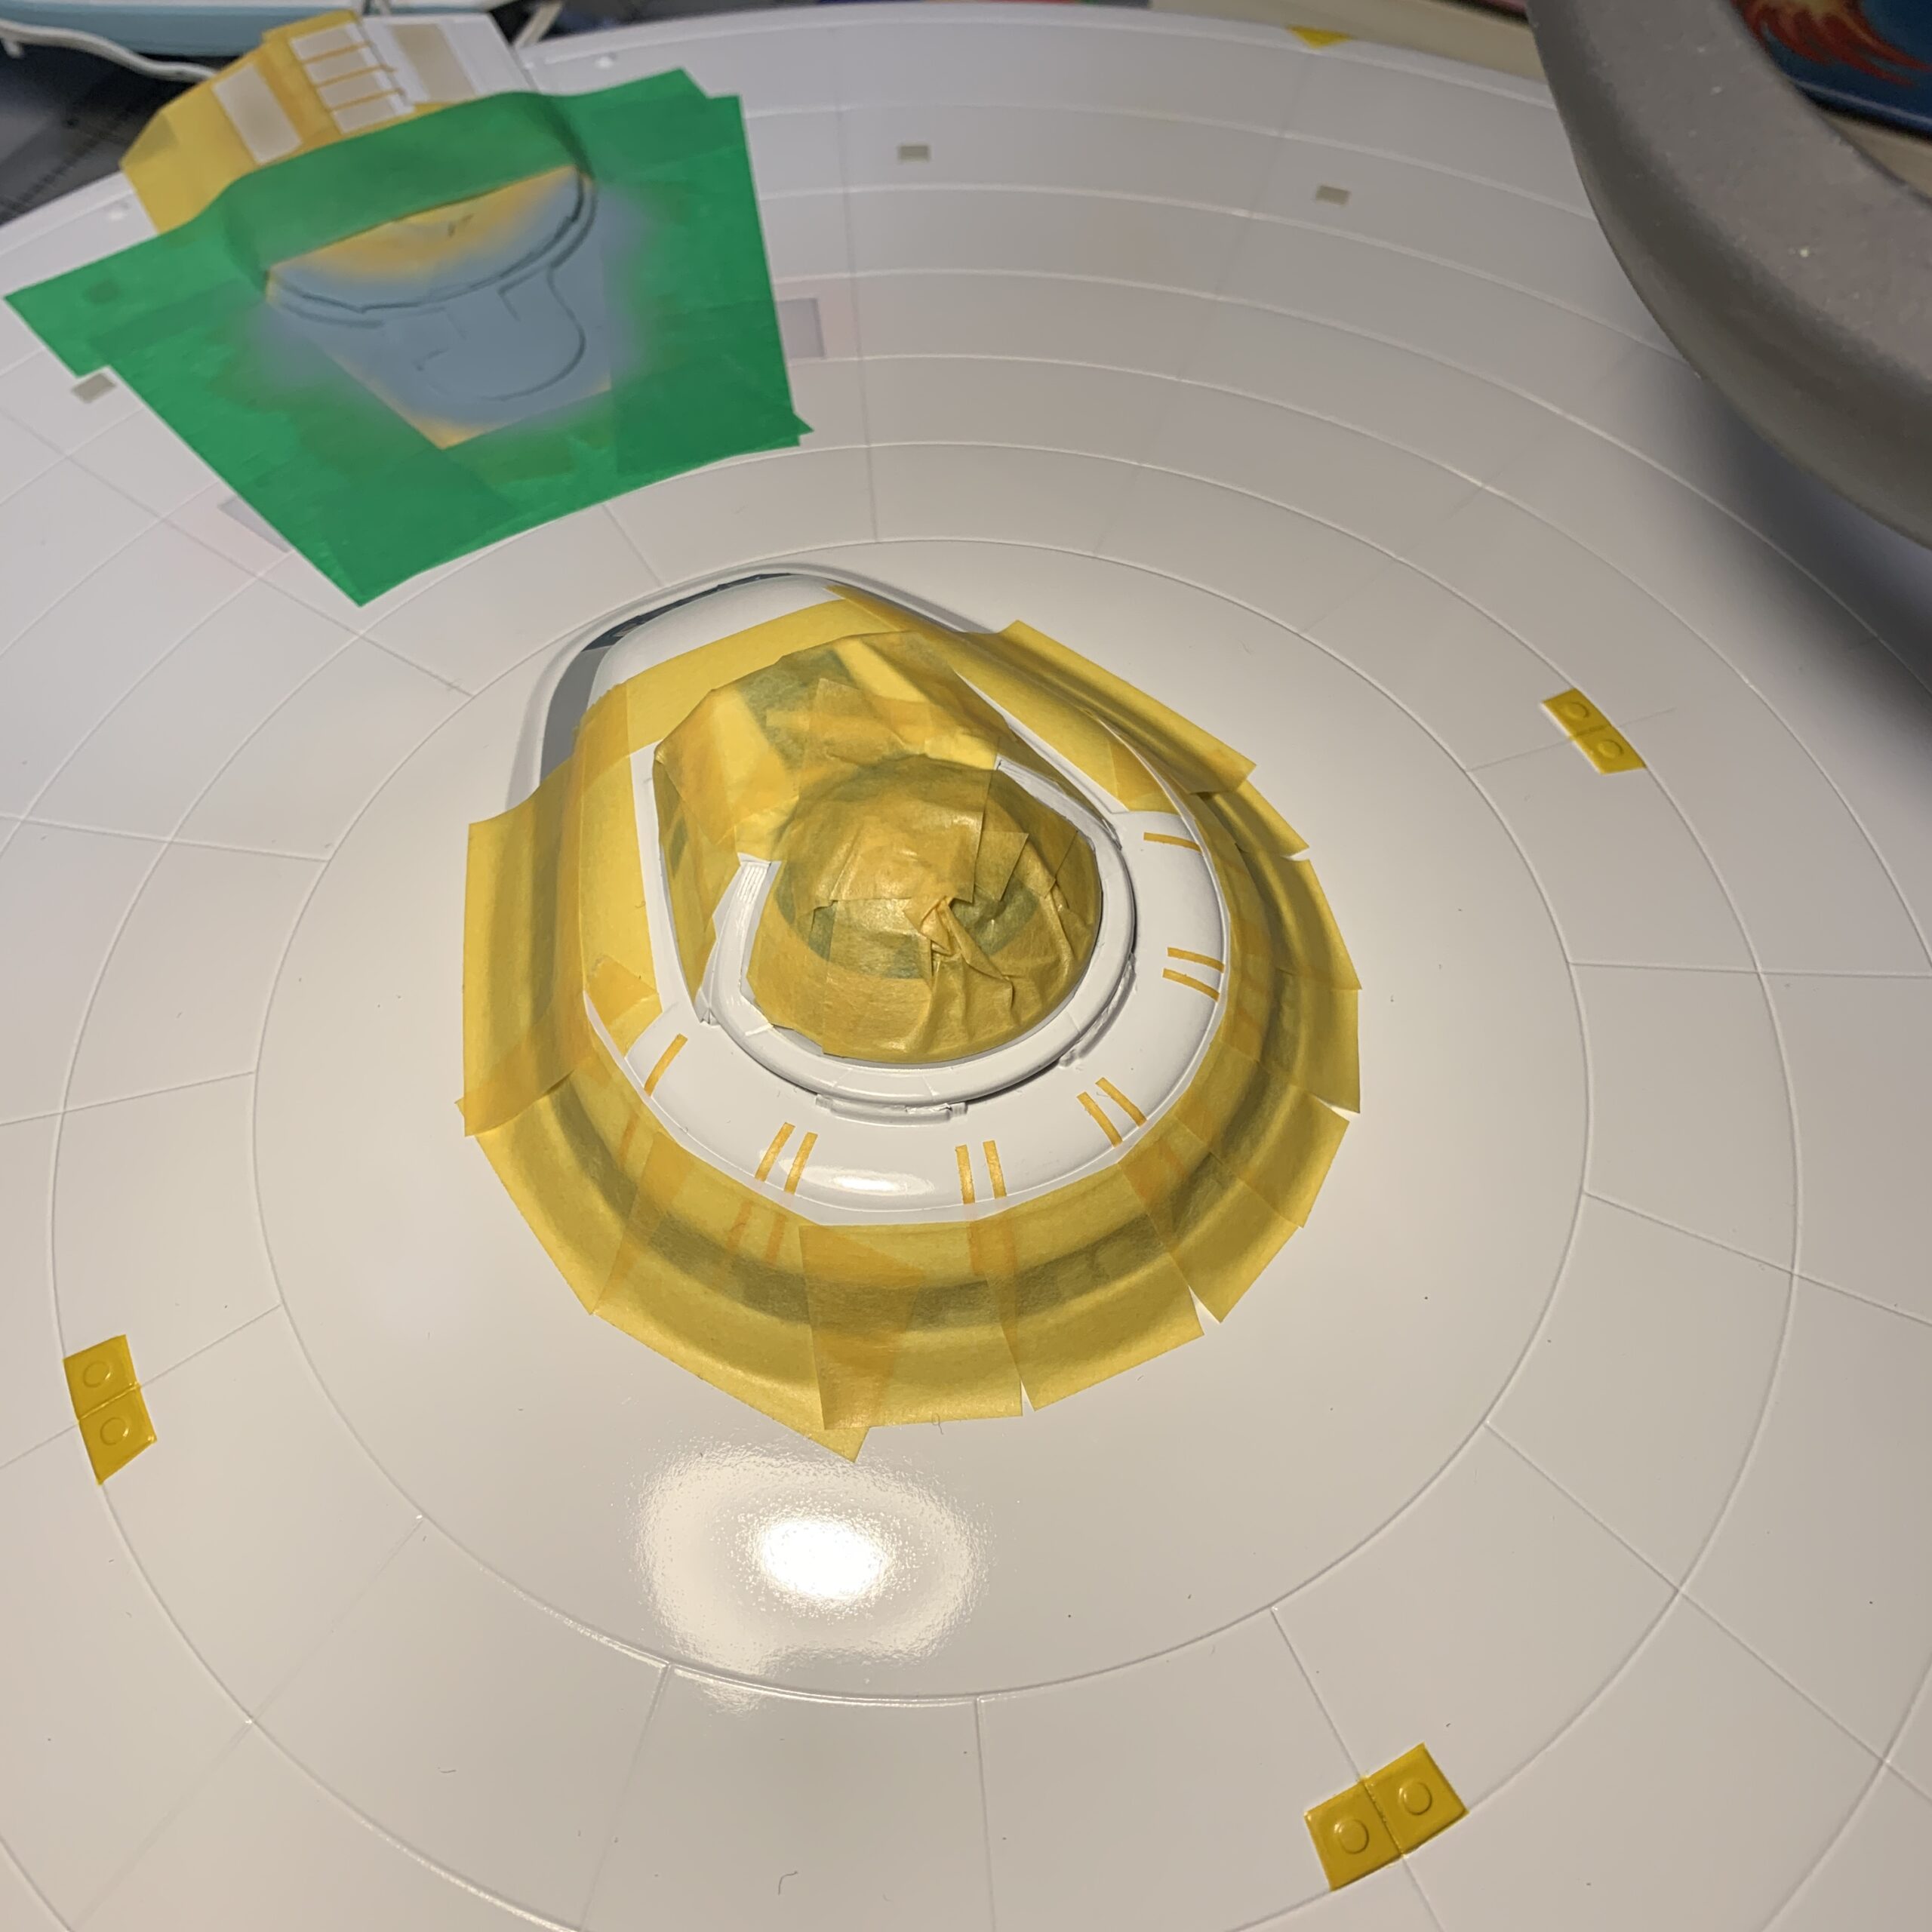
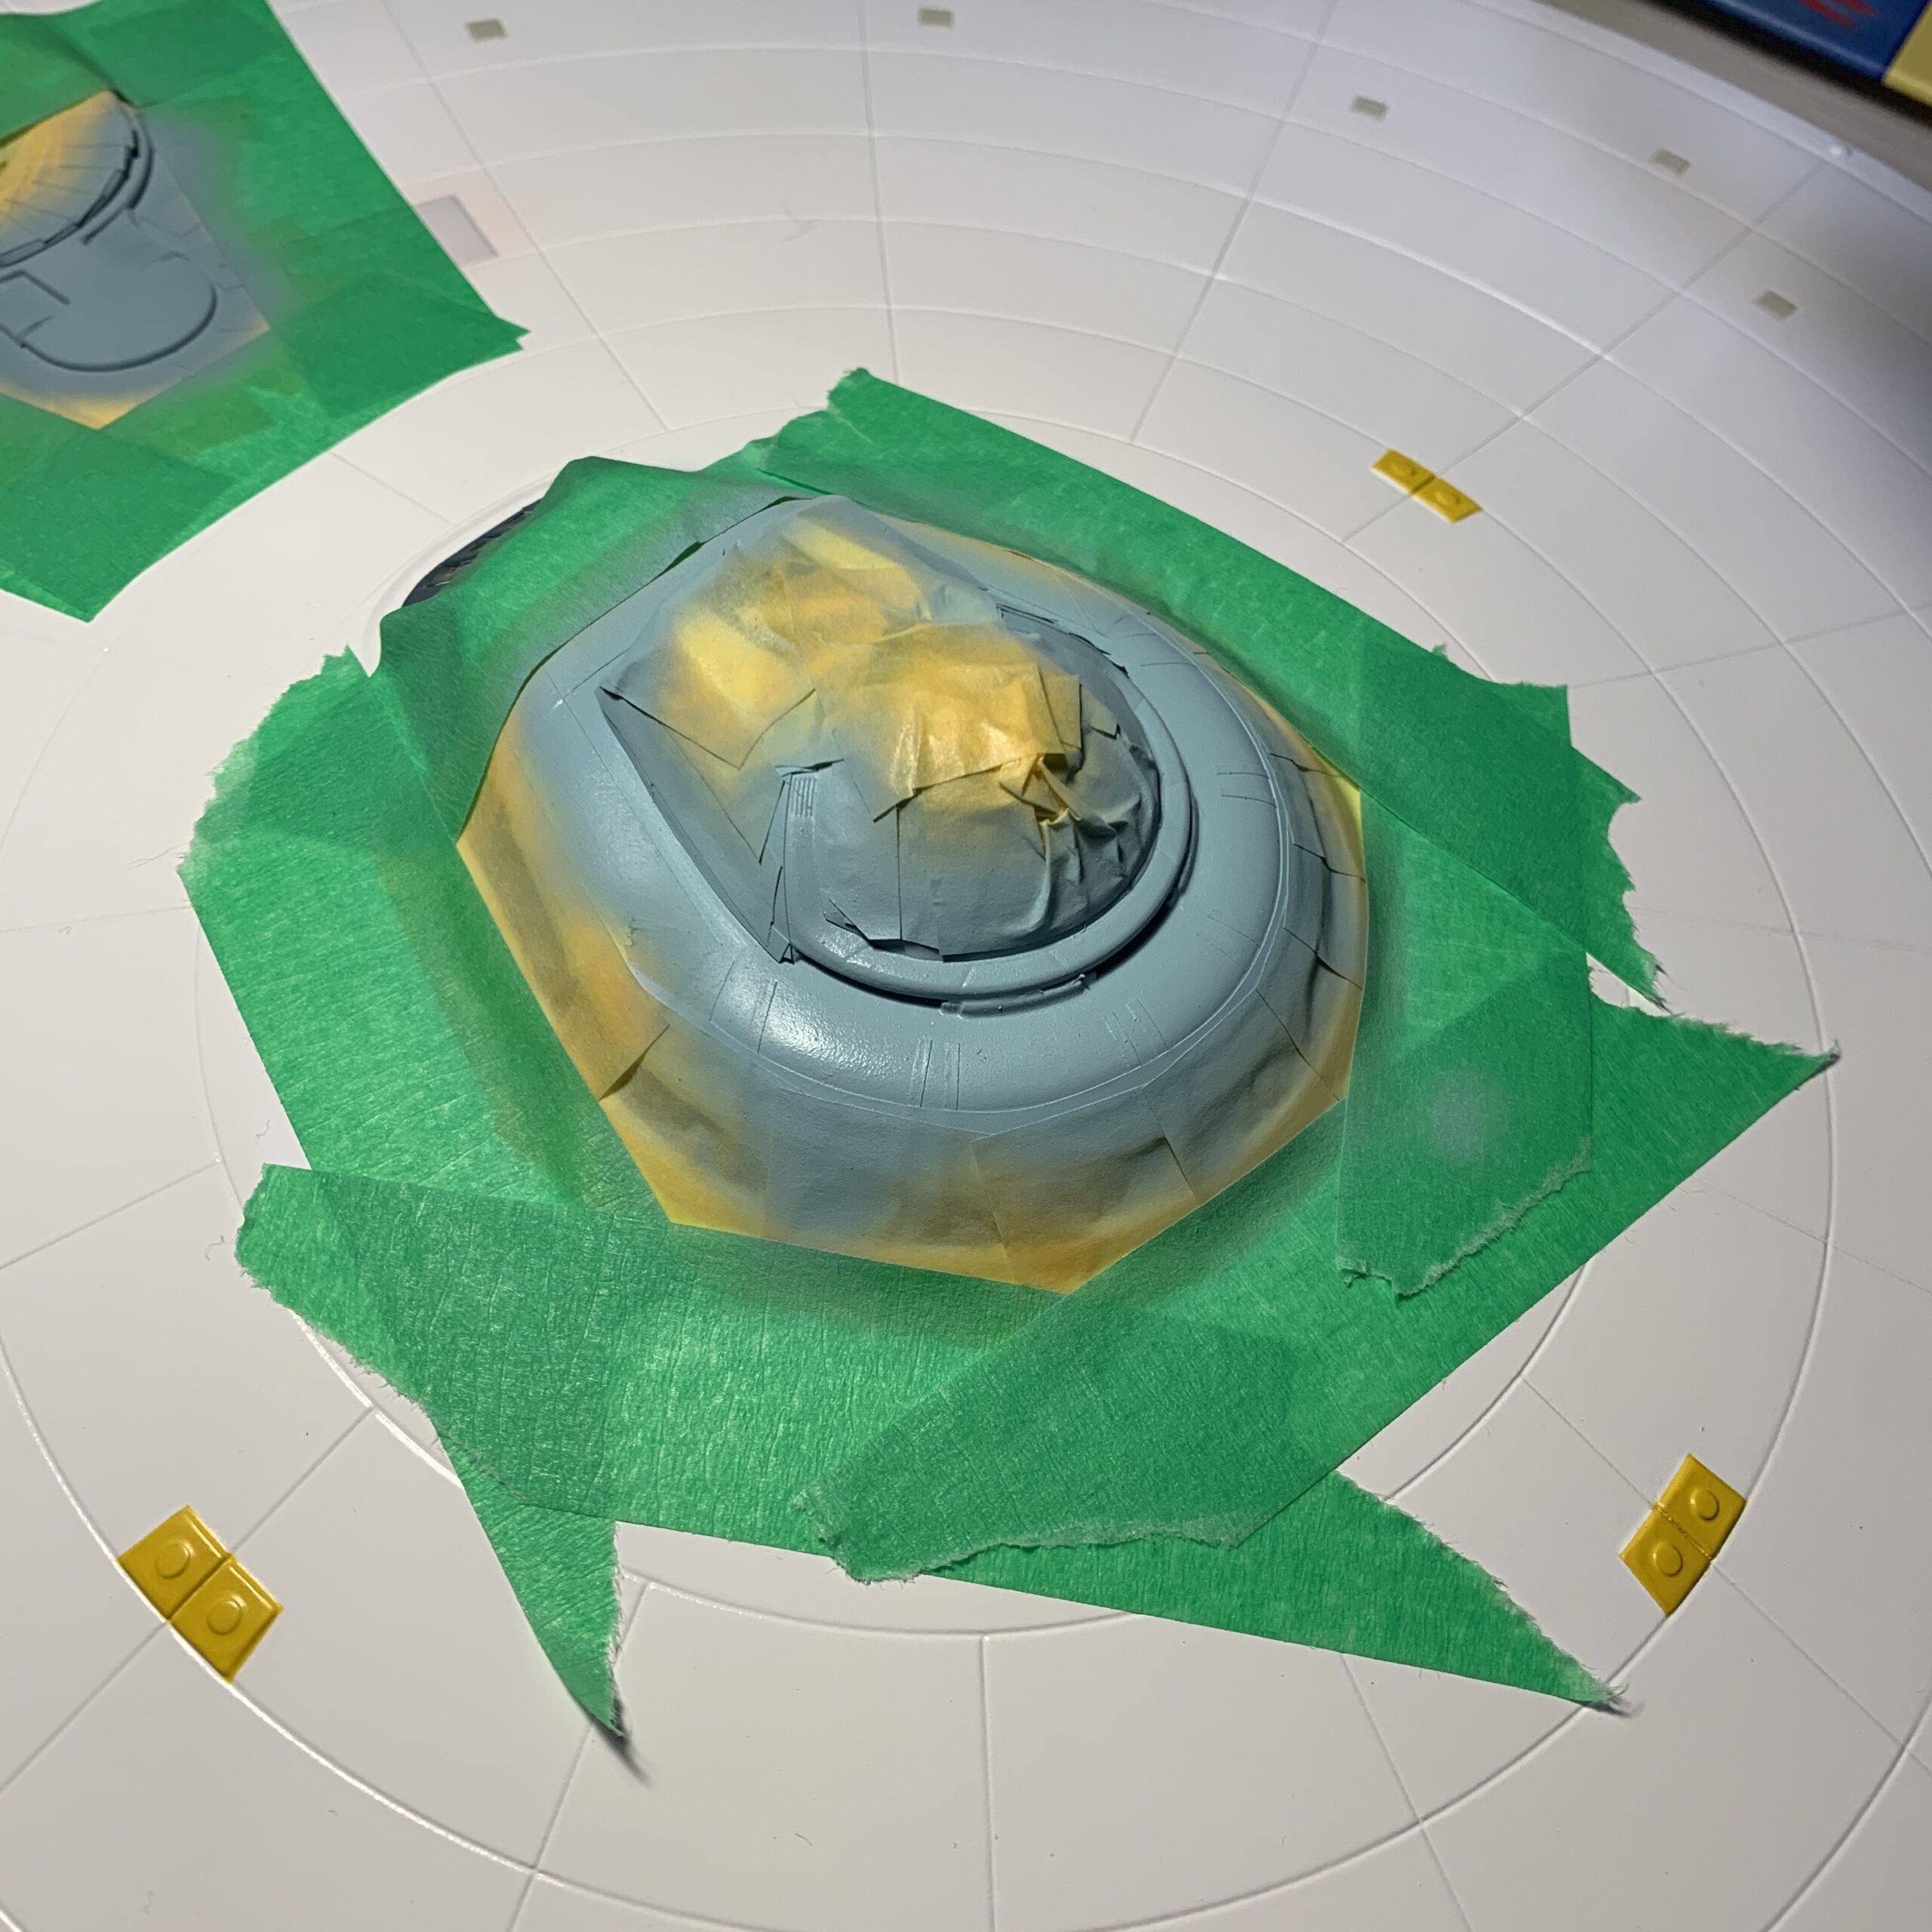
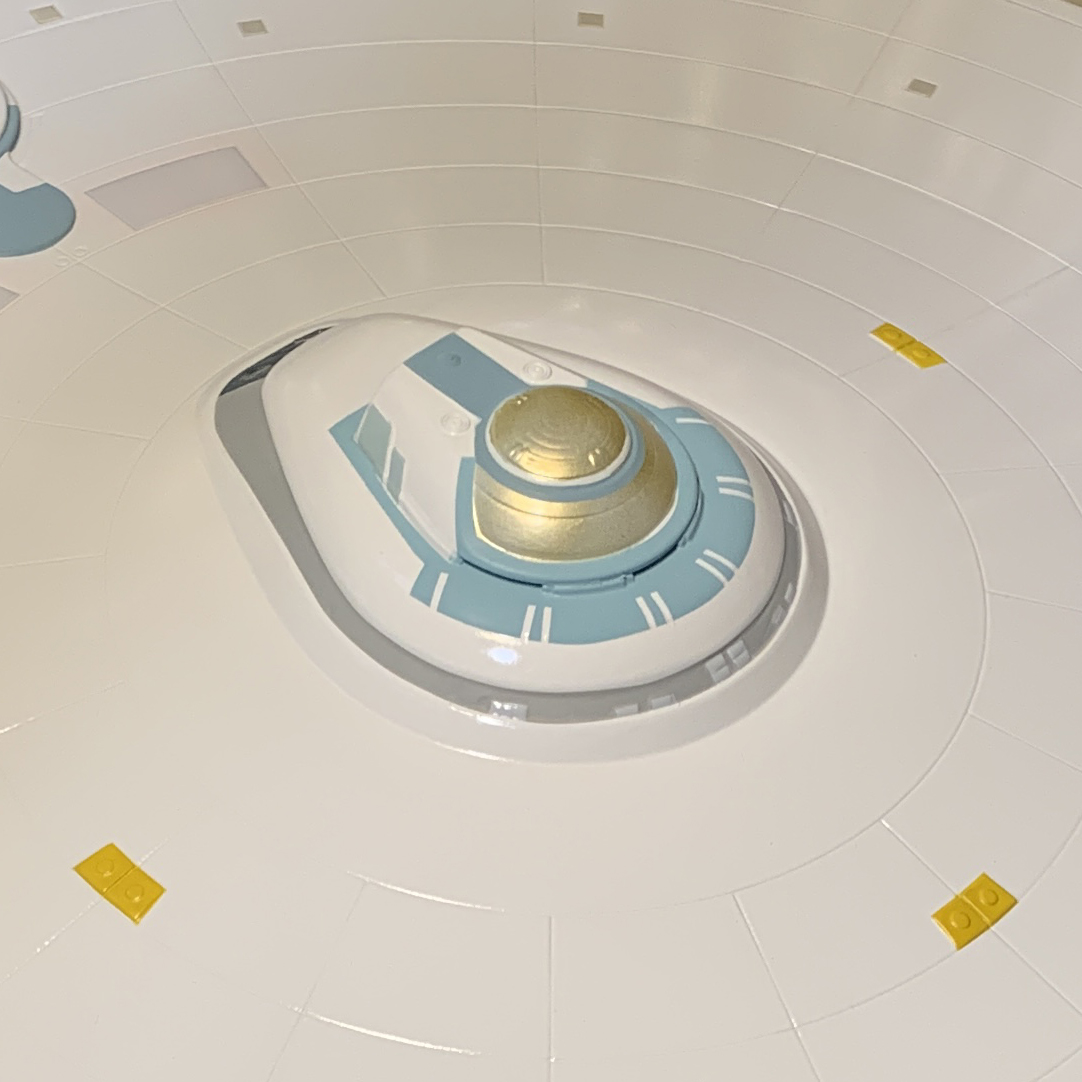
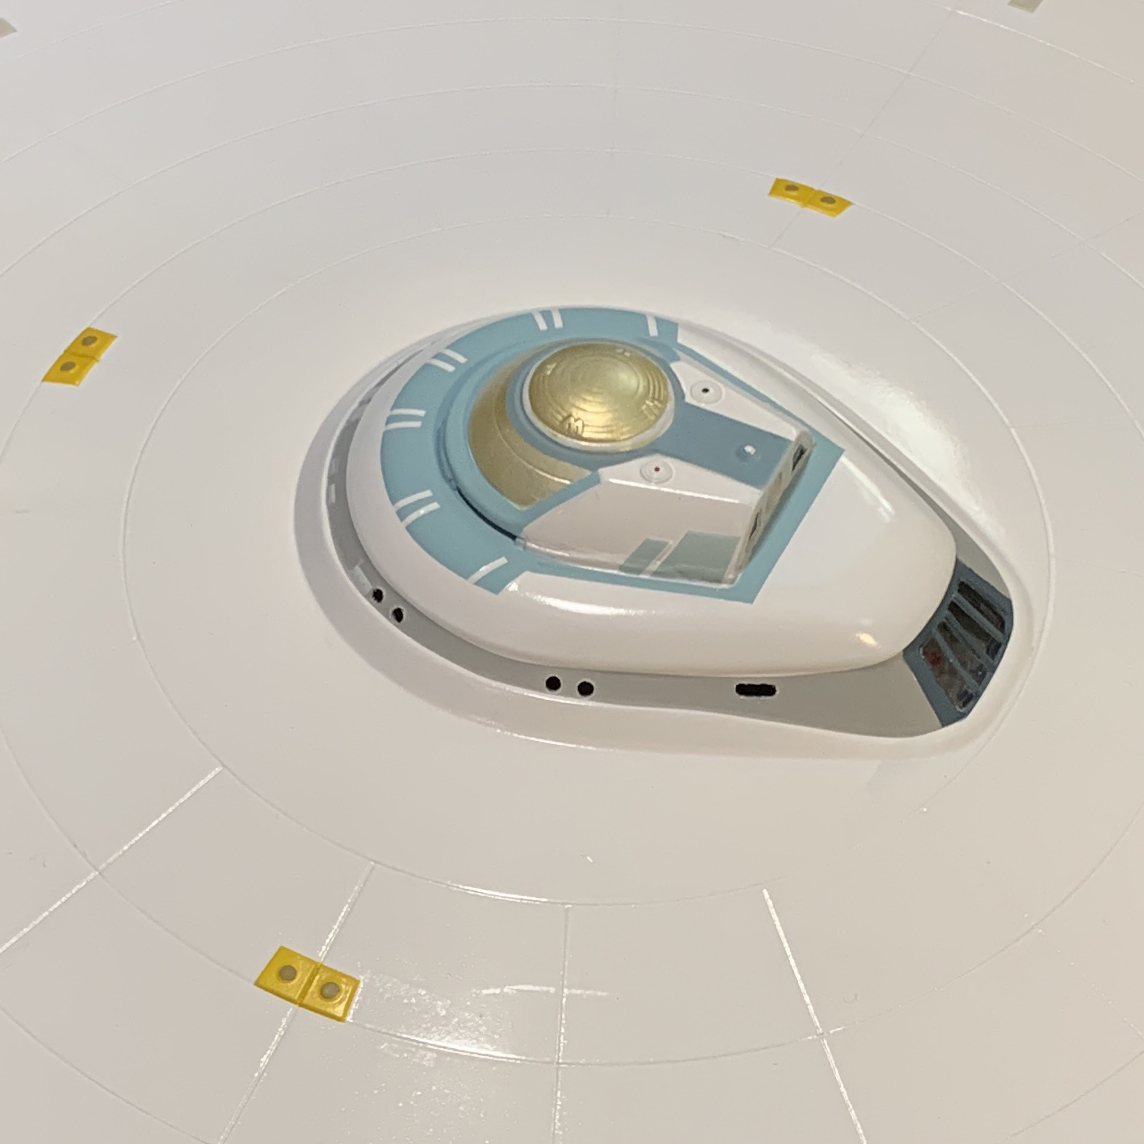
- Detail around the lower sensor dome
- Detail around the bridge and A, B and C decks
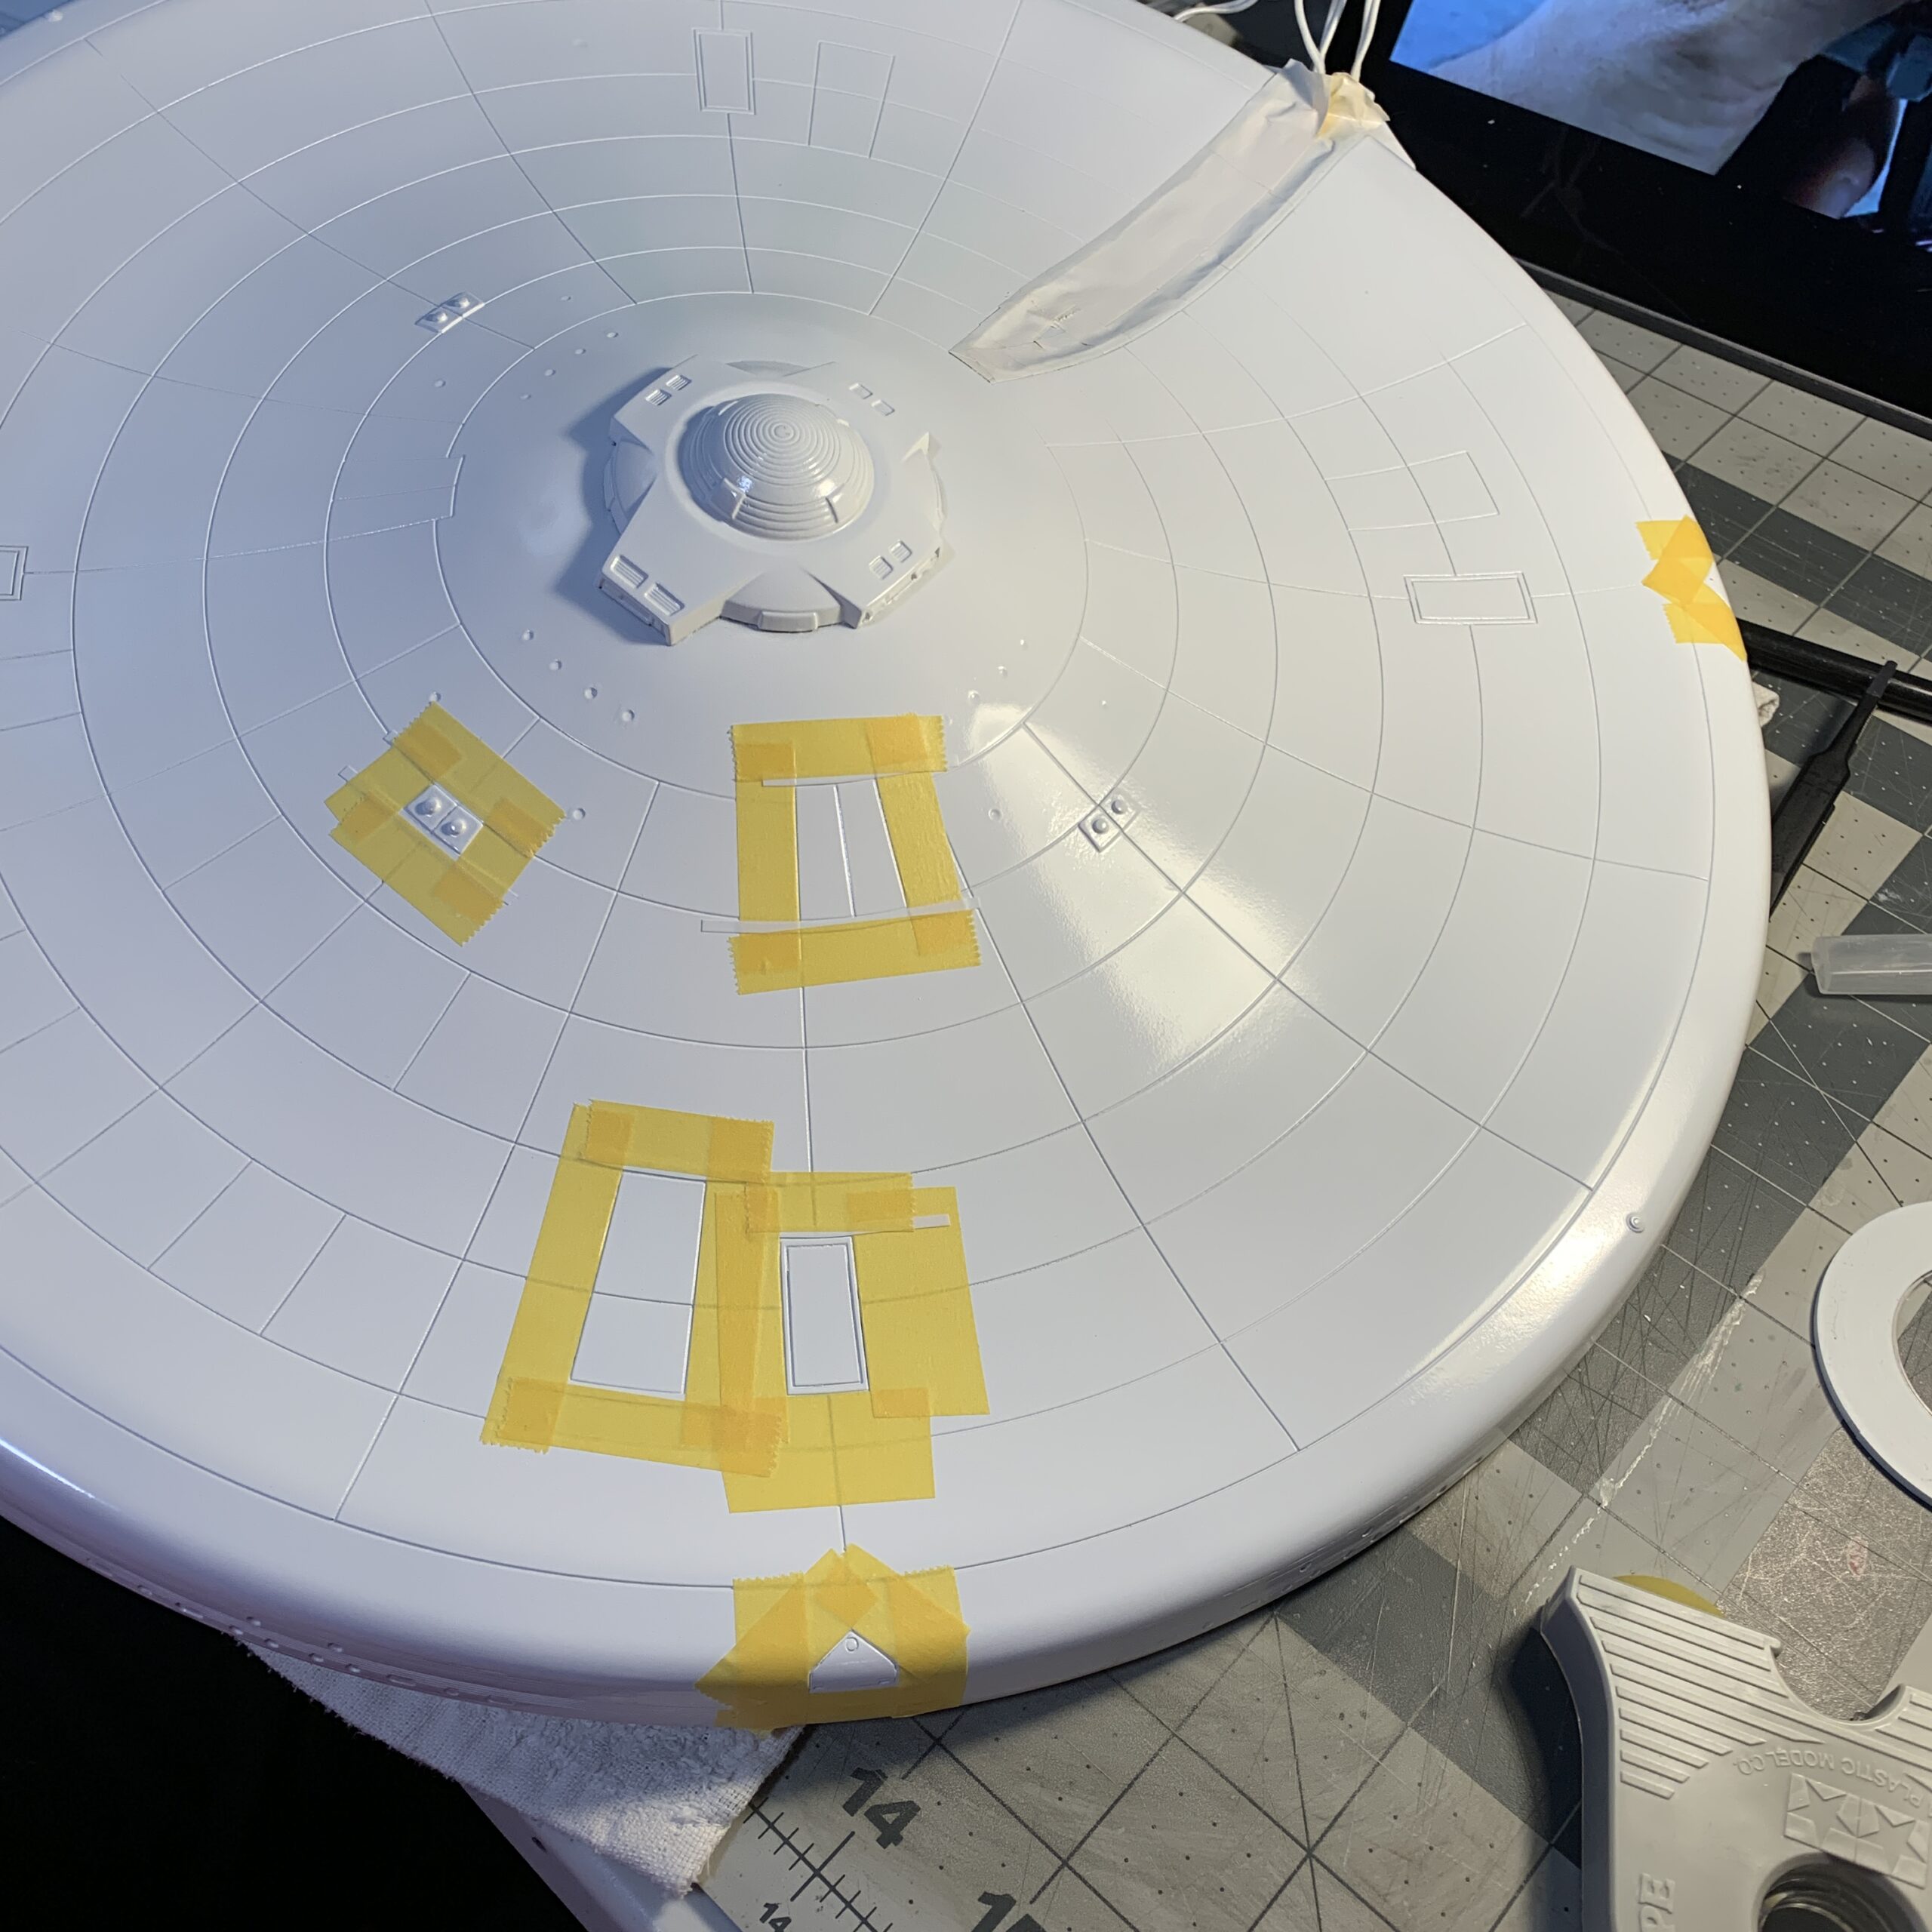
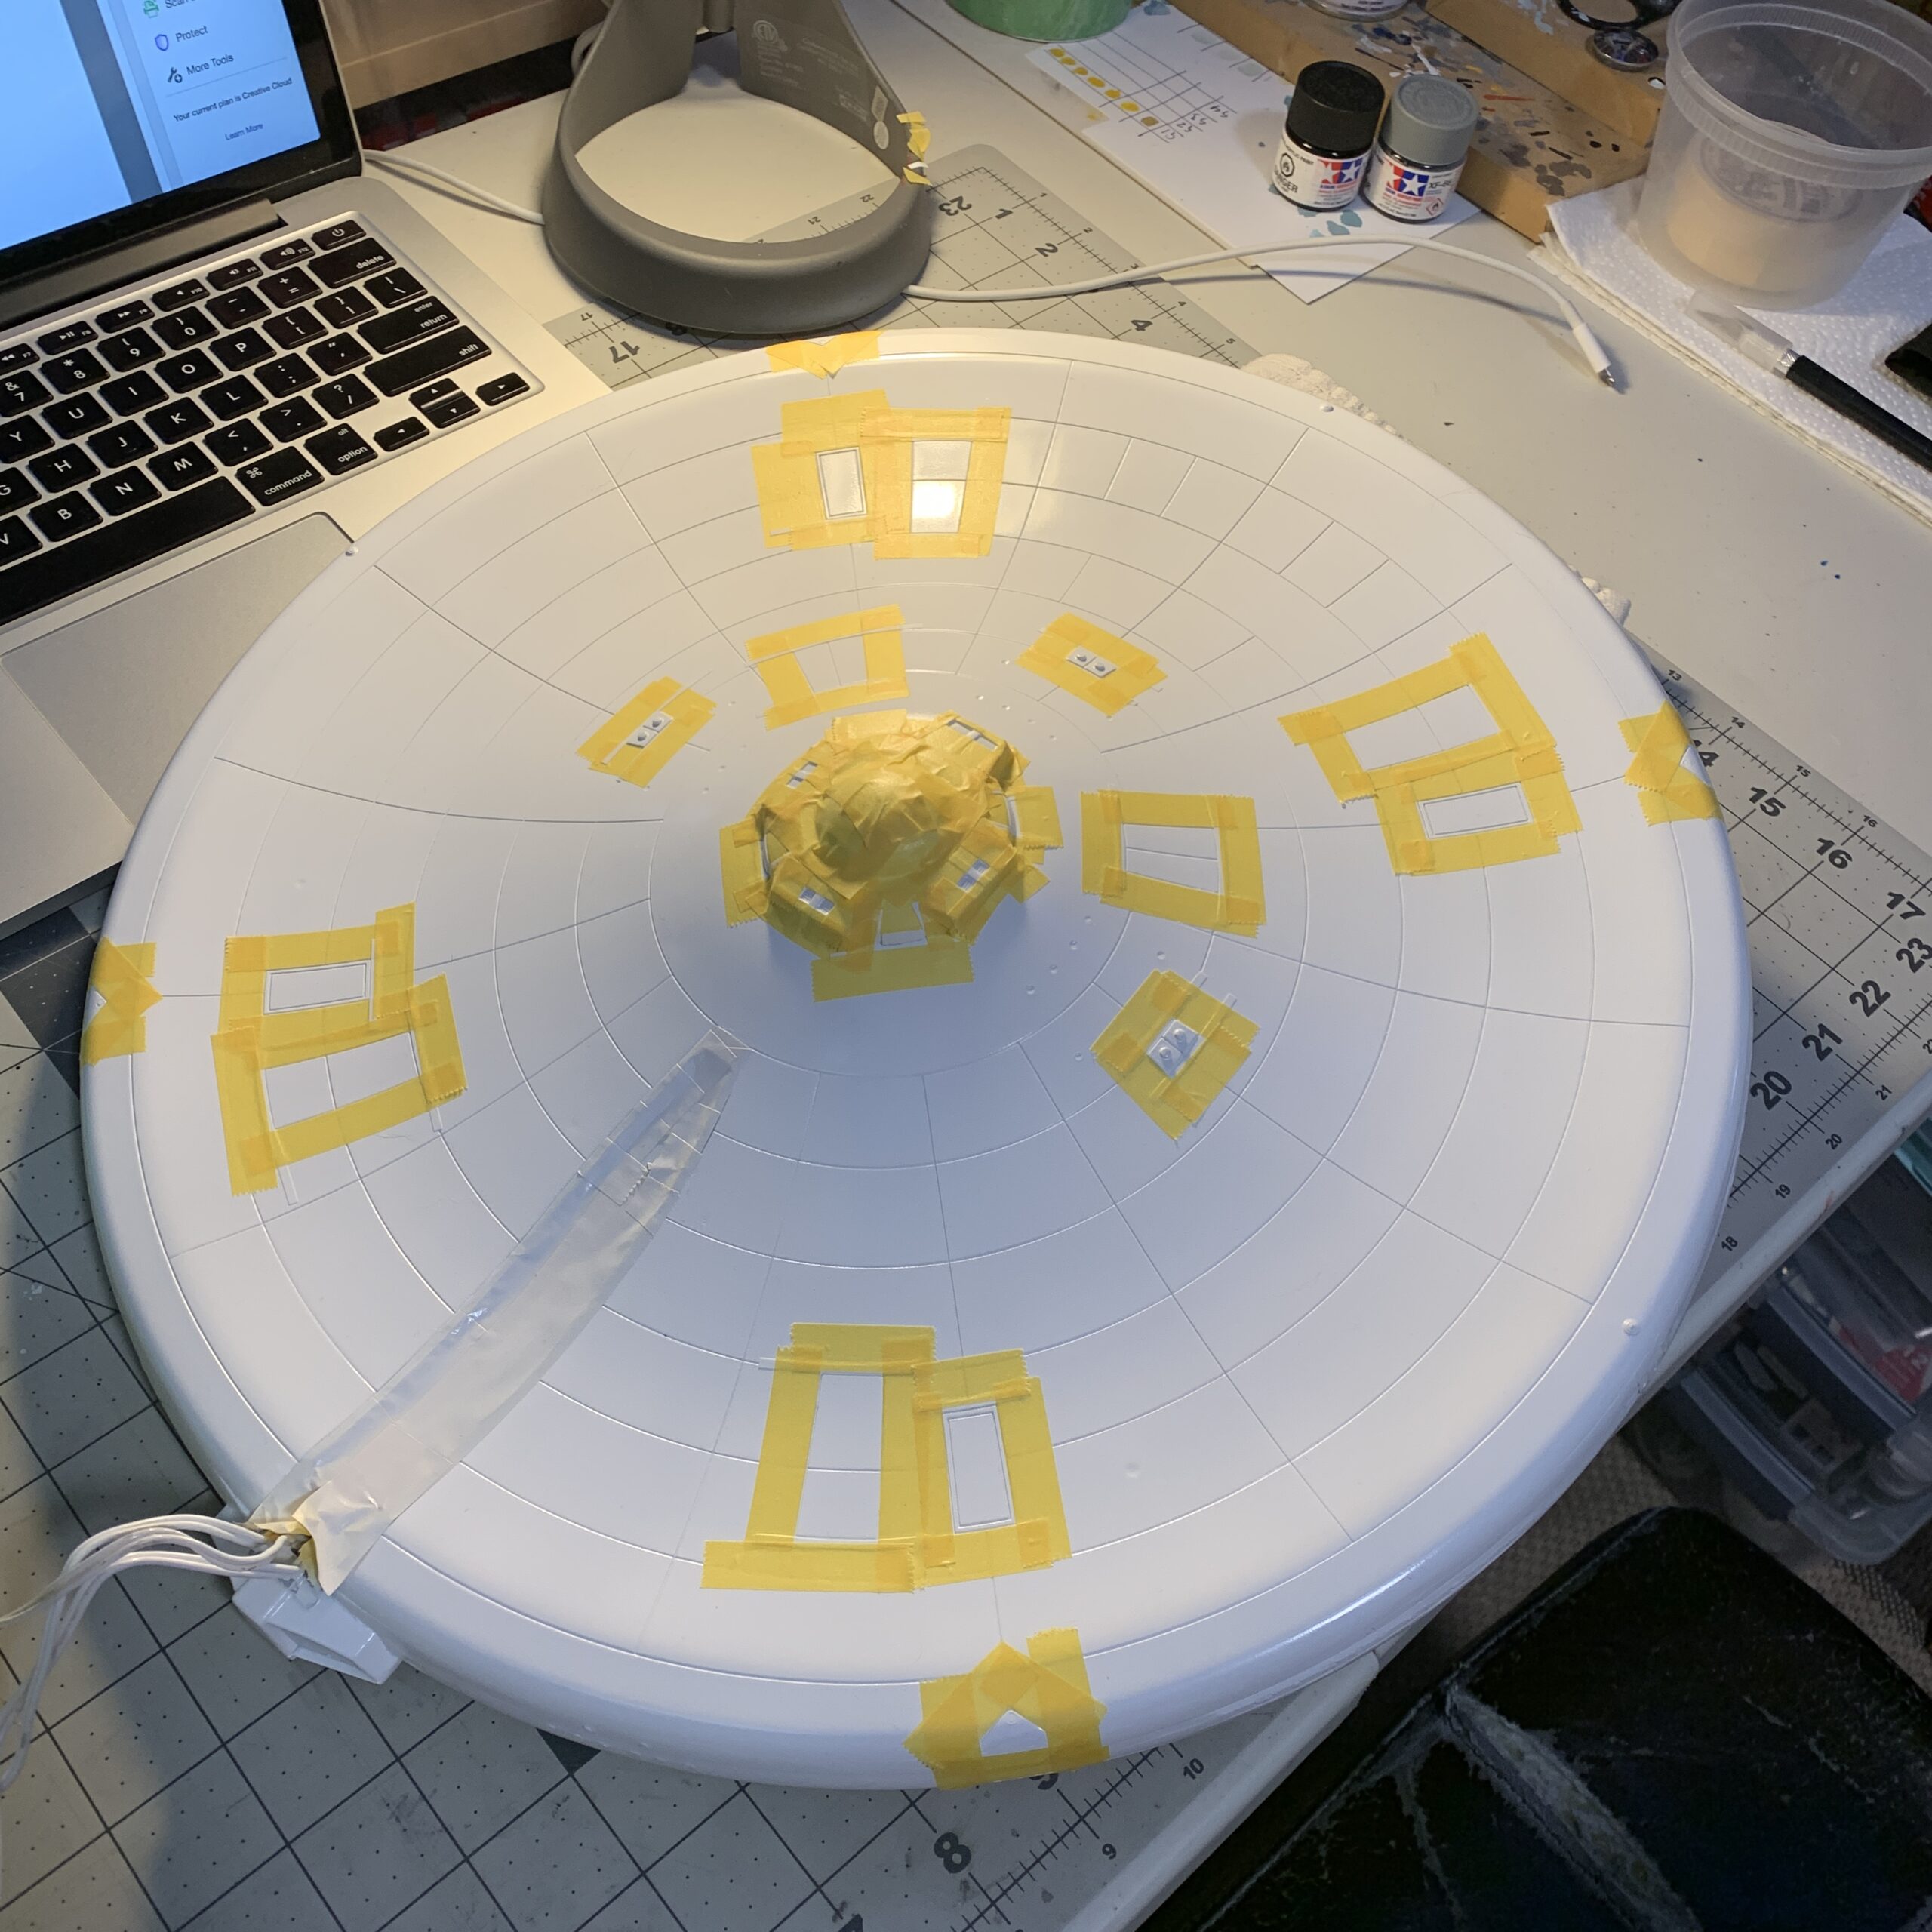
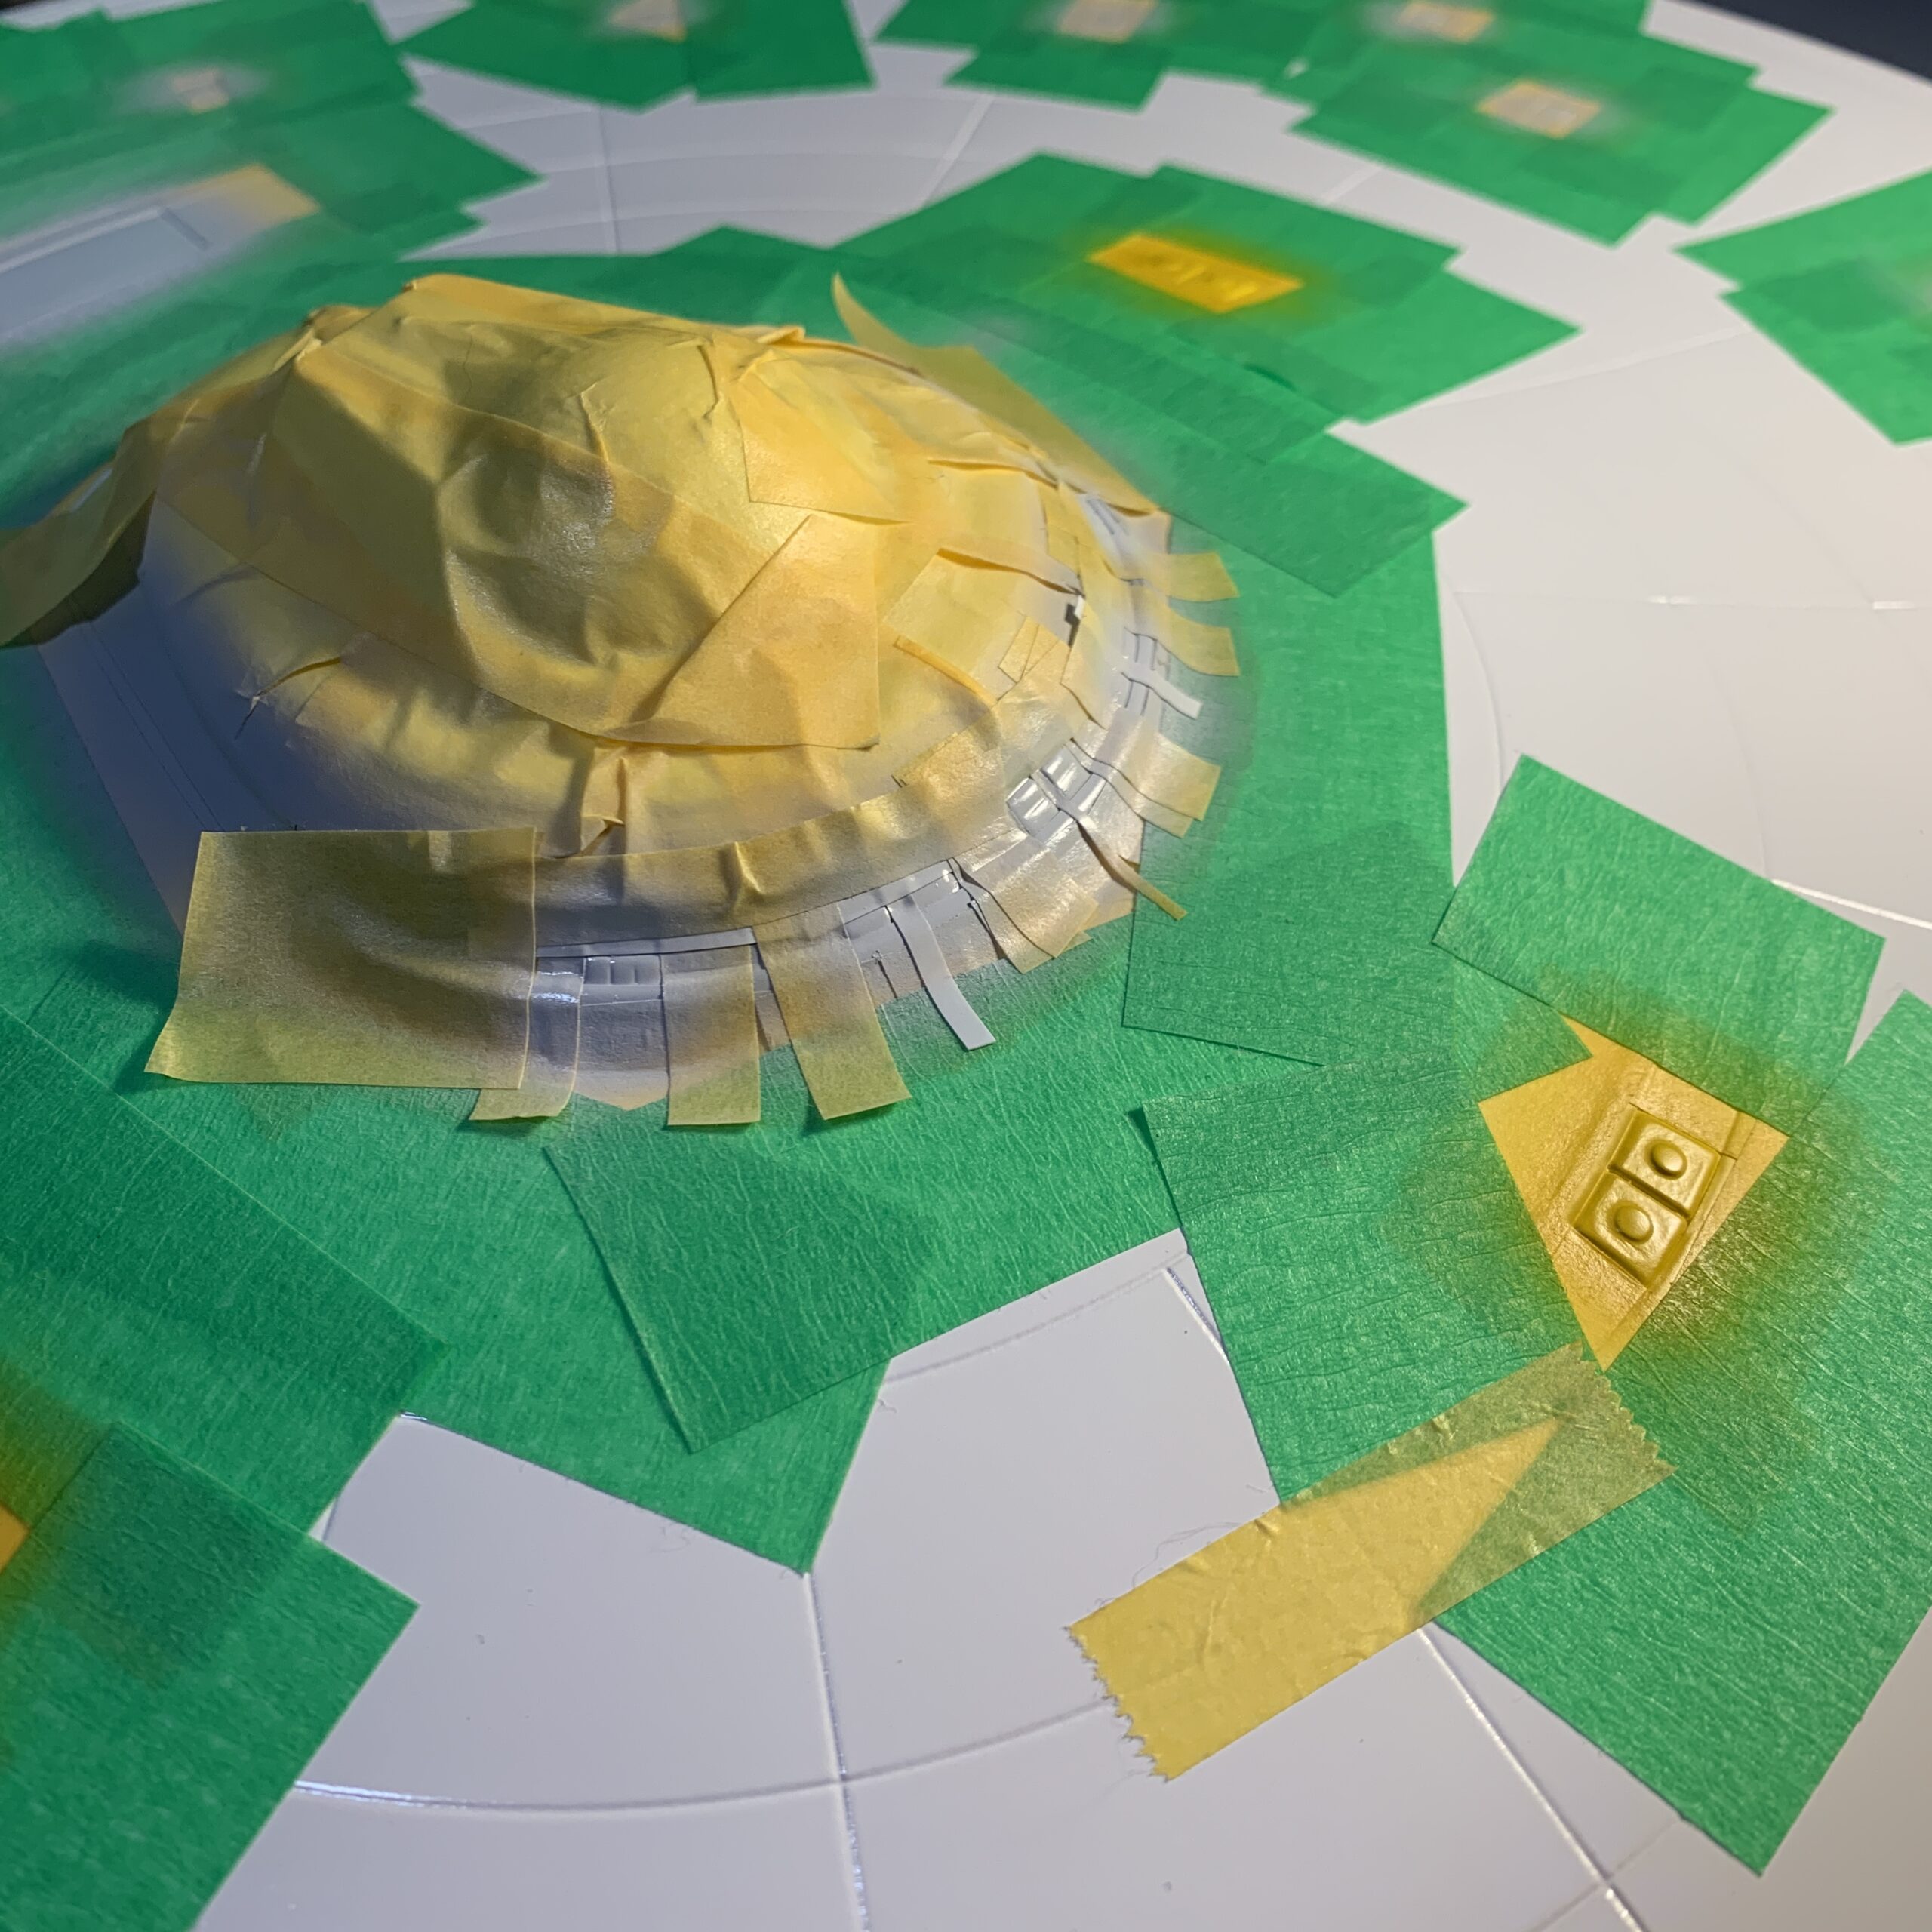
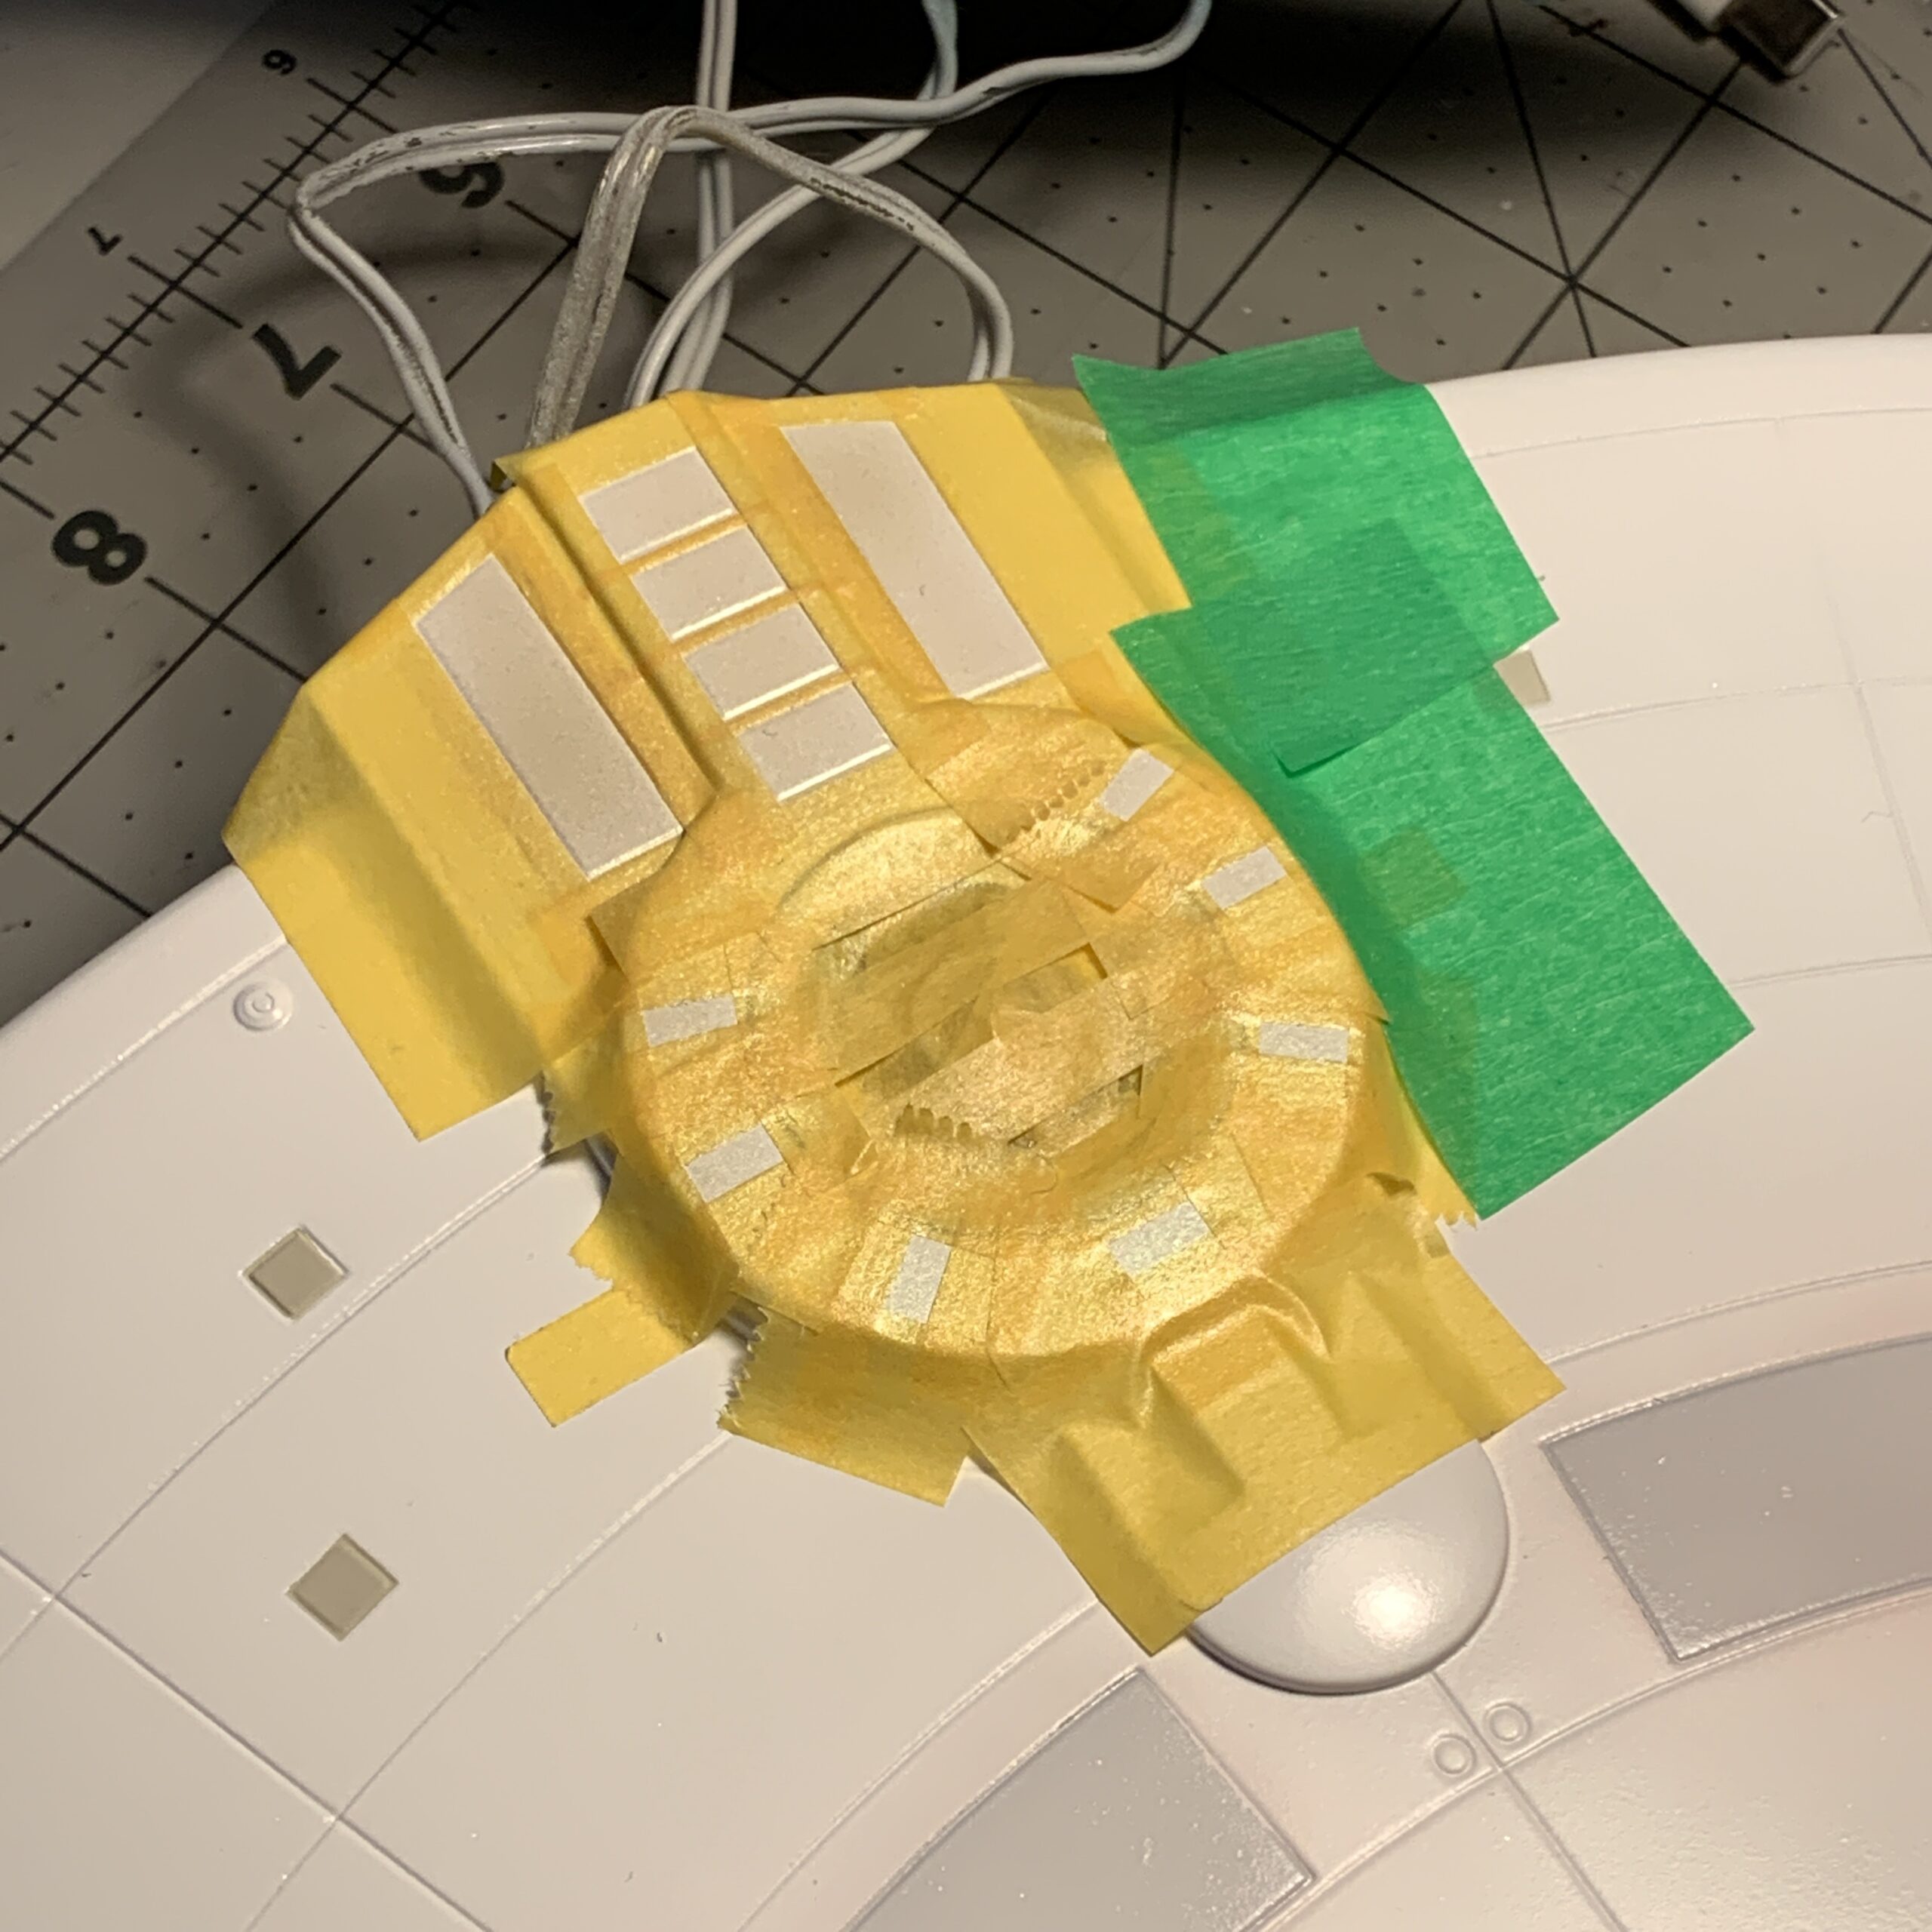
As you might imagine… this once again involved a lot of masking tape!
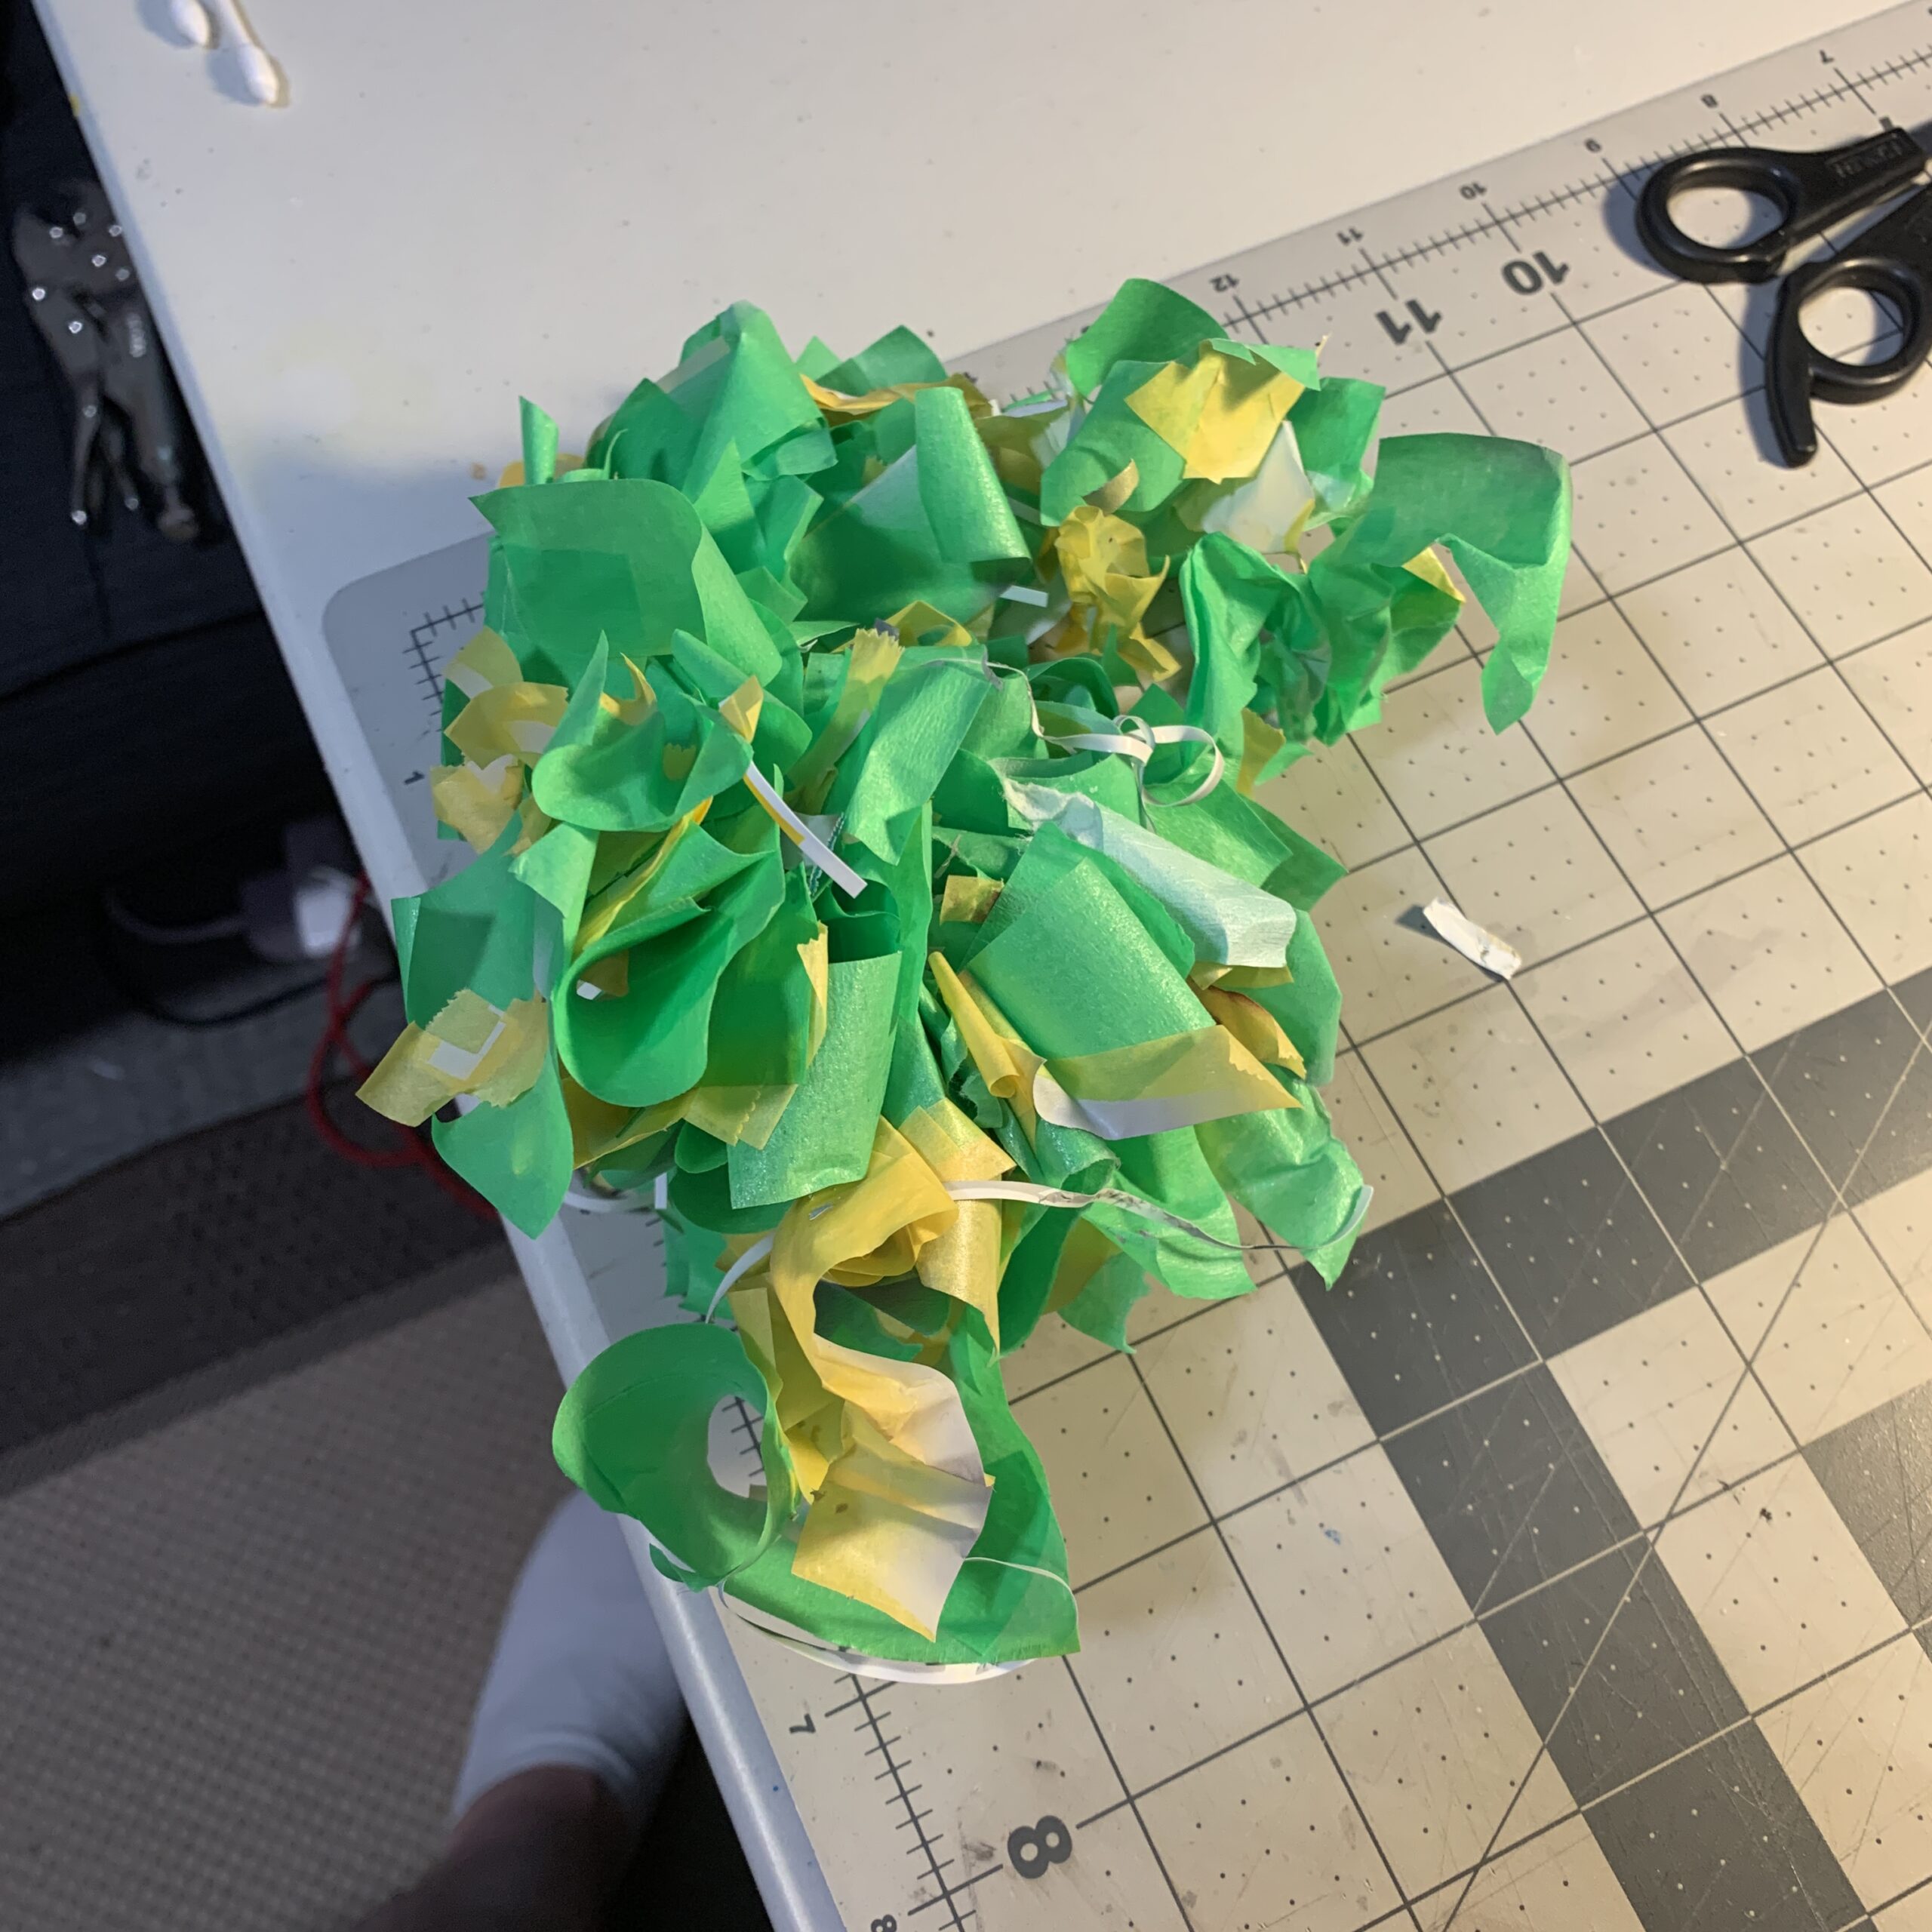
Speaking of masking, it was around this time that I discovered a bit of a problem. The masking fluid that I had used to cover the windows all over the ship would not come off. It was completely caked on. I don’t know exactly why; my best guess is that there were simply too many layers of paint and primer over top, and it basically “sealed” the masks in. Either that, or the particular paints I was using (Tamiya grey primer, followed by Tamiya white primer, followed by Tamiya Pure White) reacted poorly with the Mr. Hobby liquid mask…
In any event — I had a hell of a time getting the masks off. In most cases, this meant attempting to carve them out with a knife, and since they were really caked on, I had to apply a fair amount of pressure… which inevitably led to scratches and nicks in the surrounding areas. In some cases, notably entirely around the saucer edge, I couldn’t gain any traction… so I simply painted right over the masks, in black (my lights never worked on this ones anyway). In other areas, notably the upper and lower saucer, the clear sections had actually come loose, so I simply punched them out, masks, plastic and all. They’re rattling around in the saucer, which isn’t ideal, but, there’s no way to get them out of there now! Anyway. I may leave them empty, or I may go over them with Micro Clear, we’ll see.
This is really the first roadblock I’ve run into on this project. All things considered, that’s not bad!
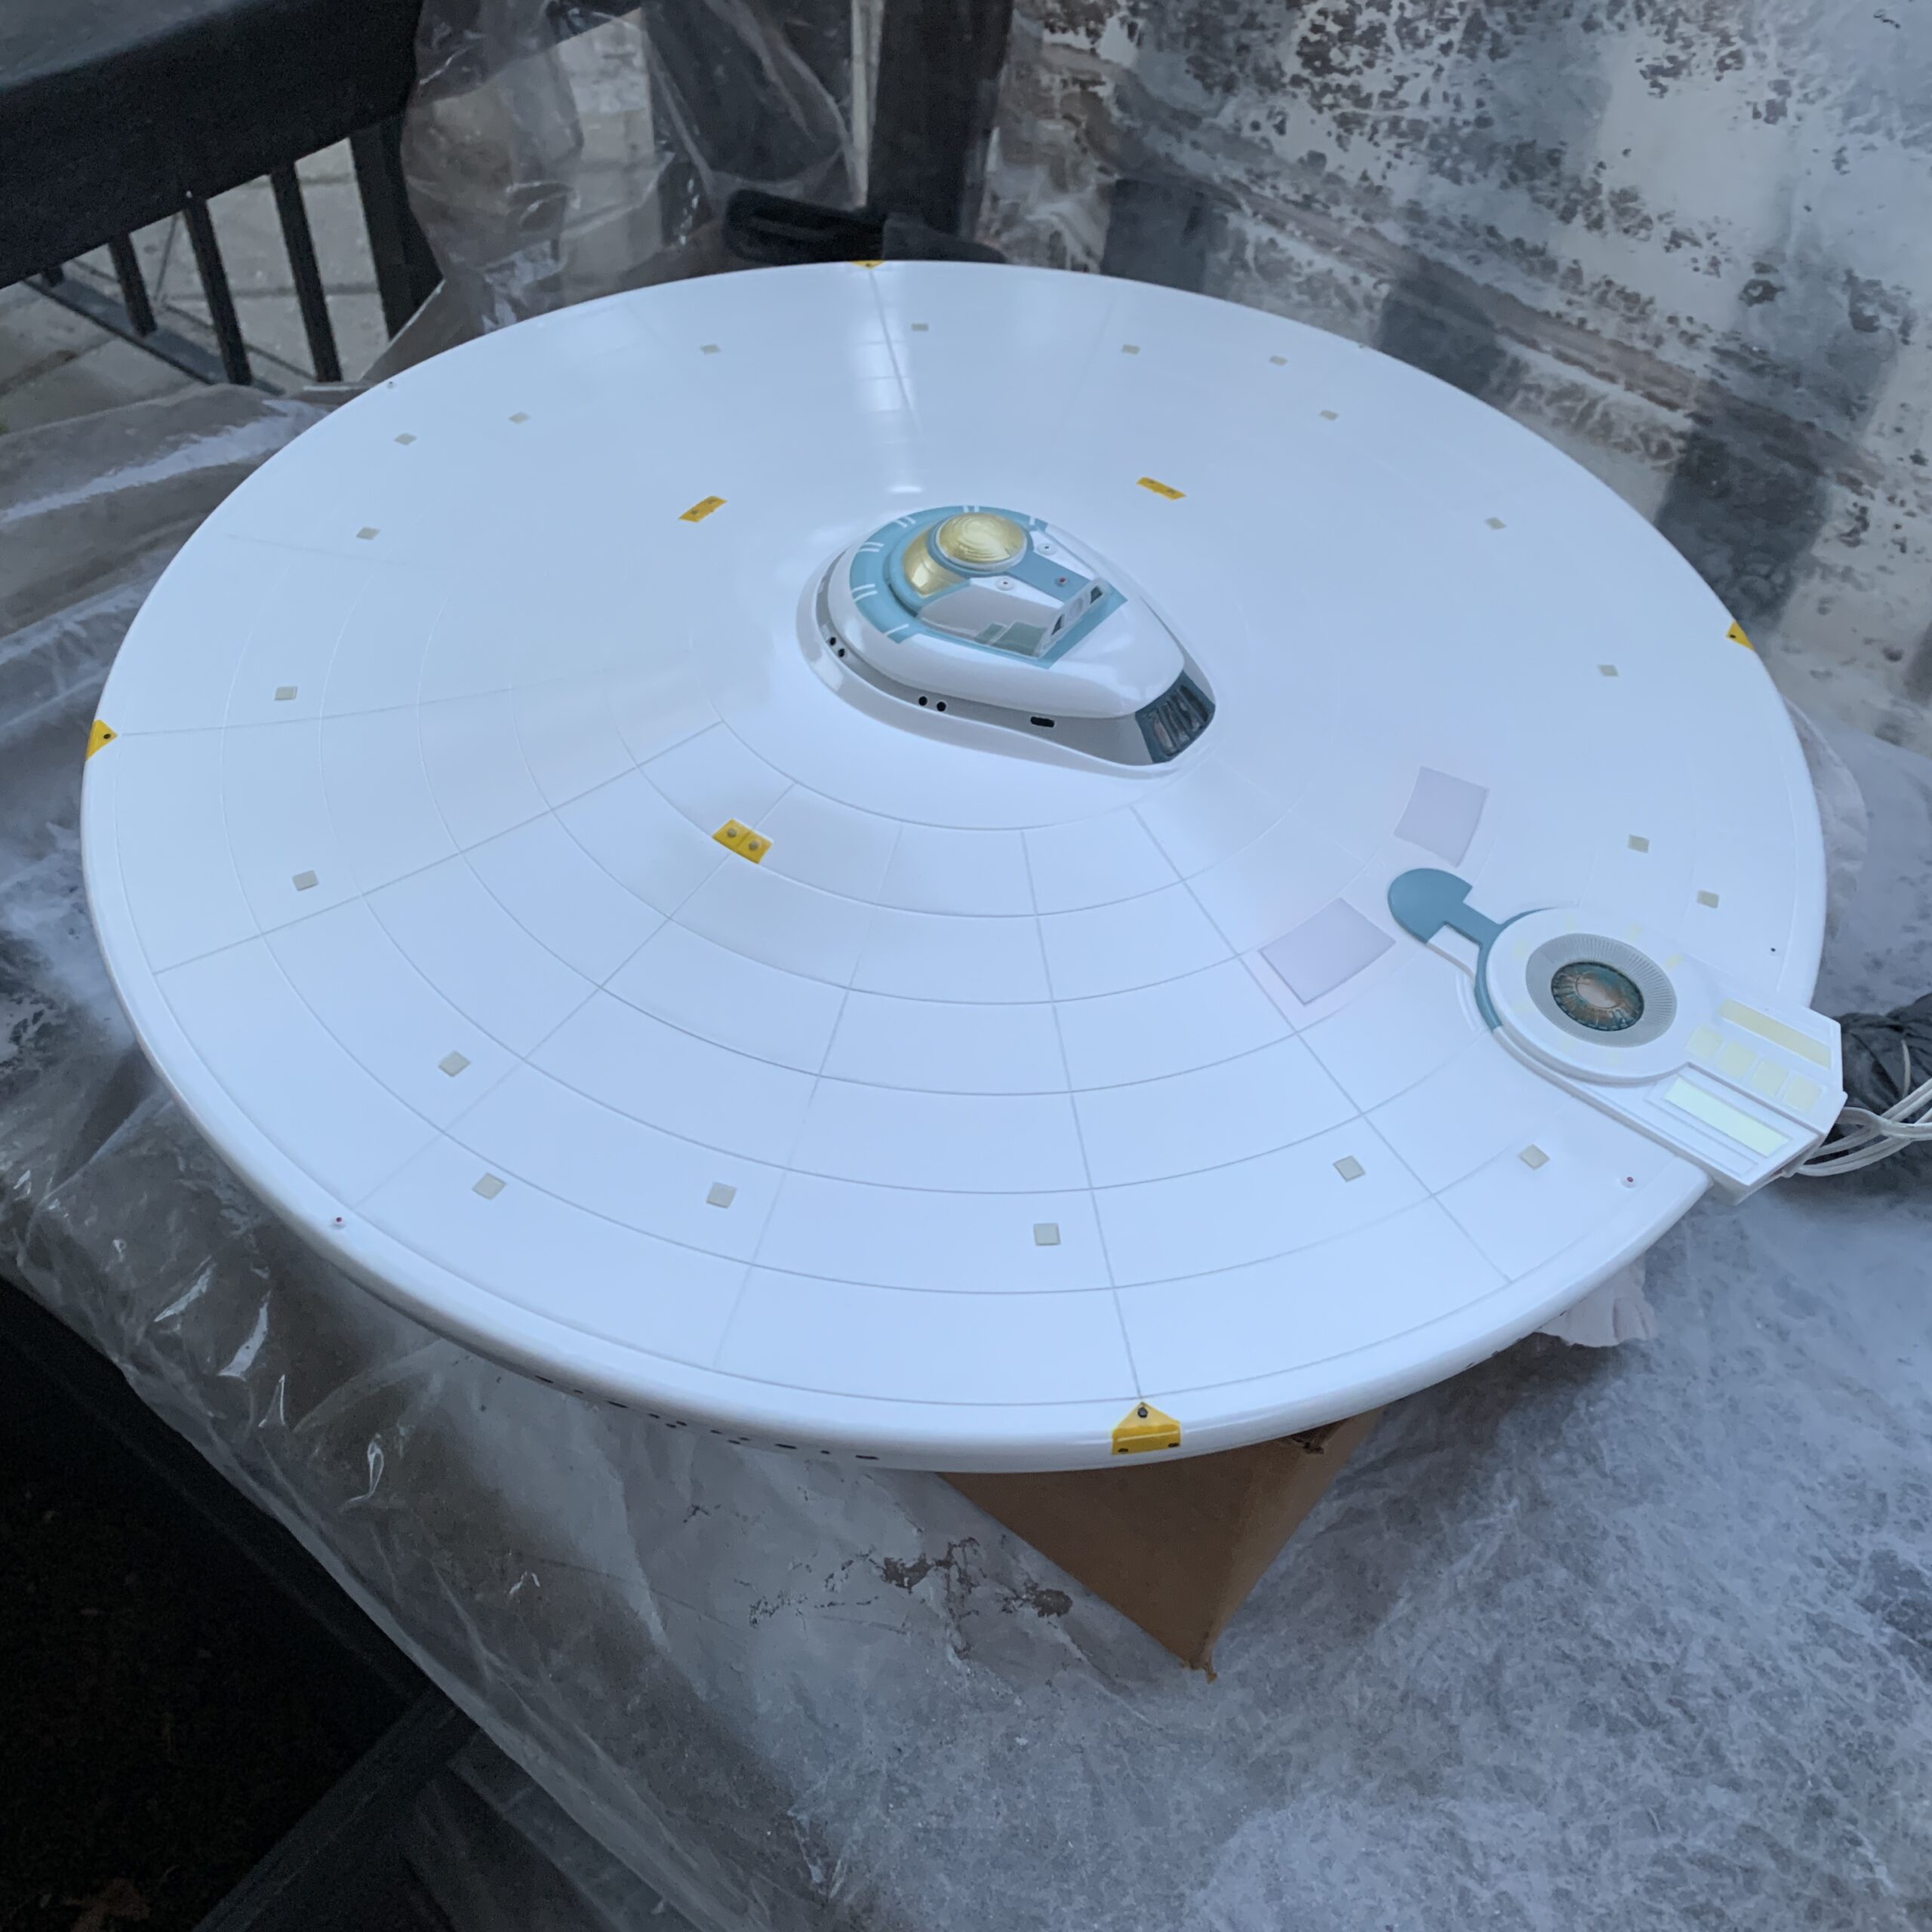
Moving on, though, the mustard yellow for the thrusters and phaser banks went on first, then the greys for the lifeboats and larger panels, as well as the grey ring of the C deck.
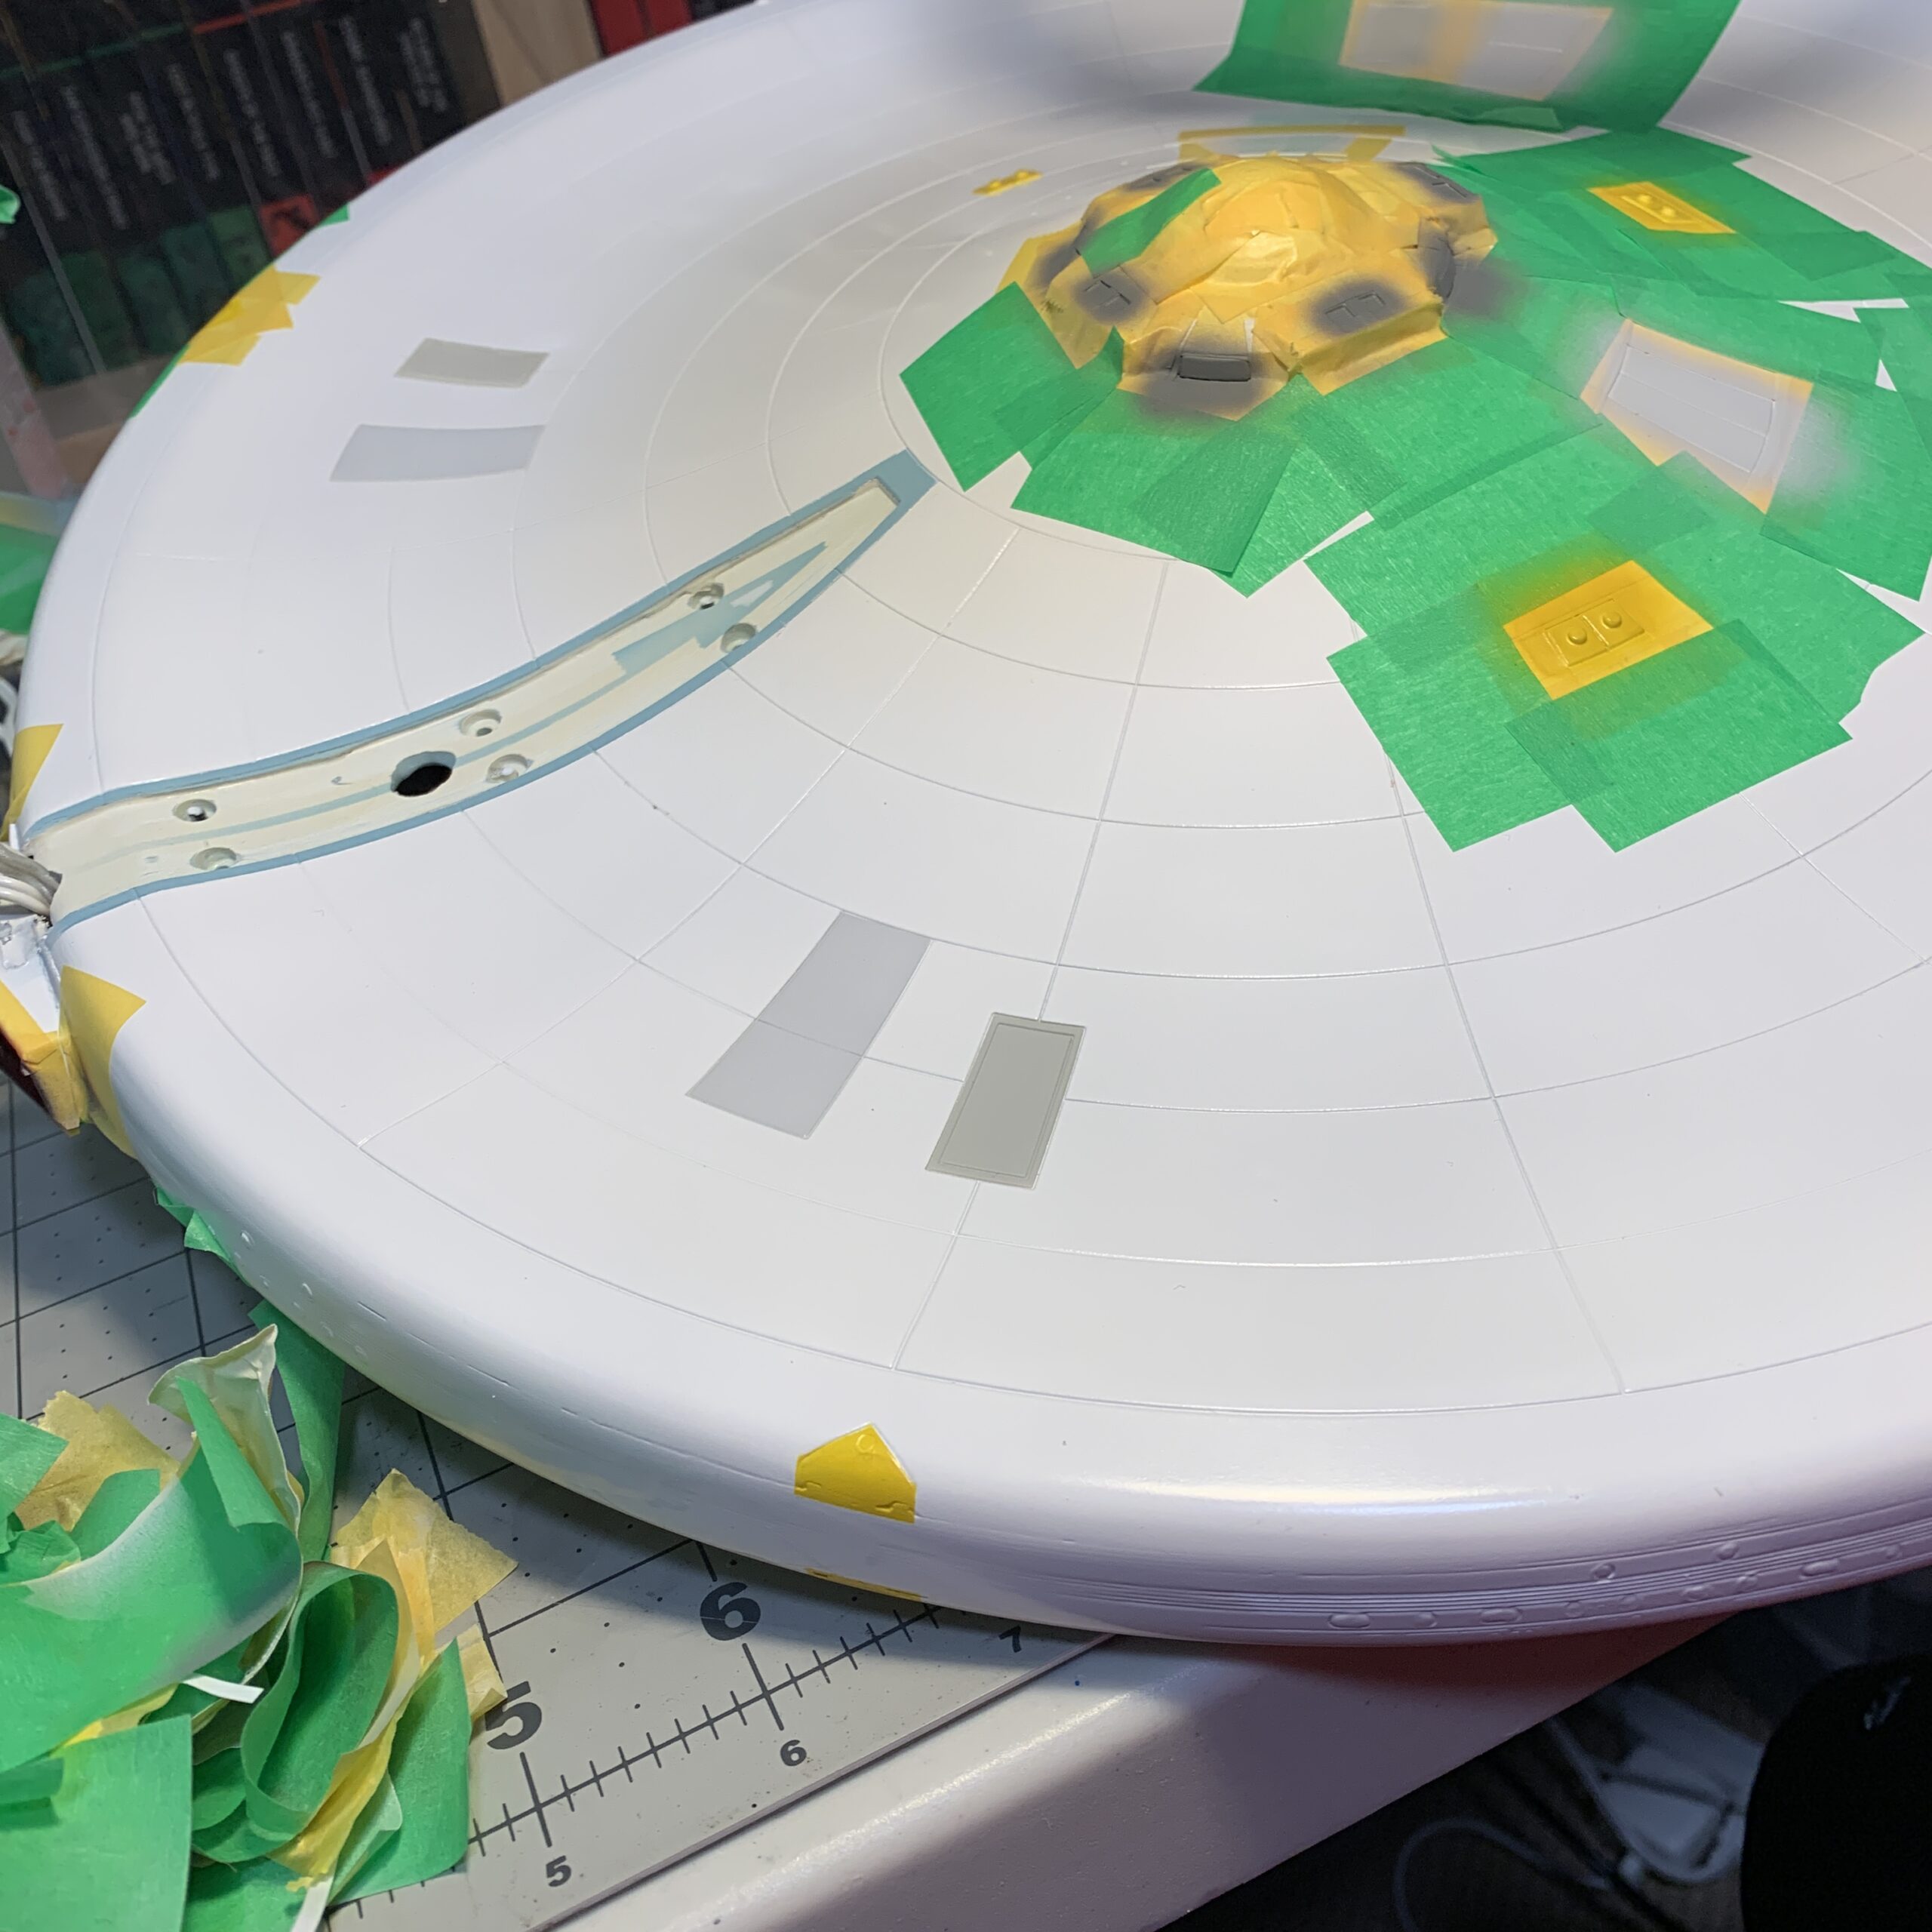
This also involved a bit of trial and error for the larger panels. I did my initial layer with the colors as specified in the kit instructions, but, I found them a bit dark. I wanted less contrast. So I lightened up my paint and tried again.
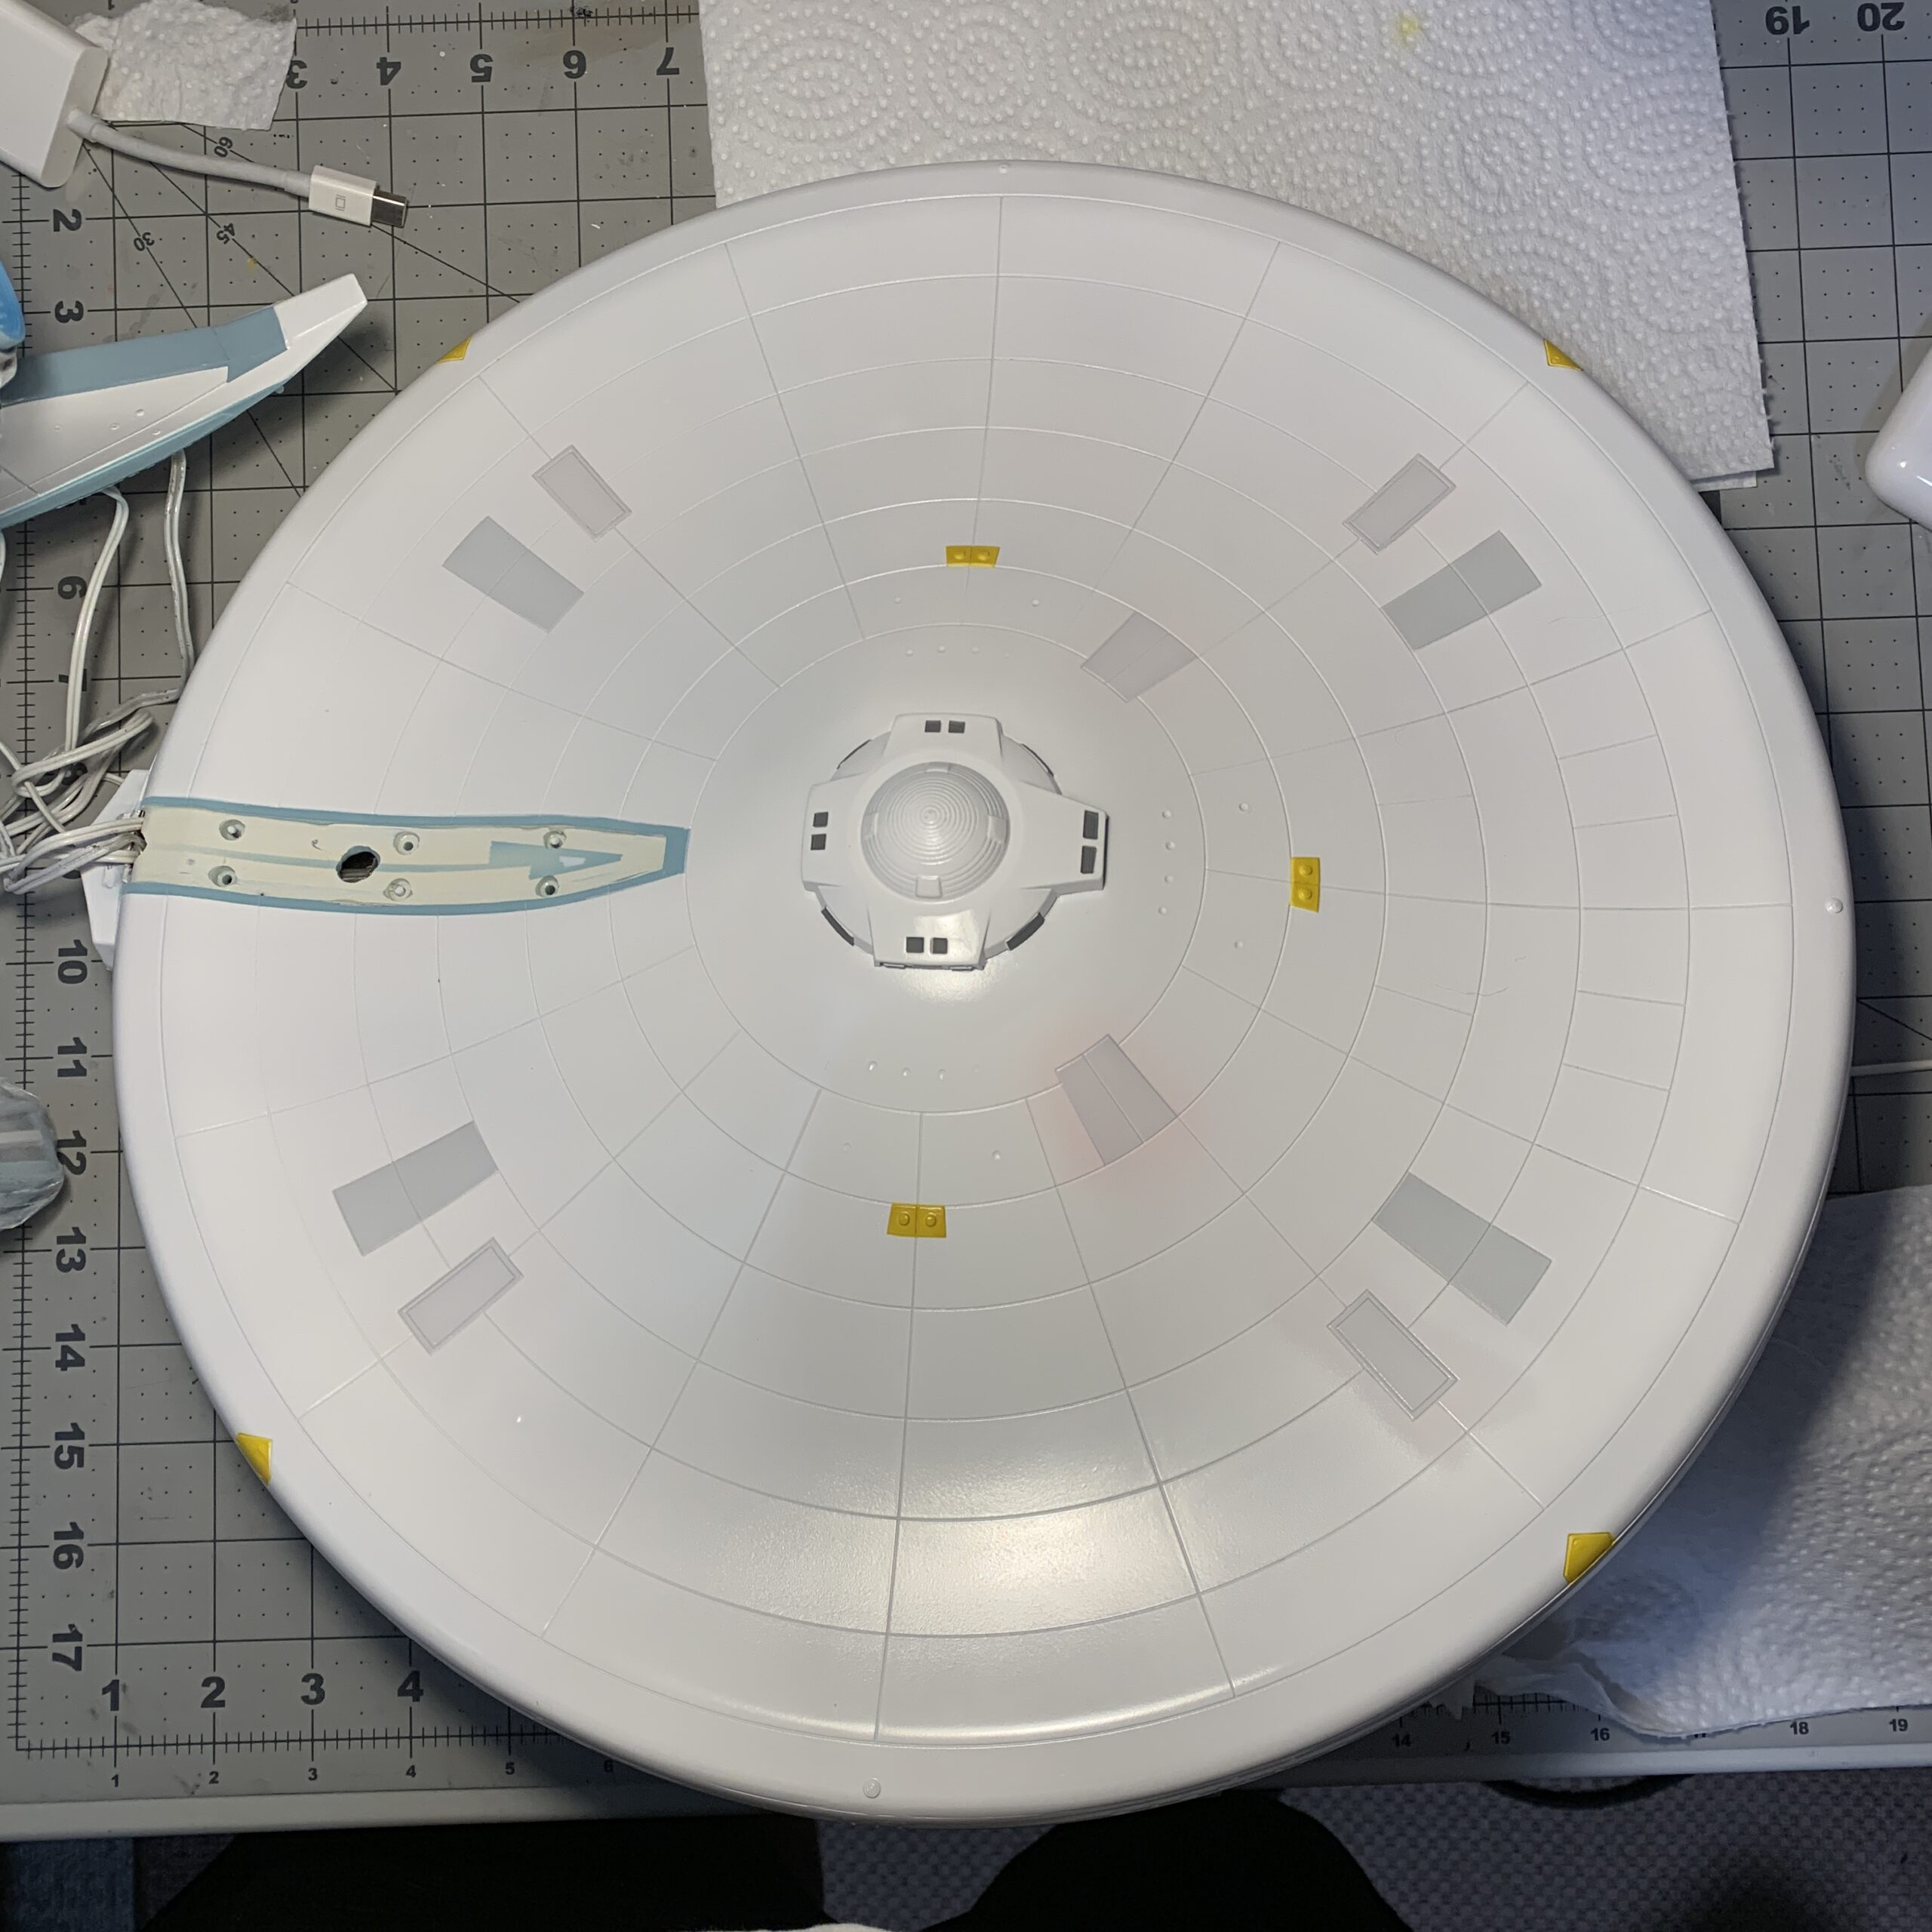
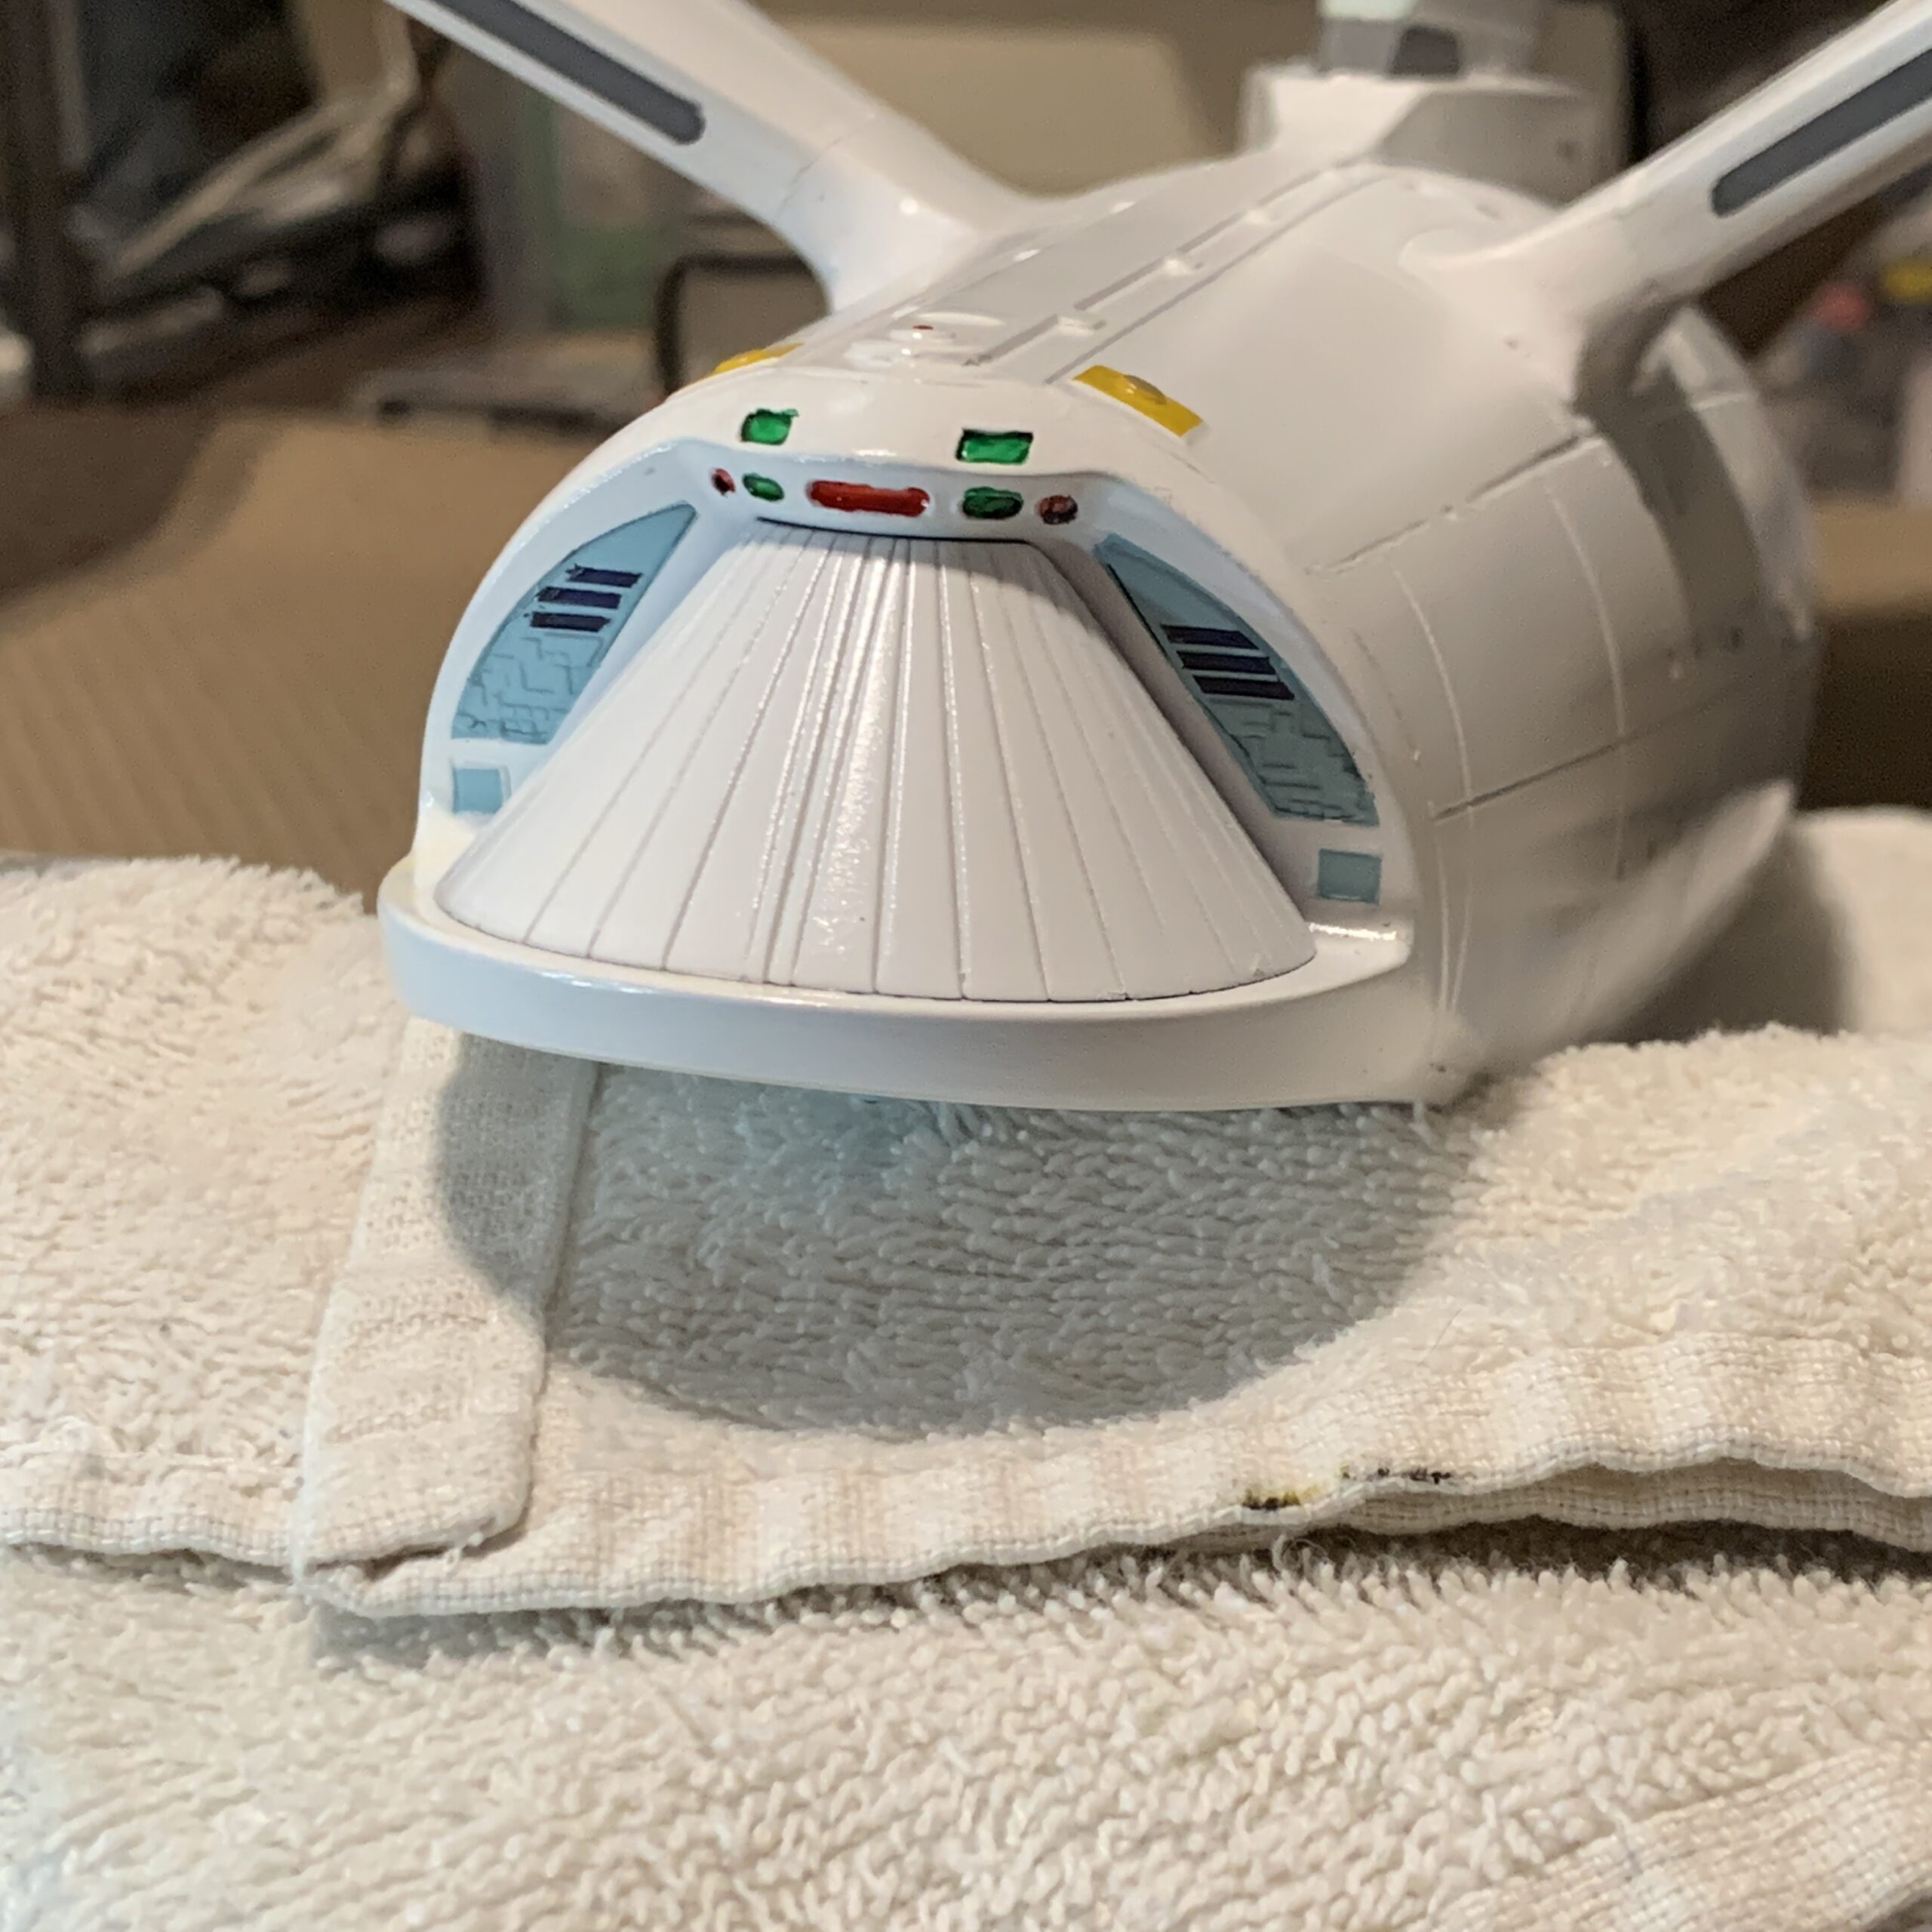
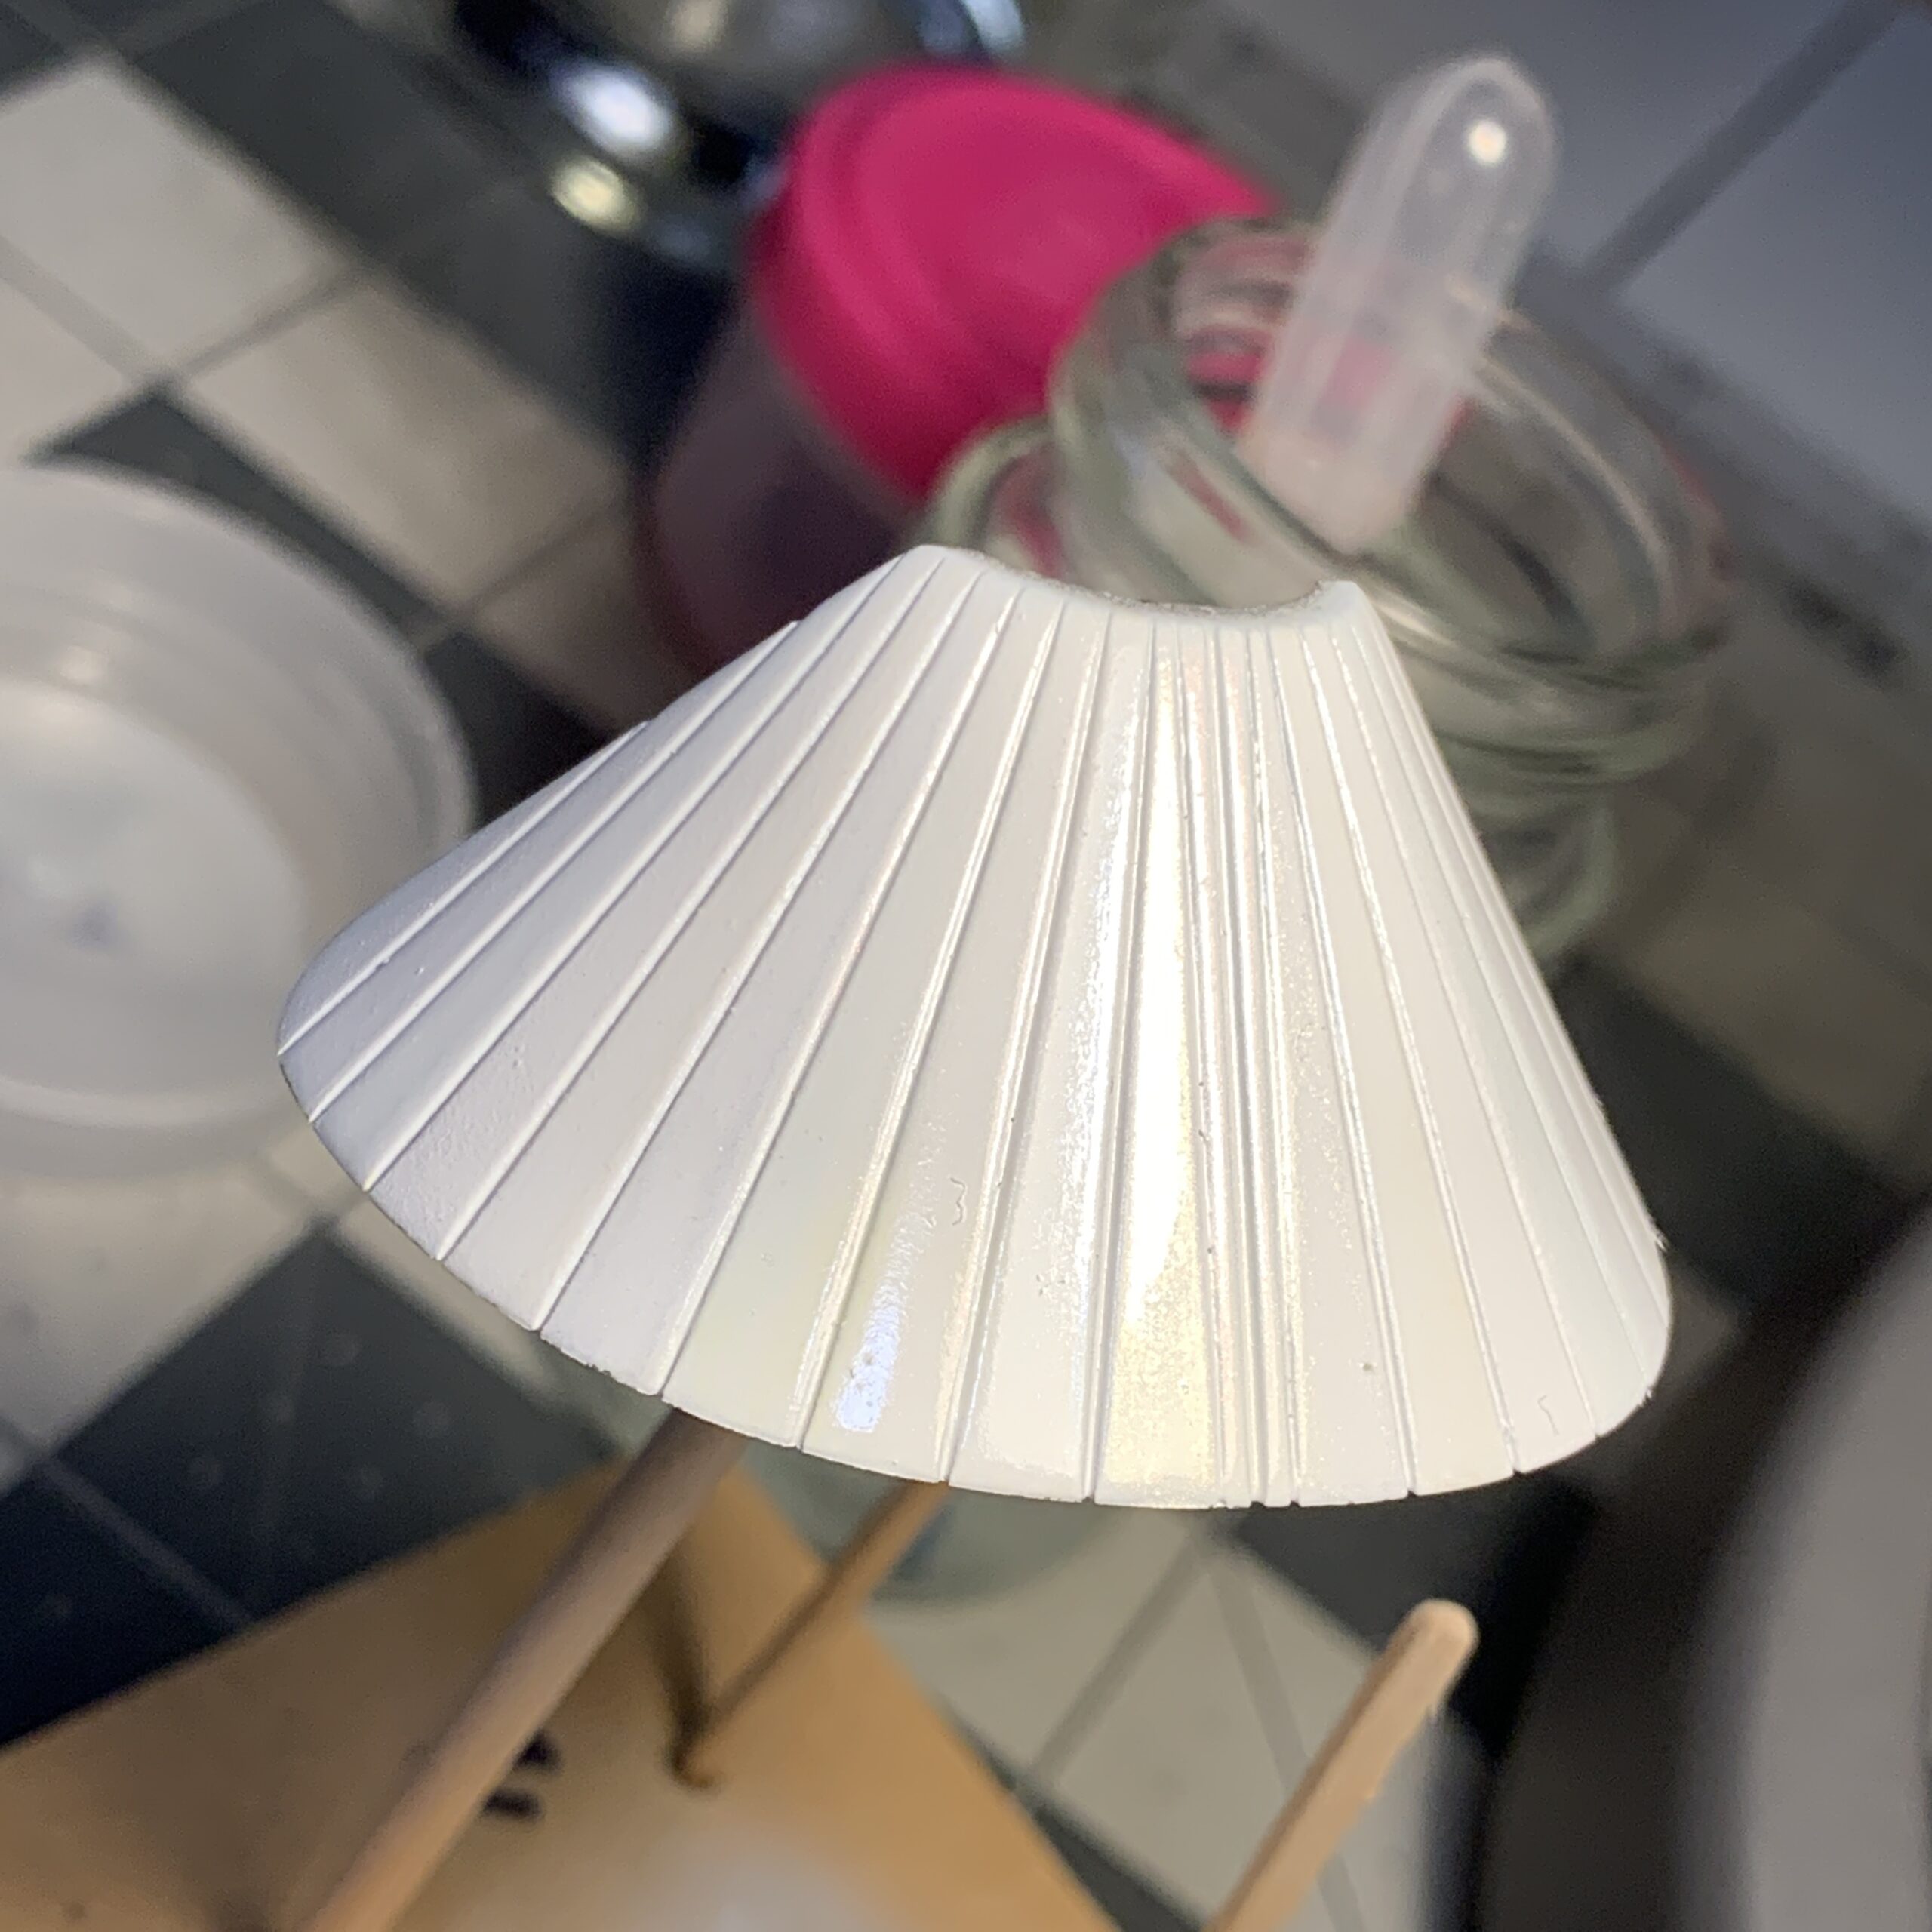
The impulse engines were a lot of fun to do. I initially painted them white, then clear red, going a little heavier towards the edges. Then gloss black around the edges. I would have liked a little more red (my fine control with the black wasn’t quite there) but I think they look great.
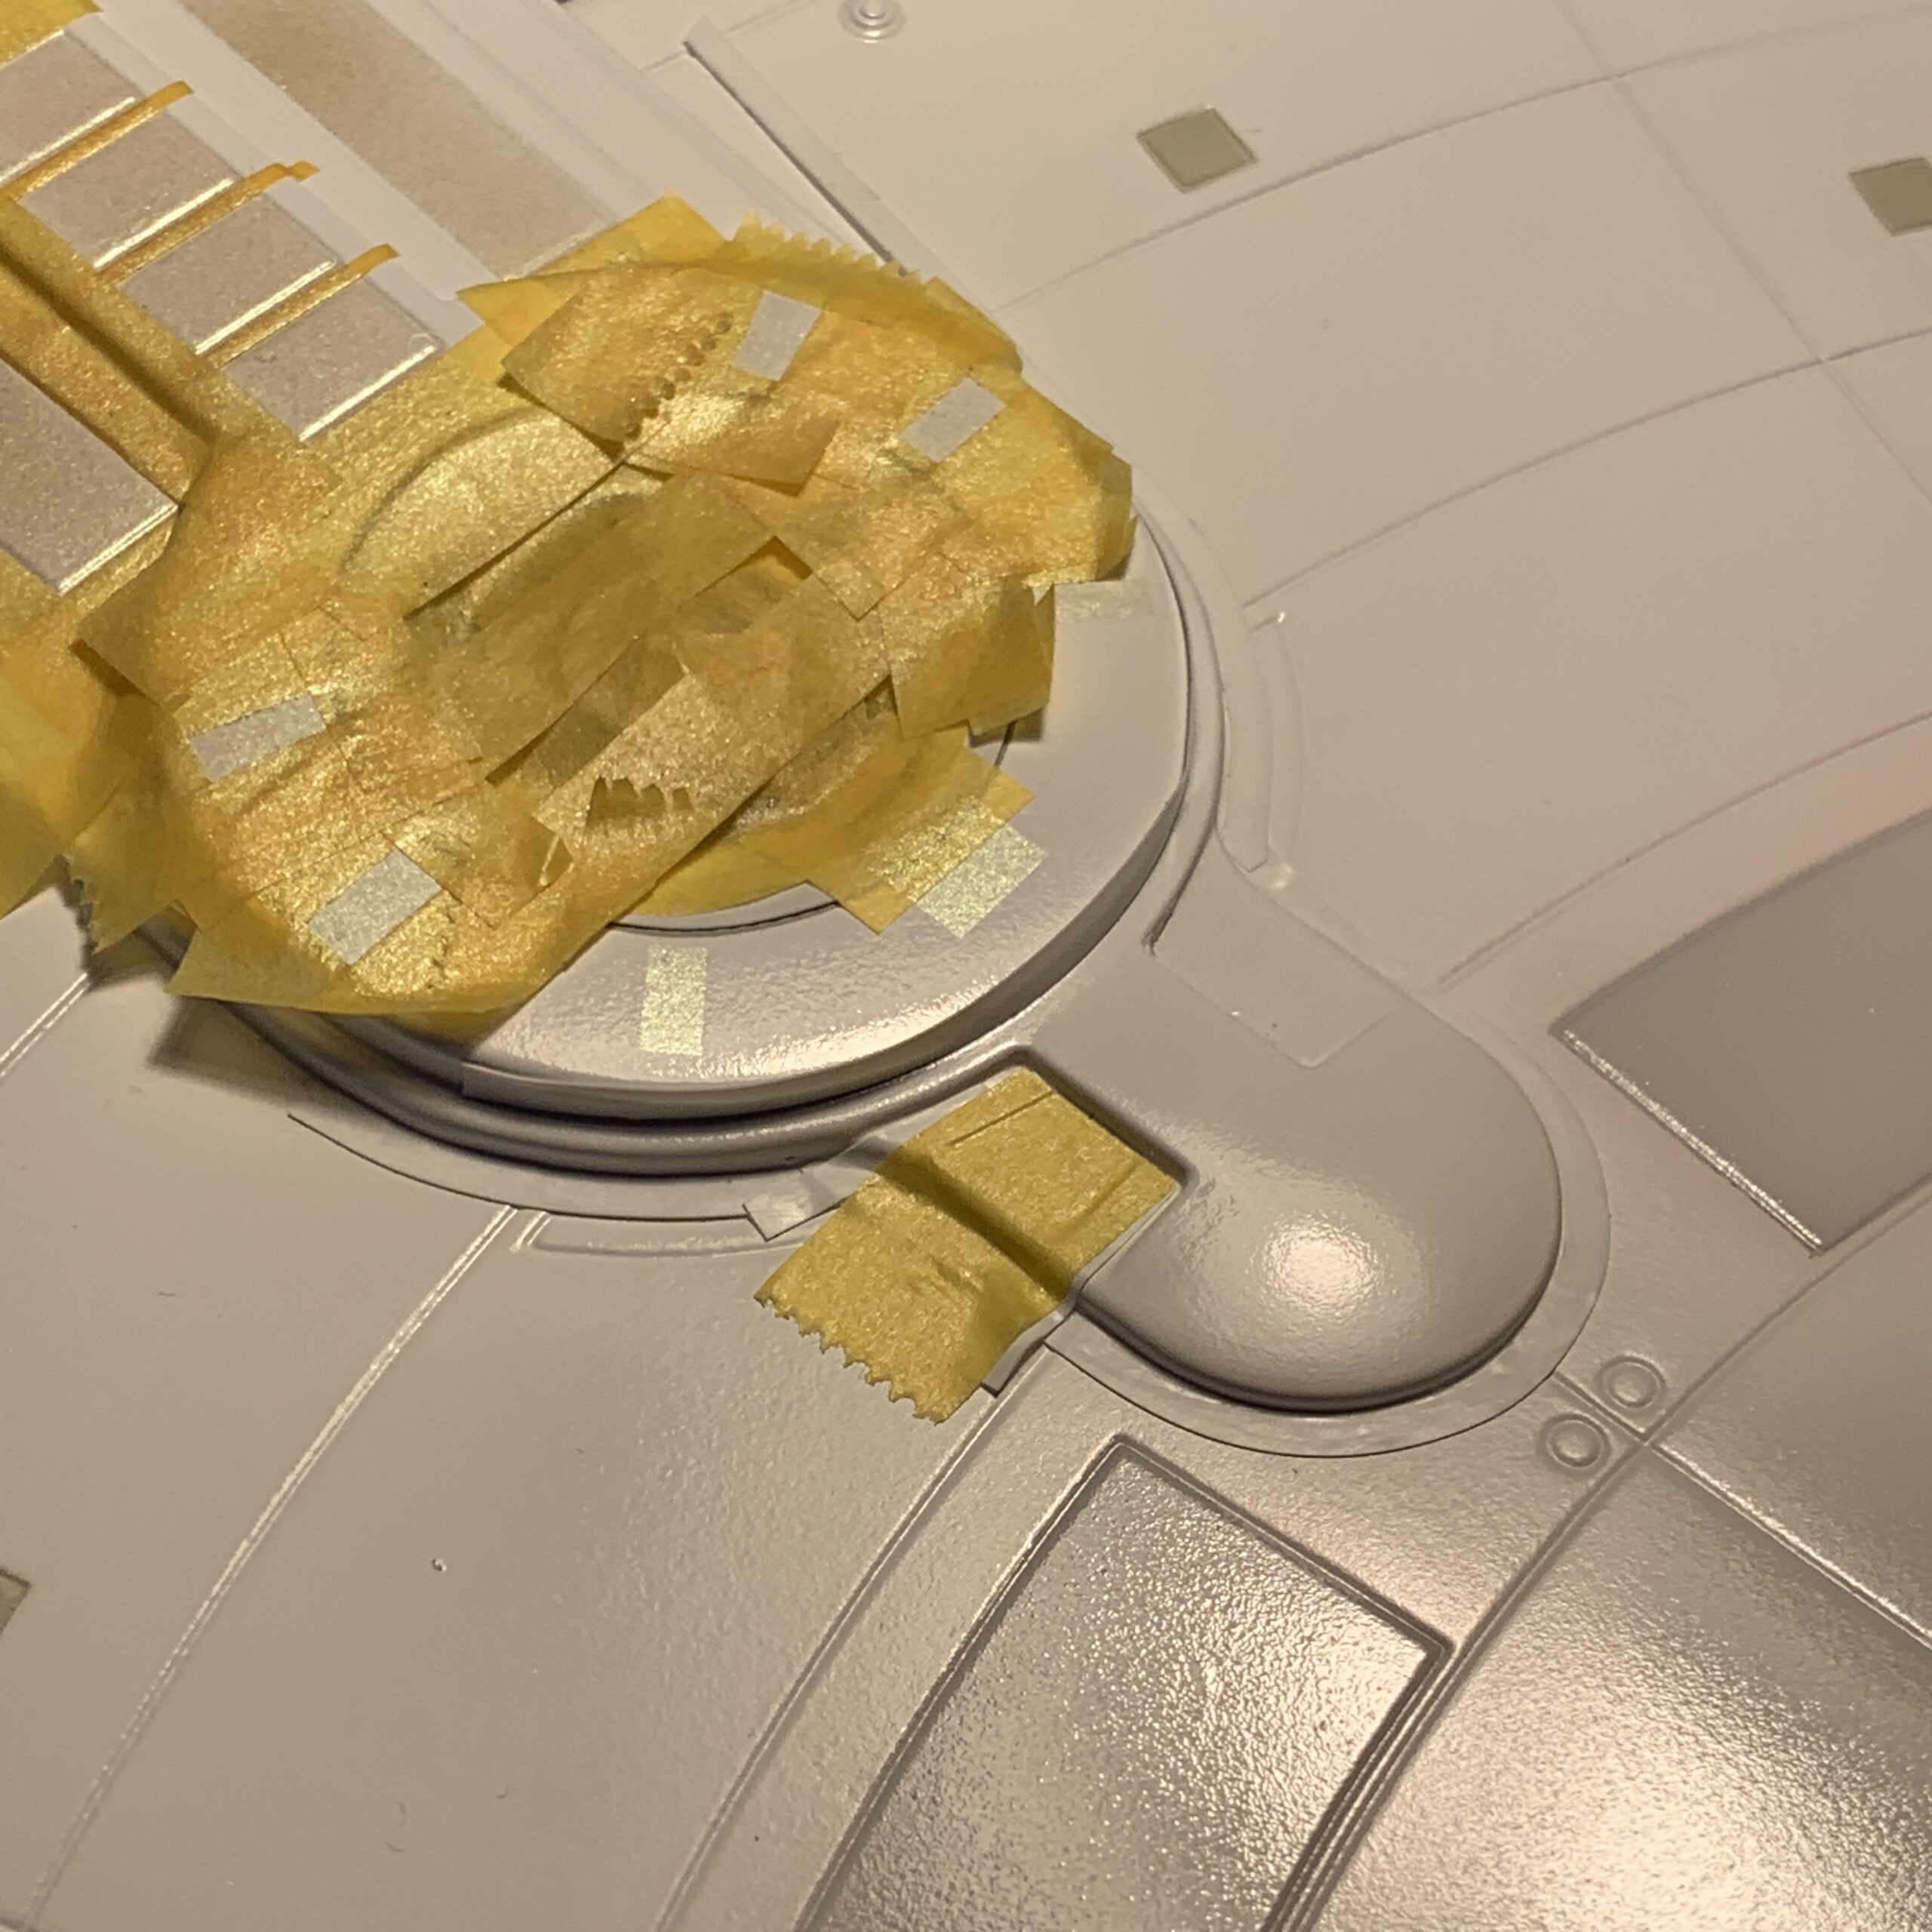
The impulse dome edges were masked off and given some pearl gold; I think I actually laid the gold on a bit thick, it should be a little more subtle. Alas. The forward dark blue was easy enough to add, as was the guy circular grille, but I have not yet — and I don’t think I will — do the raised detail on the crystal itself. I don’t think I can get in there and do it justice.
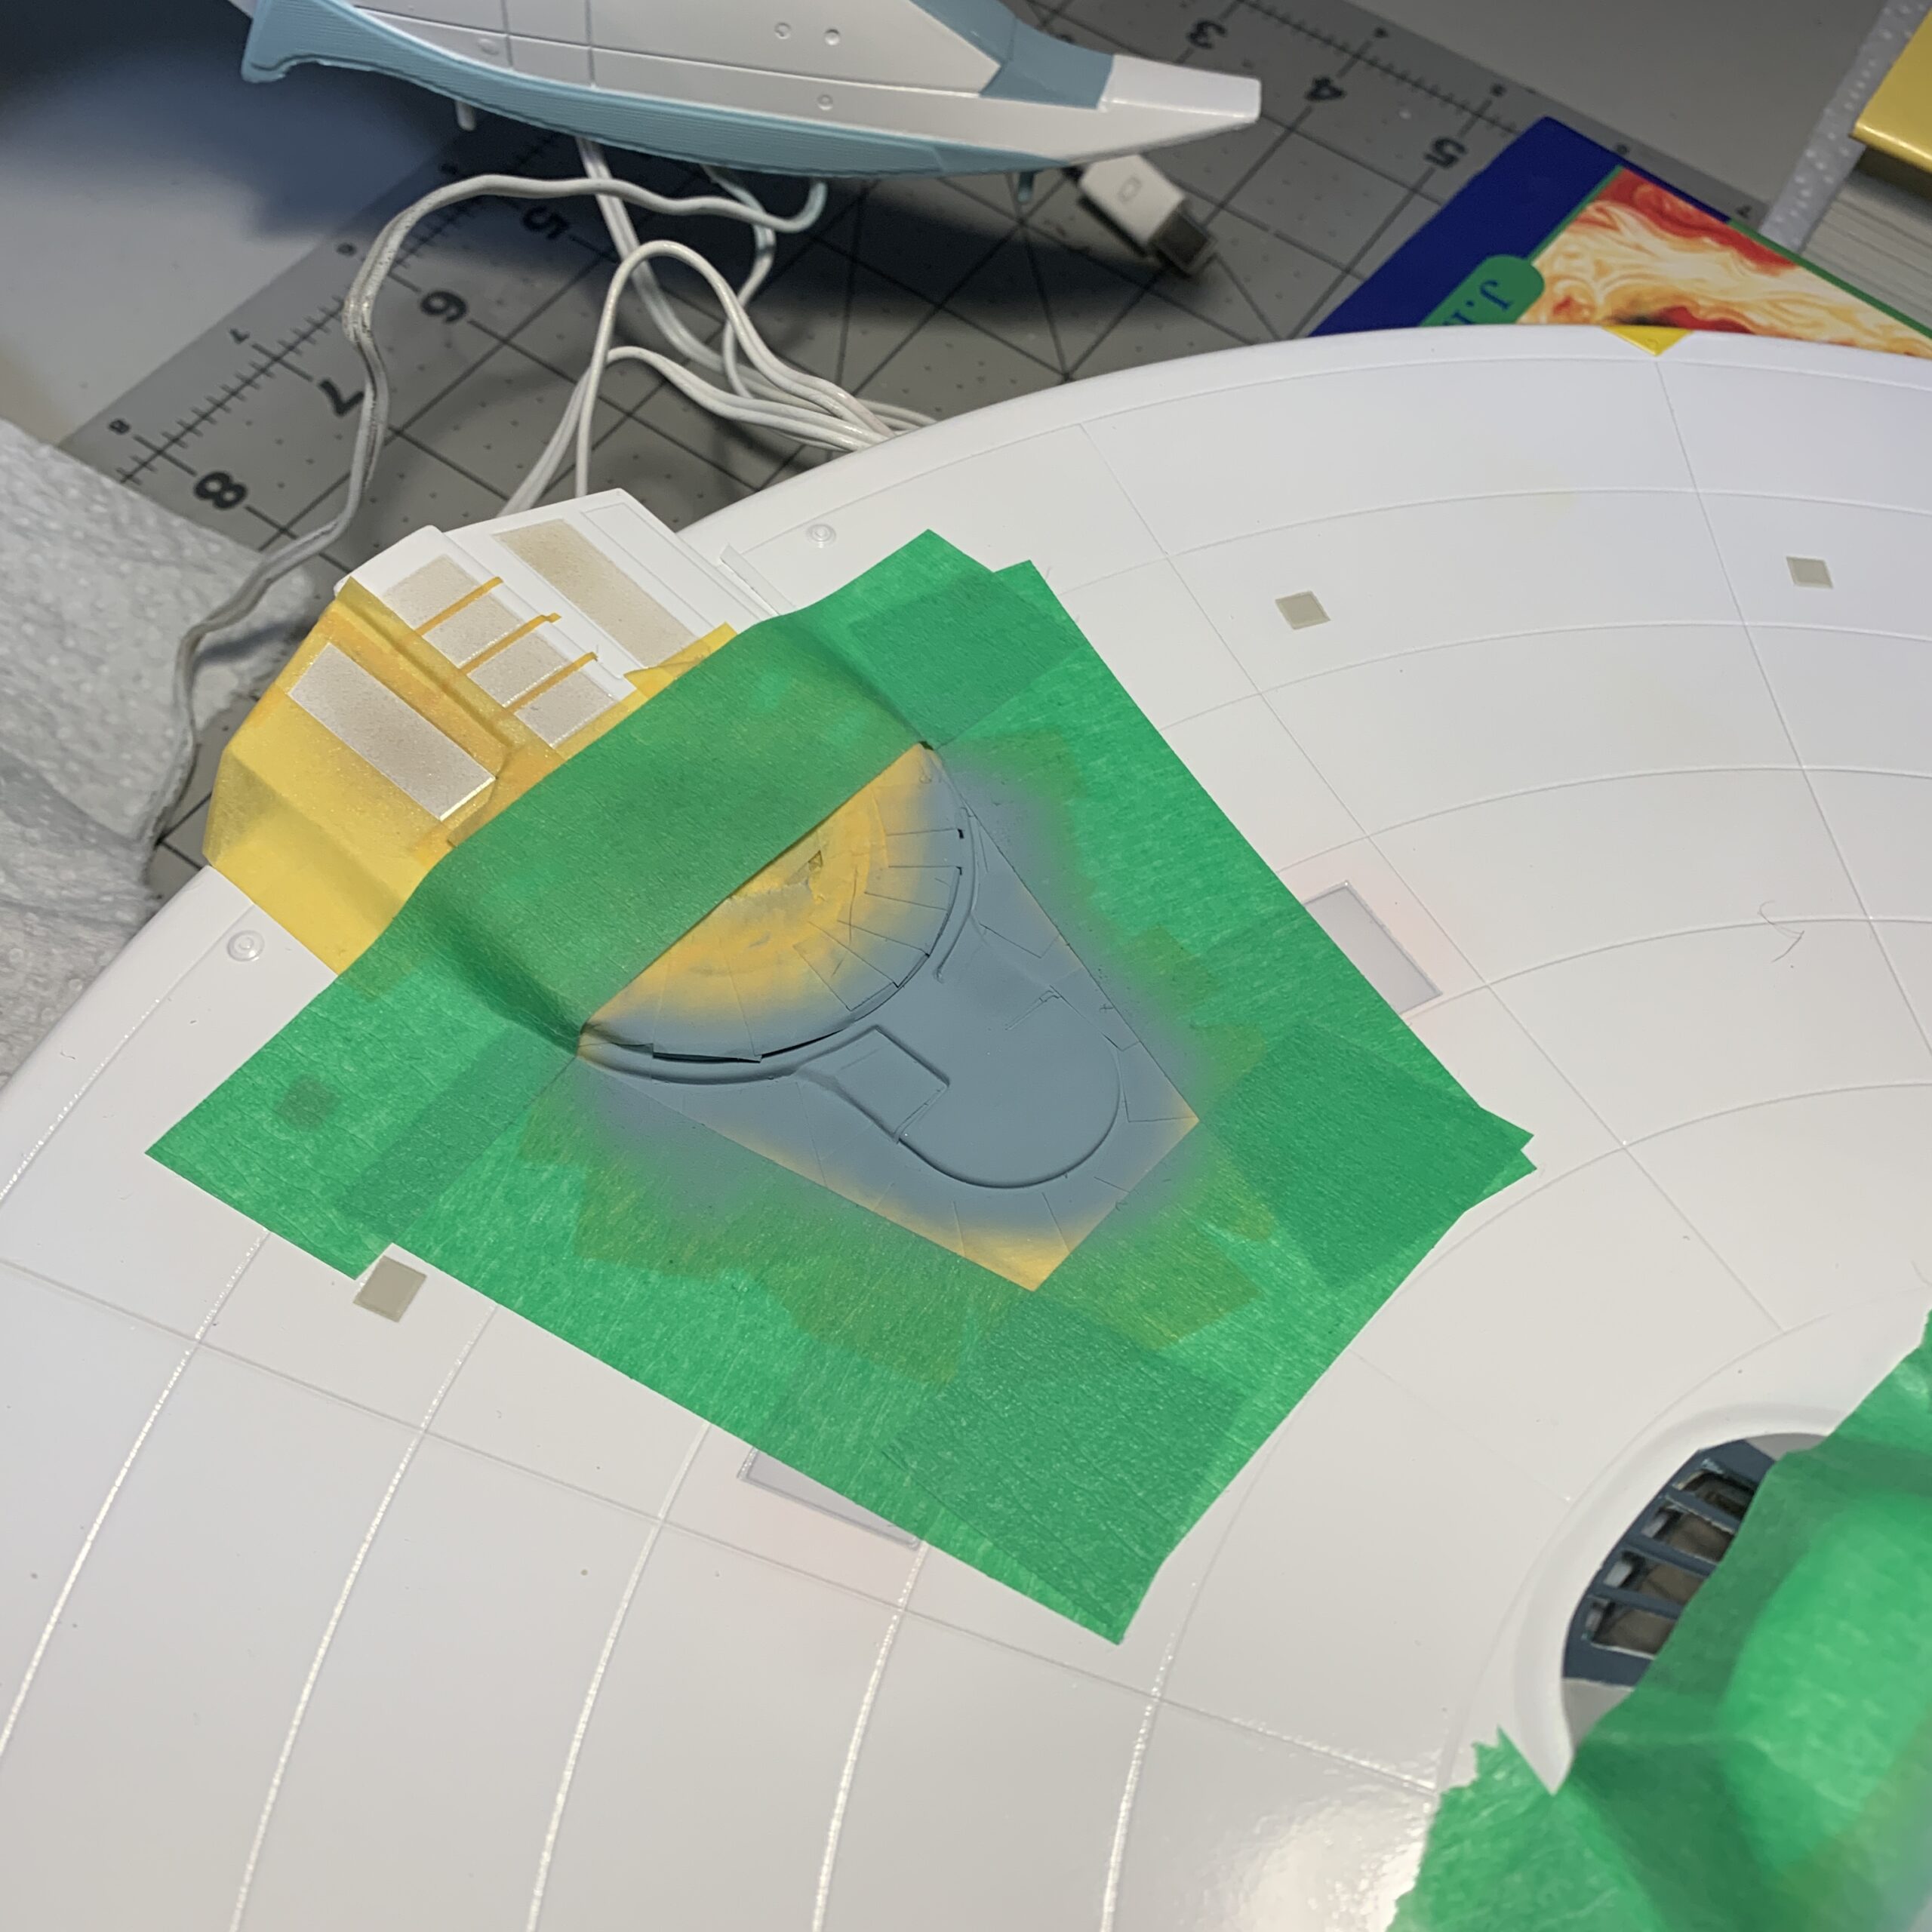
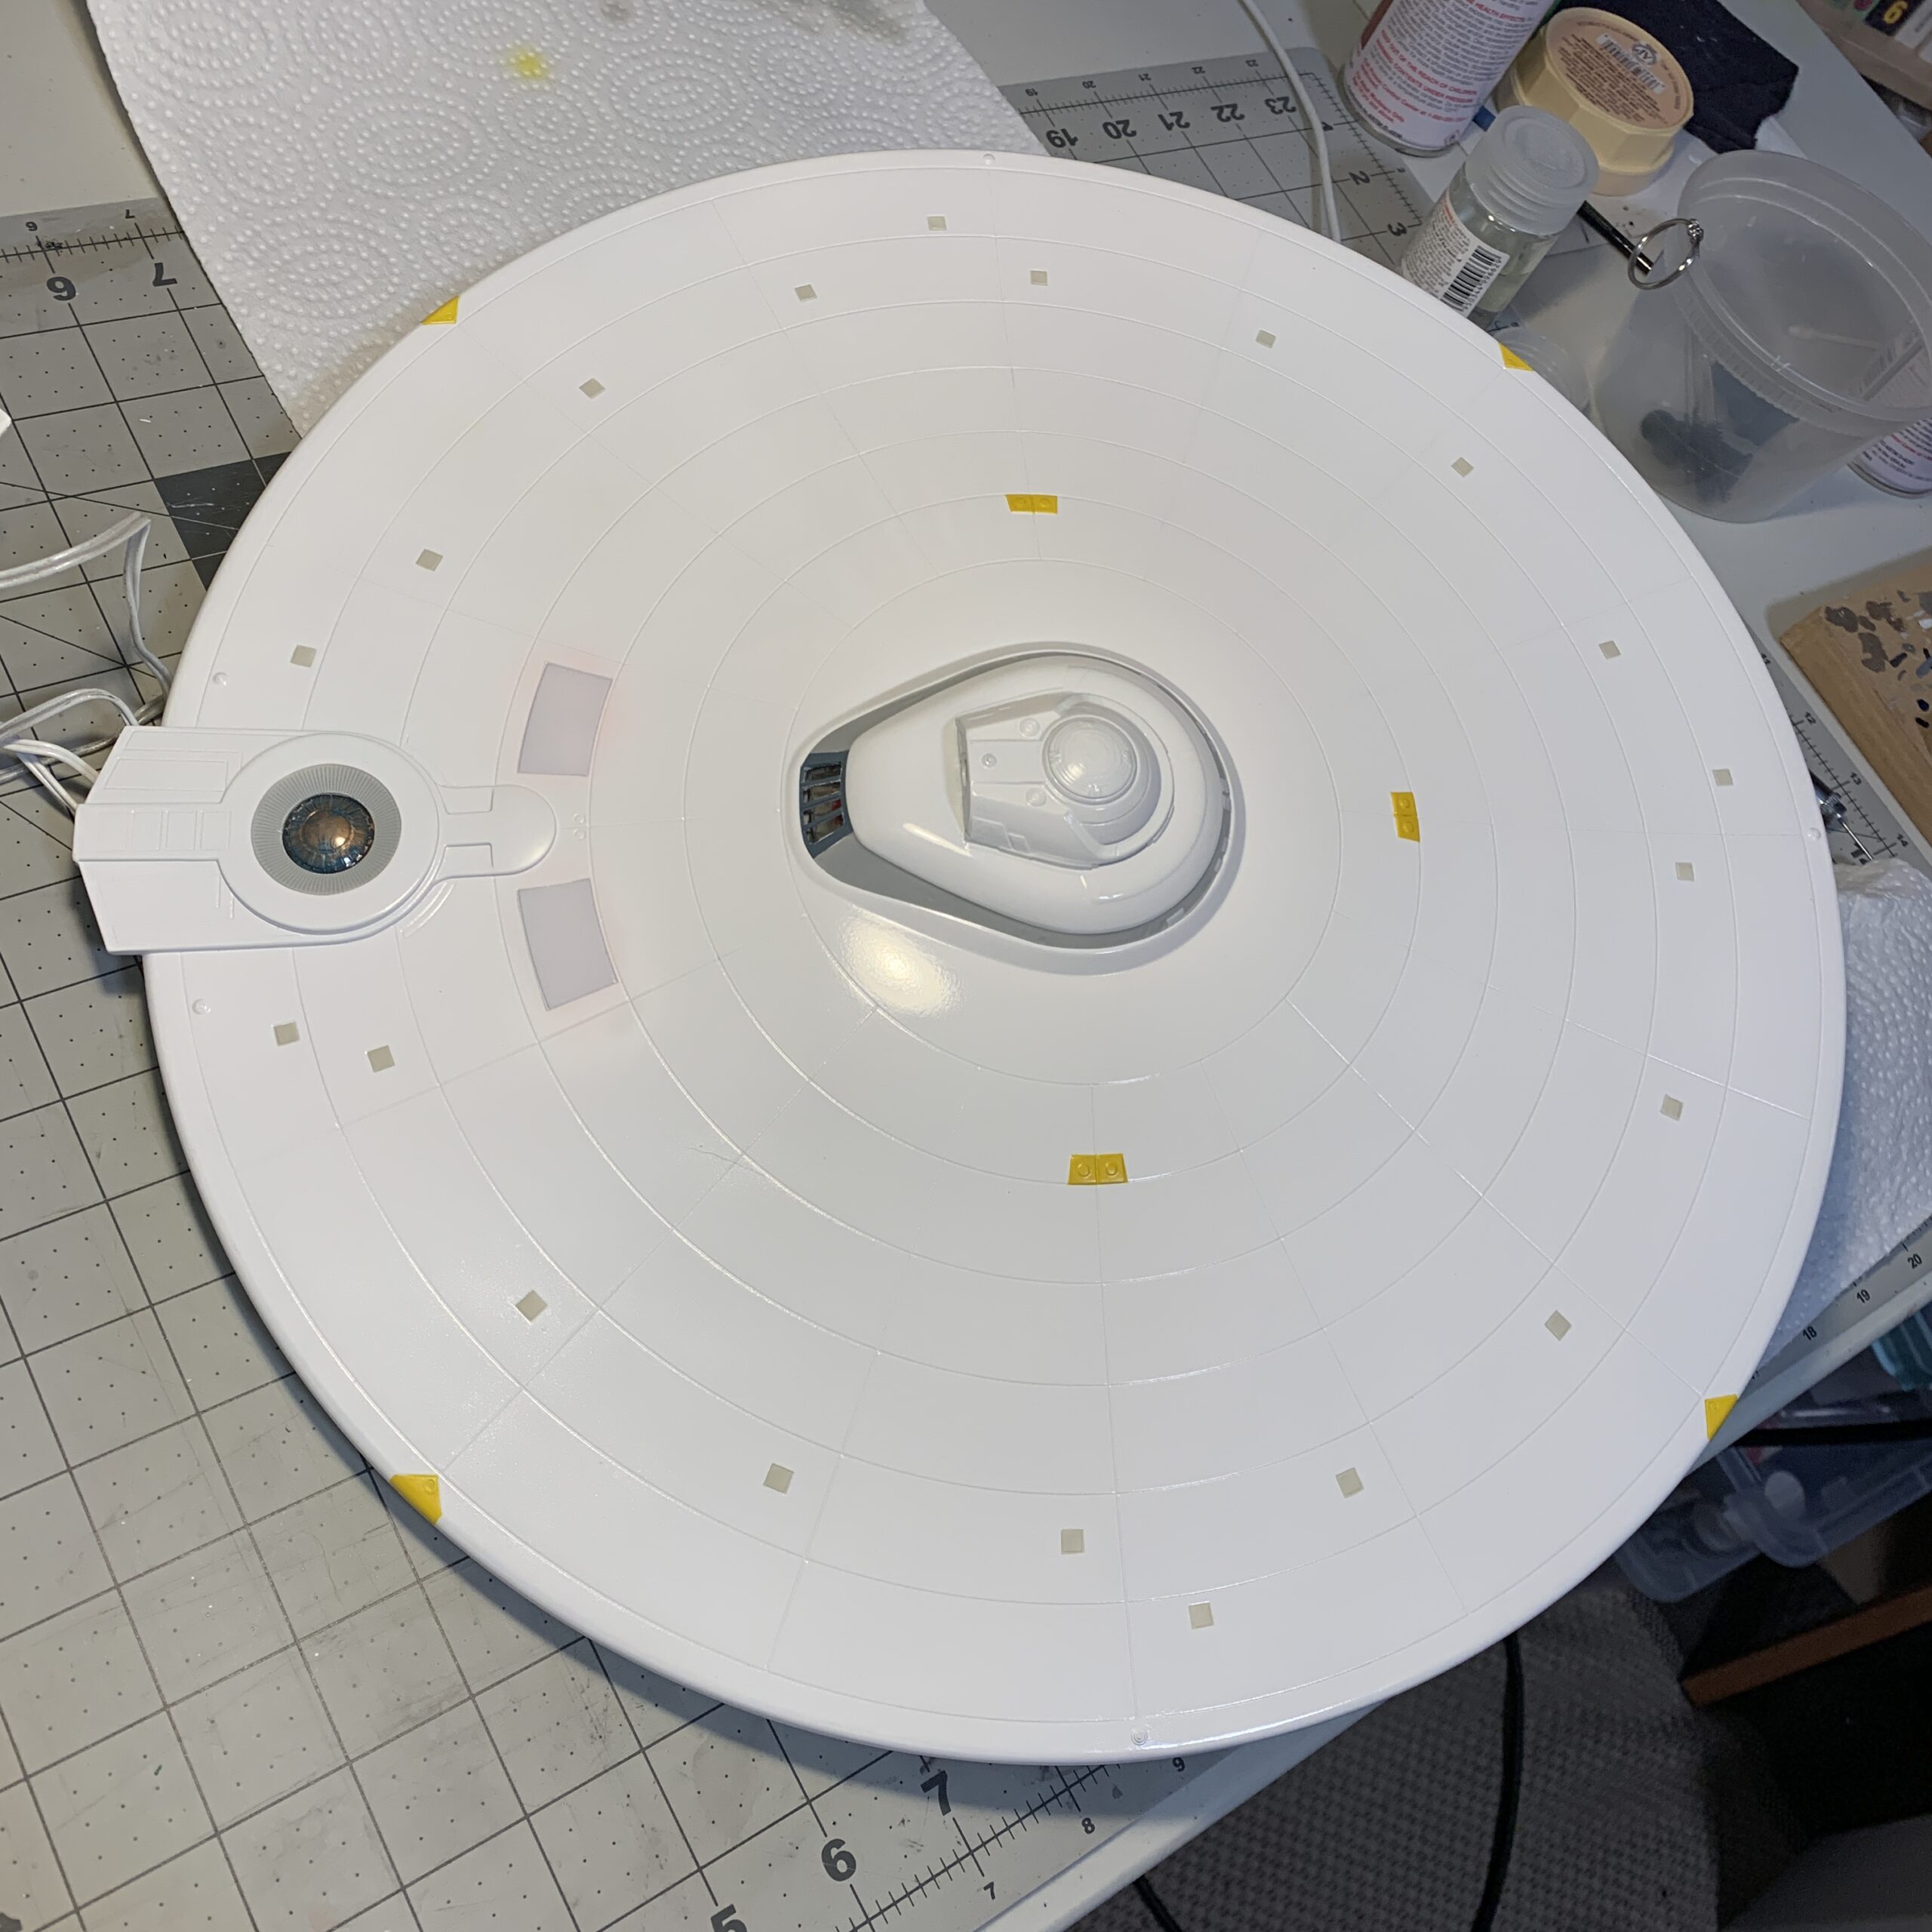
For the lower dome, I just needed to apply some dark grey, but it was a bit tricky as the paint needed to be applied under the ridge of the dome, but, with some tape and tweezers, I made it work. Taping off the grilles and dome were easier!
As for the A/B/C decks, these basically just took patience and masking. The rear area, with the officer’s lounge, was tricky because of the windows, and needed lots of touching up (and I think maybe the blue is a bit dark), but it looks fine. The rest of the detail turned out well.
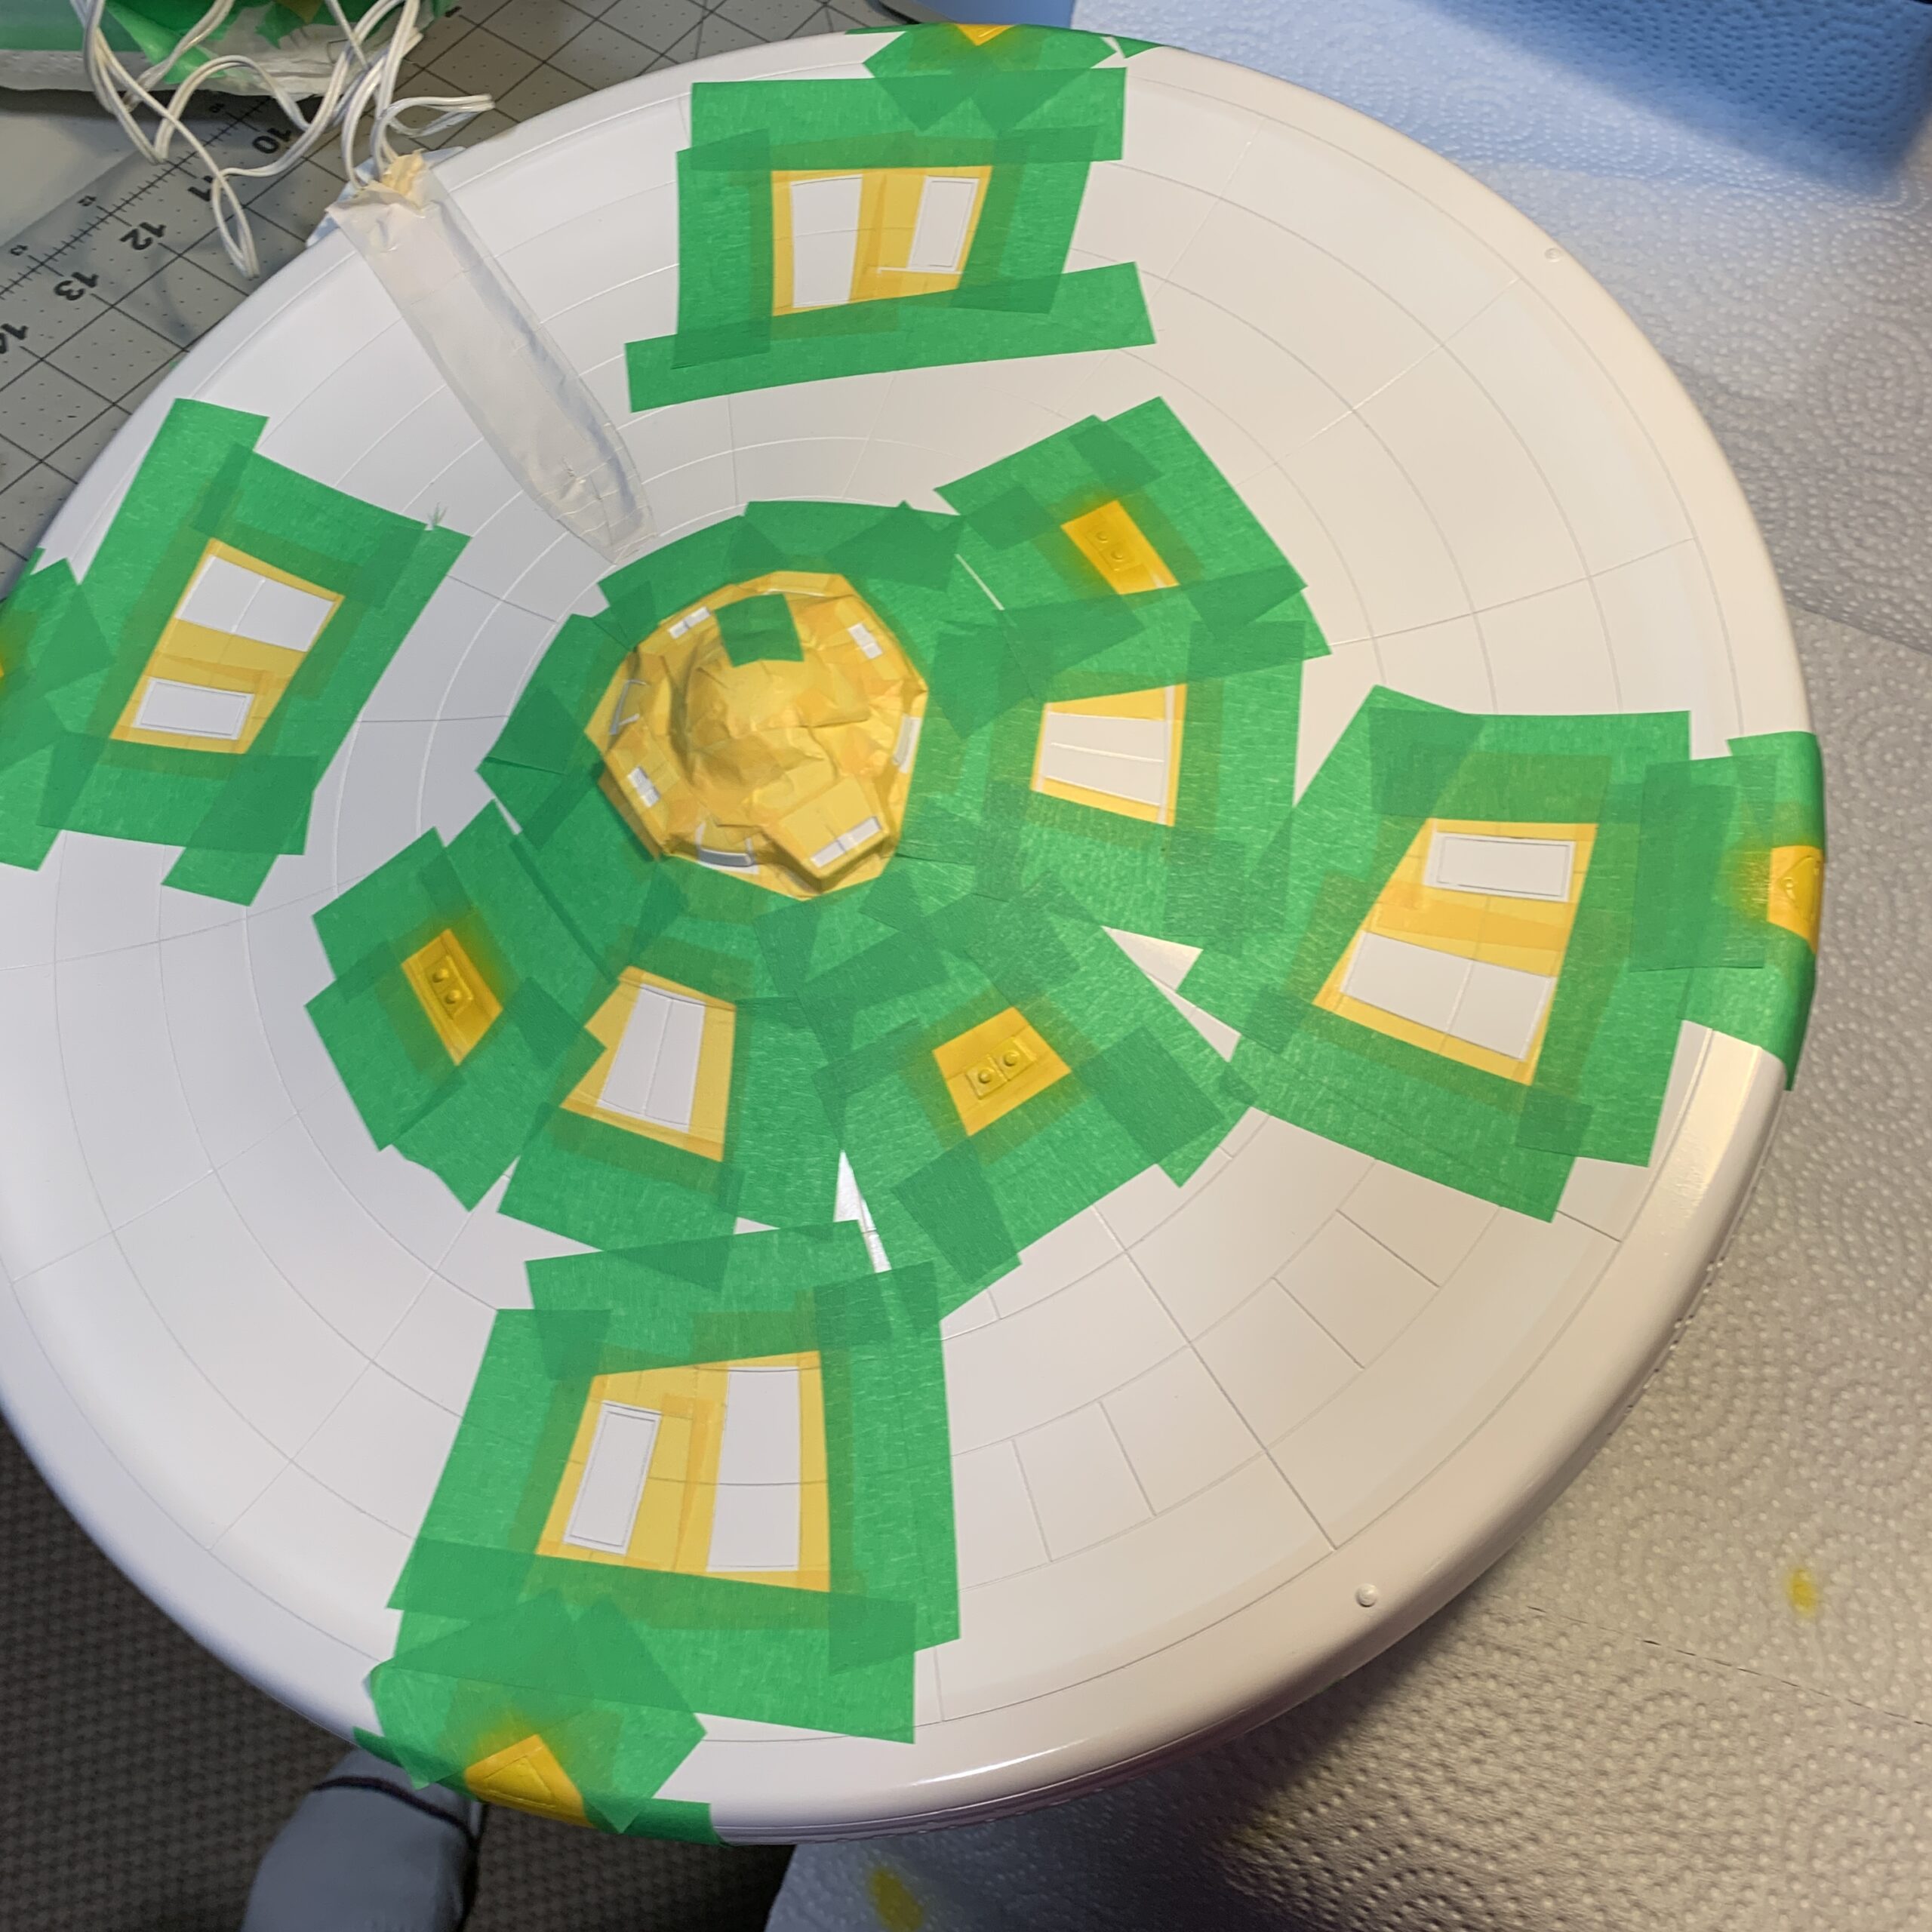
From there there were some final touchups, including dark yellow for the phaser emitters, gloss black for the thrusters, clear red and green for the running lights…
And voila!
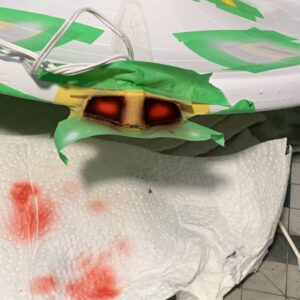
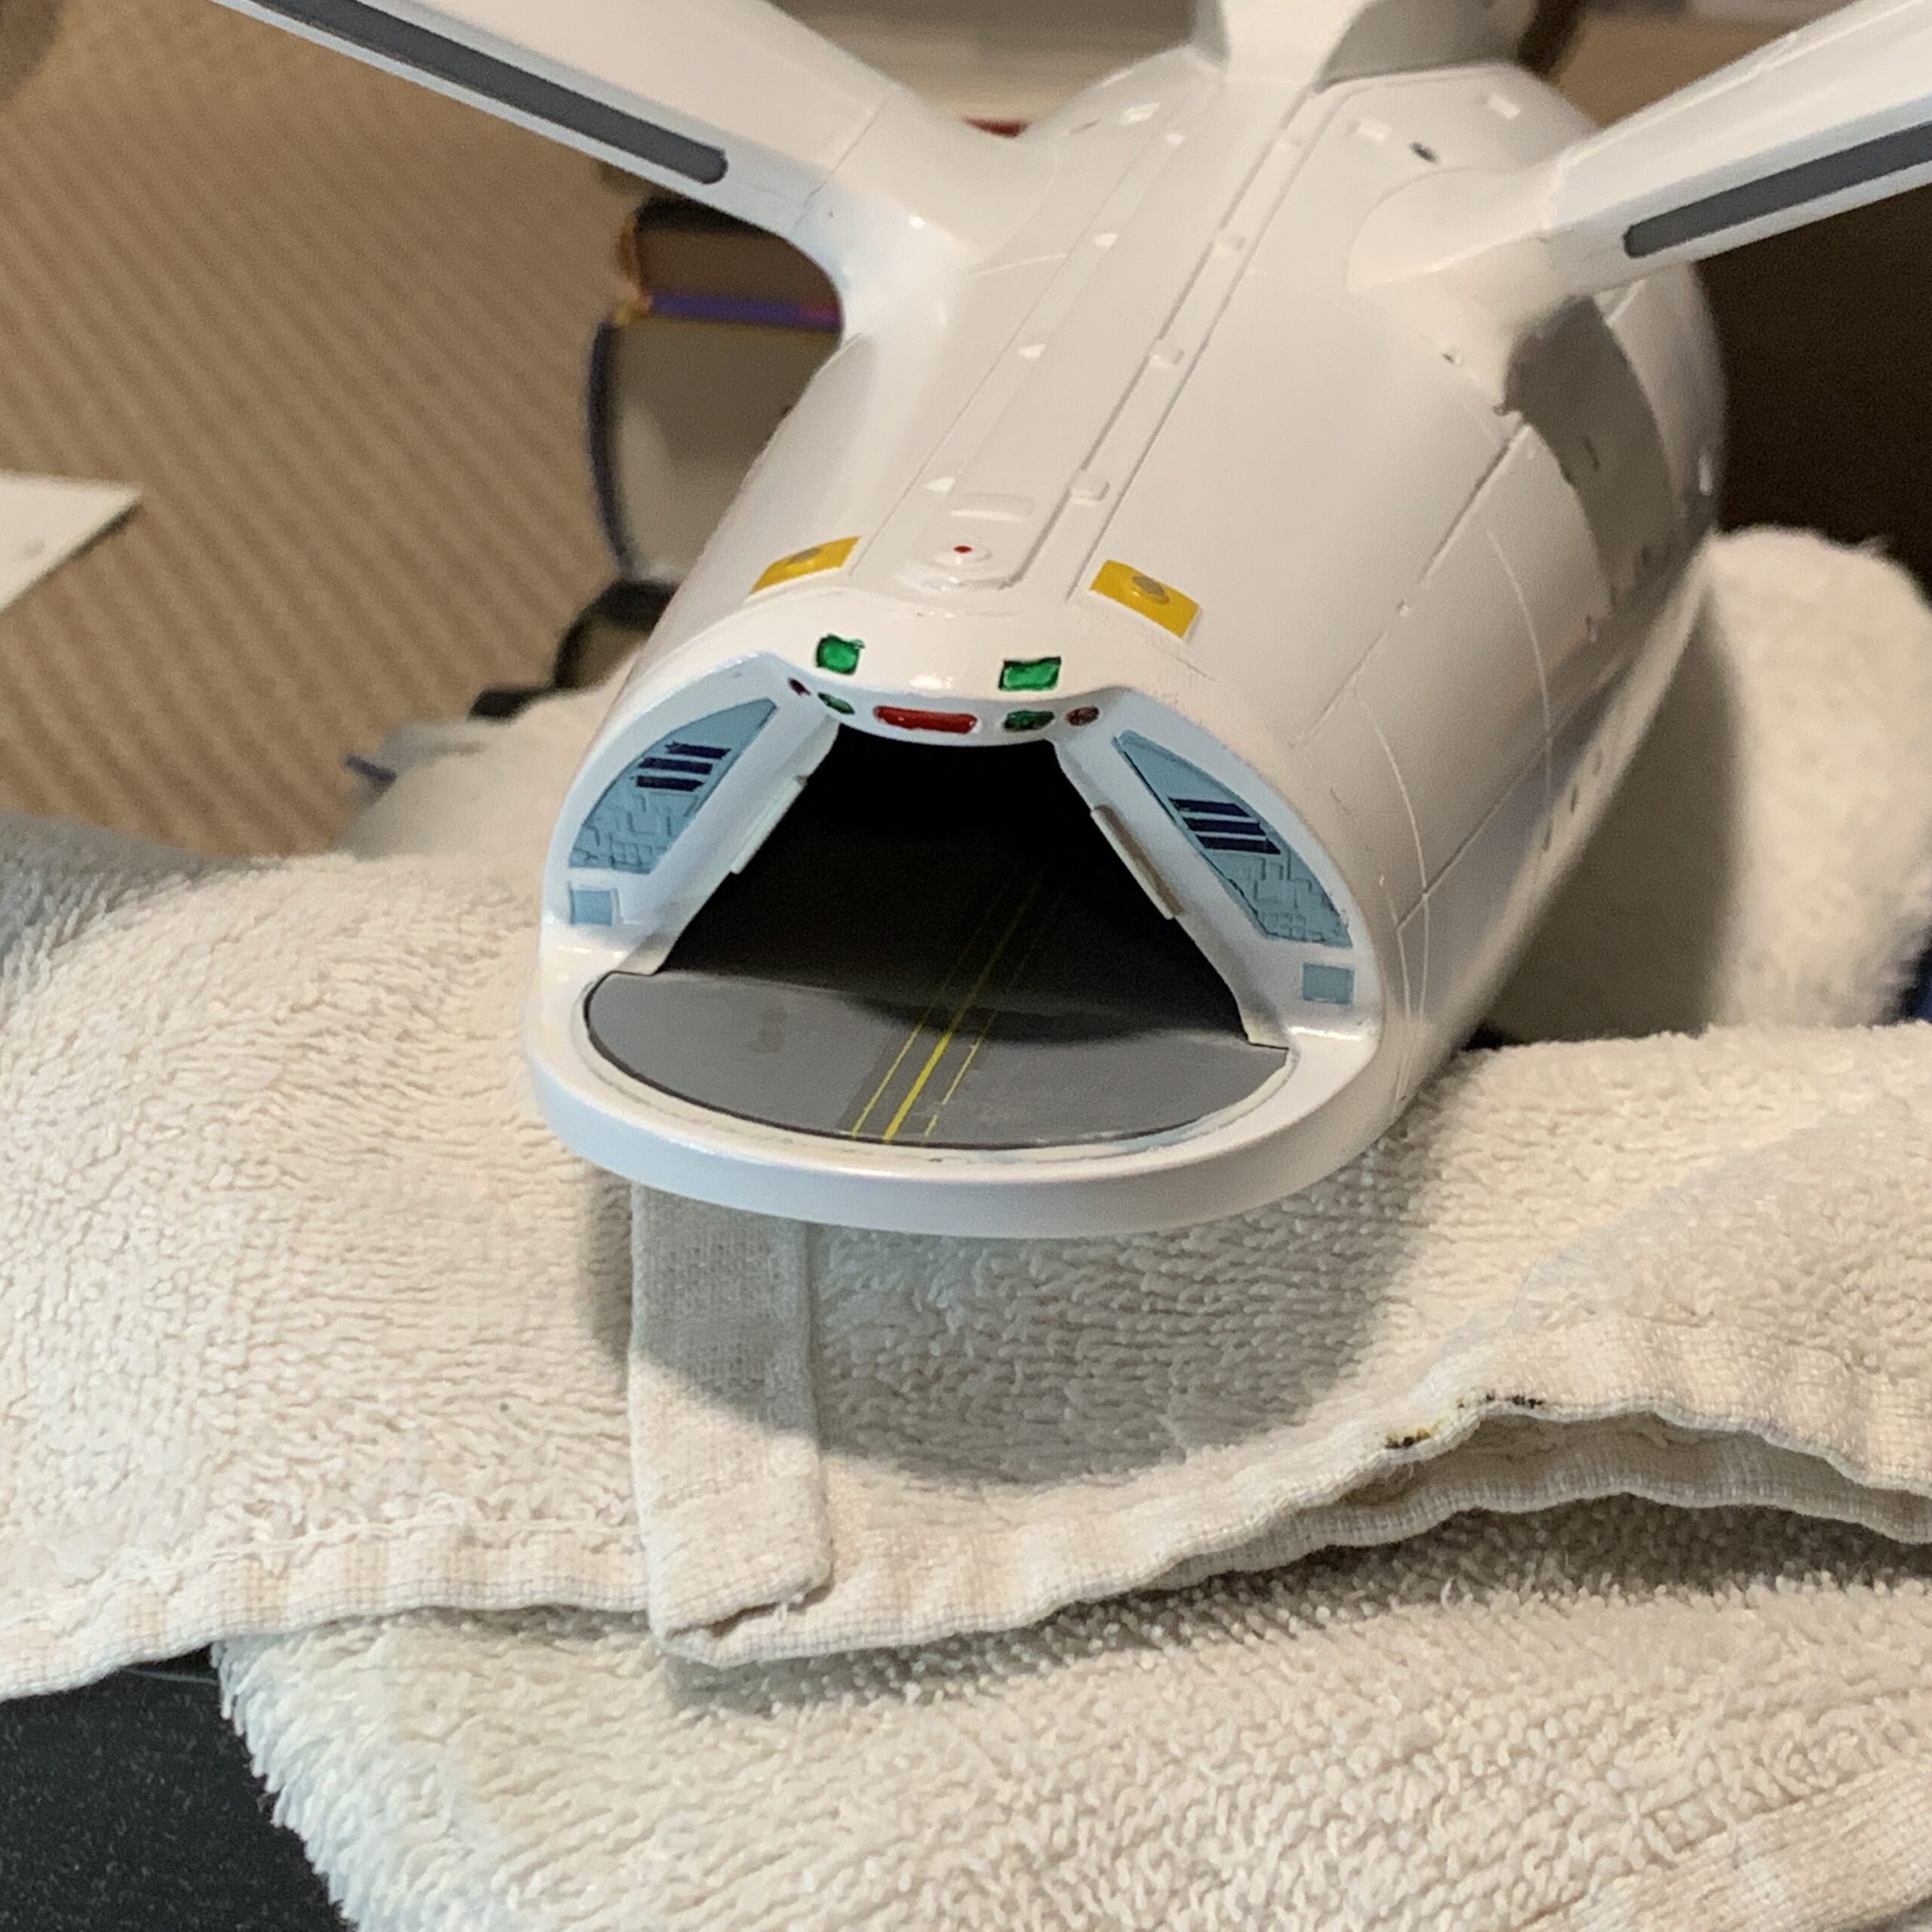
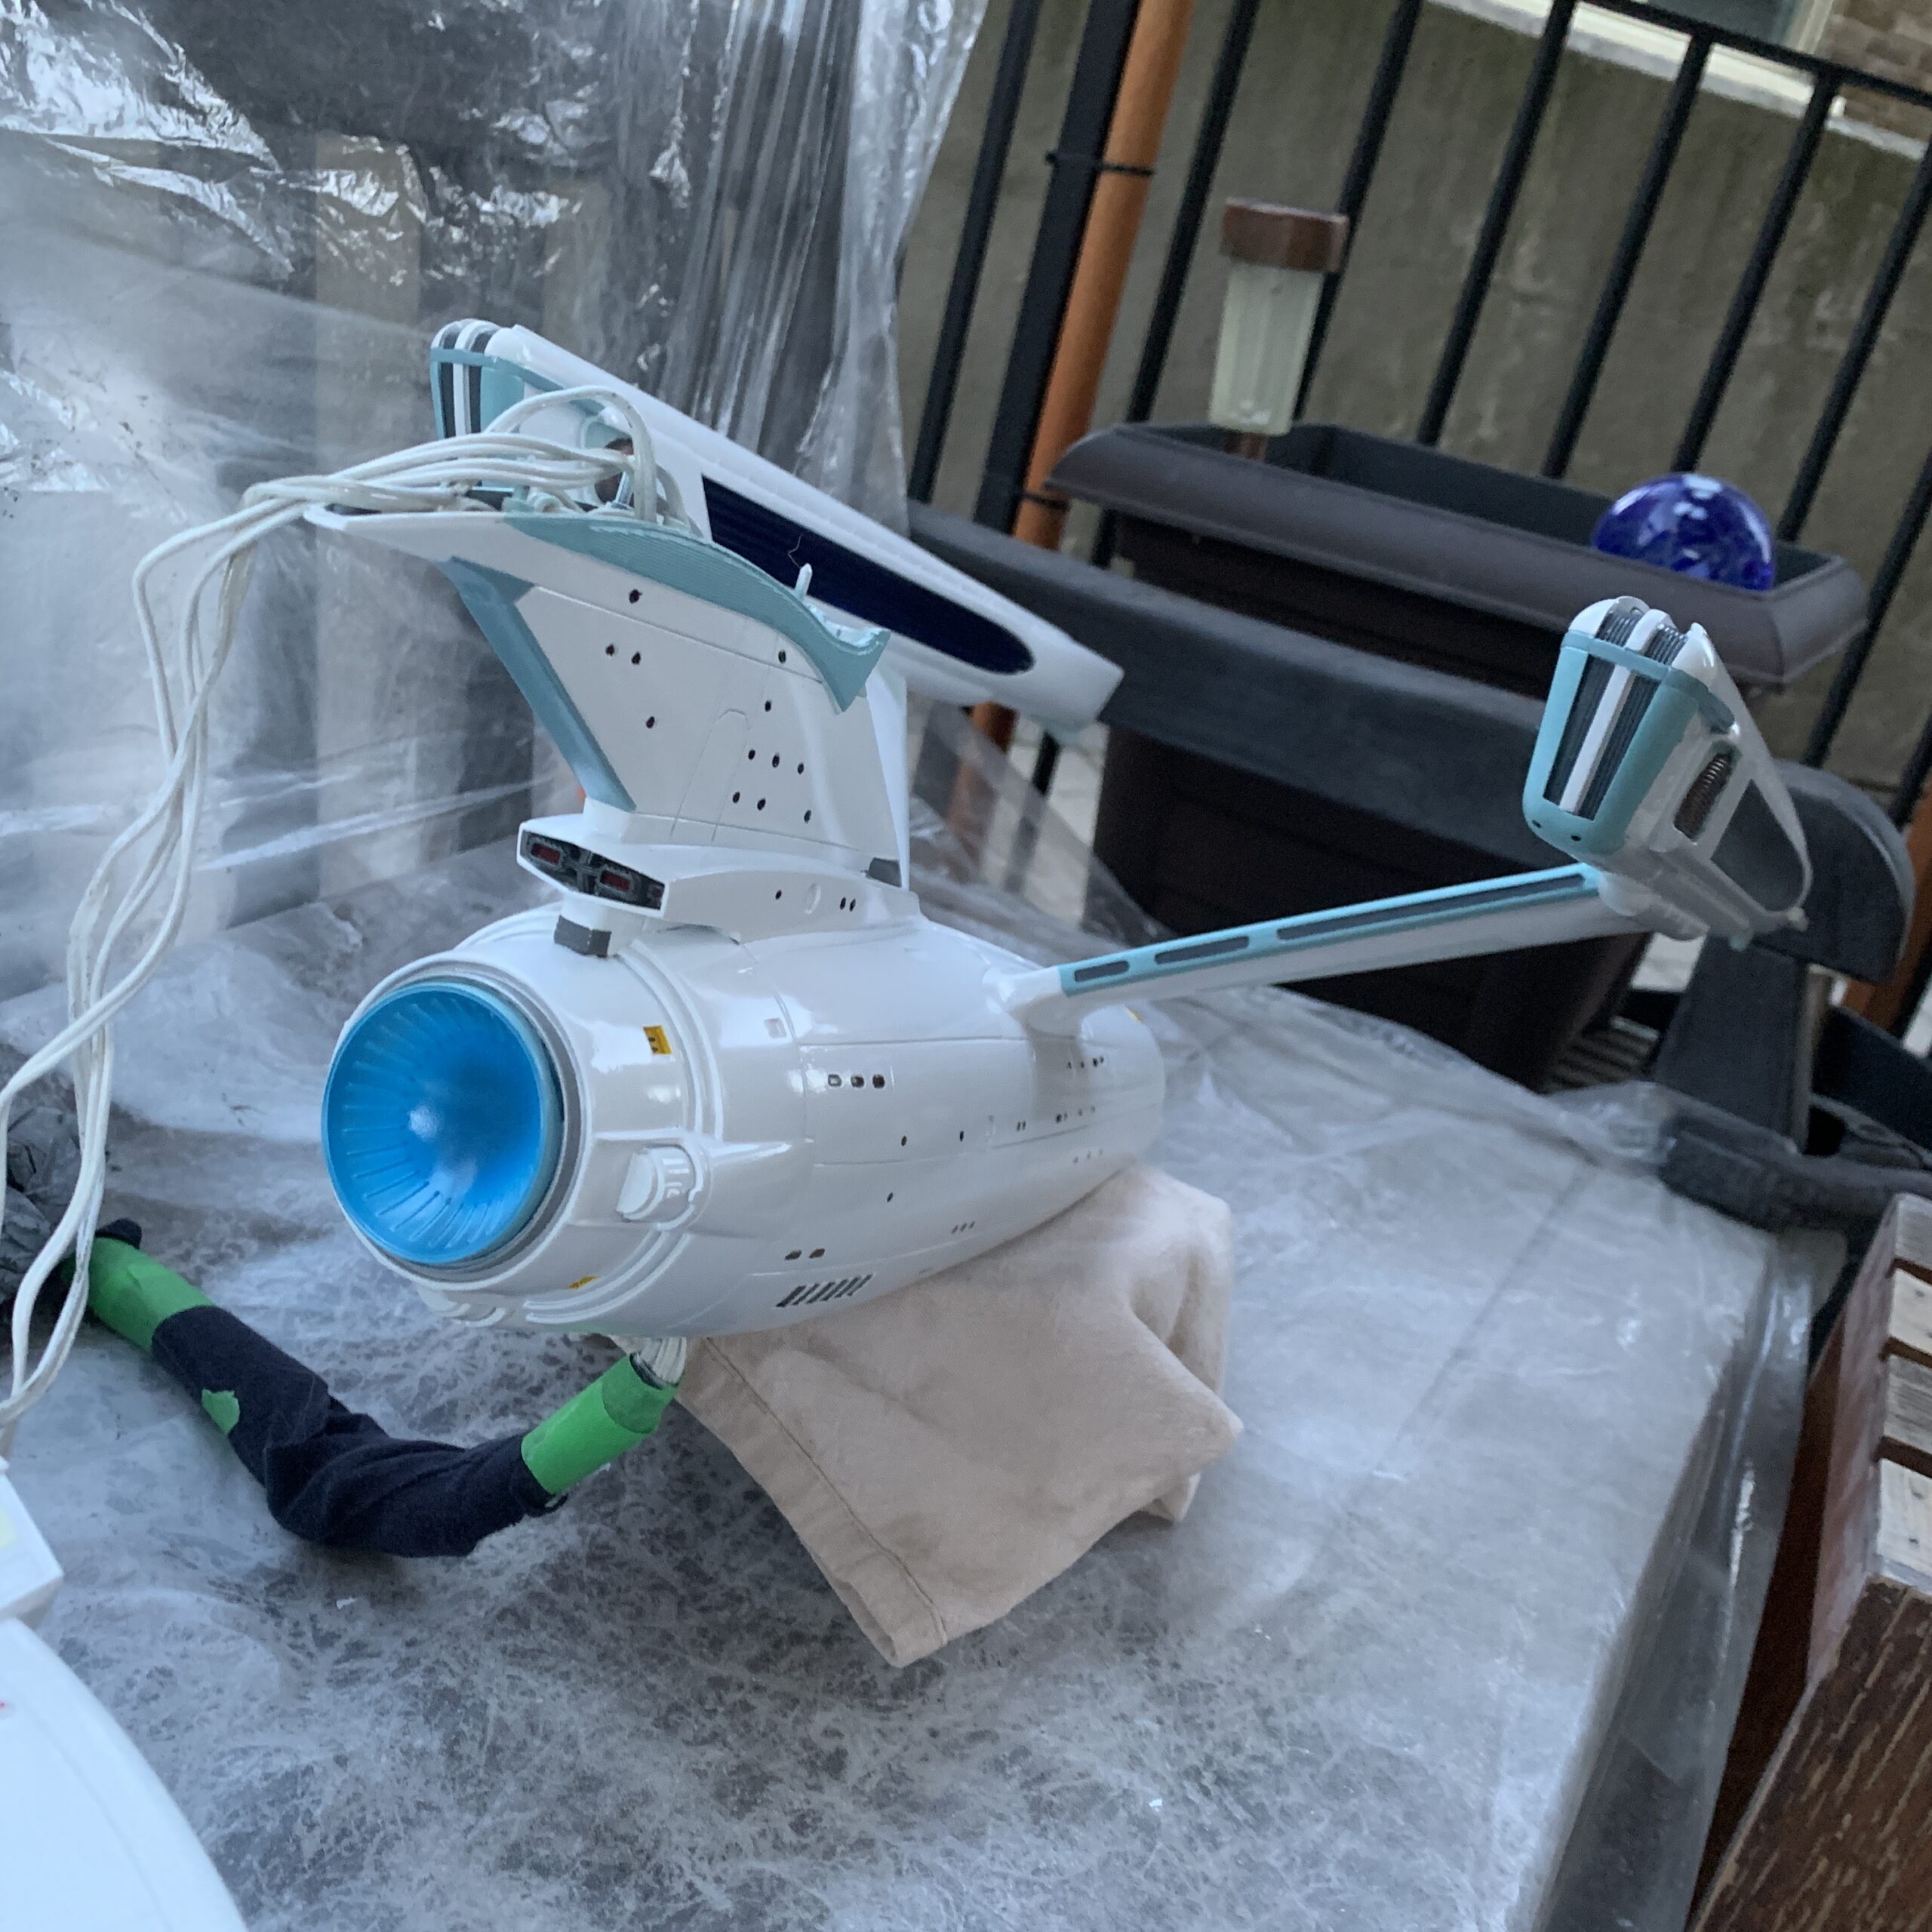
Also one more note, I realized I didn’t take any photos of the shuttle bay area. Basically this just involved masking off the lighted areas, and painting the detail areas in blue; the lights above the door, in which the liquid mask is stuck, were done in clear green and red. Like so:
The flght deck itself does need to be painted, and I’ll do that once I’ve given this area another clear coat.
As for the doors, those were done up in Pure White, and then pearl blue, red, gold and green highlights were added.
Then finally, with all of the paint detail done, I clear-coated the entire model, and then polished it, so that it was ready for decals.
Who’s ready for some aztecing?