Welcome to my Polar Lights Refit Enterprise Re-deco Log! This isn’t a “build log,” because I’m not building this thing — just re-finishing it. Read on!
Everyone loves the Polar Lights Refit Enterprise (or Enteprise-A) kit. The refit Enterprise, which originally appeared in 1979’s Star Trek: The Motion Picture, is a fan-favourite ship design (it’s my all-time favourite Enterprise) and this kit (as far as I know) is the biggest mass-market starship Enterprise kit available. It’s designed to be lit, it’s fairly accurate and it’s relatively easy to build. Of course, the lighting and painting are anything but easy.
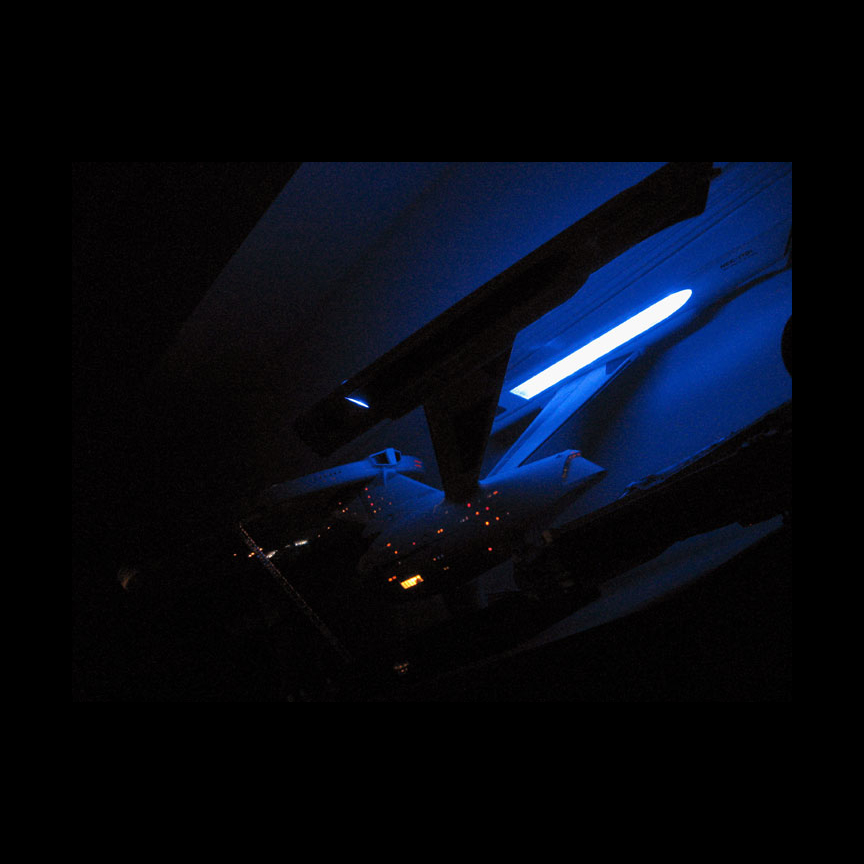
I first built this kit shortly after it was first released, in 2006. Well, started to build it would be more accurate. For various reasons, including a move to a much smaller apartment (with no outdoor space where I could spray paint) I had to put it away after a couple of months, having only completed various sub-assemblies and painted a base white coat. I did manage to install some very crude lighting, mostly using LED lights that I bought from Ikea.
Then it sat in the closet for about three years. Finally I got tired of it sitting there and decided to just assemble it and stick the marking decals on, and I could come back to it later.
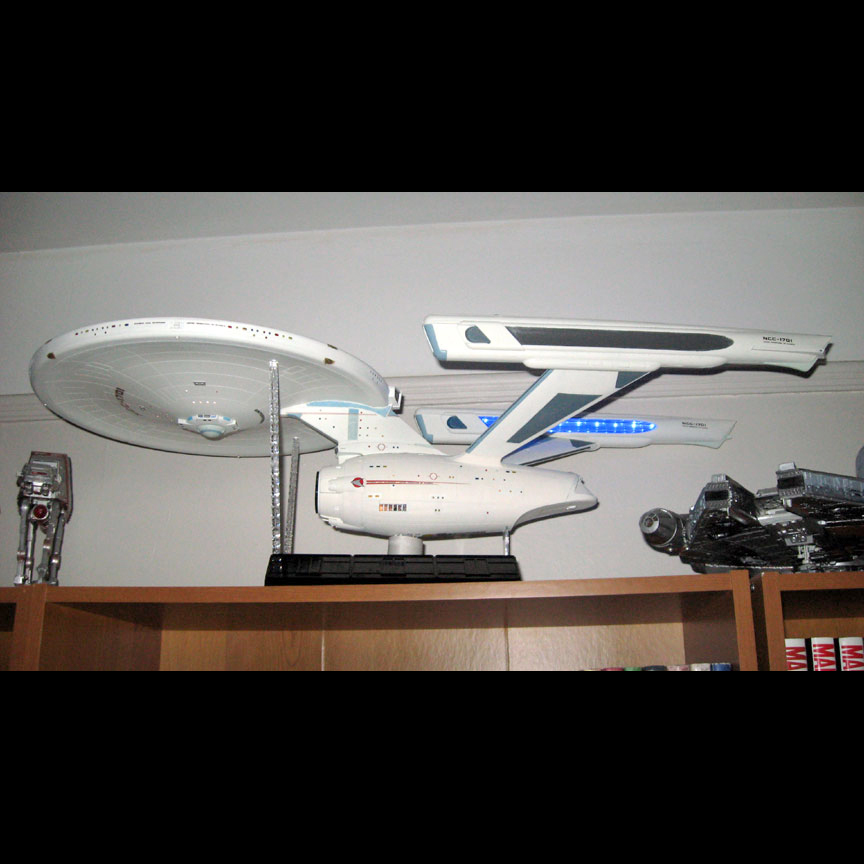
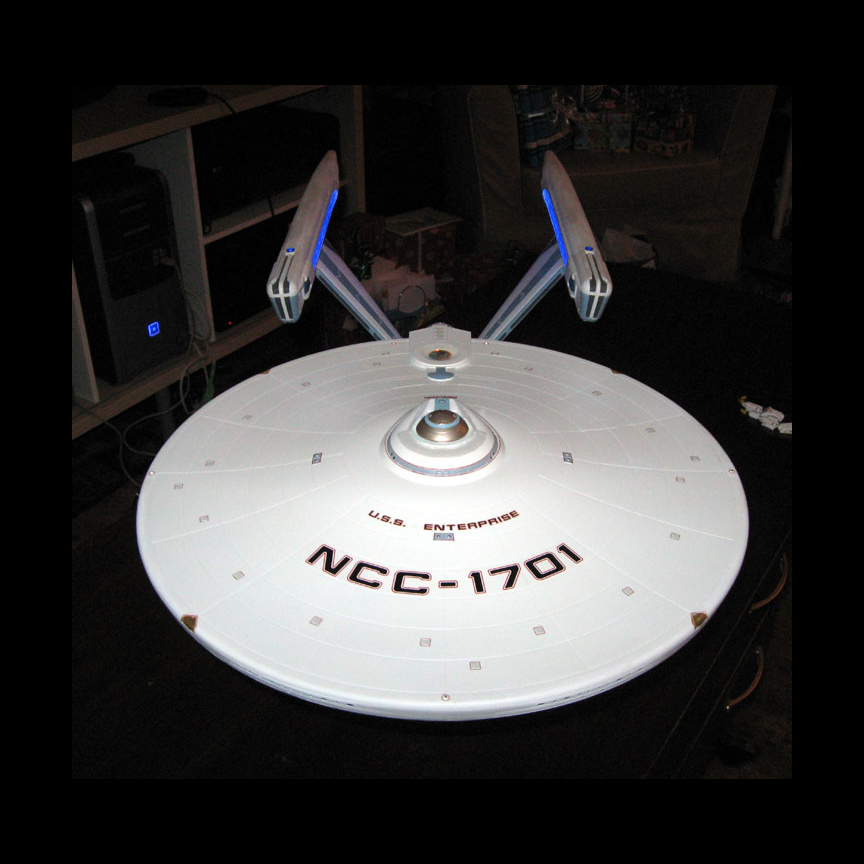
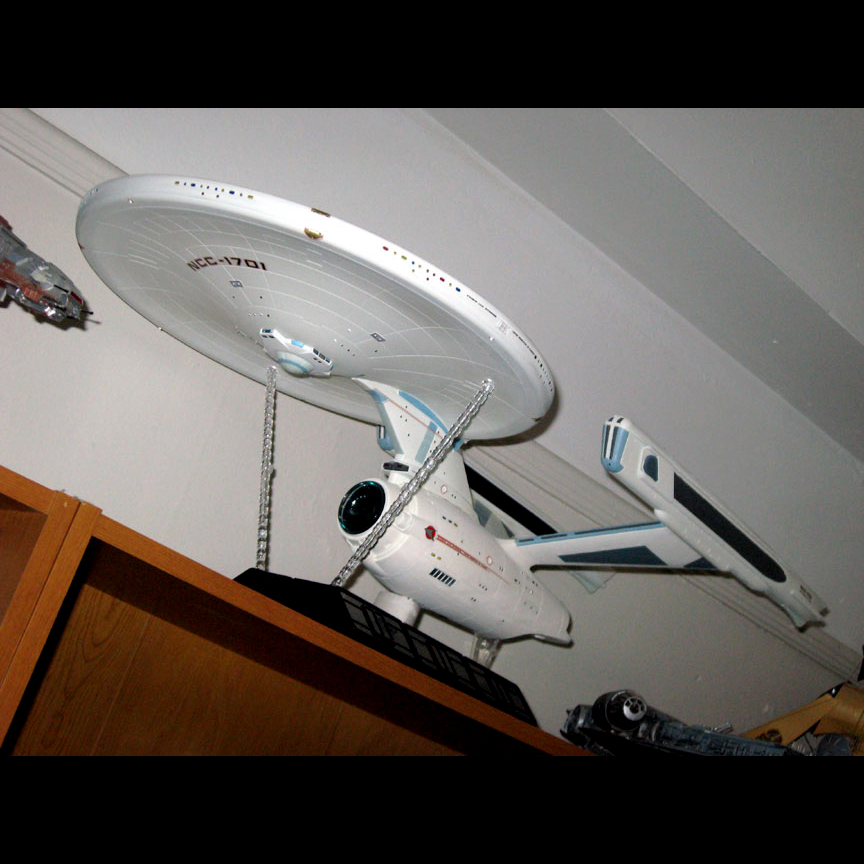
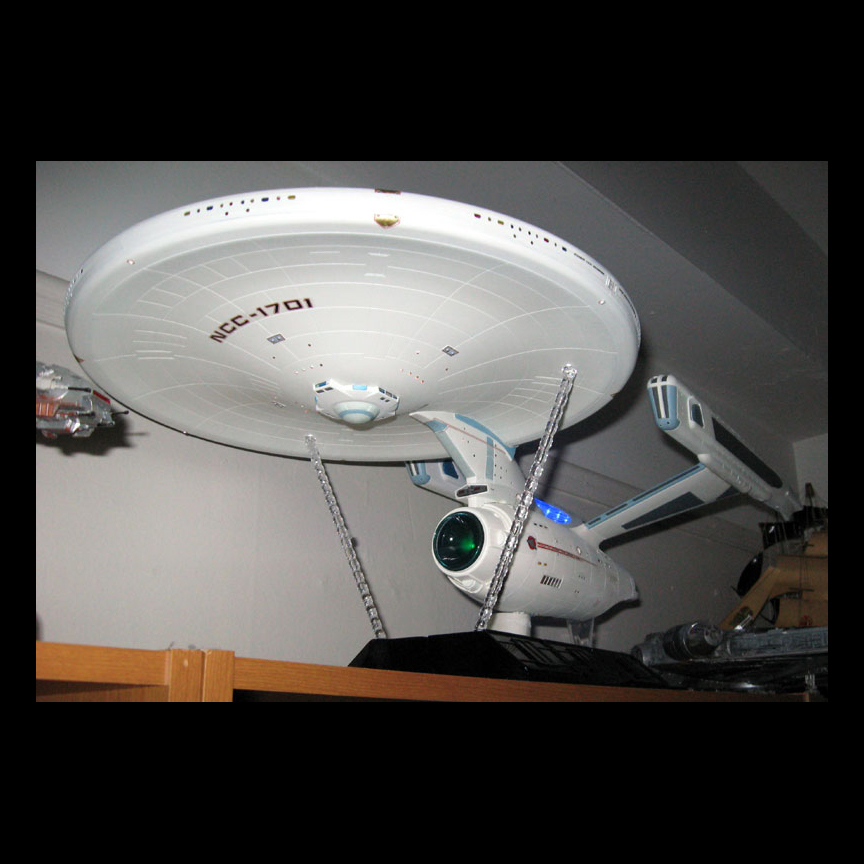
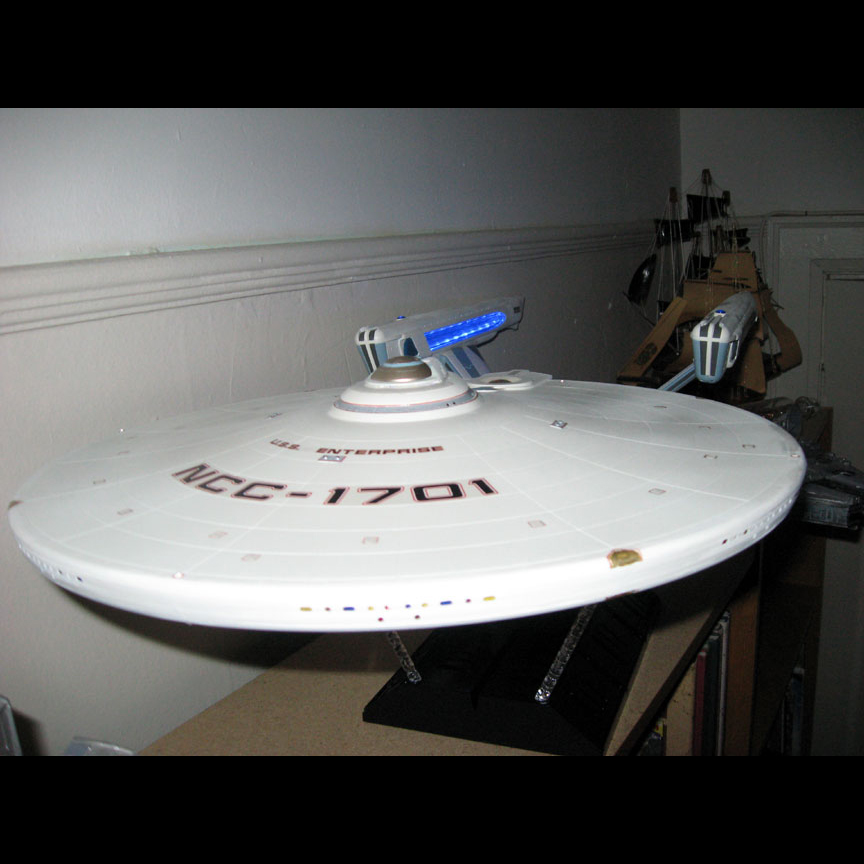
It looked fine, for what it was, but it wasn’t finished properly and I kinda hated it.
Finally, 11 years later… I came back to it!
Mission aborted
I actually planned to come back to the kit in 2015, after I finished the Hasbro Millennium Falcon. I purchased the Aztec marking decals that Polar Lights put out, and then I even started taking off the old decals (half of which had started to peel anyway). But that Millennium project took more out of me than expected and when it was all done, I wasn’t up for working on the Enterprise. So now it was the new decals’ turn to sit in the closet for years, and the ship returned to its display shelf, now without even a marking decal telling you what ship it was.
Which brings us up to 2020. Funnily enough, I wasn’t, actually, planning to work on this kit now. My plan was to build the DeAgostini Millennium Falcon as my “spring” project. But then the Death Star mobile project came up, pushing the Falcon to the back burner. And while I was building the Death Star, I watched the Star Trek: Picard show, and that put me in a Trek mood, I guess, so I decided it was time to fix this Enterprise.
Refitting the refit
The first thing I had to do was remove any remaining decals. Some came off really easily, some came off after soaking in Micro-Sol, and same needed to be sanded and scraped off. So far, this has been the least enjoyable part of this project! Once that was done, it was on to sanding down the hull.
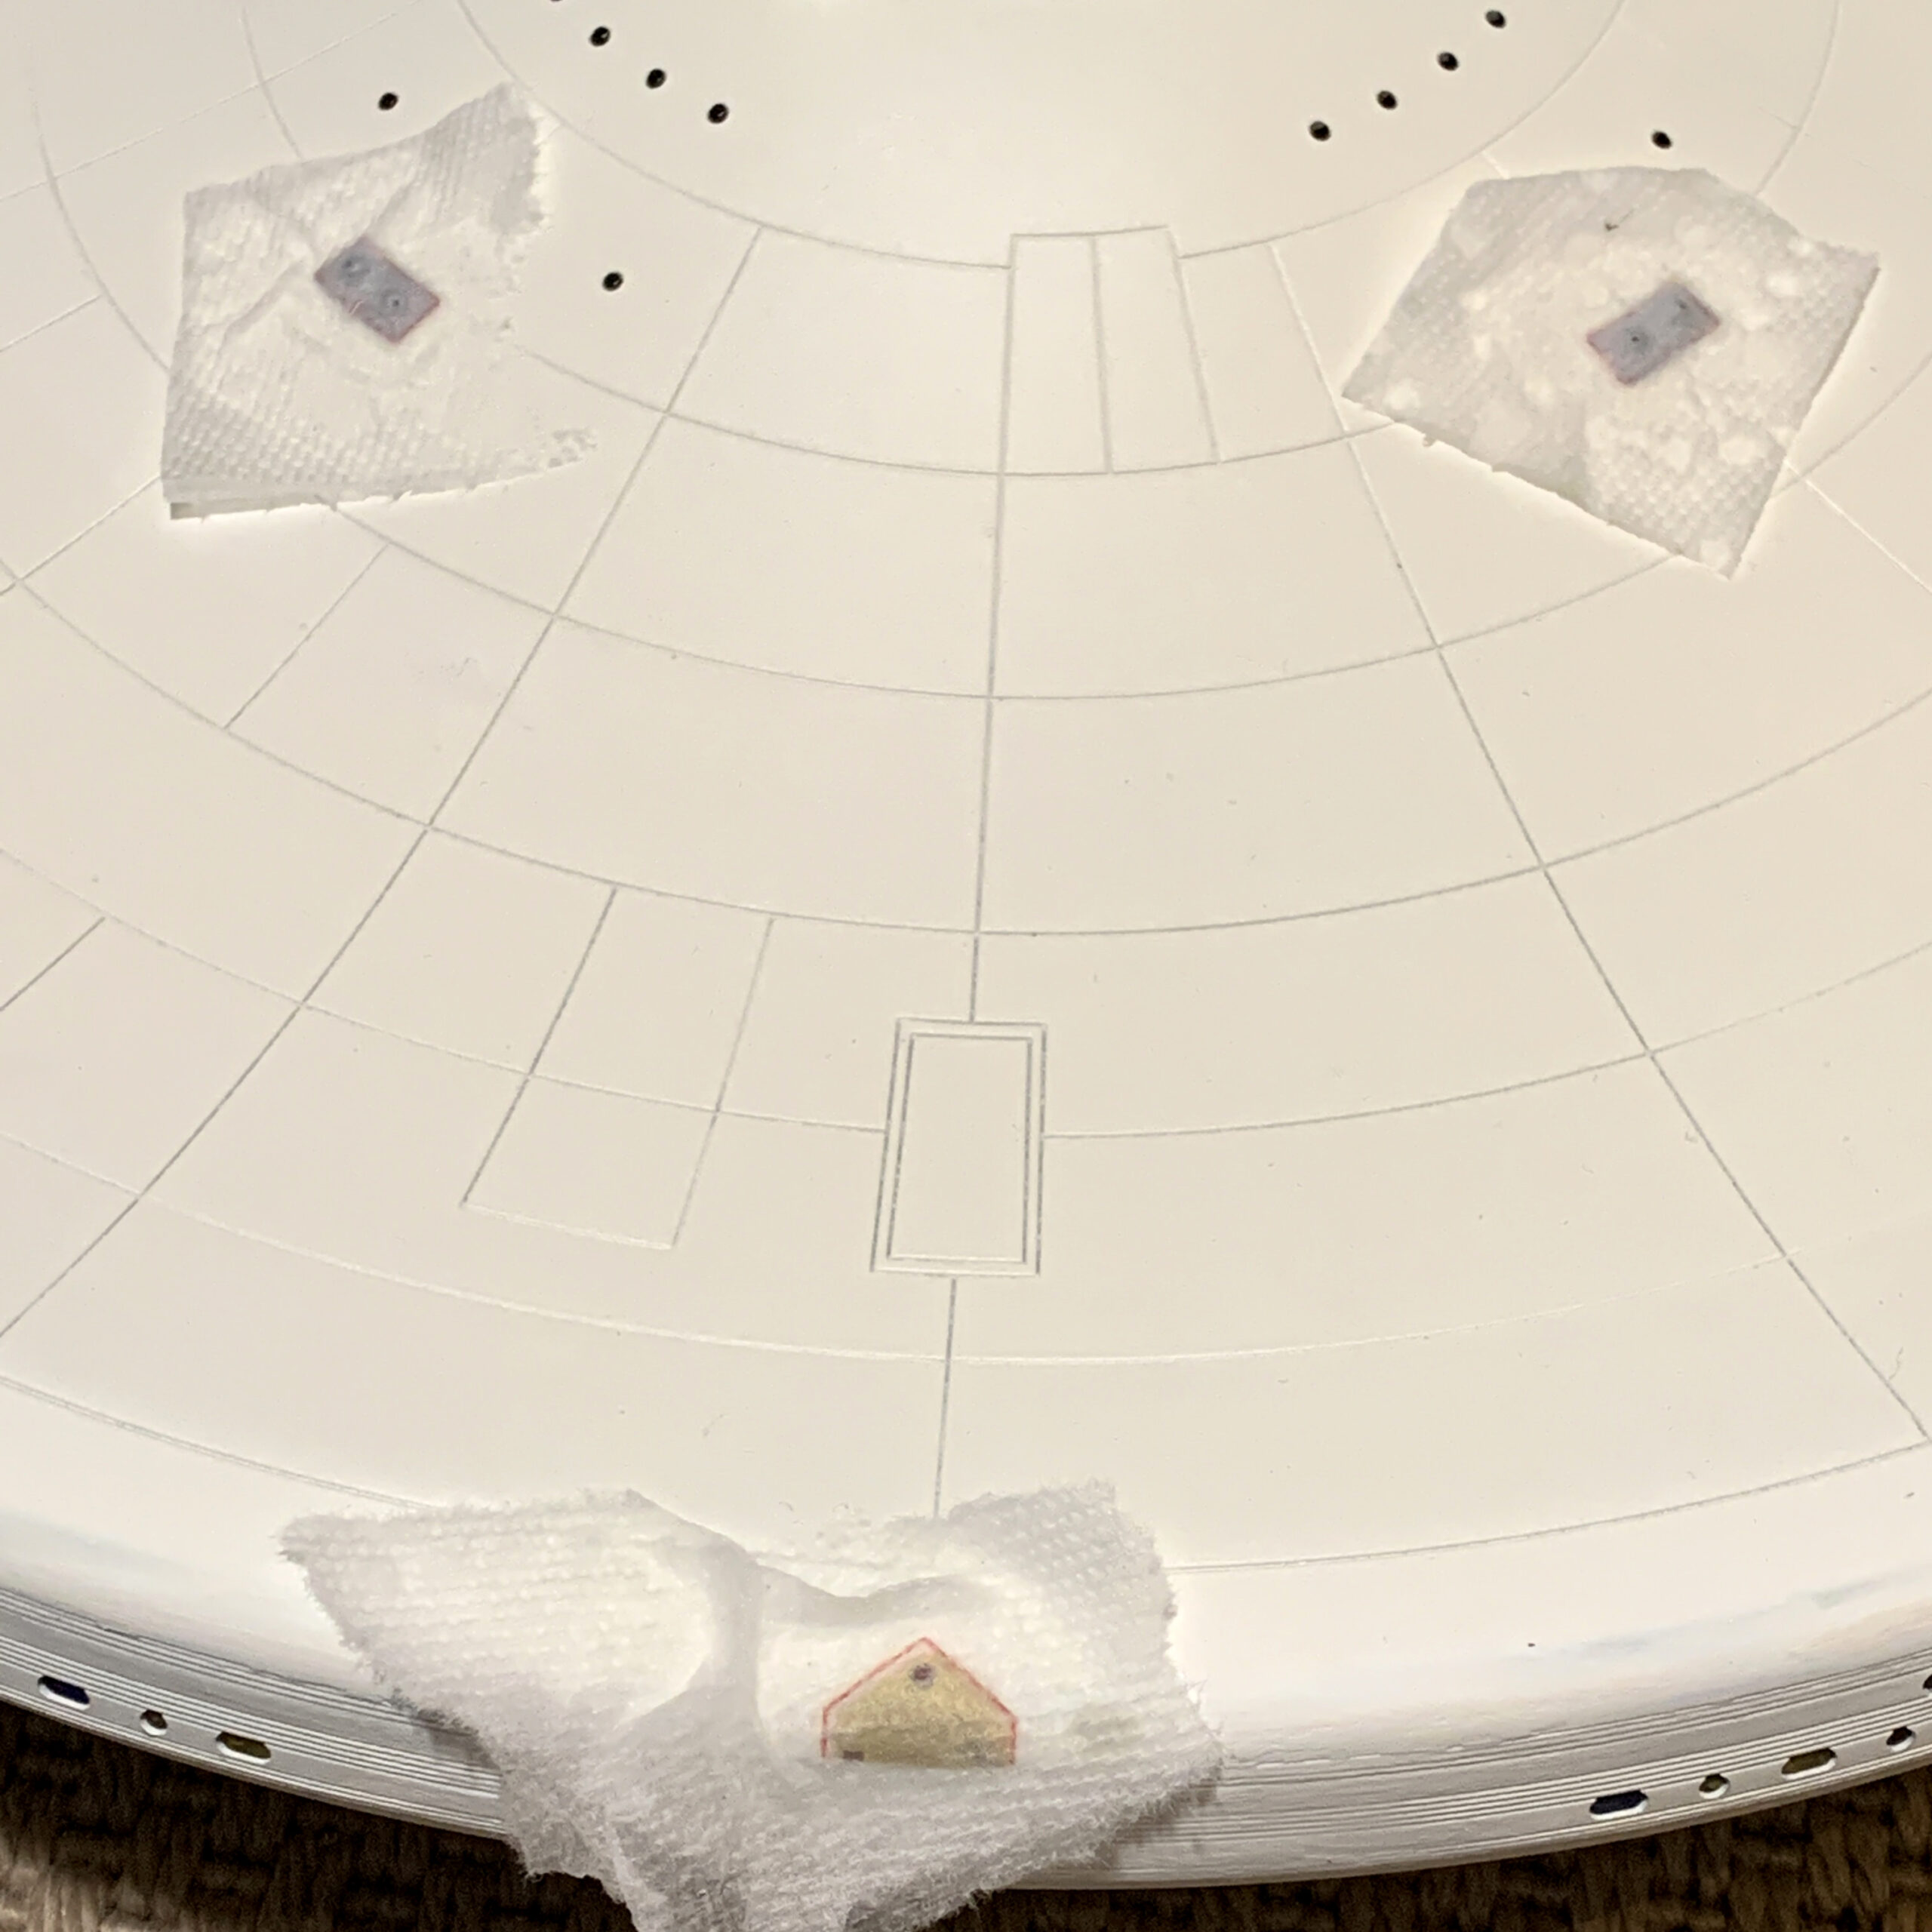
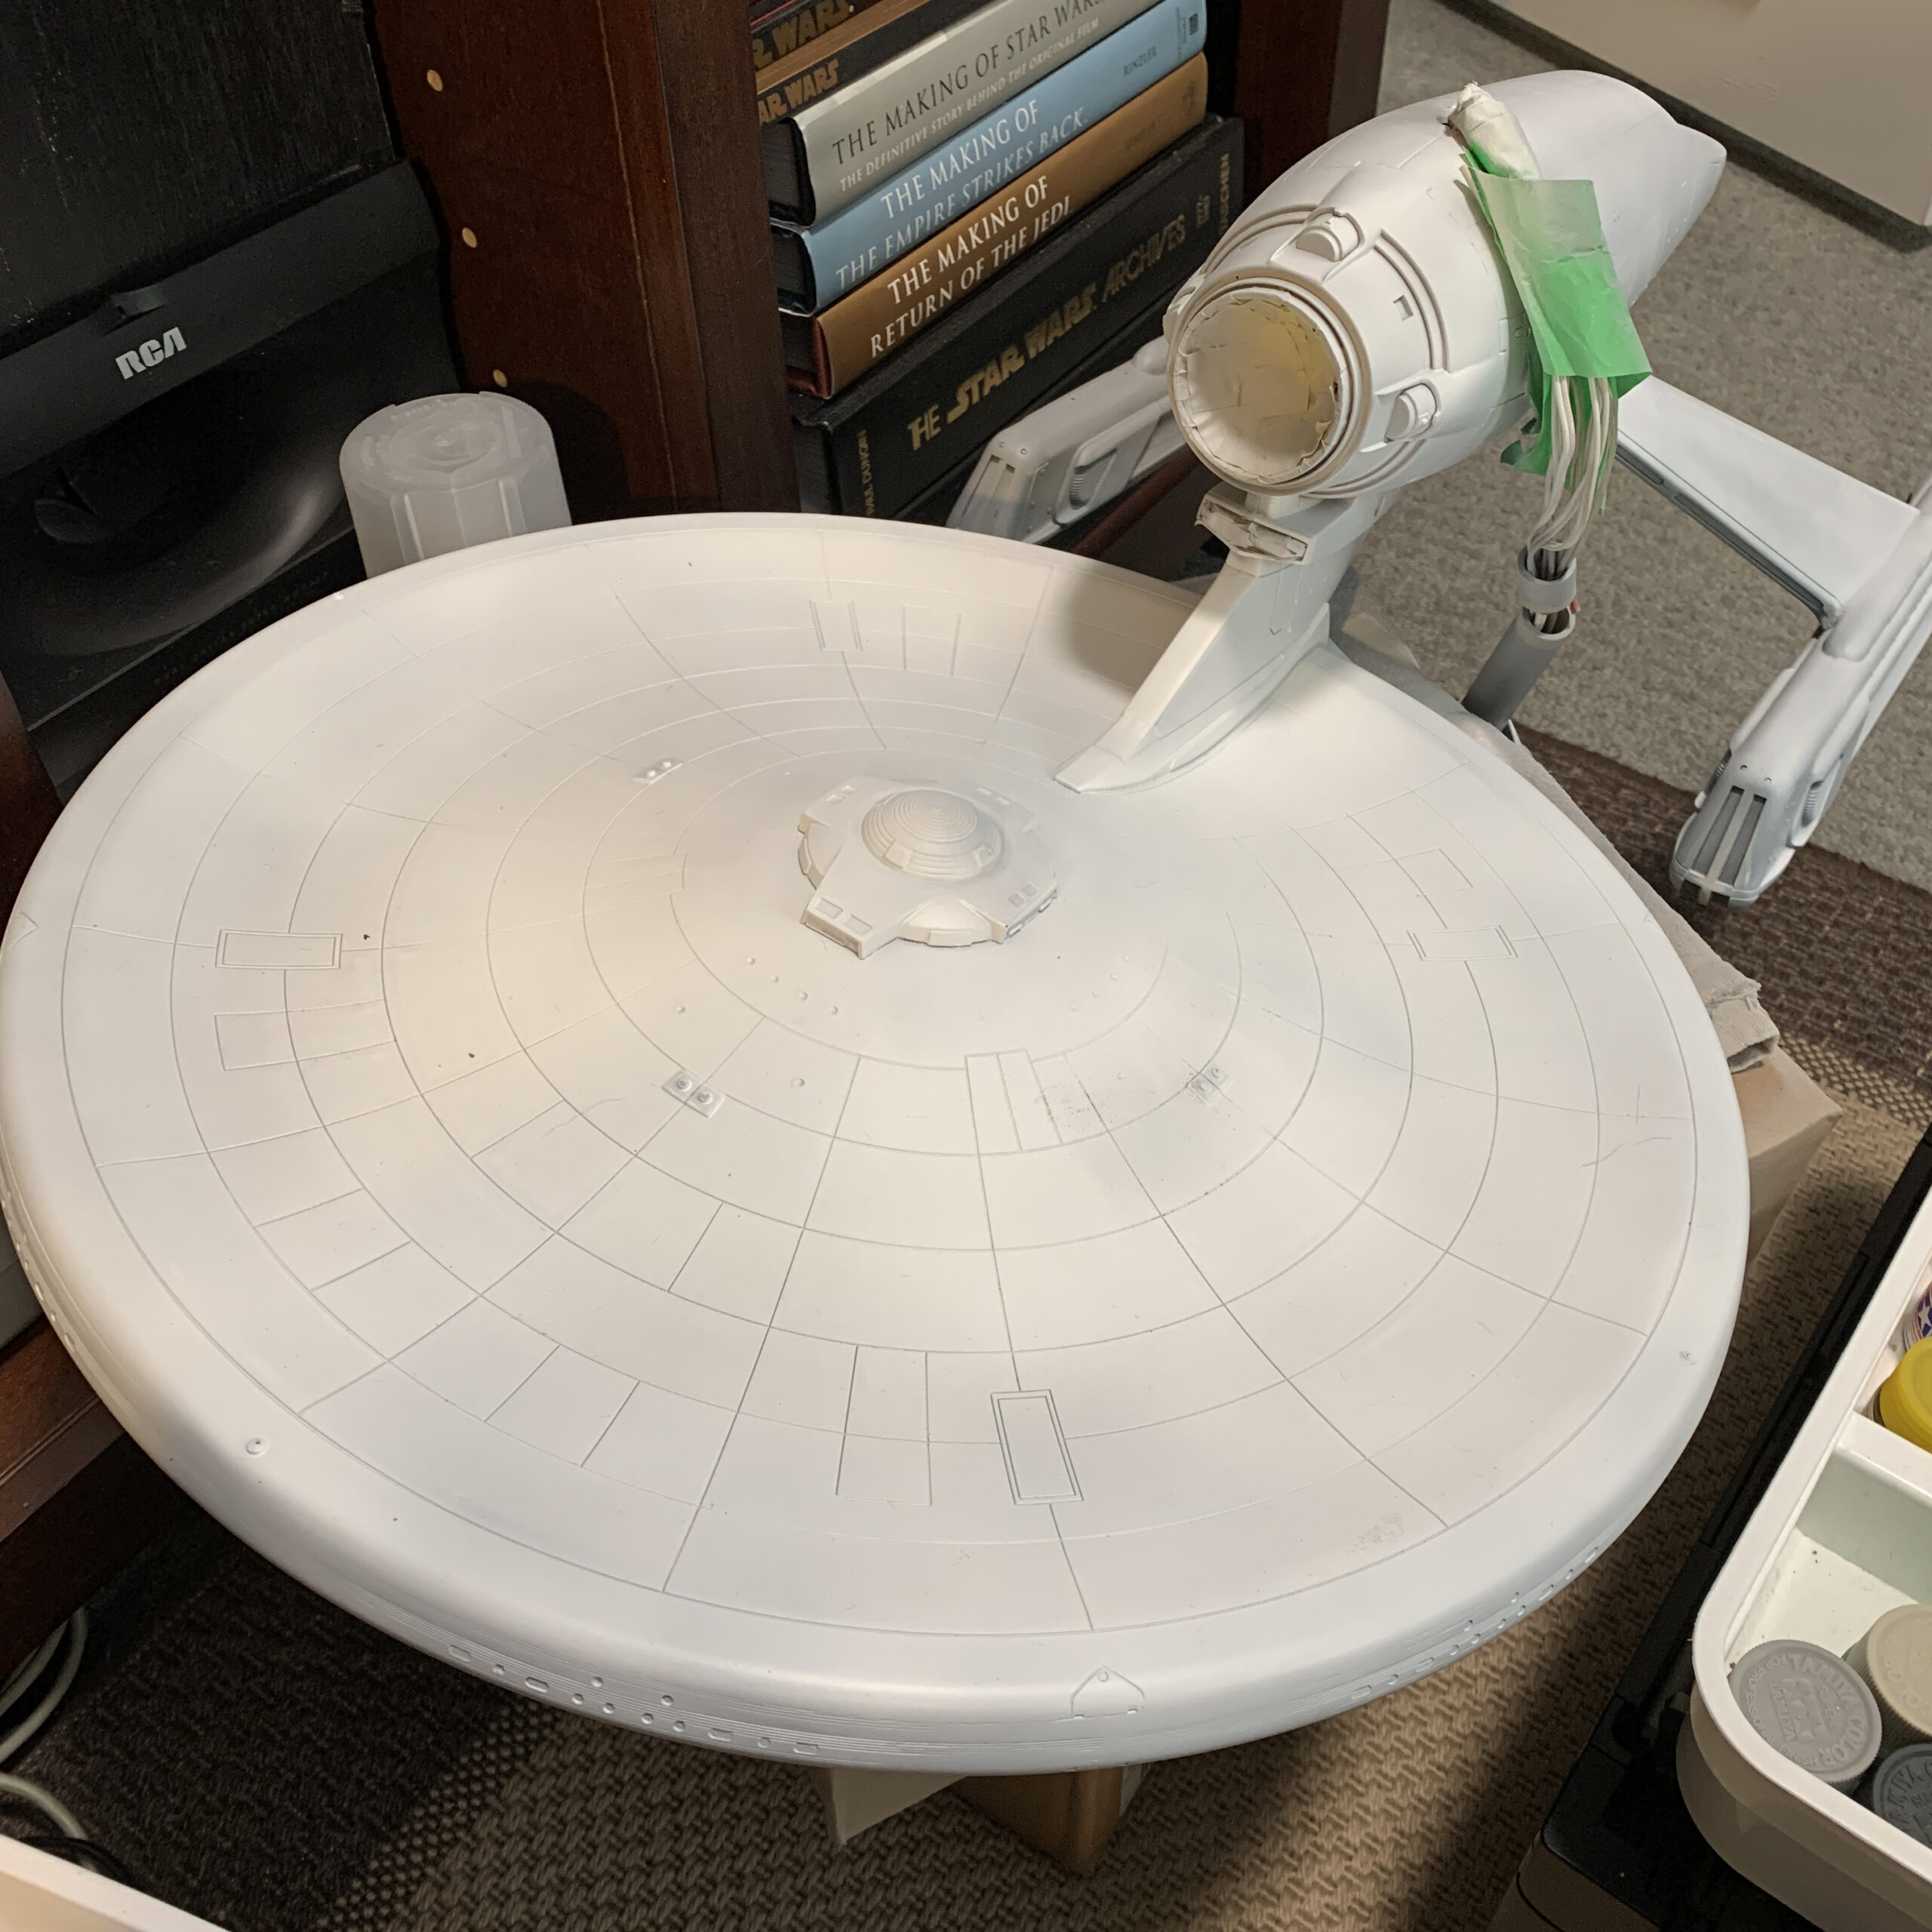
When I half-built the Enterprise in 2006, I primed it in grey (with additional flat black for light blocking as needed) and then used a cheap white spray paint as the base coat. I didn’t do any sort of top coat or varnish. So, the white paint had yellowed quite a bit, and the kit had picked up a lot of dust and grime. So, I sanded the entire thing down. This was kinda fun; I did end up sanding out a couple of details, but, small price to pay. It was awesome to finally see the hull looking smooth again!
Next filled out a few seams that I didn’t do a good job of way back when. It’s still not perfect, but much improved.
Then I masked off all the windows. At first glance, there really don’t appear to be that many, right? But there are over 200! Most were masked with liquid mask, and the interior warp nacelle grilles (the clear parts) were masked with tape.
Next, I scanned for light leaks; there had been some that I didn’t block effectively way back when, and some new ones exposed by all of my sanding. So I hit those with some flat black.
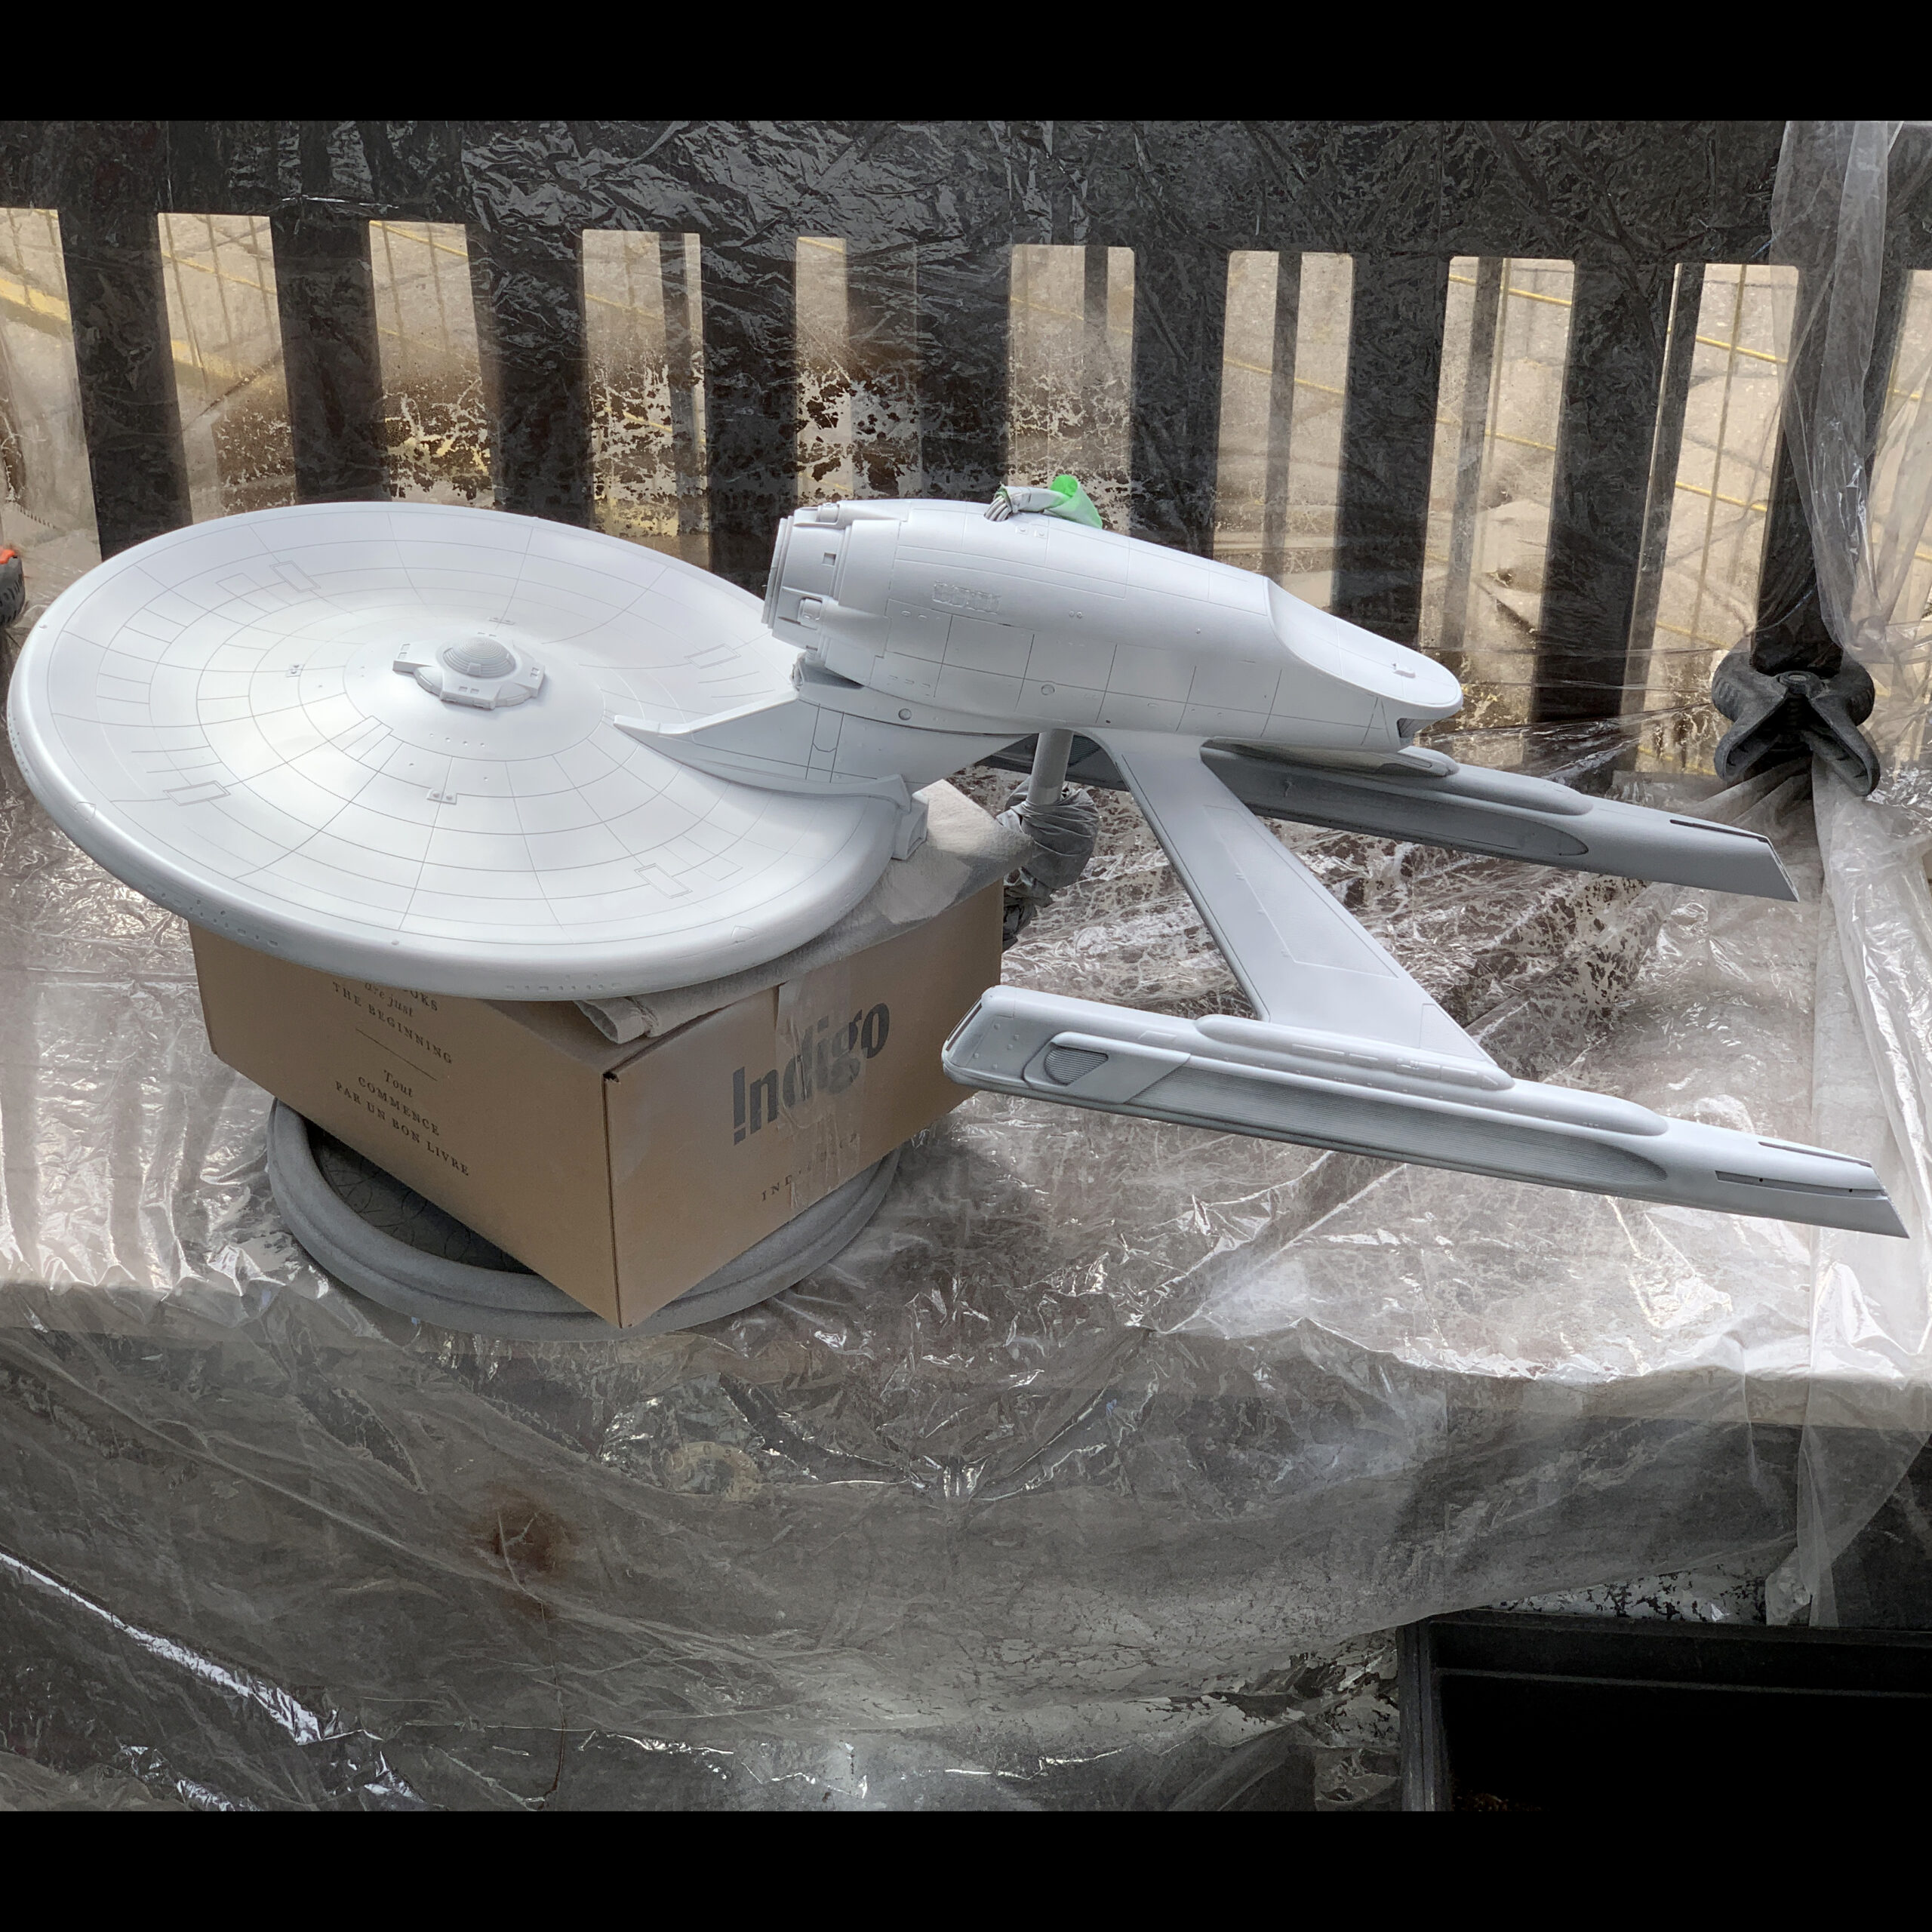
Then the whole ship was primed with Tamiya grey primer, and sanded smooth. Then it was primed with Tamiya white primer, and polished to a nice shine with Tamiya’s polishing compound.
Then I built this website!
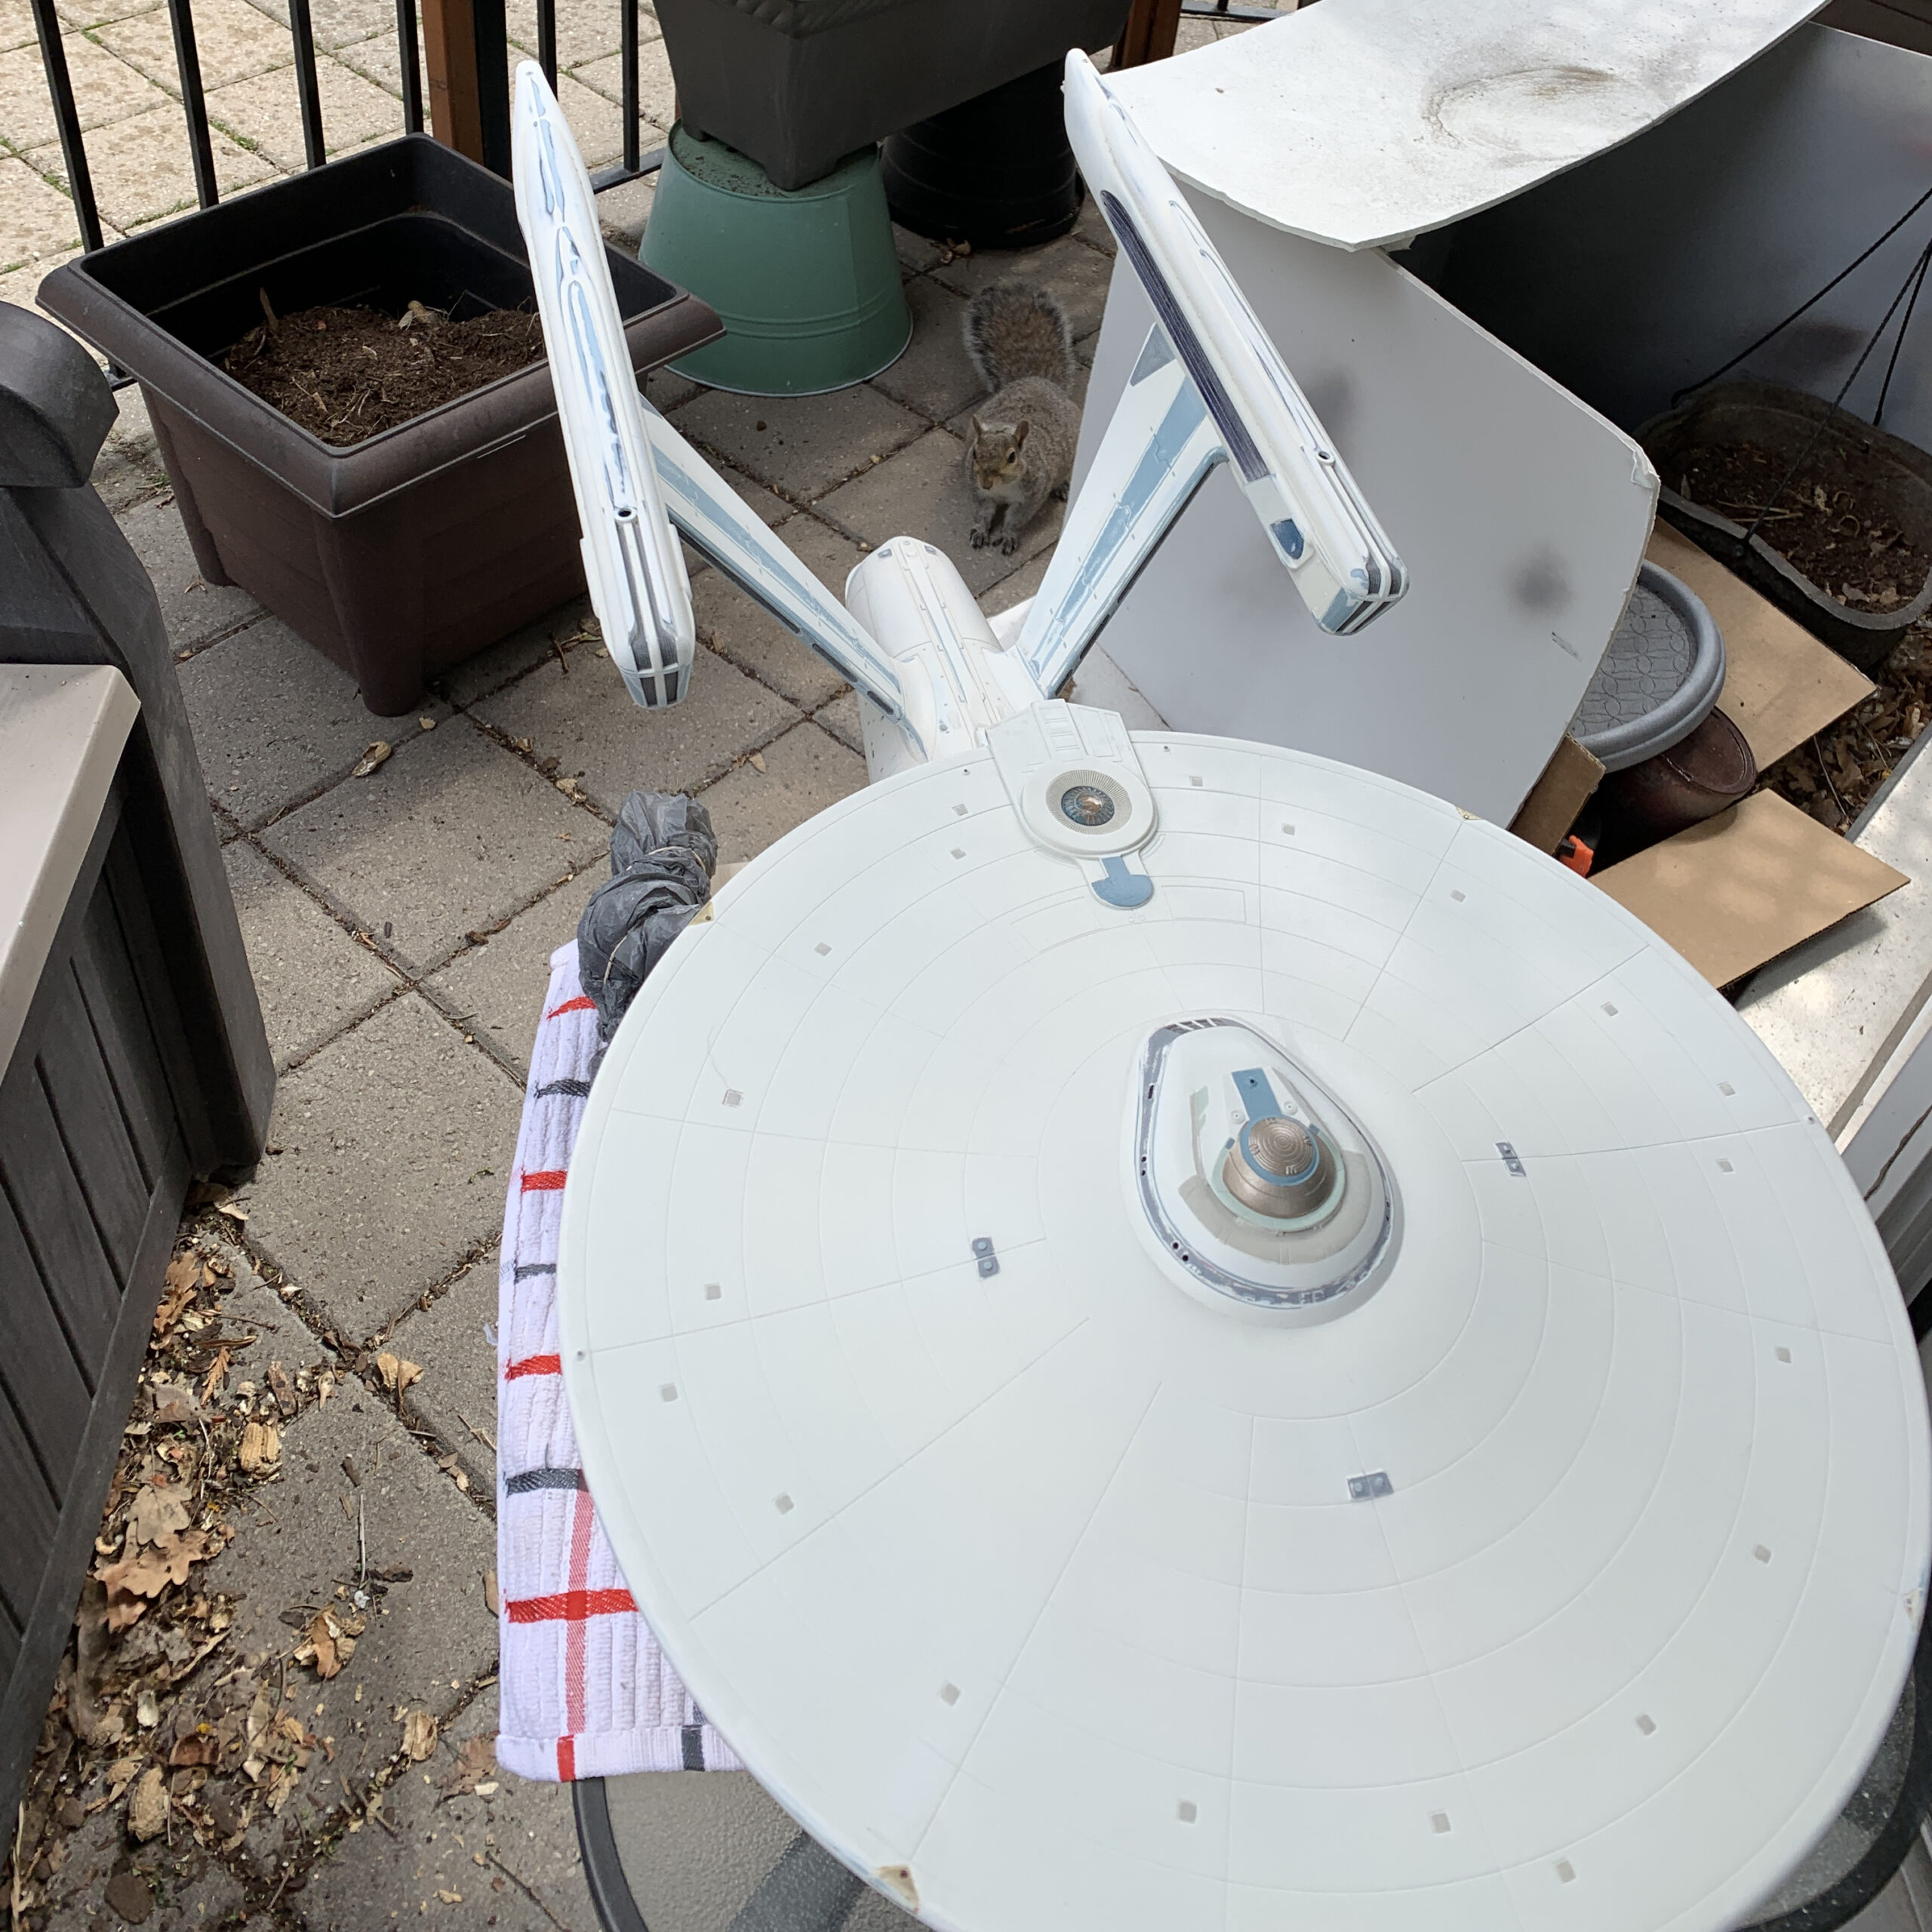
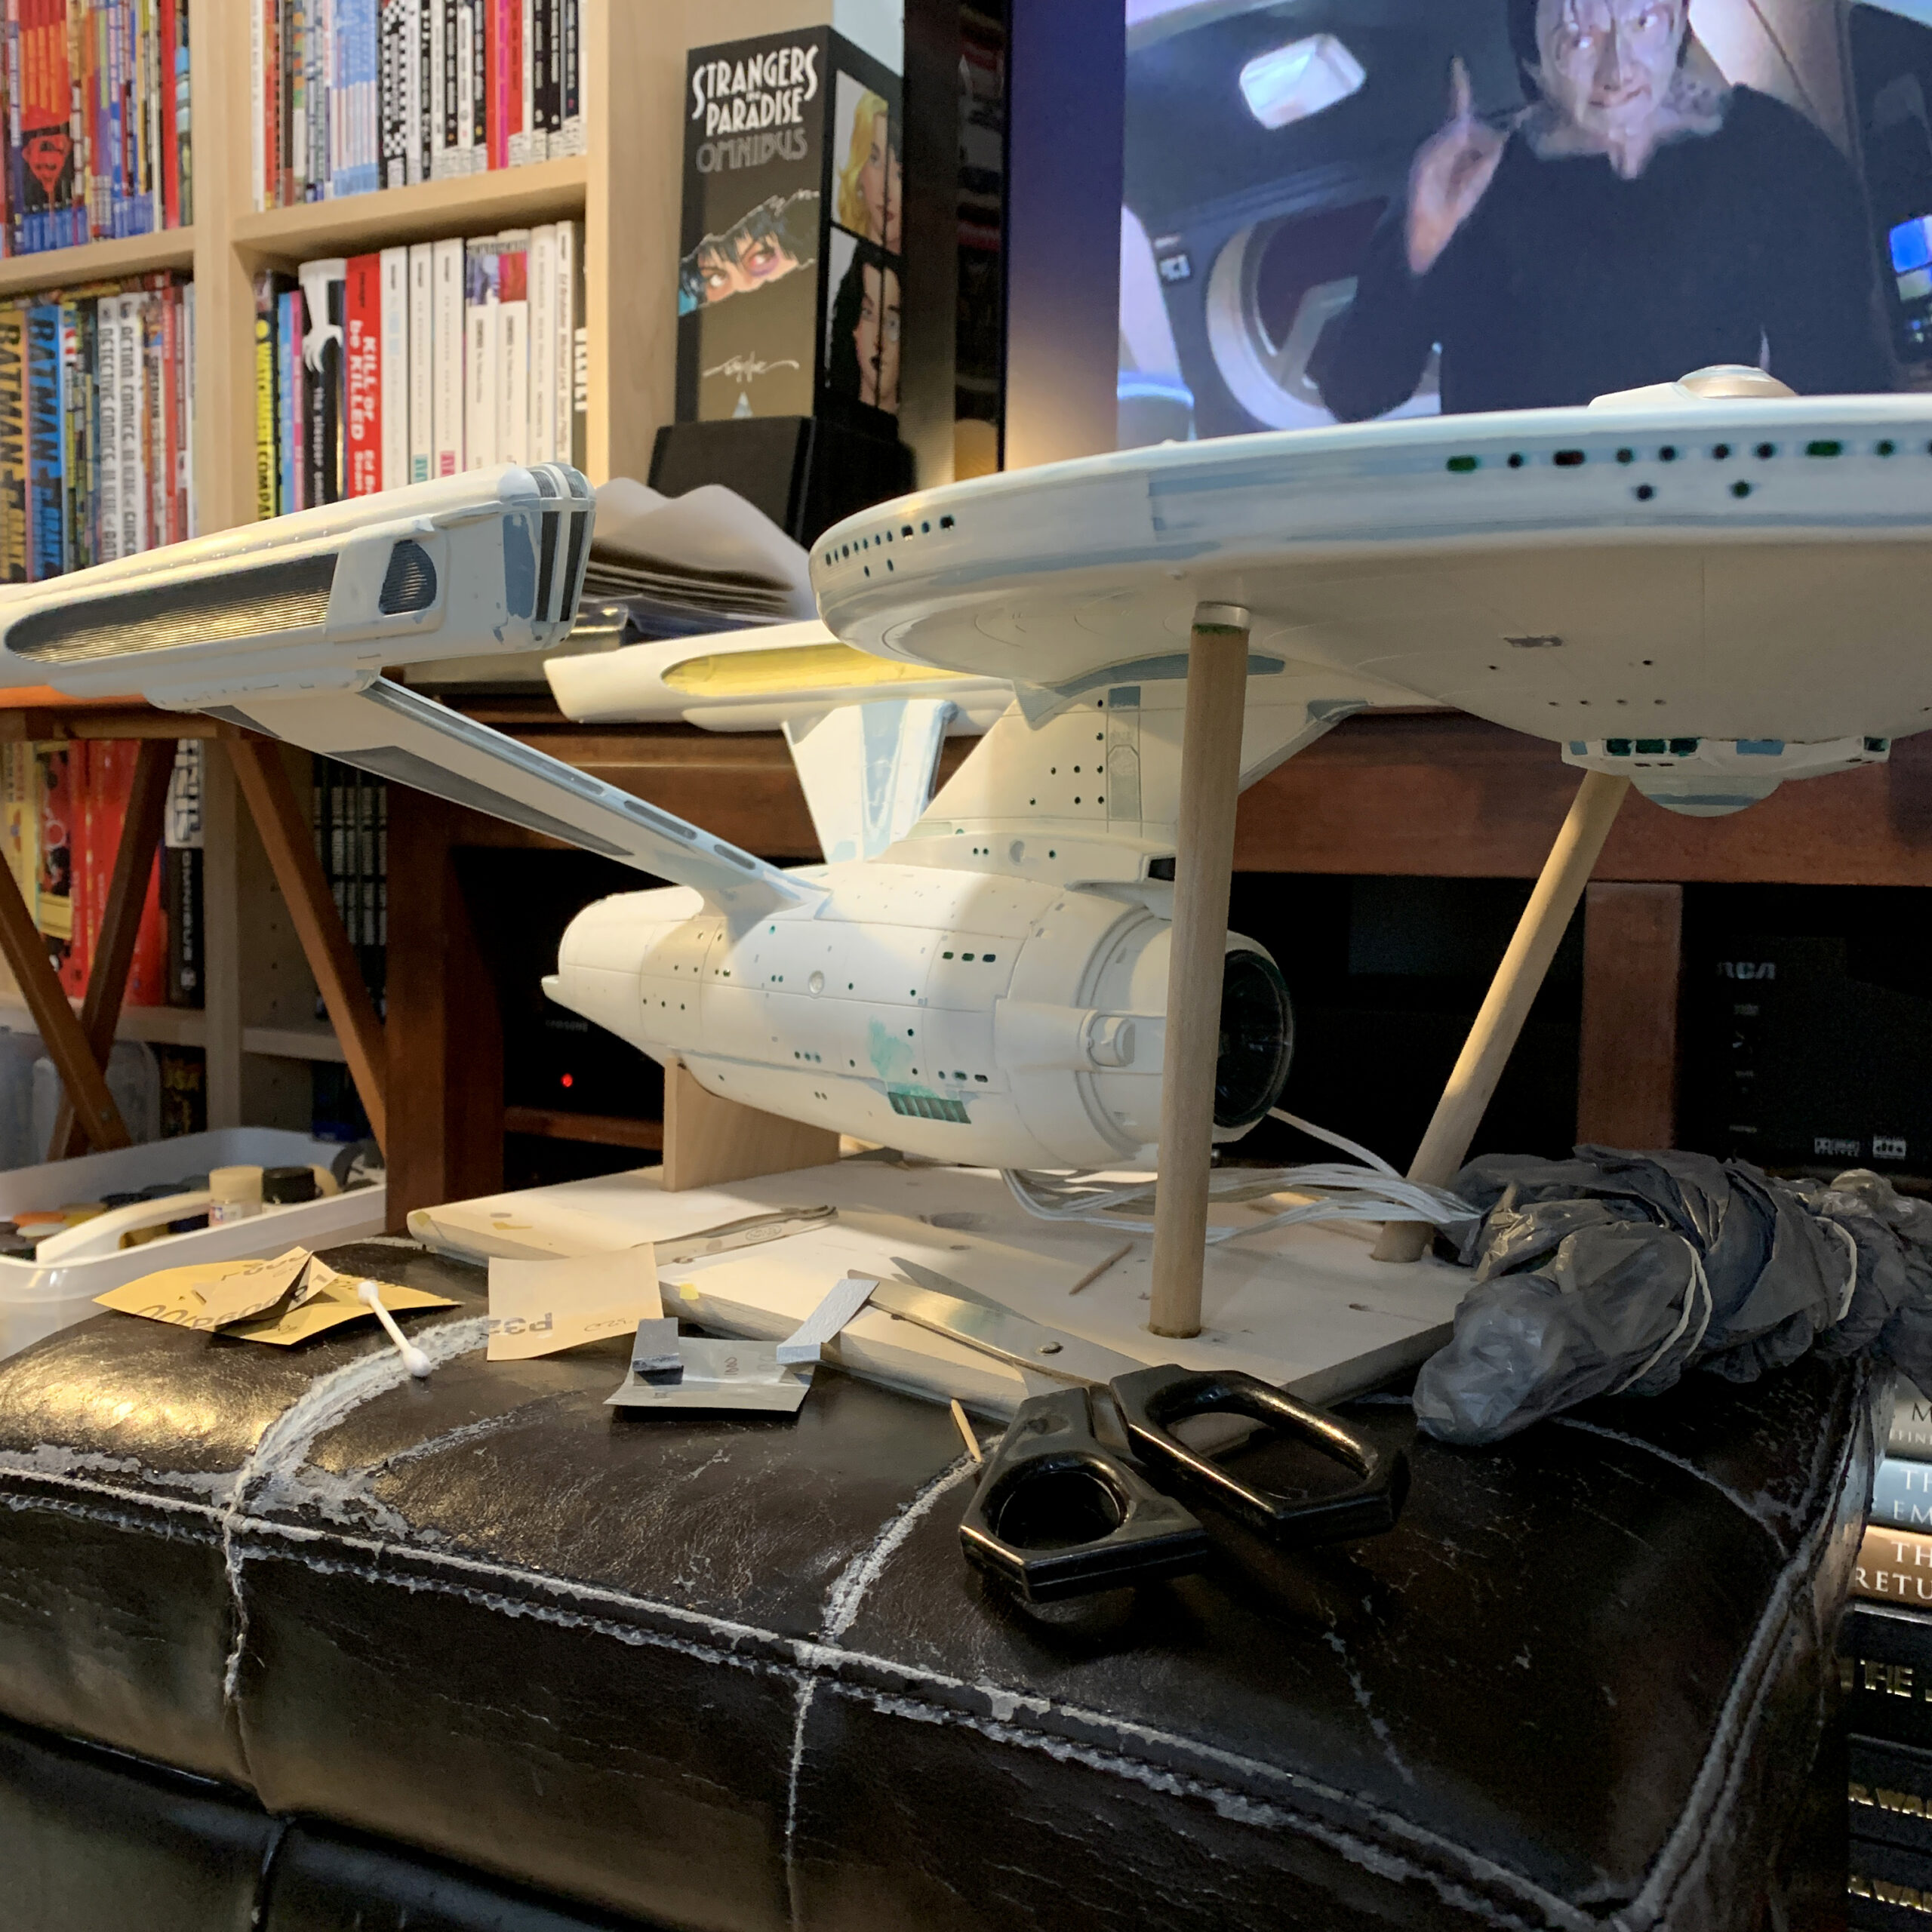
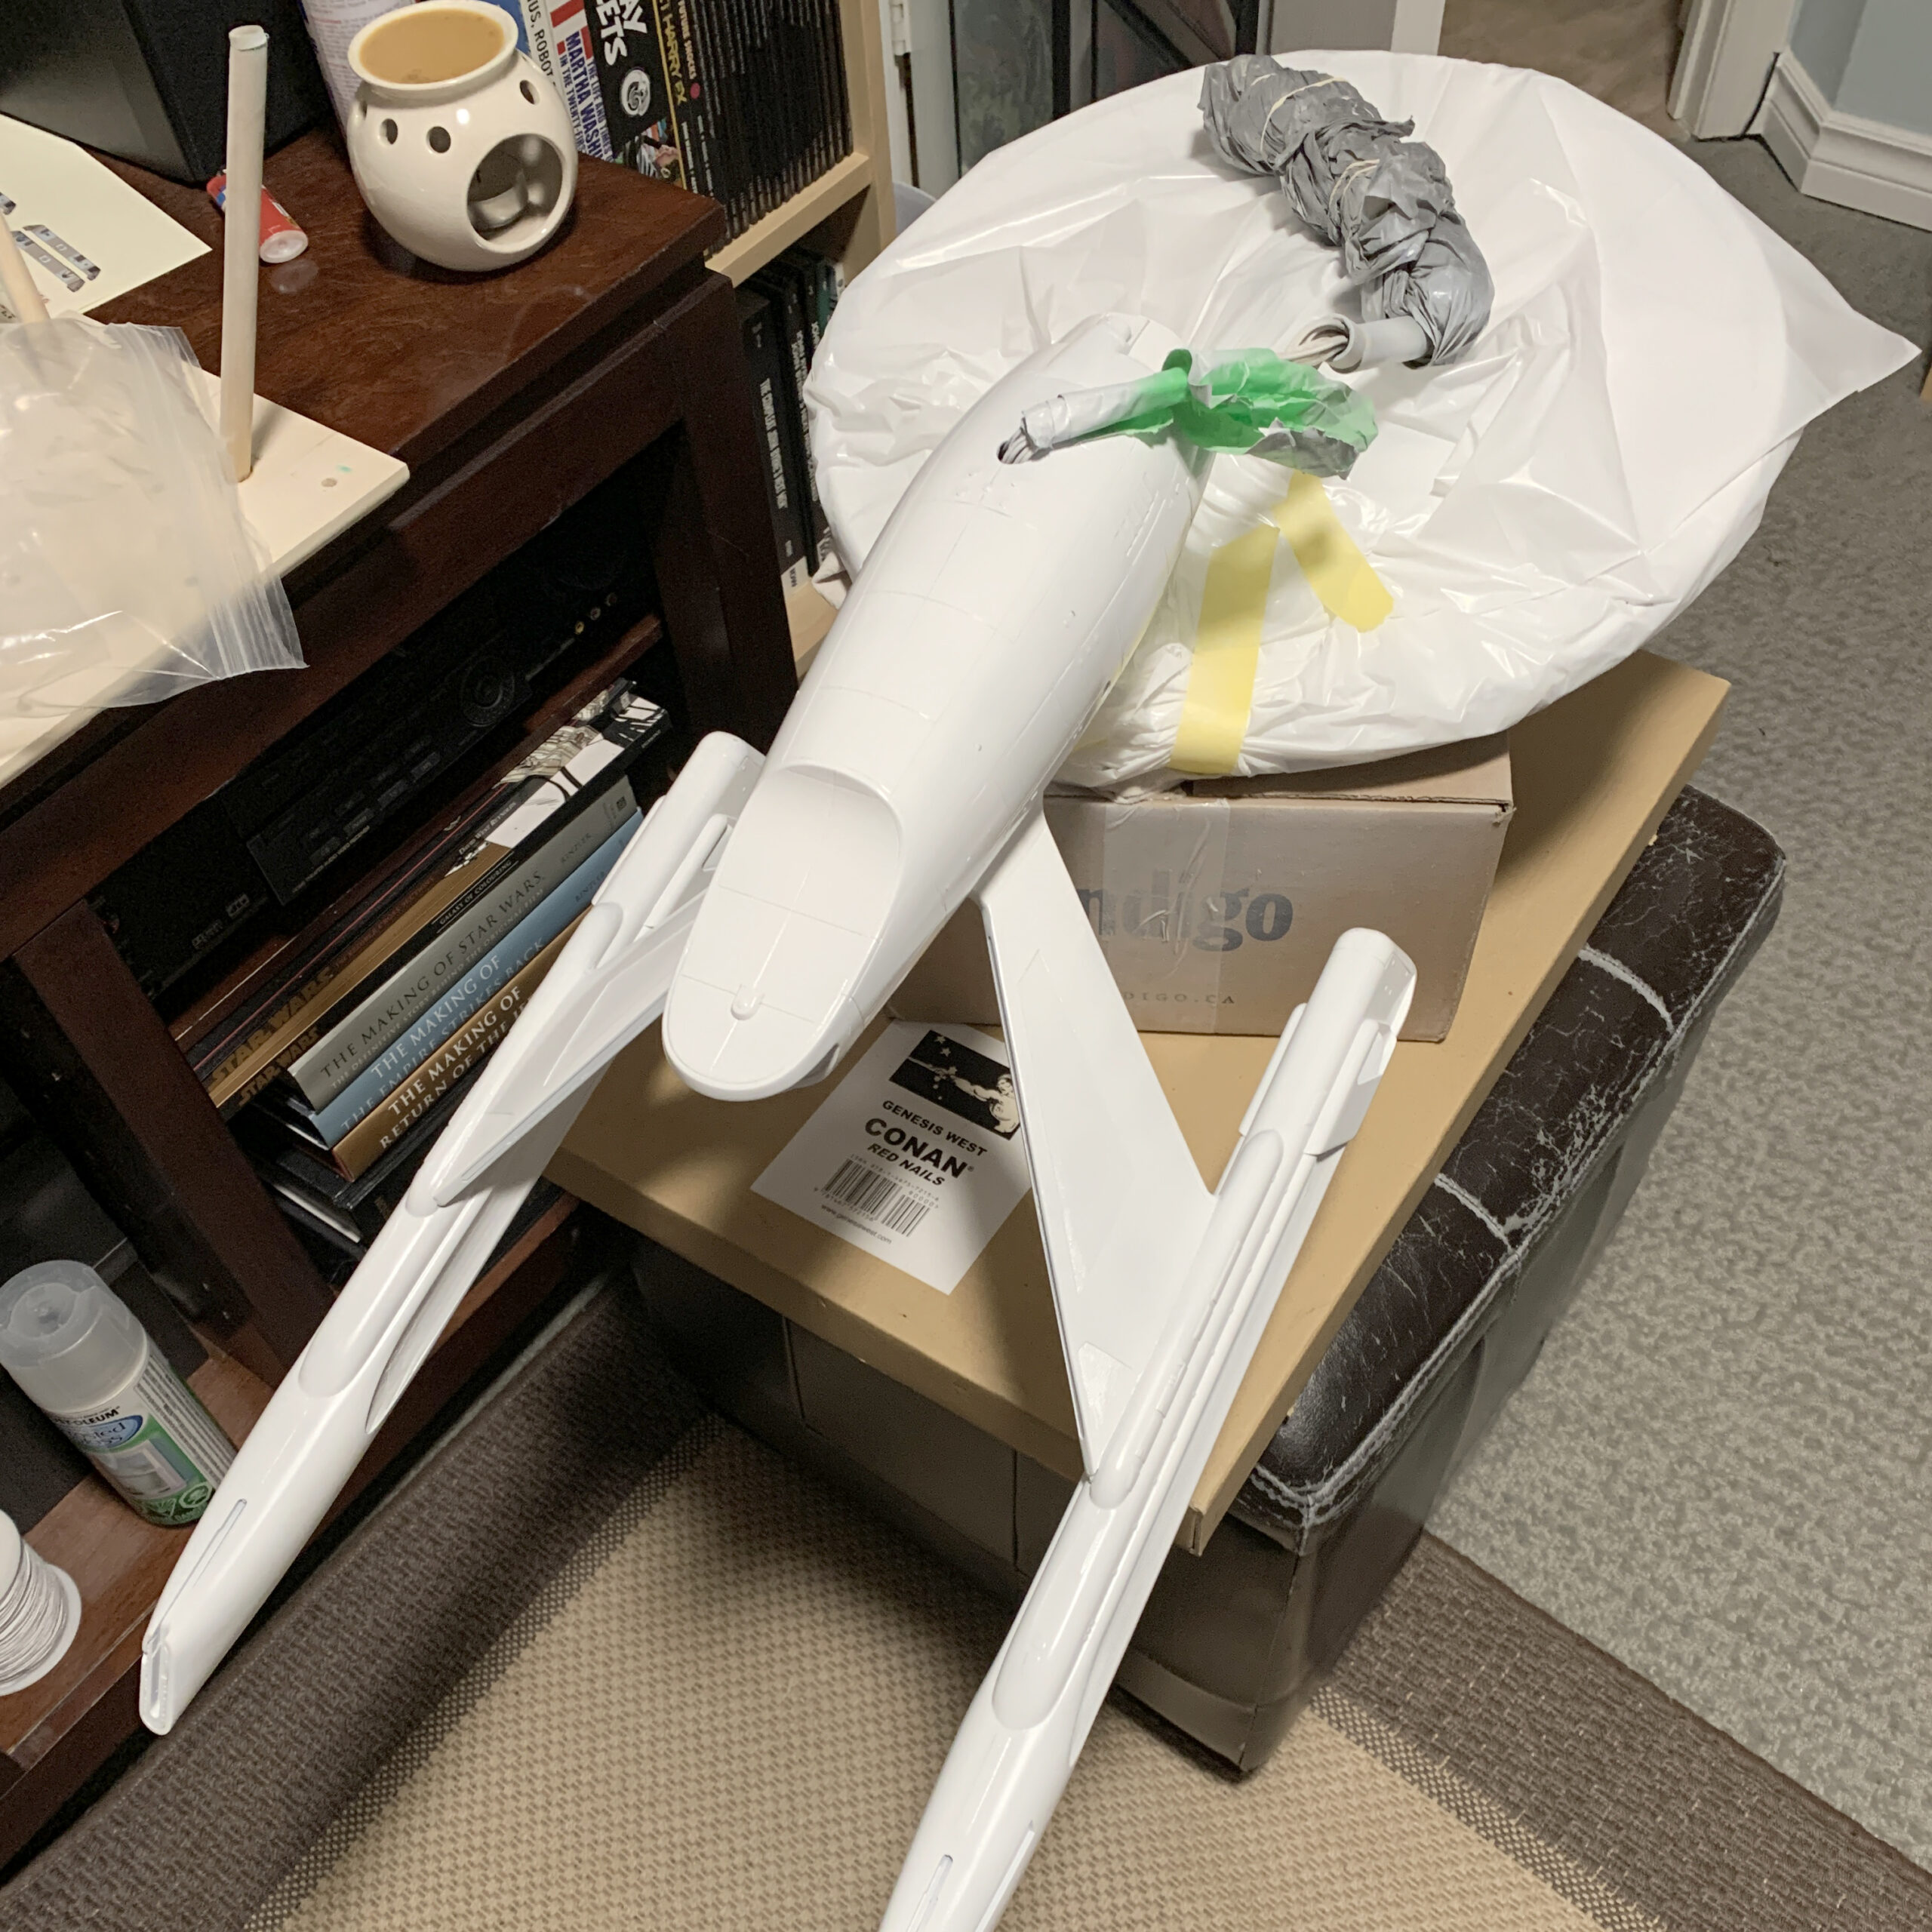
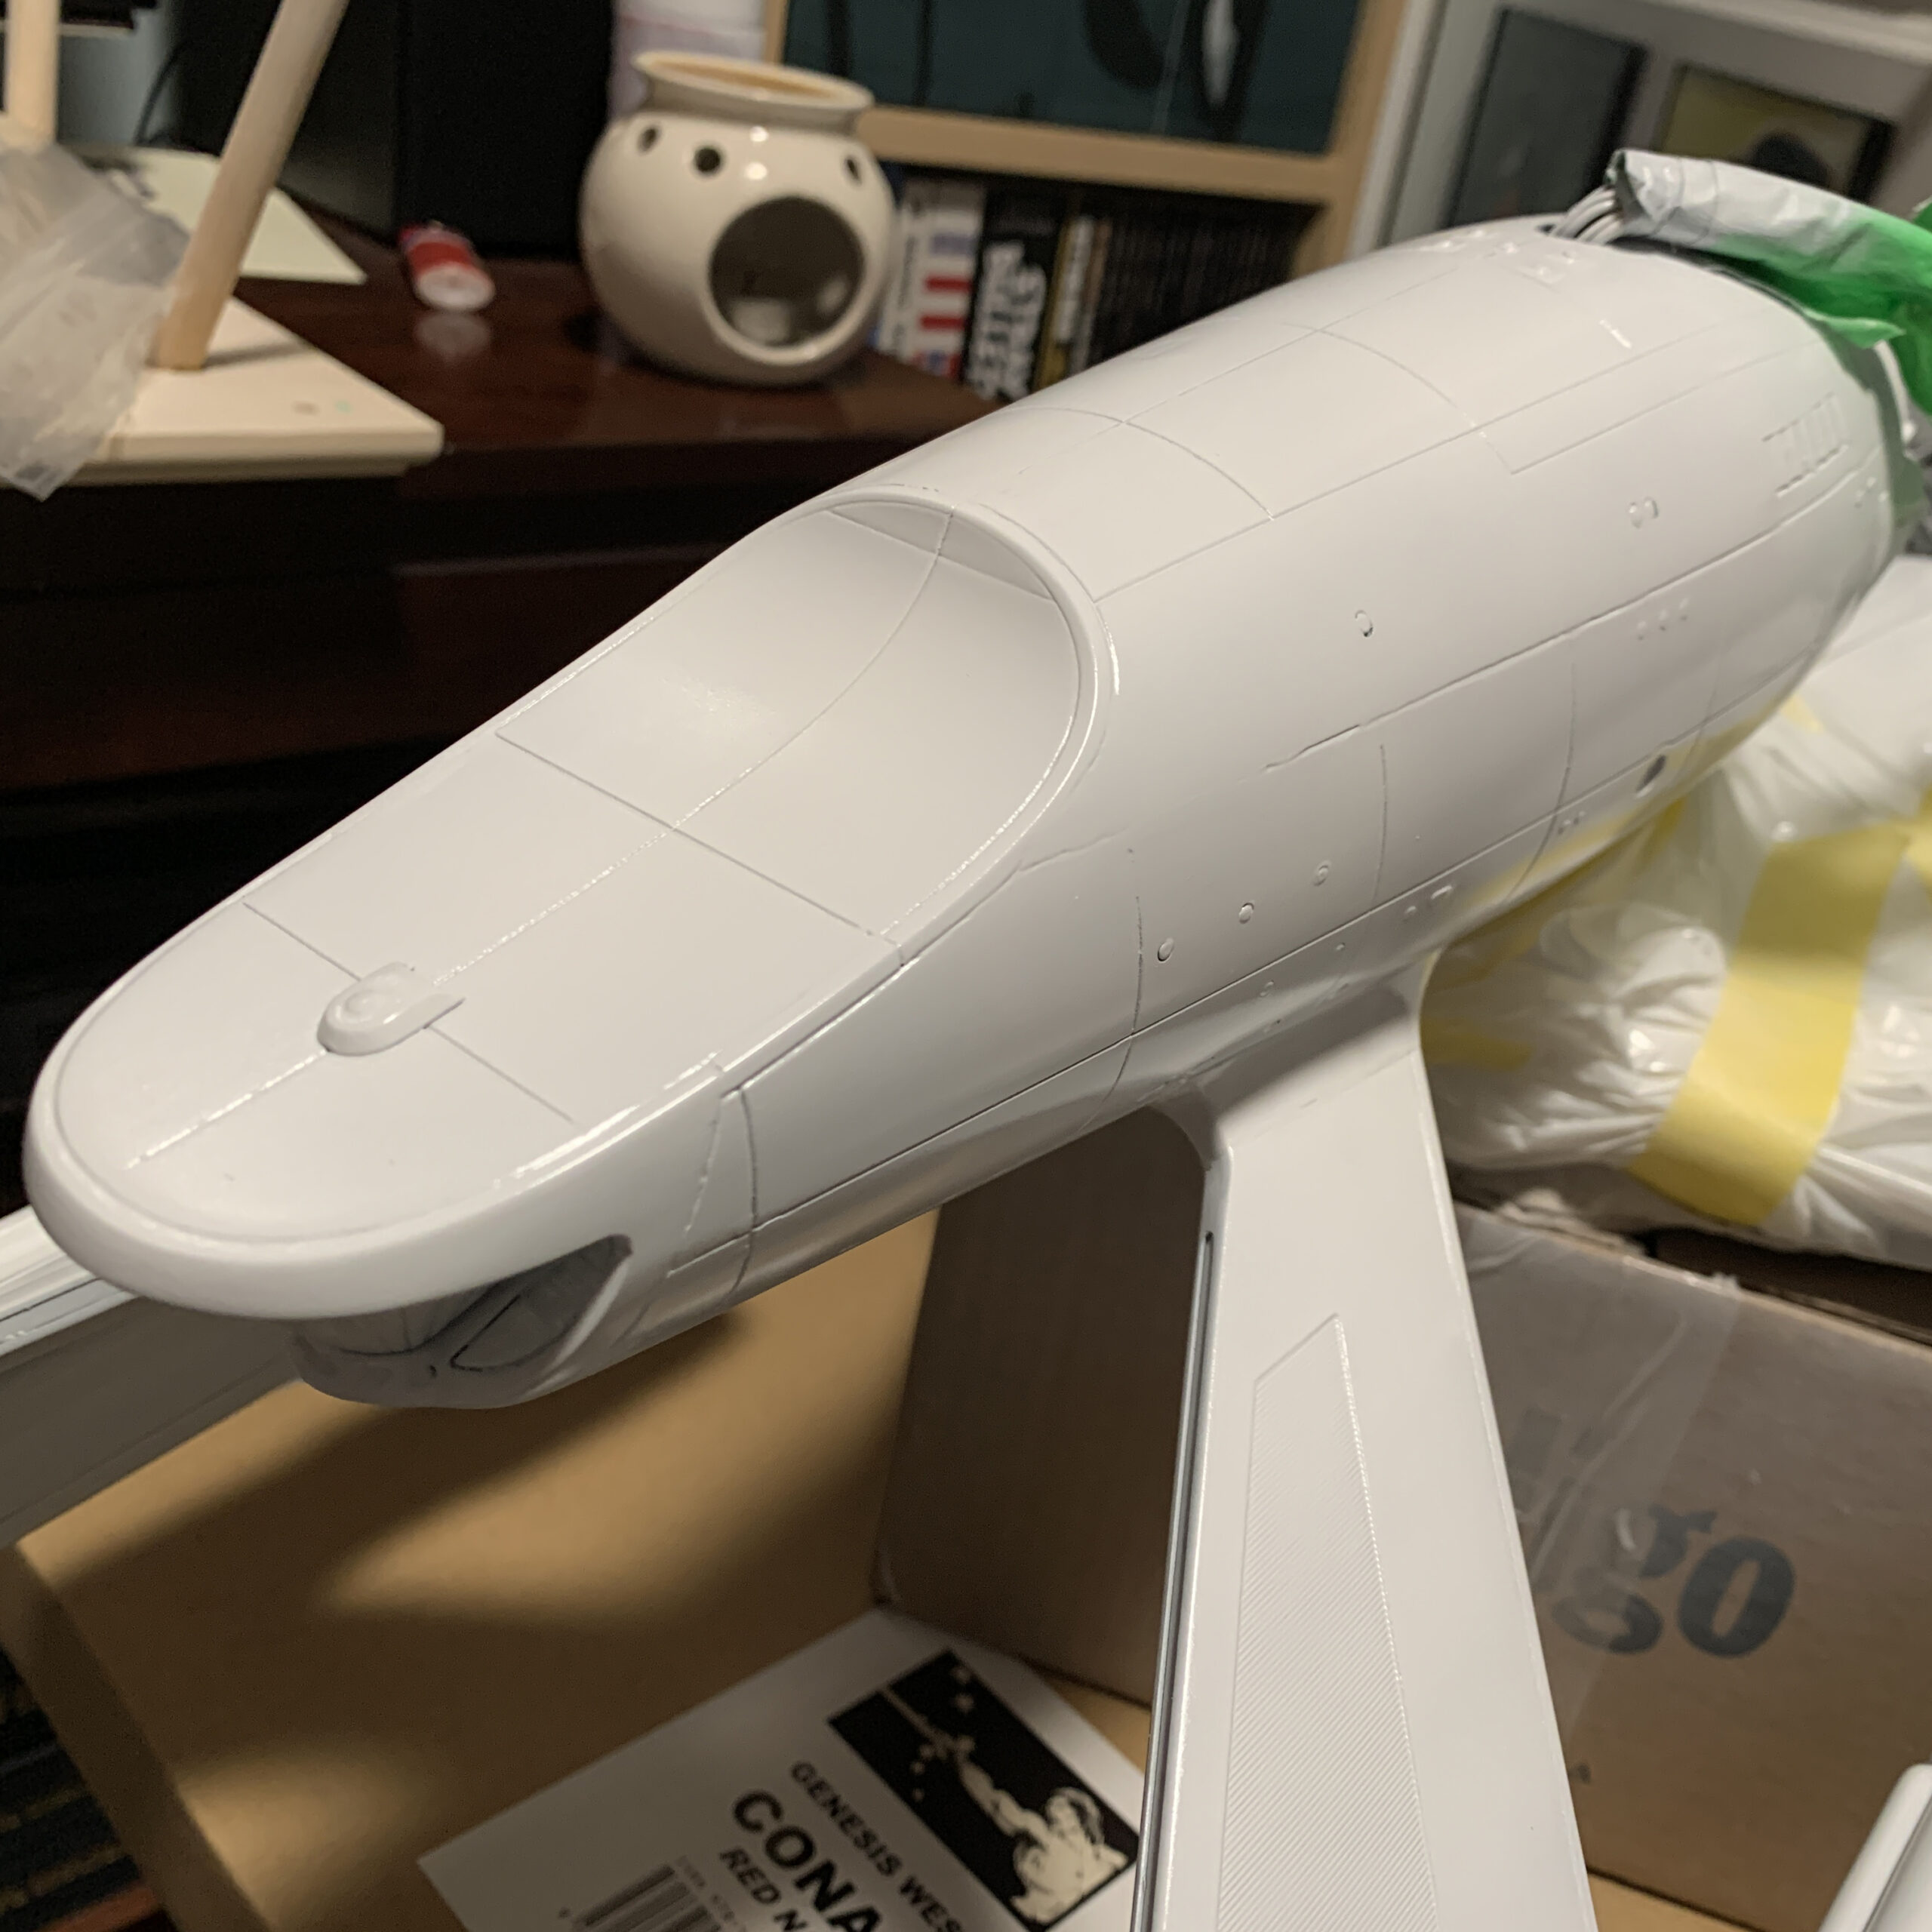
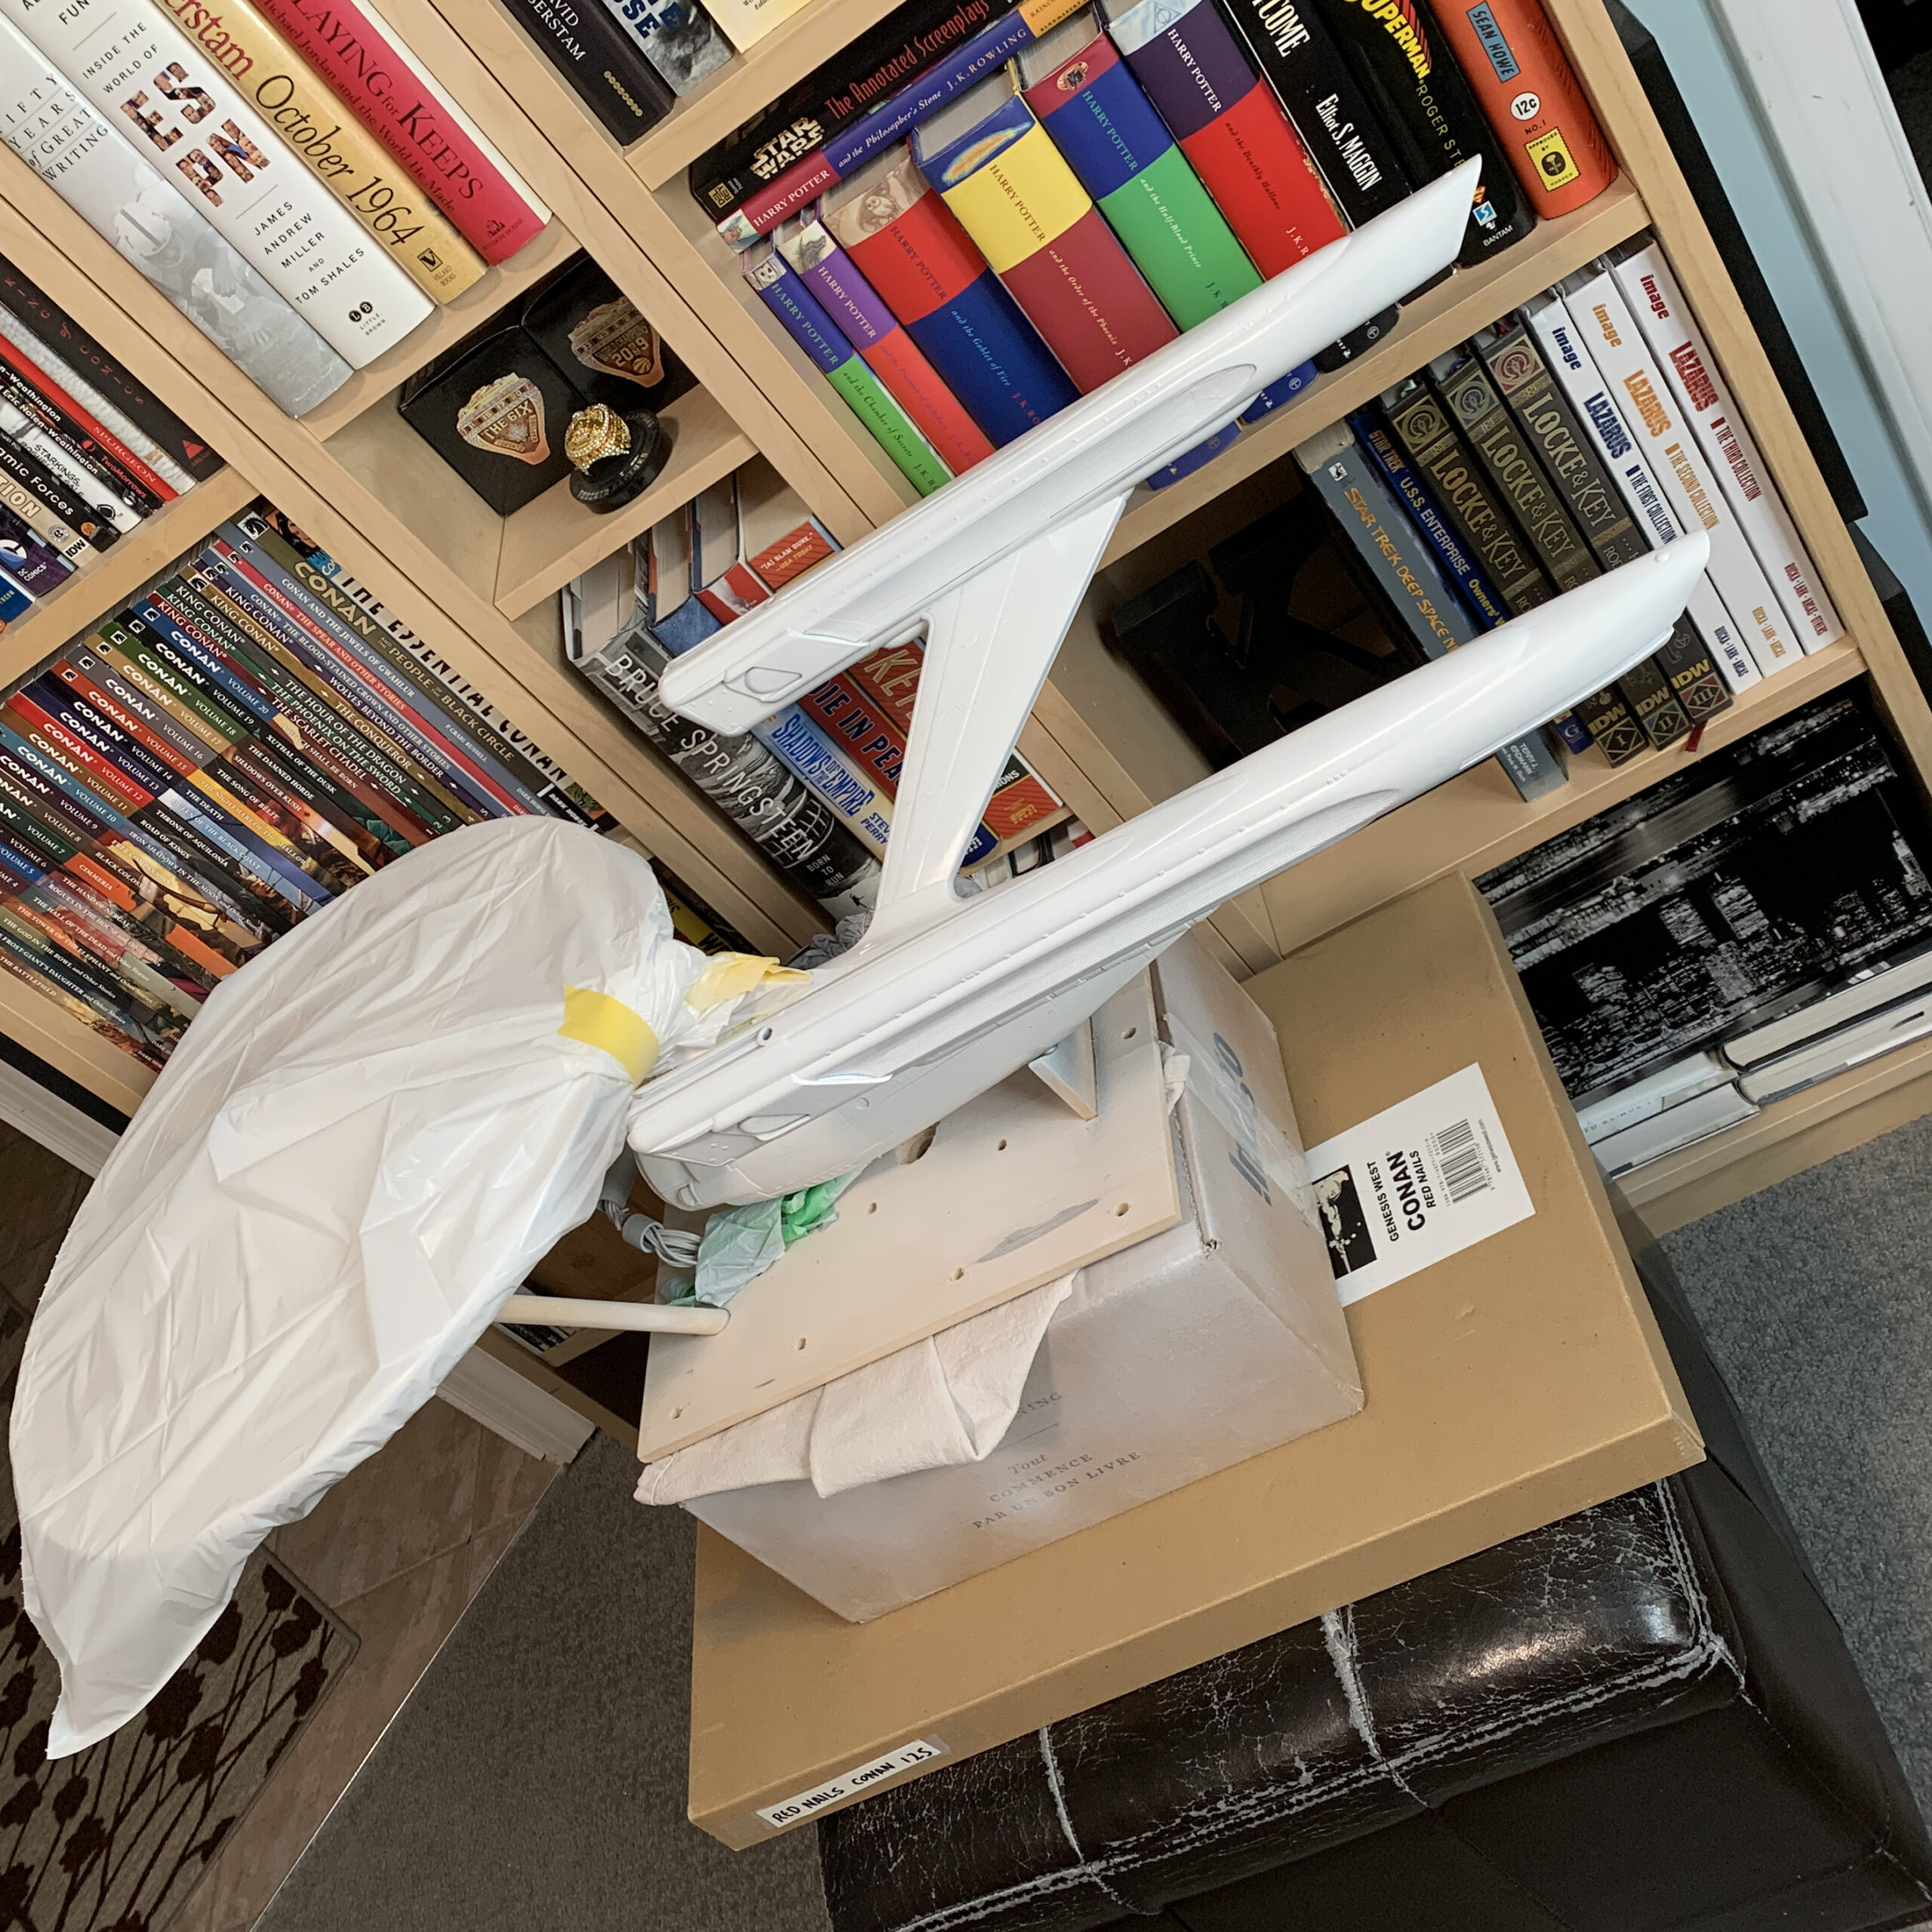
And now finally here we are in the white painting stage. I’m using Tamiya Pure White, and it’s gorgeous. If I’d just done this, and sealed it, 11 years ago, I wouldn’t need to do this at all! Alas. It looks great. I’ve got the secondary hull and nacelles done so far.
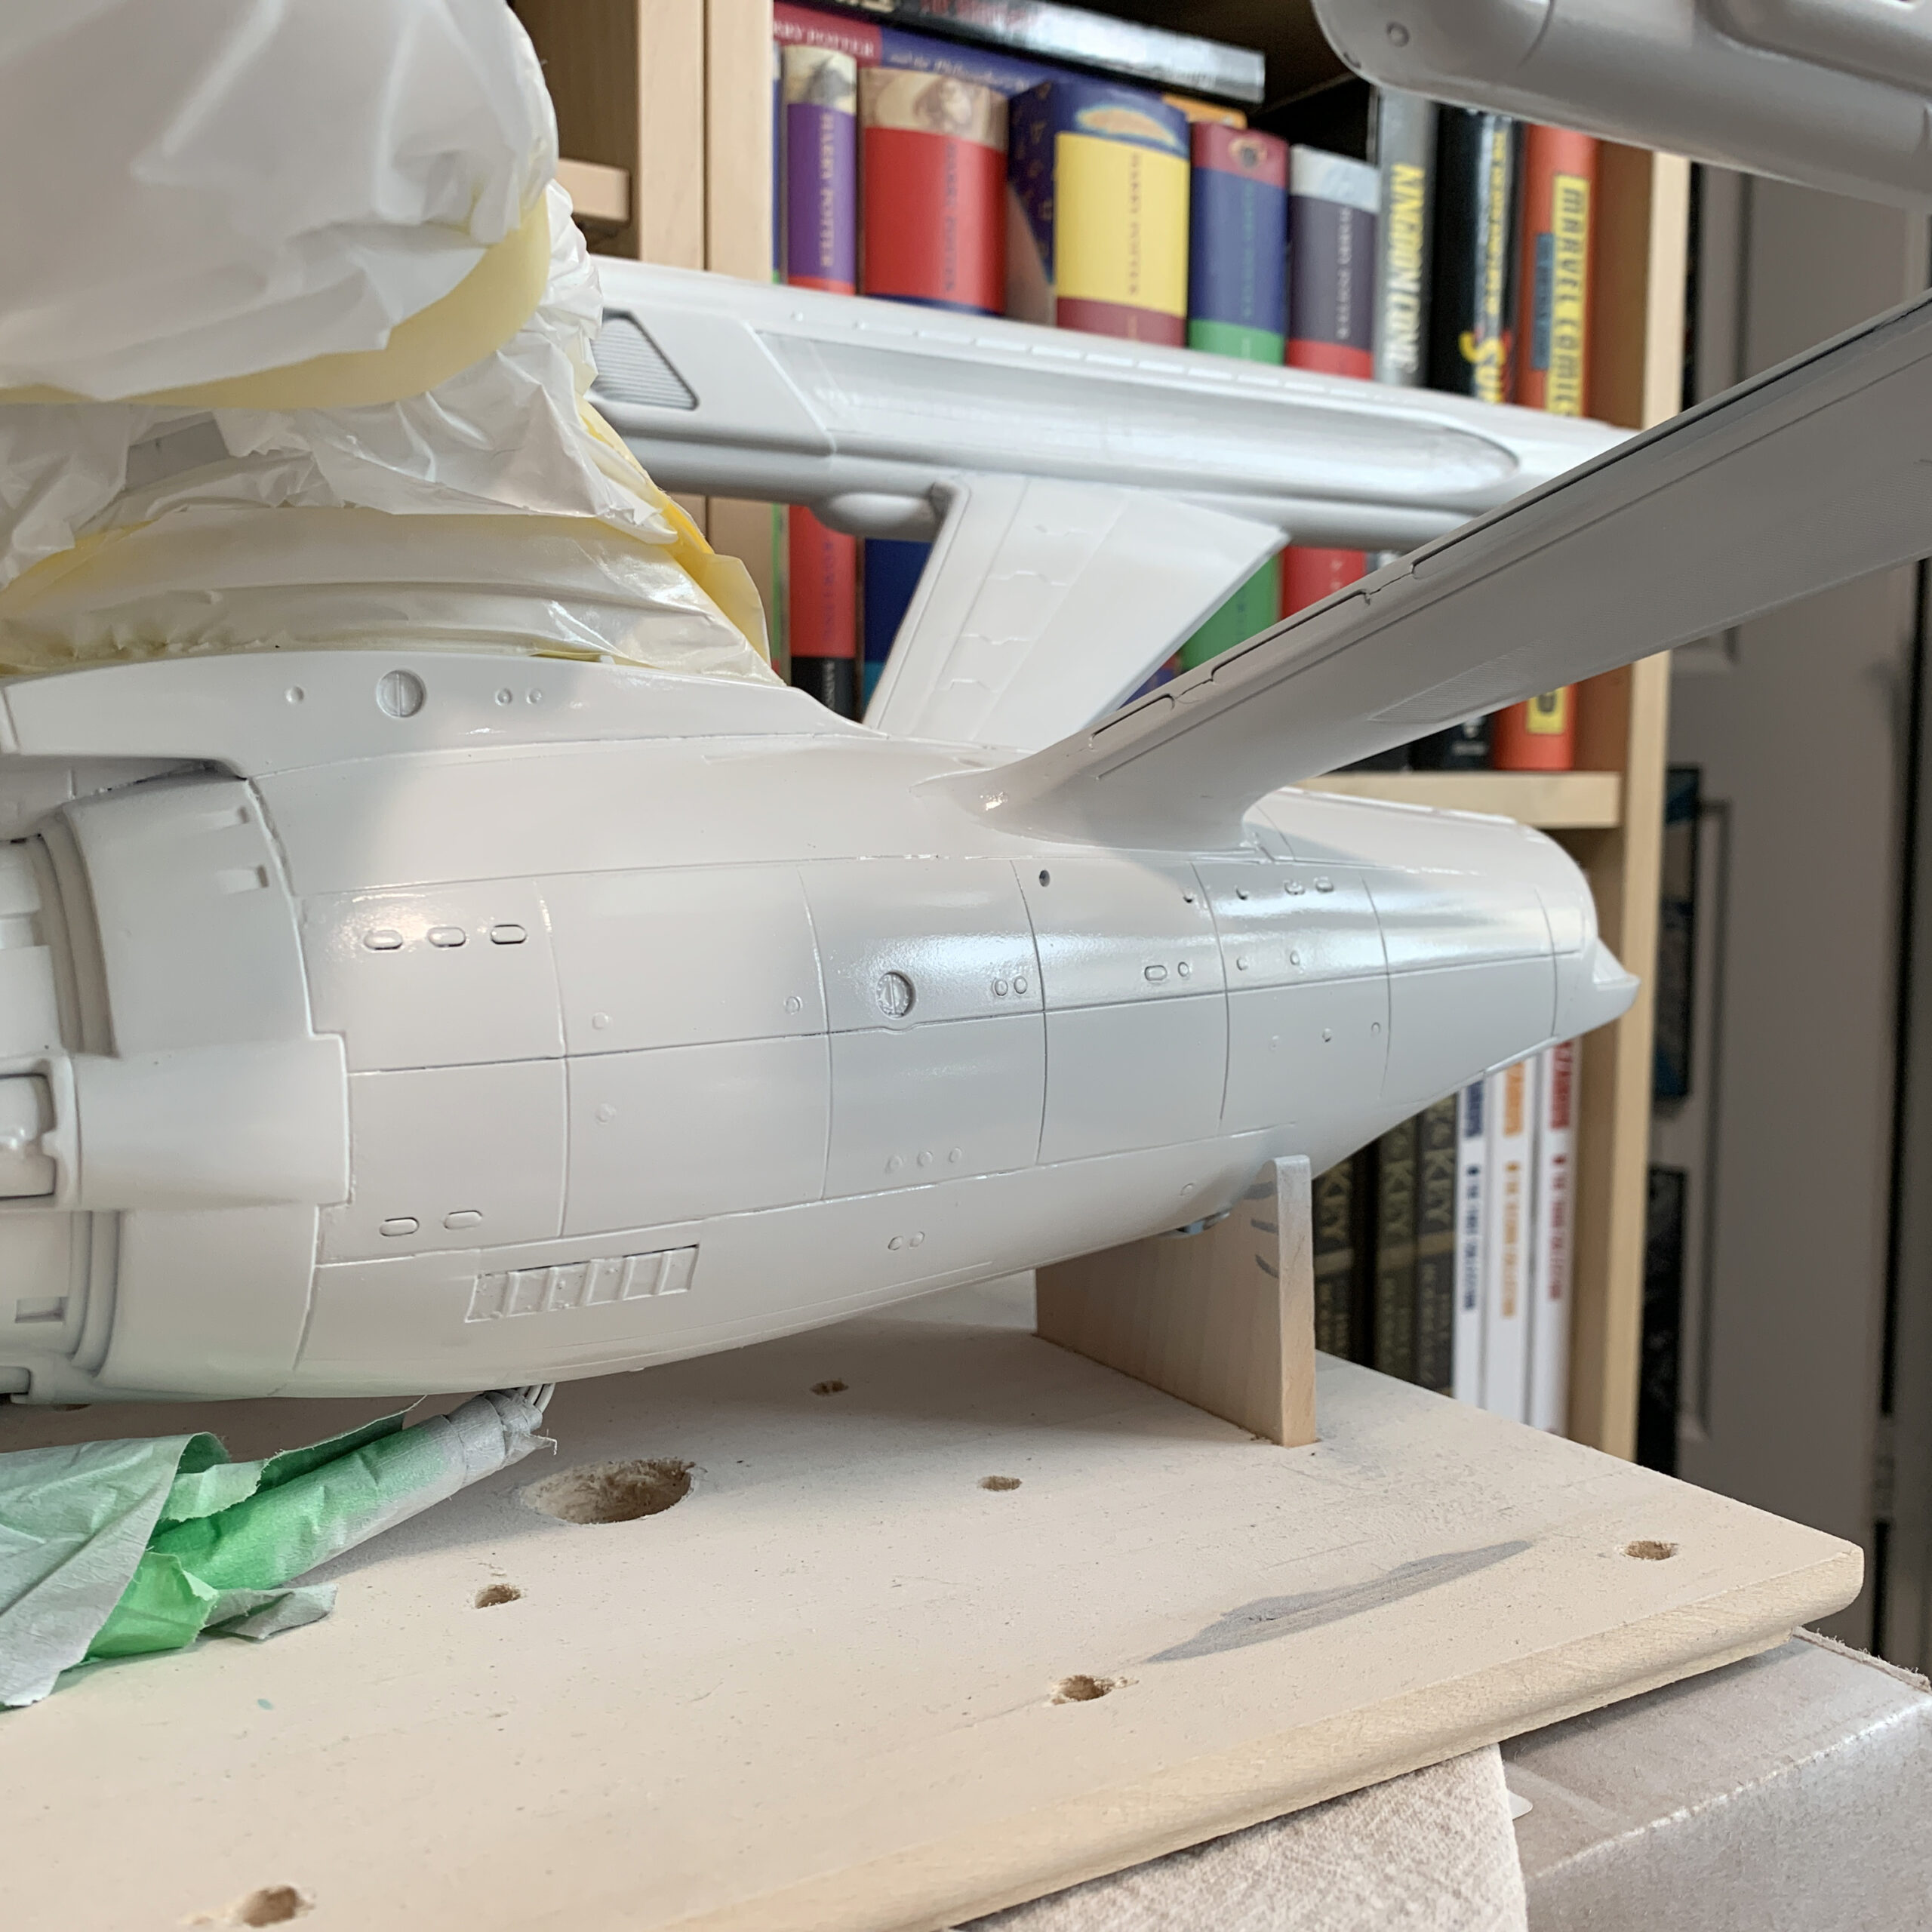
At this point I’m trying to decide if I want to paint the details on to these areas before hitting the primary hull with the Pure White, or if I should finish all the white first before any detail work. I think I’ll do the former – that way I only have to mask off each section once.
More to come.